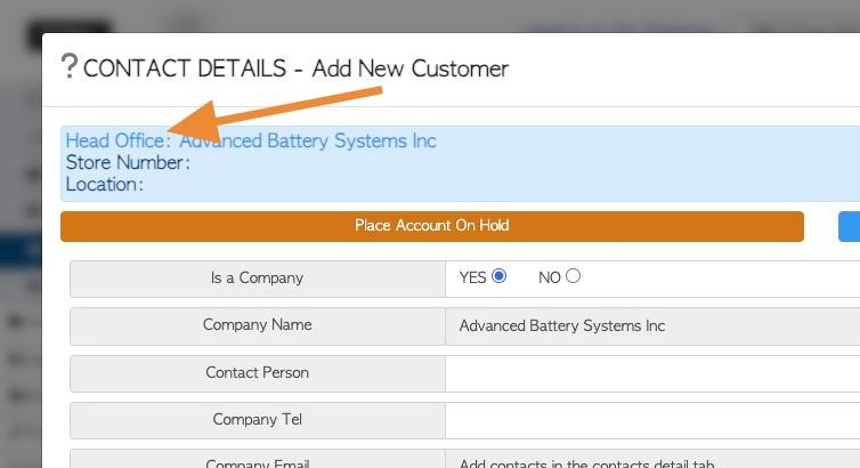
1. A customer can have multiple locations. When more than one location is added to Customer, the original location becomes the Head Office, which links all the other locations.
TIP! SHORTCUT: Type the Customer name into the global search, located in the top right corner of each page. This will bypass steps 2 -4.
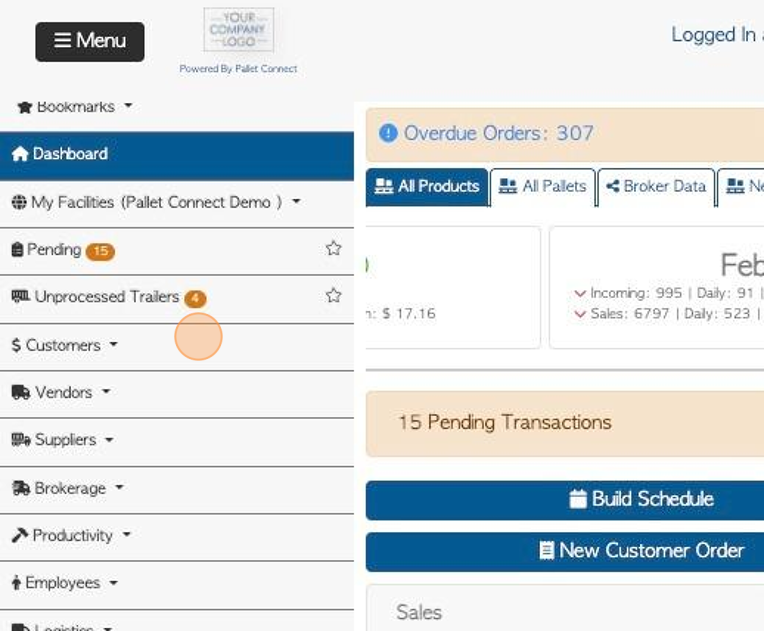
2. Navigate to the main menu. Click "Customers"
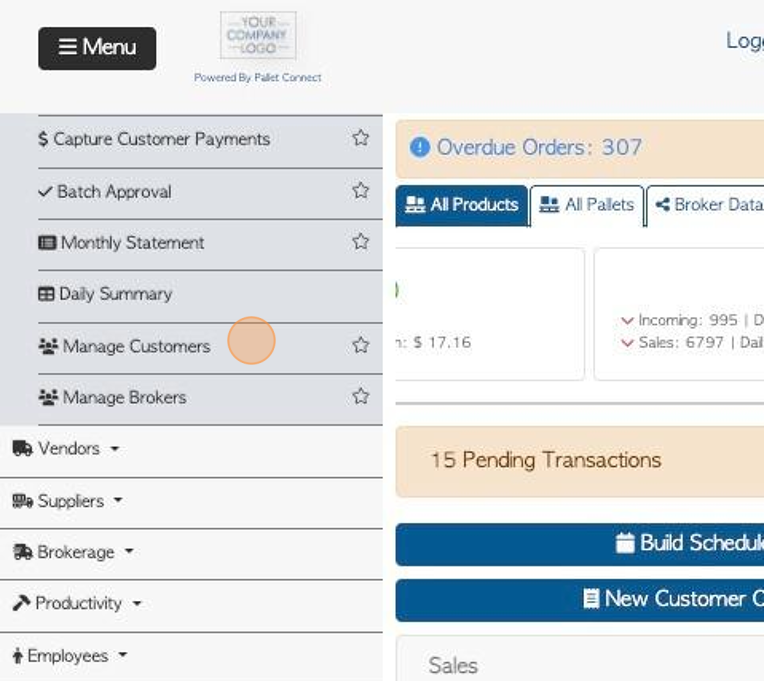
3. Click "Manage Customers"
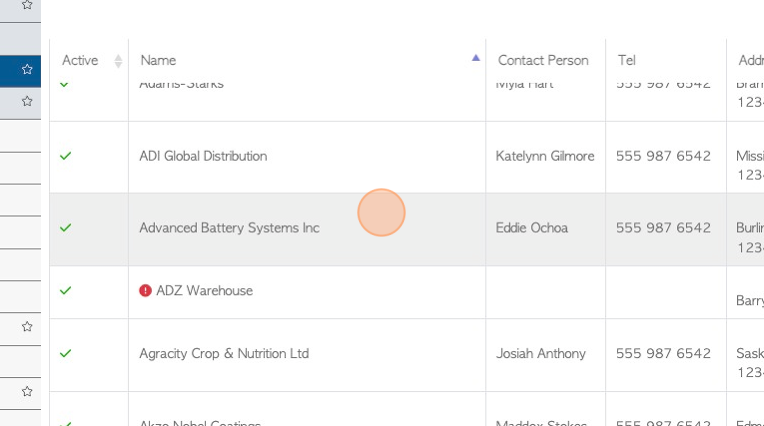
4. Click on the selected Customer, from the list.
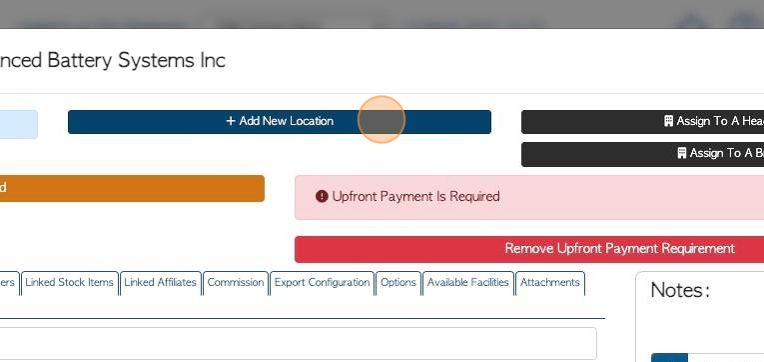
5. Click "Add New Location"
TIP! There are two "Add New Location" action buttons. The first is at the top of the Customer profile, visible from every tab.
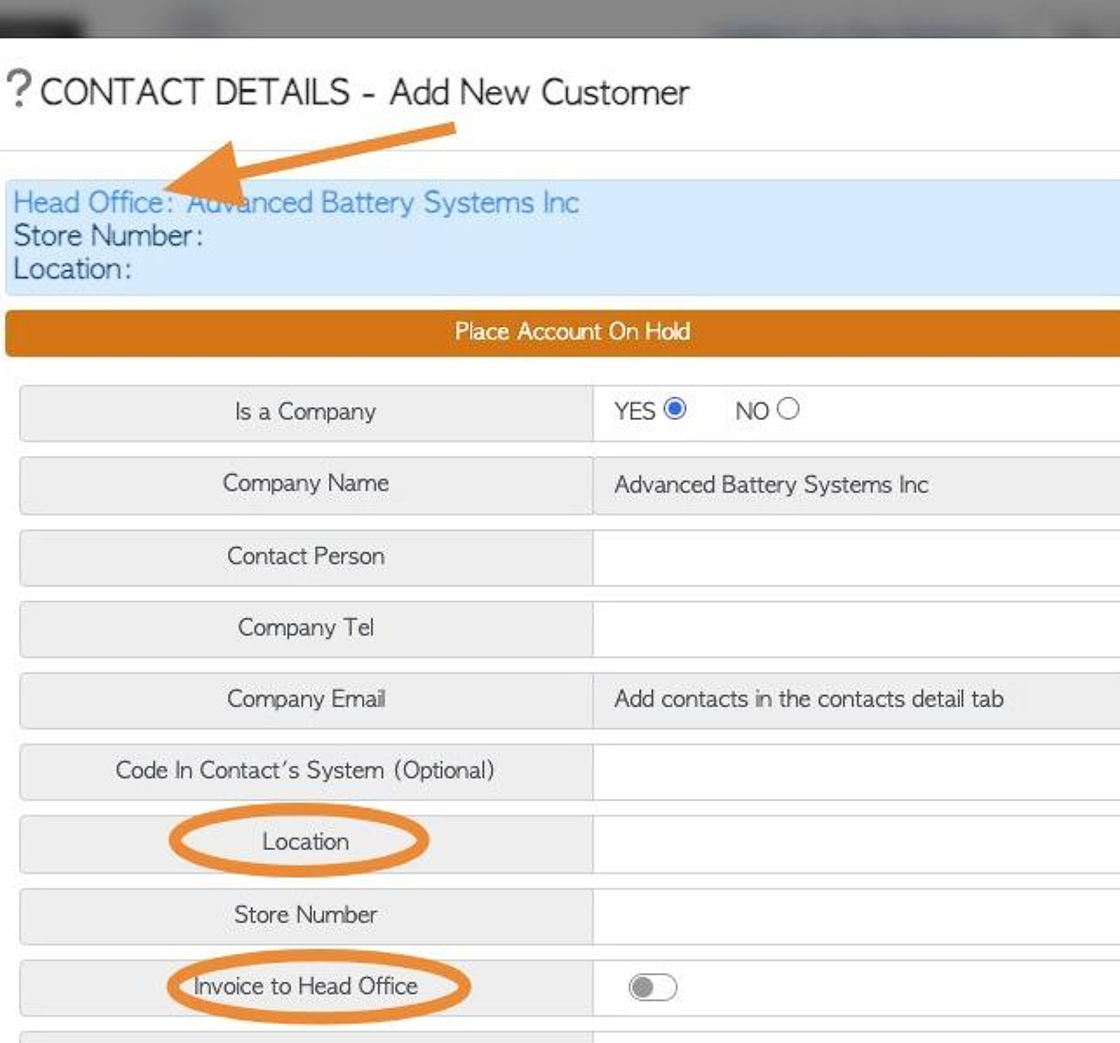
6. Add new contact details for the location. This process is the same as adding a new Customer. Select "save" when complete.
TIP! By adding a new location to the Customer, it is converted into a "Head Office".
NOTE: Ensure that the Location name is entered. There is an option to Invoice to the Head Office or bill to the new location.
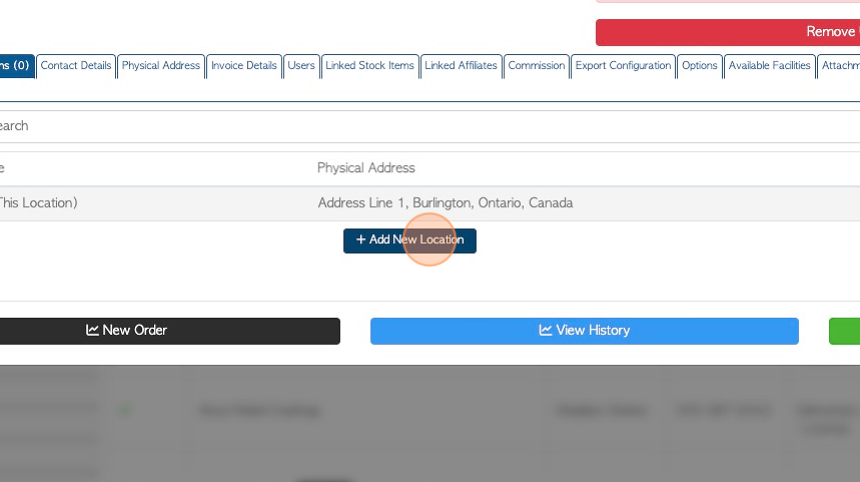
7. There is a second way to add a location. From the Customer profile, click on the Locations tab.

8. Click "Add New Location"
TIP! There are two "Add New Location" action buttons. The second is found in the "Locations" tab of the Customer profile.
9. Again, the pop up screen allows new contact details for the location to be added. This process is the same as adding a new Customer. Select "save" when complete.
TIP! By adding a new location to the Customer, it is converted into a "Head Office".
Multiple Locations can be added to a Head Office.