1. A workstation can be set up in Pallet Connect.
This can be a machine or shared production area that is named and added into the system. It is used to schedule and capture production.
It can consist of single or multiple seats and employees can be assigned to these seats. This article explains how to set up a new workstation in the system.
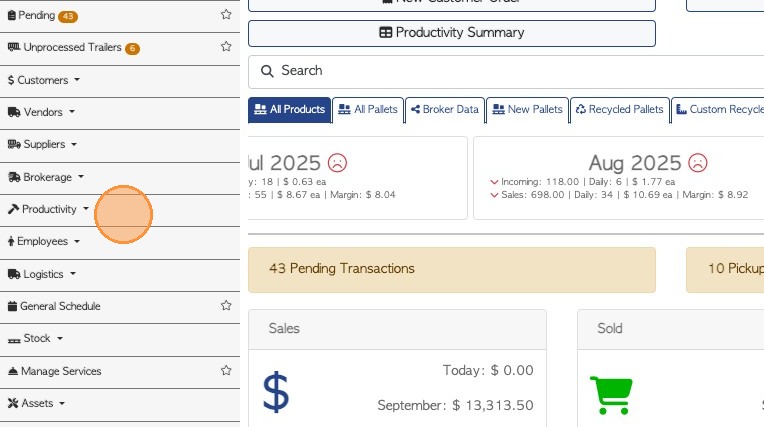
2. From the main menu, click "Productivity"
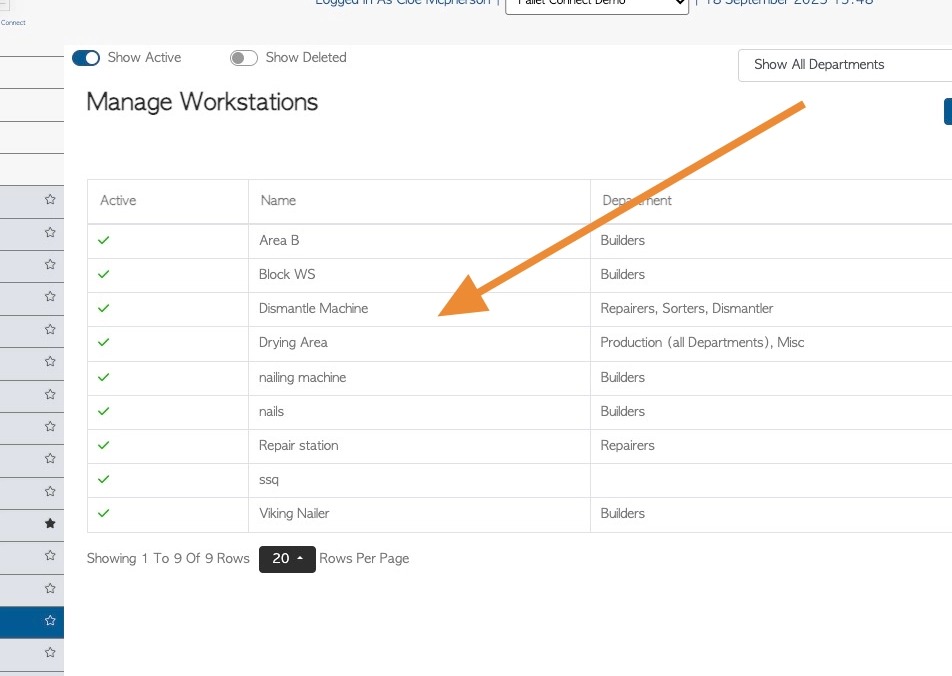
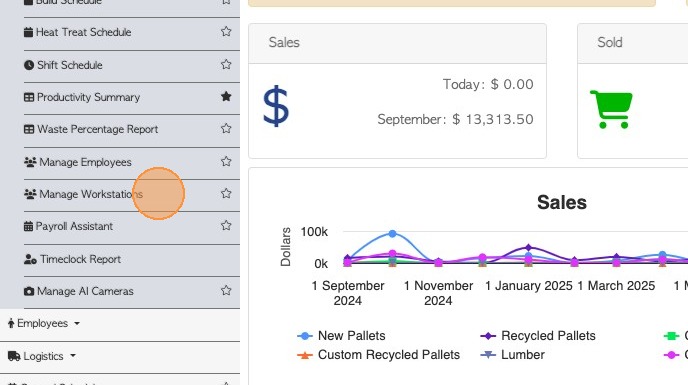
3. Click "Manage Workstations"
4. Click "Add New Workstation"
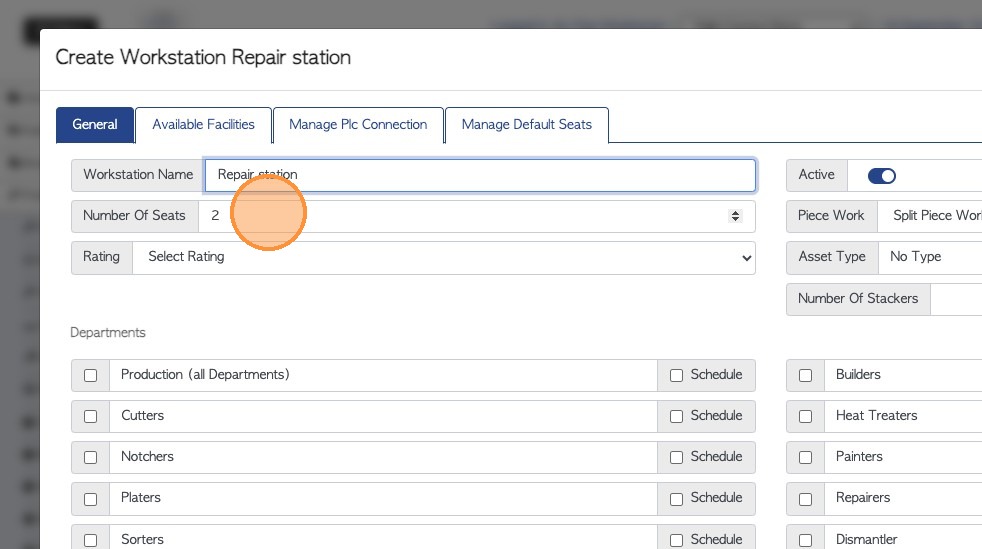
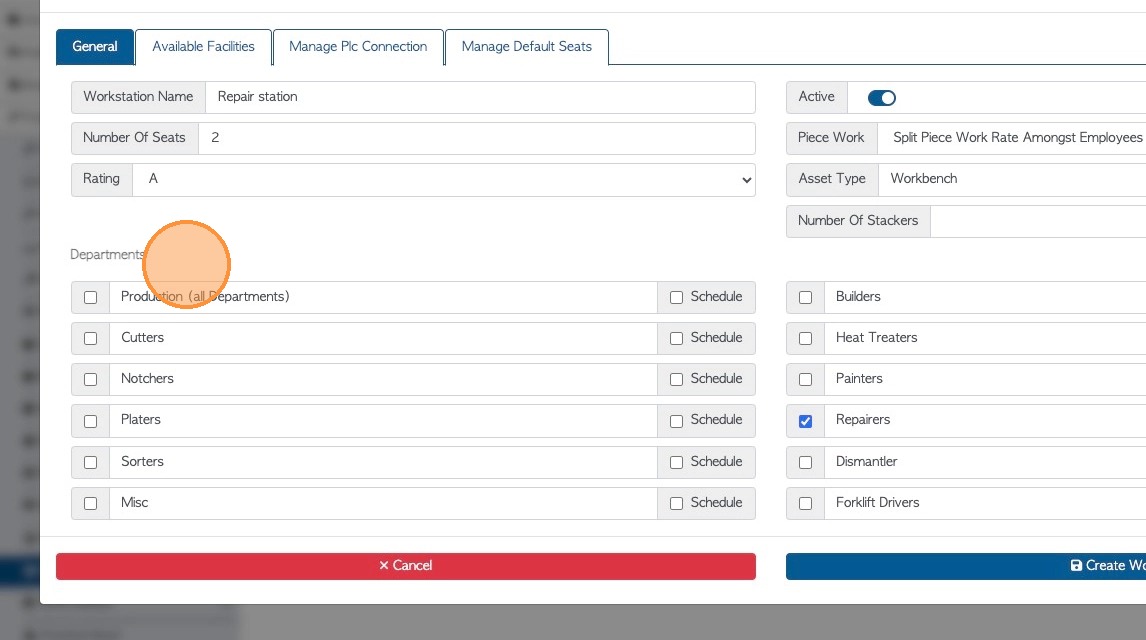
5. Click this field to add a unique name.
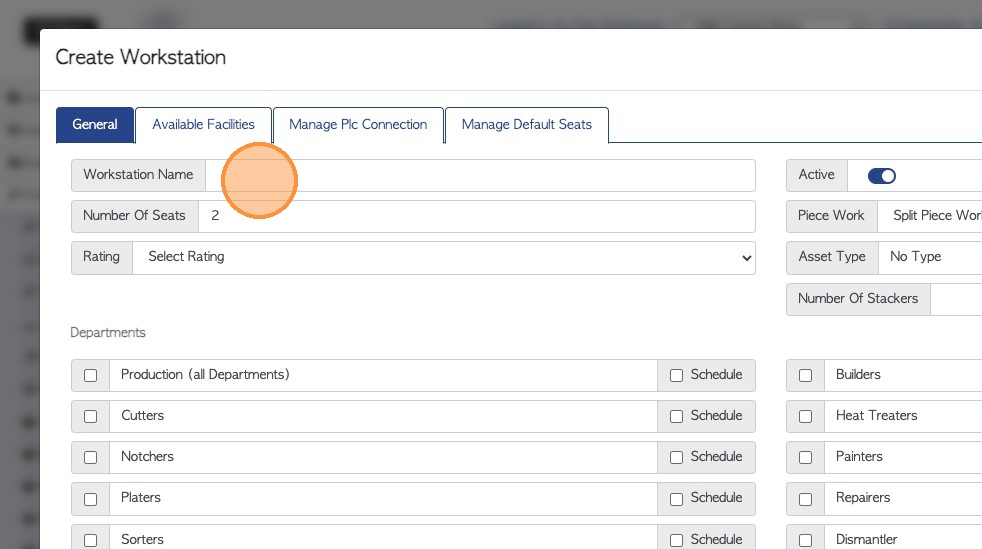
6. Click this number field to add the number of seats.
NOTE: Always input the maximum number of seats.
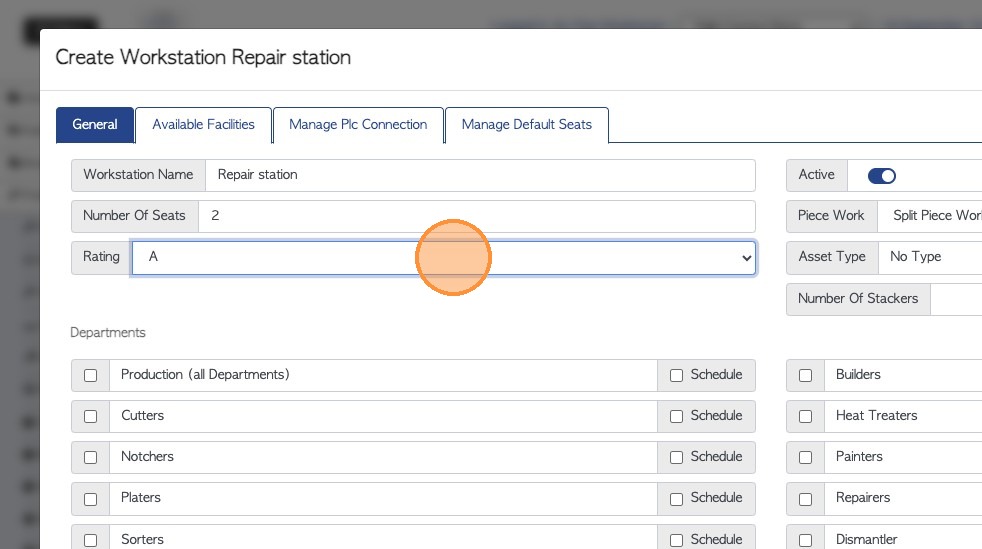
7. Click here to add a rating. This rating is a way of ranking production. It is used in determining the speed which the task is completed. During production this is linked to the rating quantity in the stock item profile.
NOTE: If a rating is not added the workstation will default to "C" rating setting of the stock item.
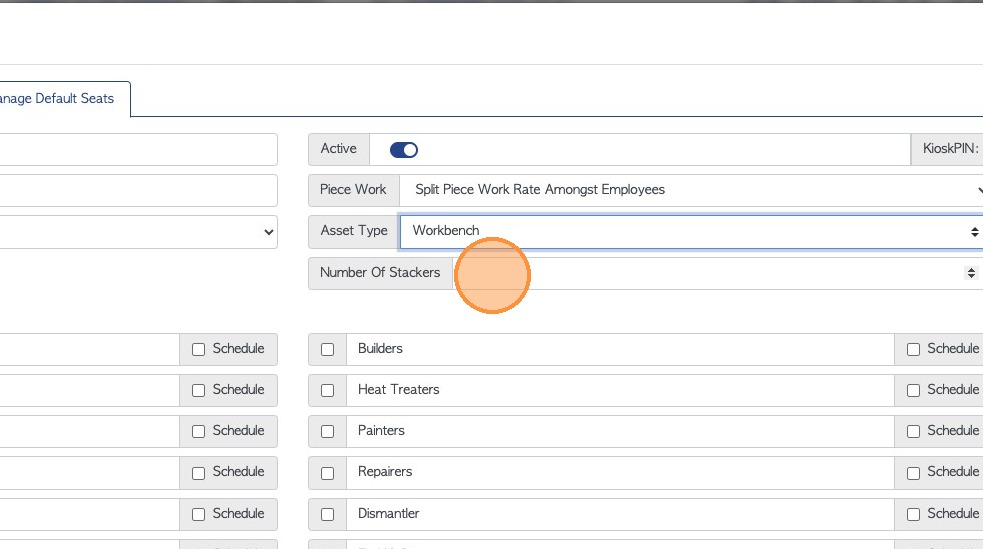
8. Click here to ensure the workstation is active within the system.
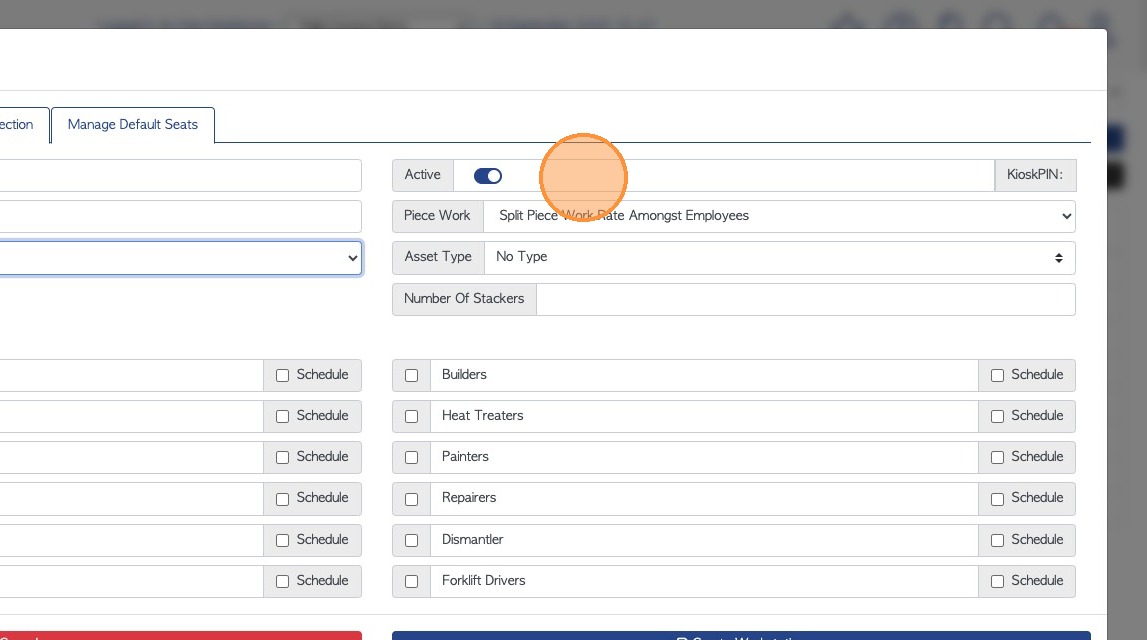
9. Click this dropdown to choose how piece rate is calculated. The piece work assigned to an employee, can be fully given to each employee/seat or can be split between them.
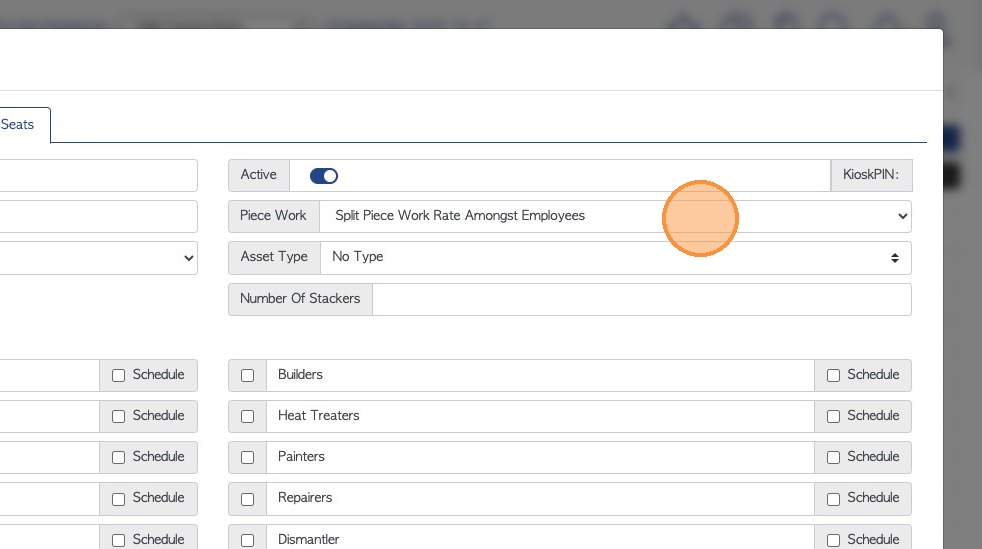
10. Select the asset type from the drop down menu. For example, workbench.
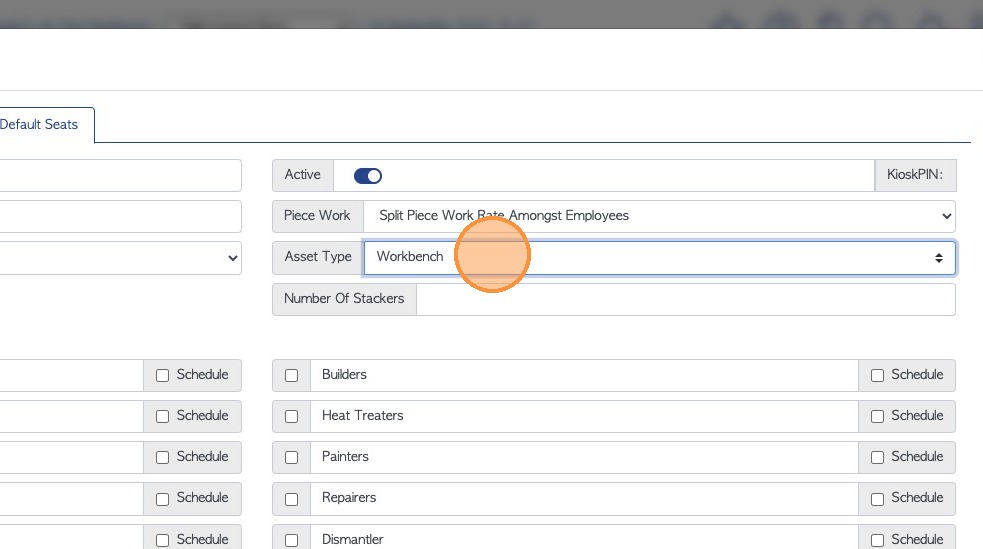
11. Click this number field to add a number of stackers, if applicable.
12. The production department can be added also. The workstation will show up in schedules for each chosen department. If "Production All Depts." is chosen, the workstation will be available for all departments. Click on Schedule if the workstation should show up in planner screens.
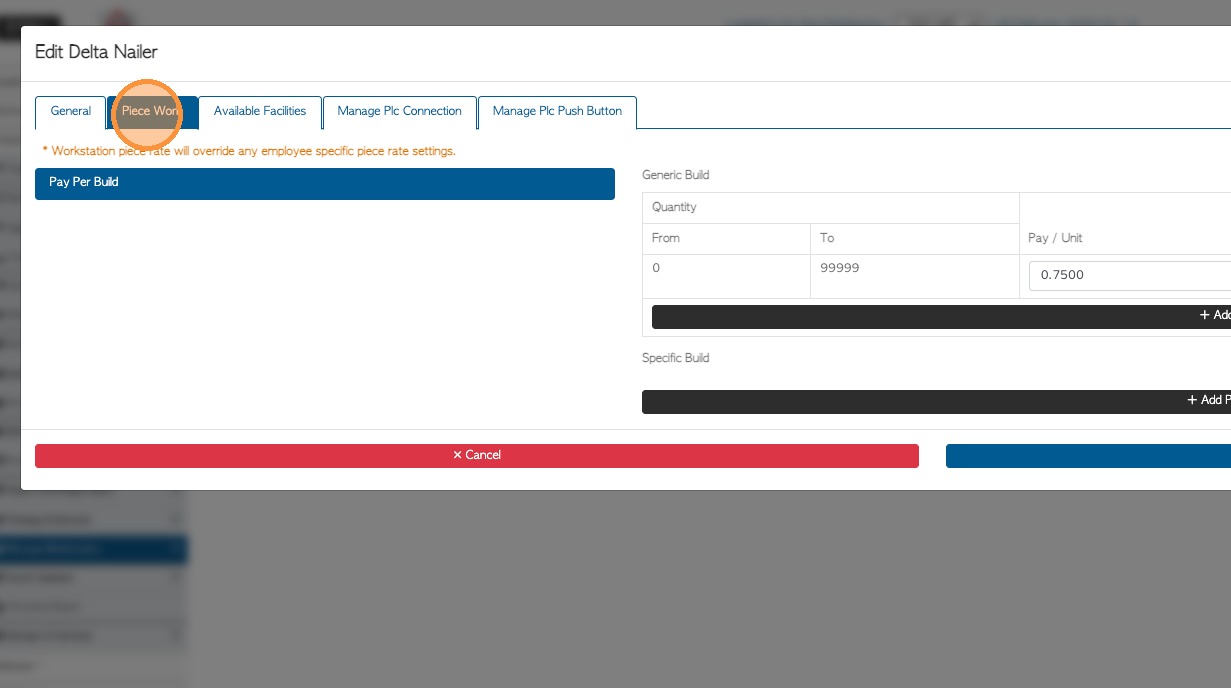
13. Click "Piece Work" tab. The piece rate fields that are visible will be based on the departments selected on the General tab. User can add a rate either a range or for a specific build.
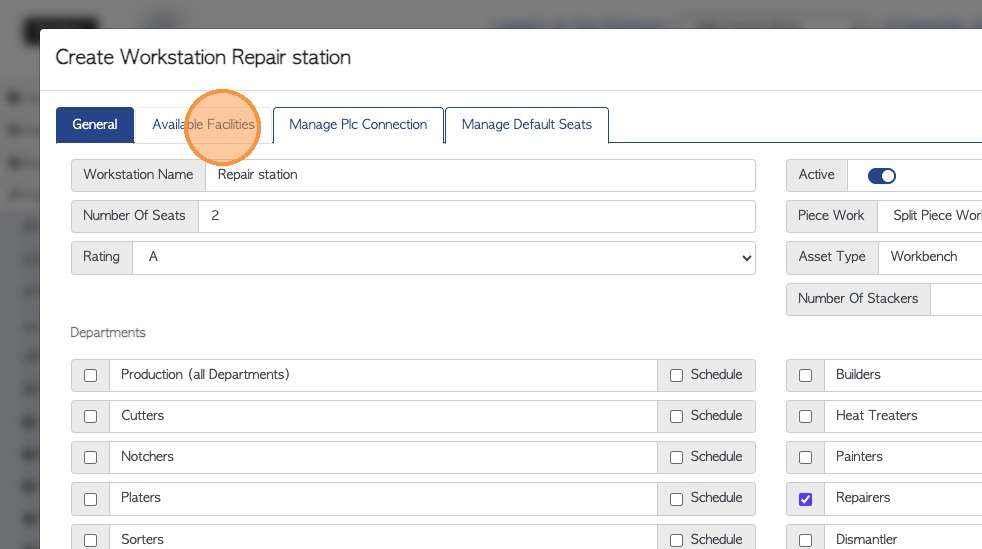
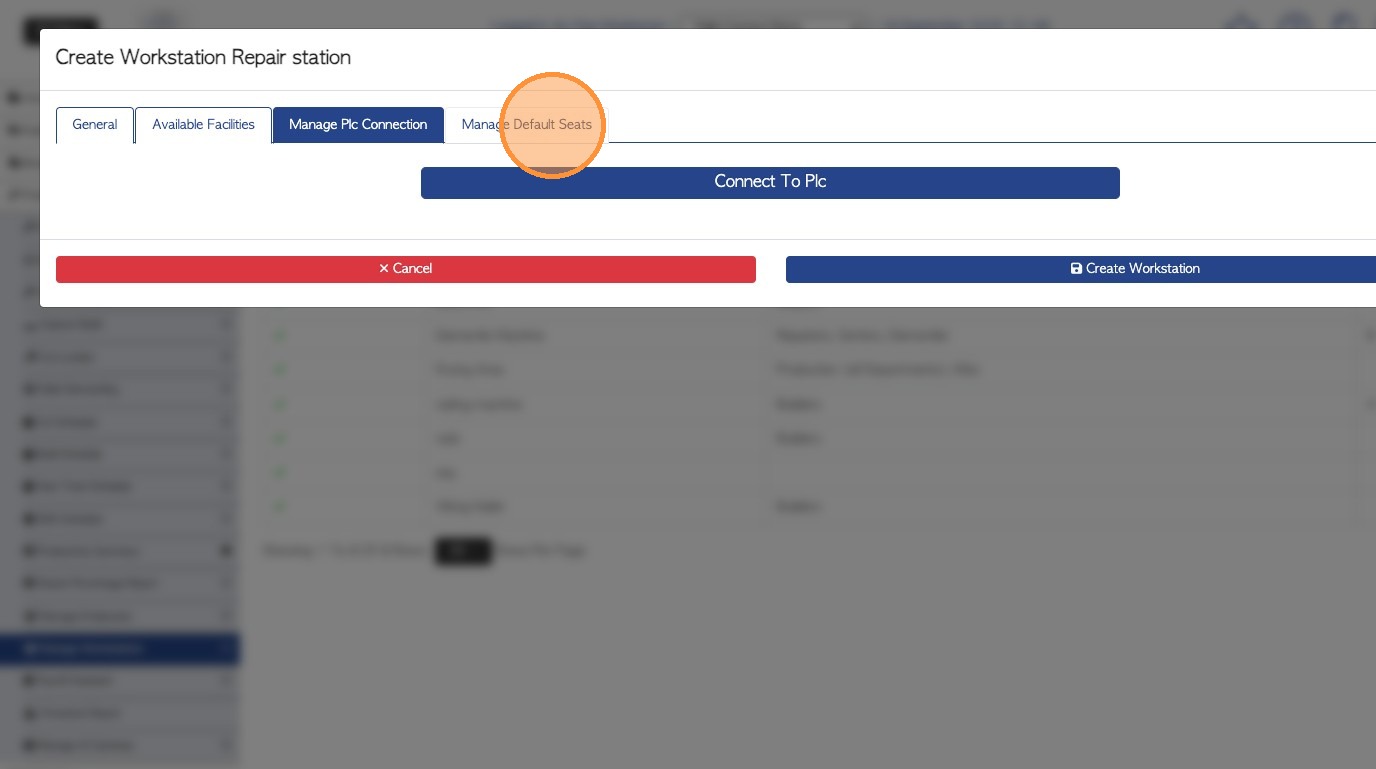
14. Click the "Available Facilities" tab.
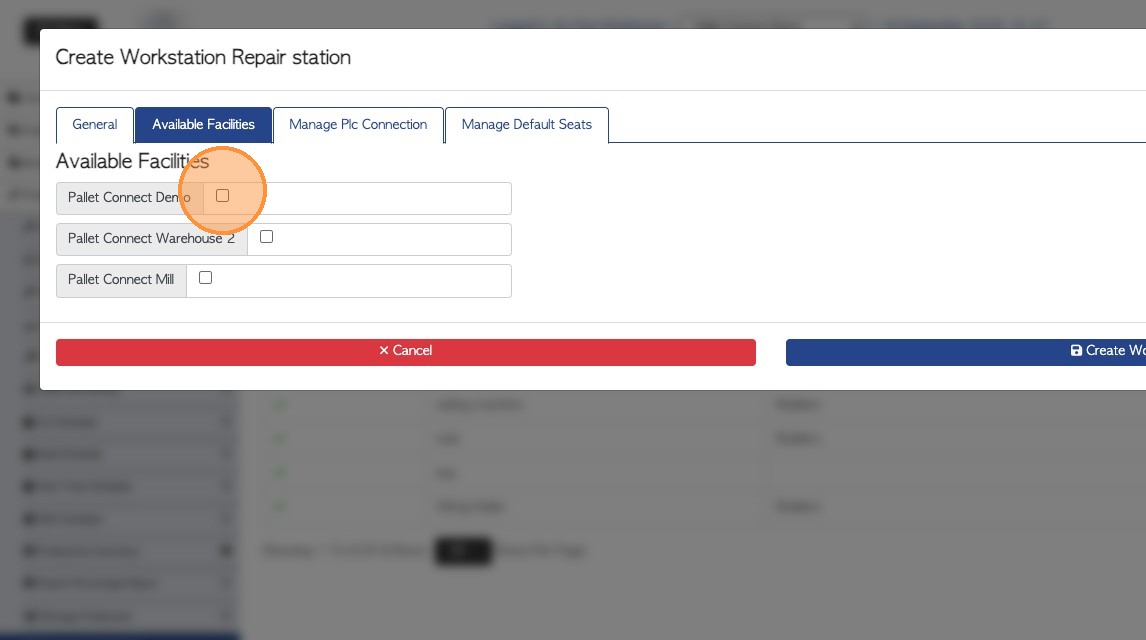
15. Choose a facility.
TIP! As it is usually an area or machine located in a facility, it will not be linked to multiple facilities.
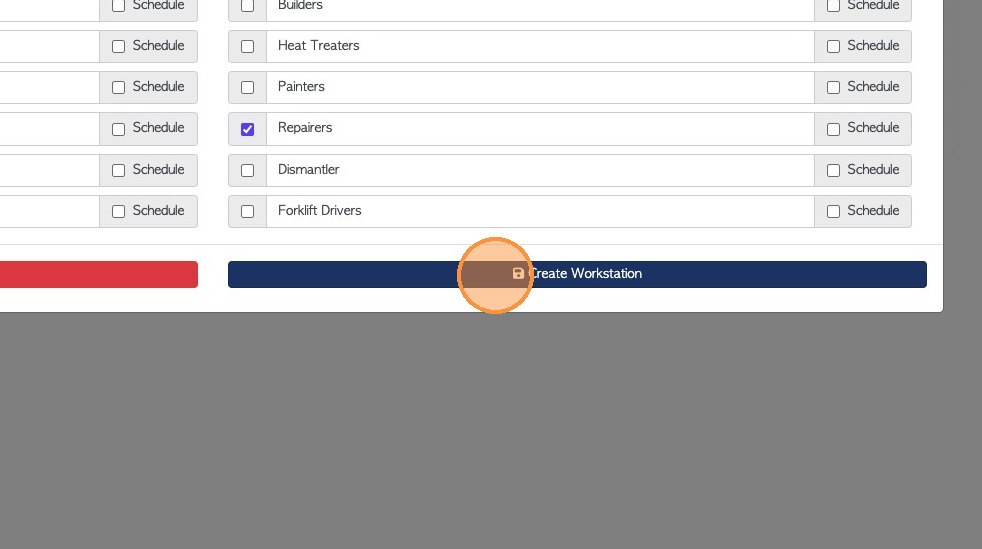
16. Click "Manage Default Seats" to add employee names to a workstation. This will bypass choosing names when capturing production.
17. Click "Create Workstation" to save.
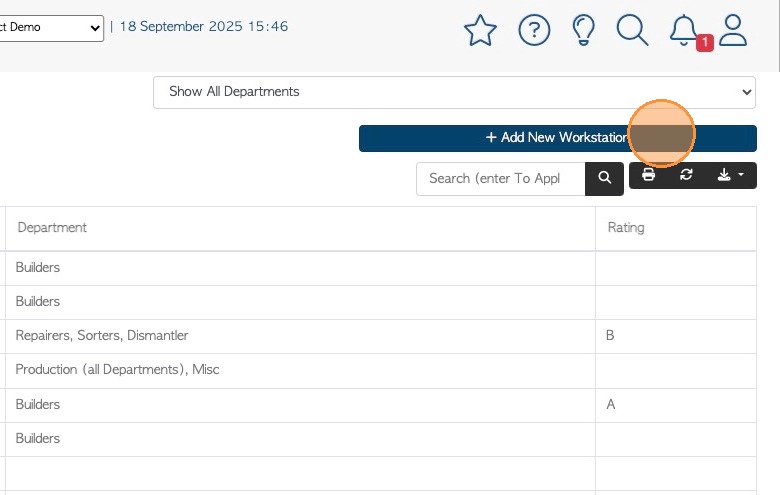
18. The workstation will now be visible in the "manage workstations" list.