In Pallet Connect, you can add receipt printers,
Pallet Connect can print receipts to any e-POS network enabled receipt printer.
Applicable products
- TM-H6000IV-DT (Receipt printer only)
- TM-T70II-DT
- TM-T88V-DT
- TM-L90-i
- TM-T20II-i
- TM-T70-i
- TM-T82II-i
- TM-T83II-i
- TM-T88V-i
- TM-U220-i
- TM-m10
- TM-m30
- TM-P20 (Wi-Fi® model)
- TM-P60II (Receipt: Wi-Fi® model)
- TM-P60II (Peeler: Wi-Fi® model)
- TM-P80 (Wi-Fi® model)
Following printers with the UB-R04 embedded
- TM-L90
- TM-L90 4xx
- TM-T20
- TM-T20II
- TM-T70
- TM-T70II
- TM-T82II
- TM-T83II
- TM-T88IV
- TM-T88V
- TM-T90
- TM-U220
- TM-H6000IV
Following printers with the UB-E04 embedded
- TM-L90 4xx
- TM-T20II
- TM-T70II
- TM-T82II
- TM-T88IV
- TM-T88V
- TM-U220
- TM-U330
- TM-H6000IV
Once your printer is connected to the network it will supply you with an IP address. Typically all this requires in plugging the printer into a power source and into you network with an ethernet cable.
Once you have the printer's IP Address, you have all you need to connect it to Pallet Connect
In Pallet Connect, navigate to Settings->Manage Printers
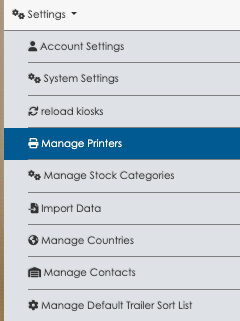
In the Manage Printers Page, Click "Add A Receipt Printer"
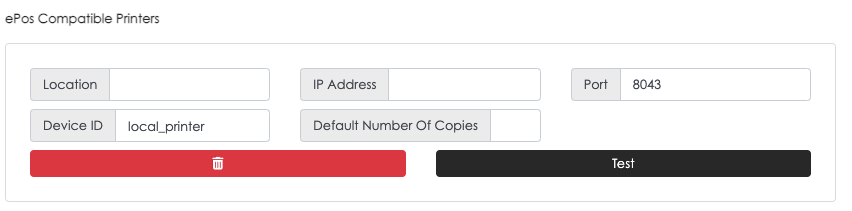
Enter the information
Location: Enter a brief description of the physical location on the printer (eg: dock door 2 )
IP Address: Enter the IP Address Supplied by the printer
Port: Leave this as is
Device ID: You can leave this as is
Default Number Of Copies: How many copies of each receipt you would like by default (Typically this is set to 1)
Once this is all filled in, click test
This may produce an error, you can follow the instructions to allow your browser access to the printer
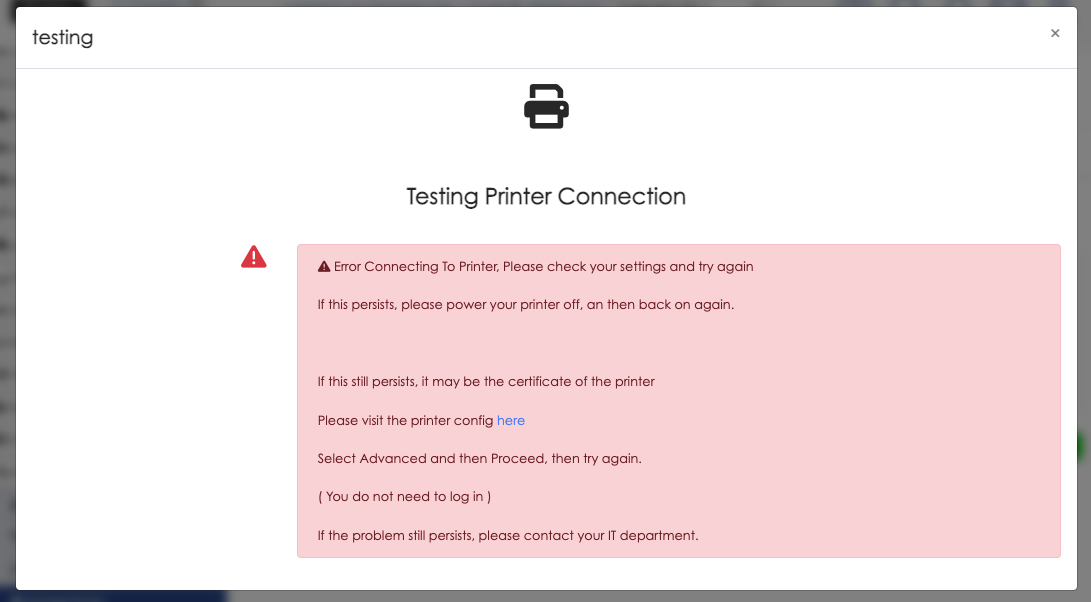
Once you have allowed you browser access, you will be able to print a test