1. A Purchase Order is intended to order new supplies only. Supplies are typically items needed to build the pallets, for example, lumber. For the purchase of recycled pallets, refer to Vendor transactions,
A Completed Purchase Order is used for supplies that have already been ordered and received. For example, a phone order for lumber that has arrived at the warehouse with paper receipt, that needs to be inputted.
This is an important transaction, as the price of the supplies received will directly affect the cost price of the finished product.
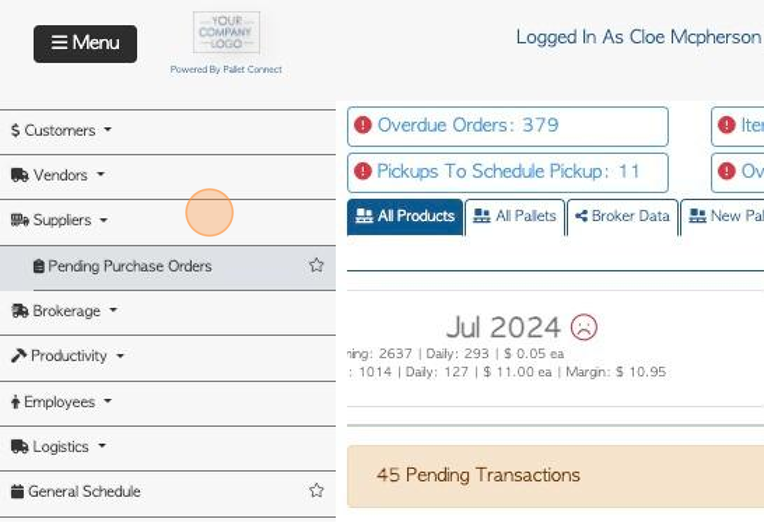
2. Navigate to the main menu. Click "Suppliers"
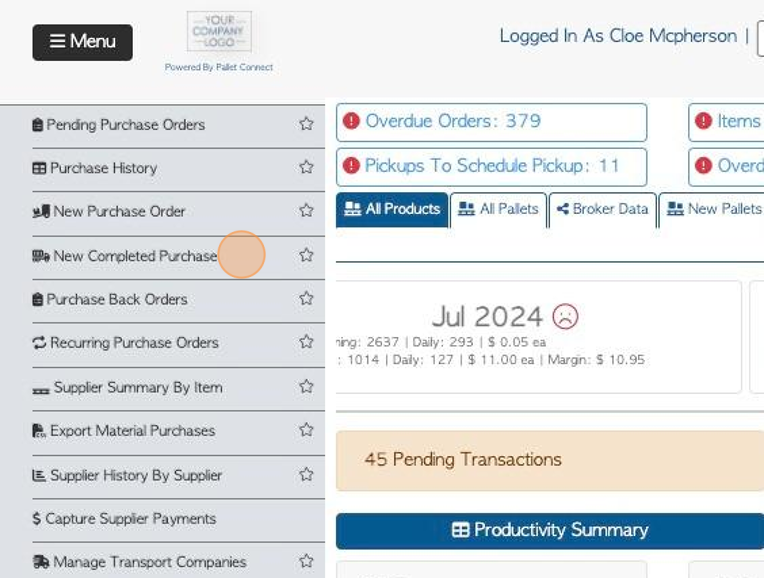
3. Click "New Completed Purchase"
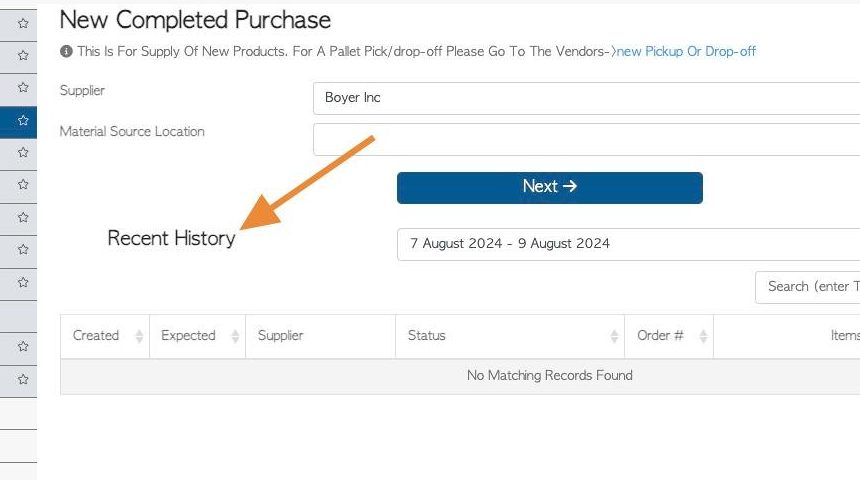
4. Choose the Supplier from the drop down list.
Add "Material Source Location" if needed. This refers to the region where the material originates.
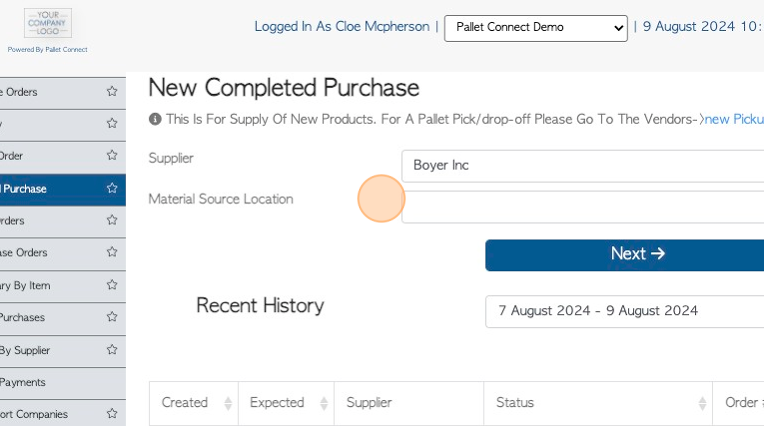
5. Recent history is displayed at the bottom of the page. This is to help avoid duplicate orders. The recent history date range can be changed.
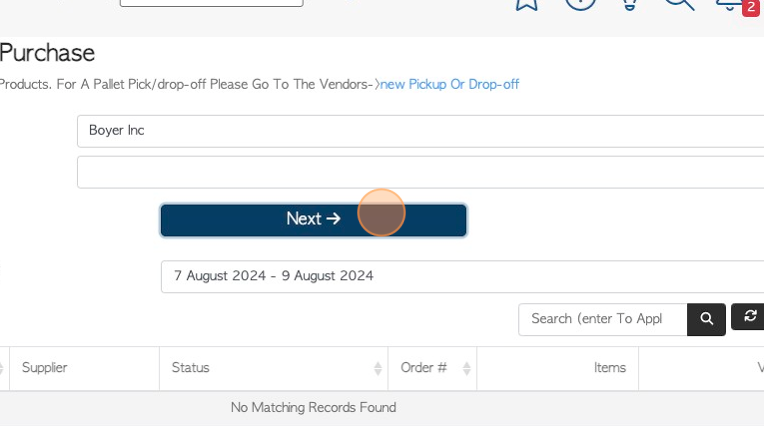
6. Click "Next"
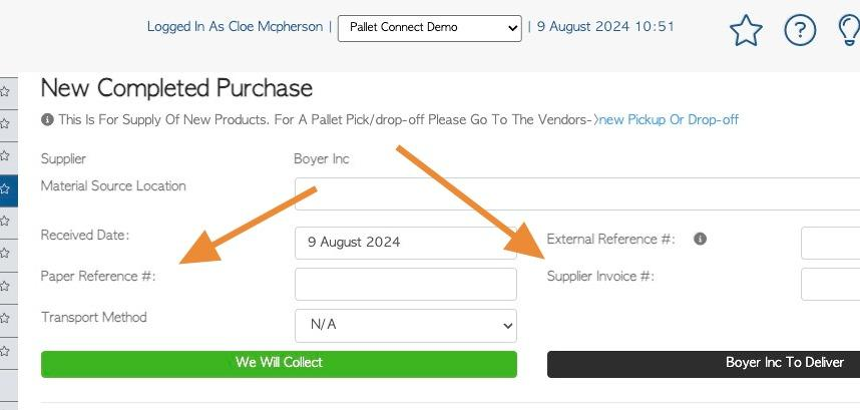
7. Click the text boxes to add any additional reference numbers.
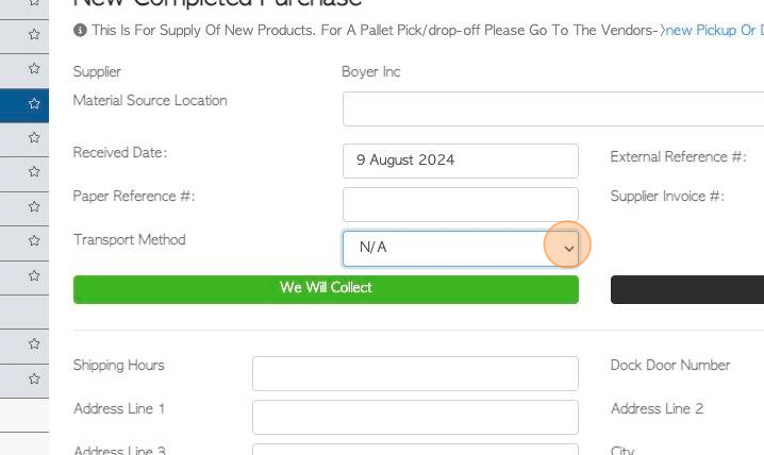
8. Click this dropdown to identify transport method, if needed. Choose between rail and truck.
9. Choose if the order is to be delivered or collected.
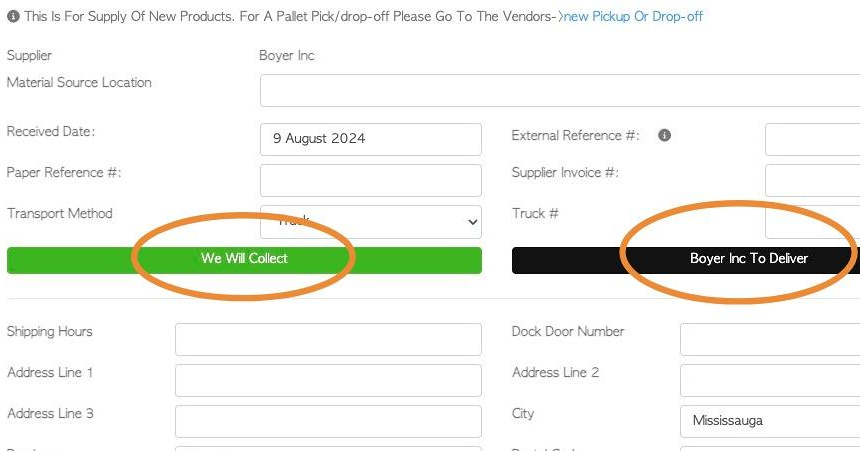
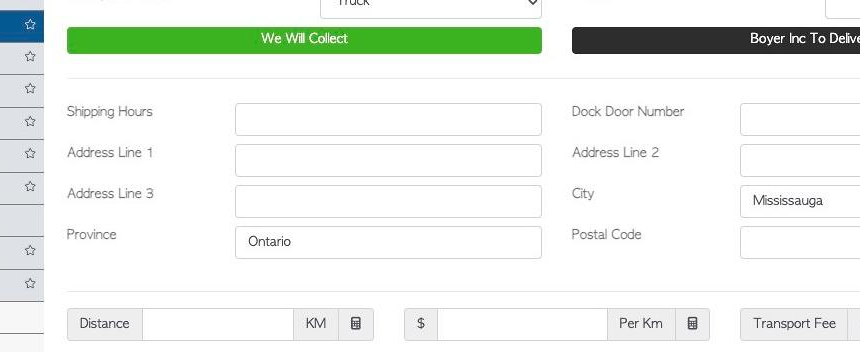
10. For collection of the purchase order, fill out the pick up address information.
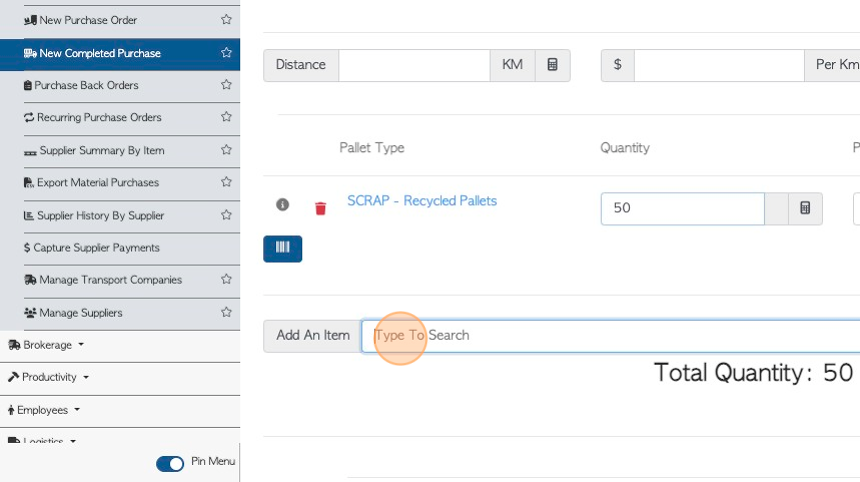
11. Click the "Type To Search" field to add an item to the order. Multiple items can be added. Stock items need to be active and be marked for purchase.
TIP! Linked Stock Items will appear on the list automatically. These are items commonly ordered from the Supplier. See related articles on linked stock items.
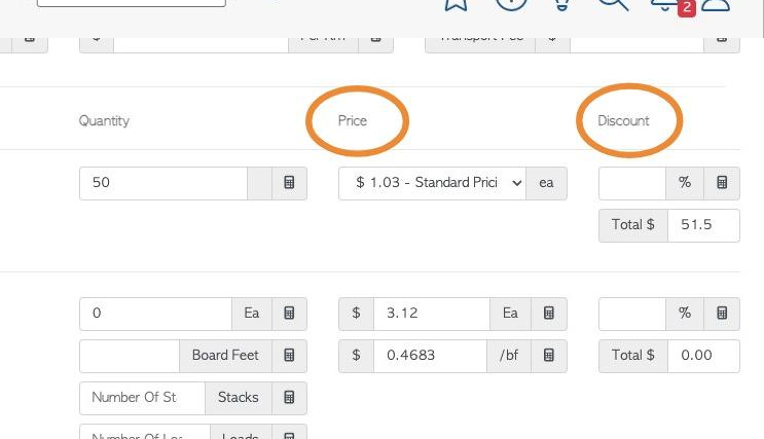
12. Click this number field to add the quantity to the order.
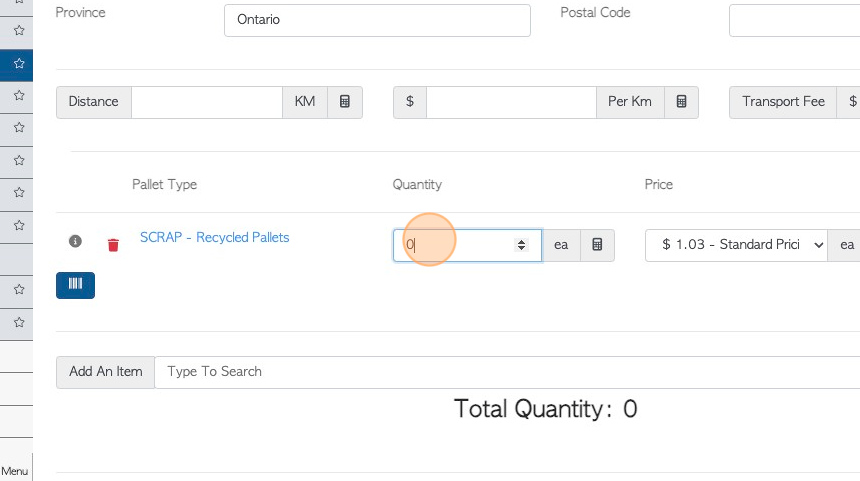
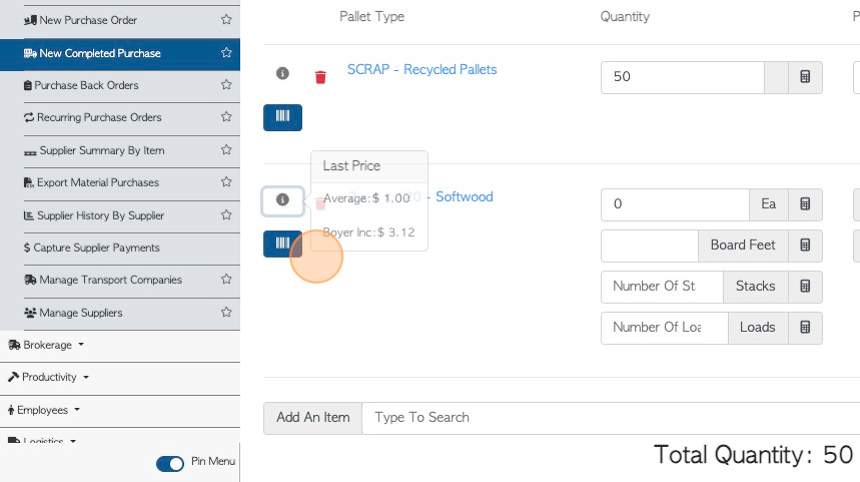
13. Click on the "i" information icon to view pricing history of the stock item.
14. Use these text fields to add or edit pricing information on the stock item, for this order.
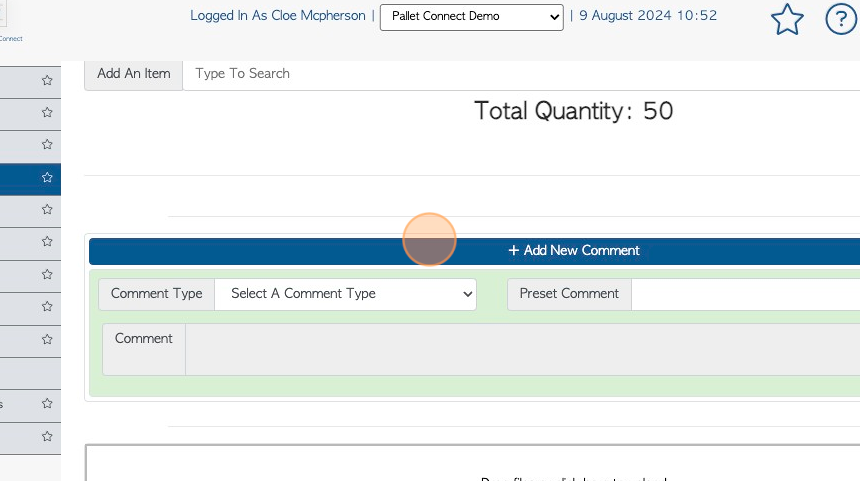
15. Click "Add New Comment" to add a comment to the Purchase Order.
NOTE: Comment types must be set up in Settings prior to adding a comment. See related article.
16. Click here to add files or images to the order.

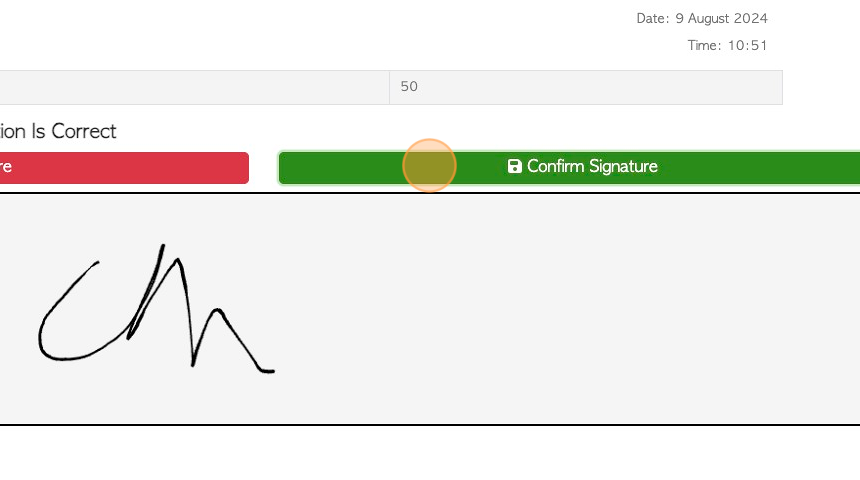
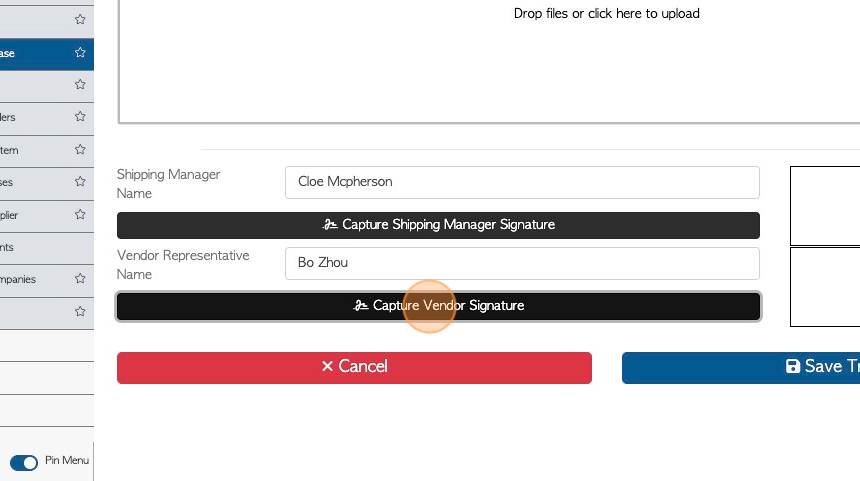
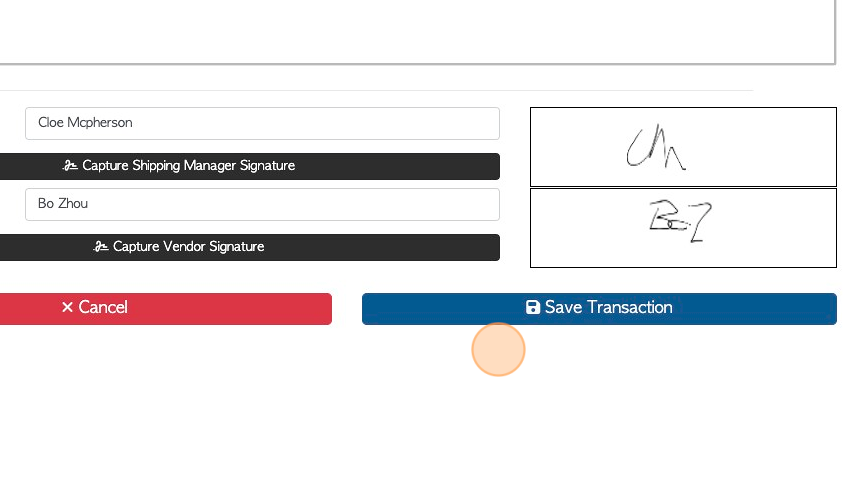
17. Click "Capture Shipping Manager Signature" to add the internal staff signature, if needed.
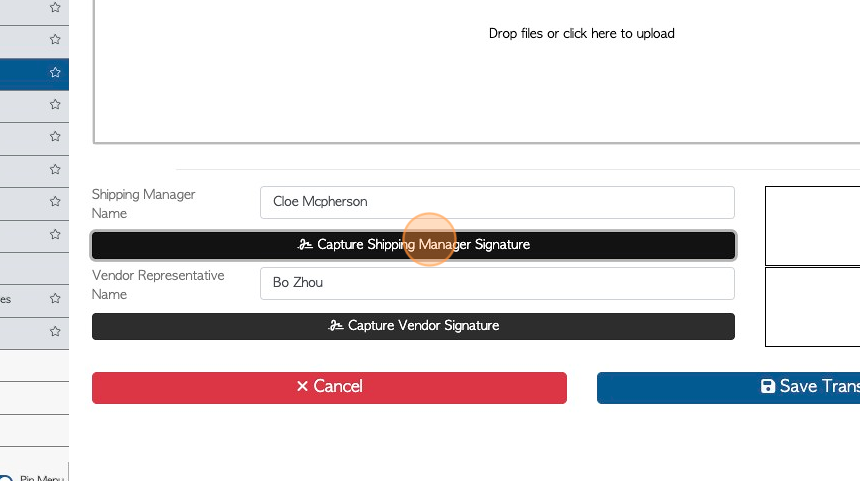
18. Click "Confirm Signature" to save.
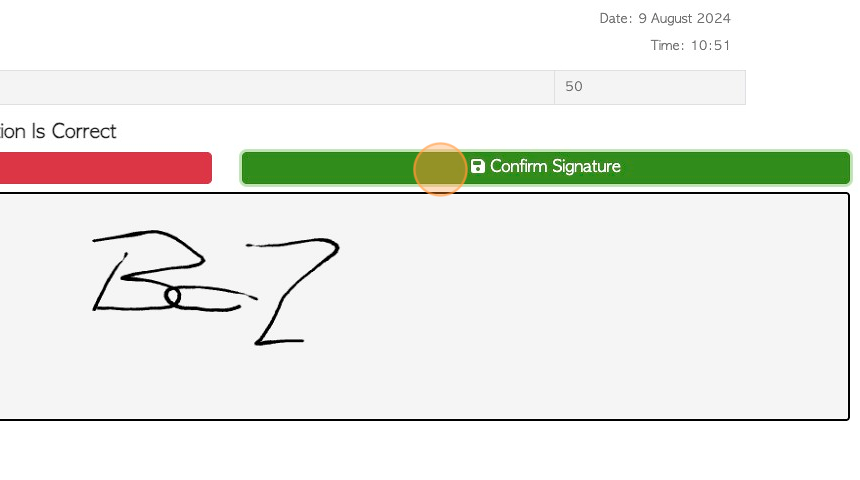
19. Click "Capture Vendor Signature" to capture the Supplier staff signature, if needed.
20. Click "Confirm Signature" to save.
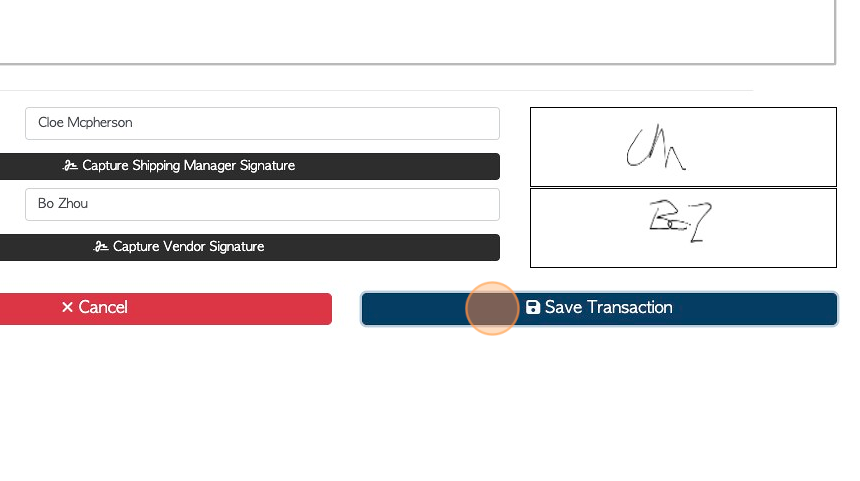
21. Click "Save Transaction"
22. Review the order details and click "Confirm And Review" or "Confirm"
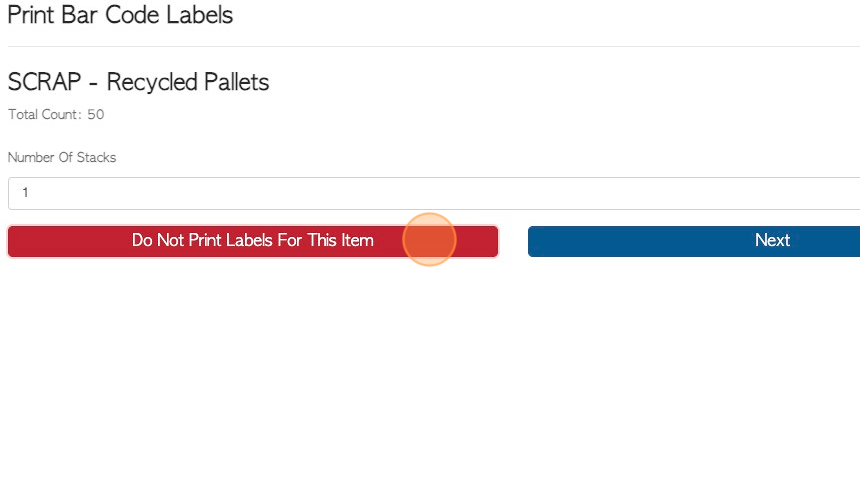
23. Print bar codes if needed and bar codes have been enabled.
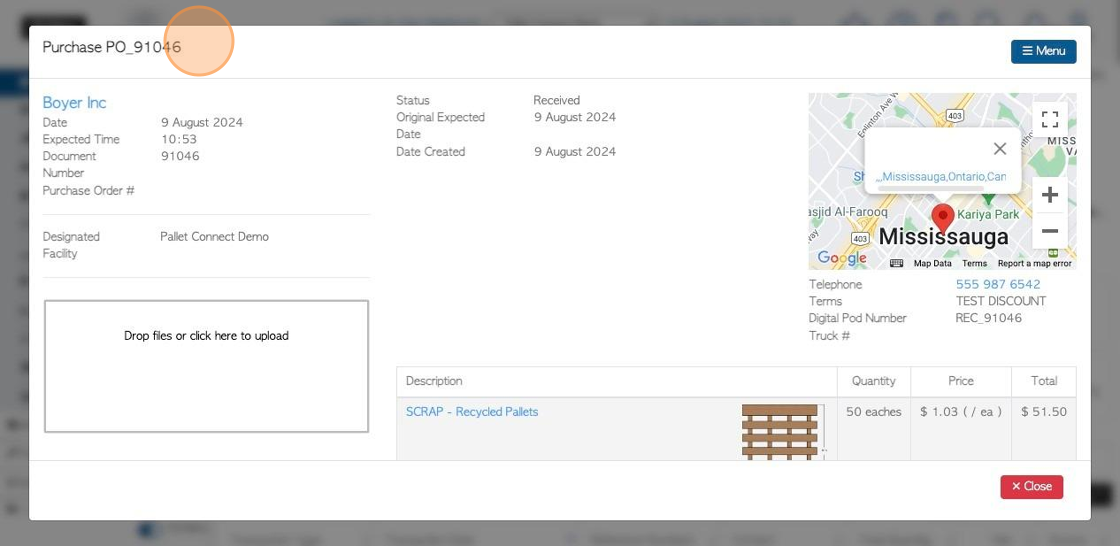
24. The purchase order has been saved and assigned a reference number. The order status will be "received".
The action Menu button allows for additional tasks, if needed.
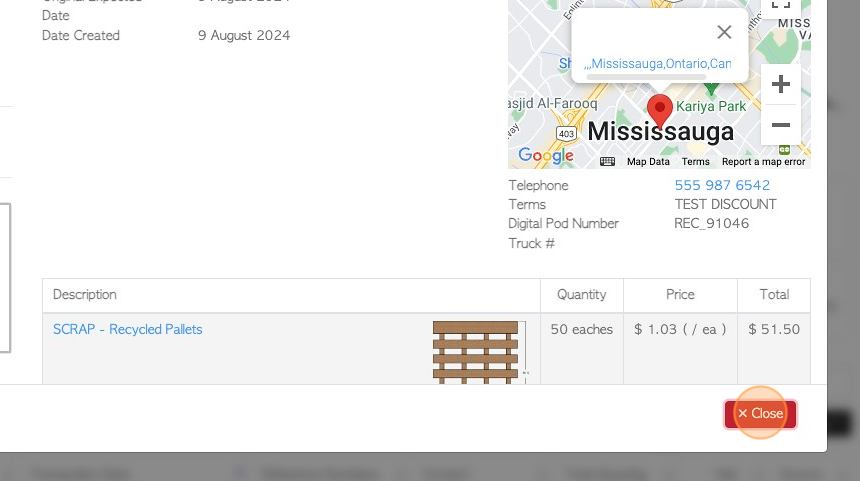
25. Click "Close" to complete.
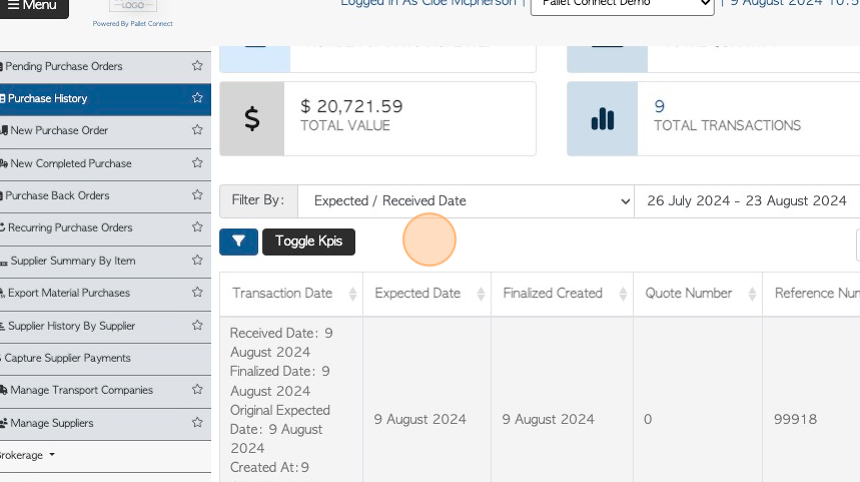
26. The transaction will now be displayed on the Purchase History report.