1. This article outlines the process of entering in a Vendor pick up or drop off.
TIP! A Vendor can also create a Drop Off/Pick Up Request from their Vendor Portal. See related article.
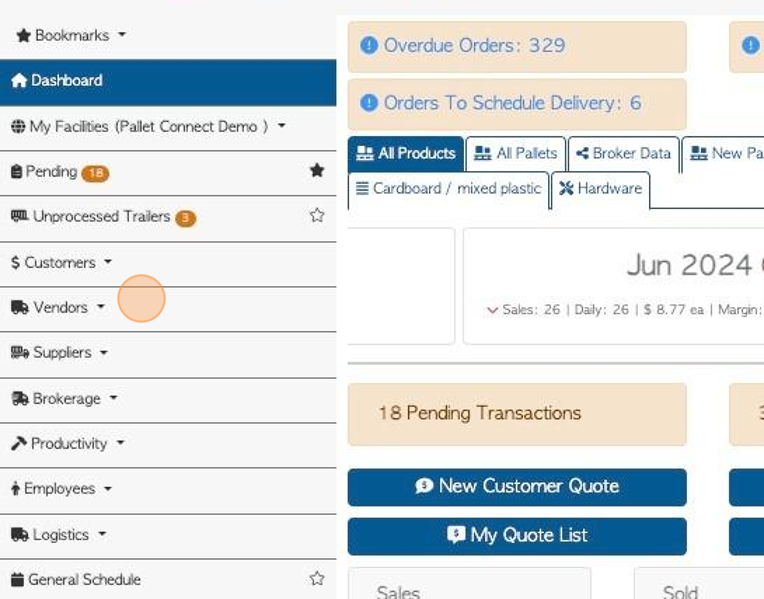
2. Navigate to the main menu. Click "Vendors"
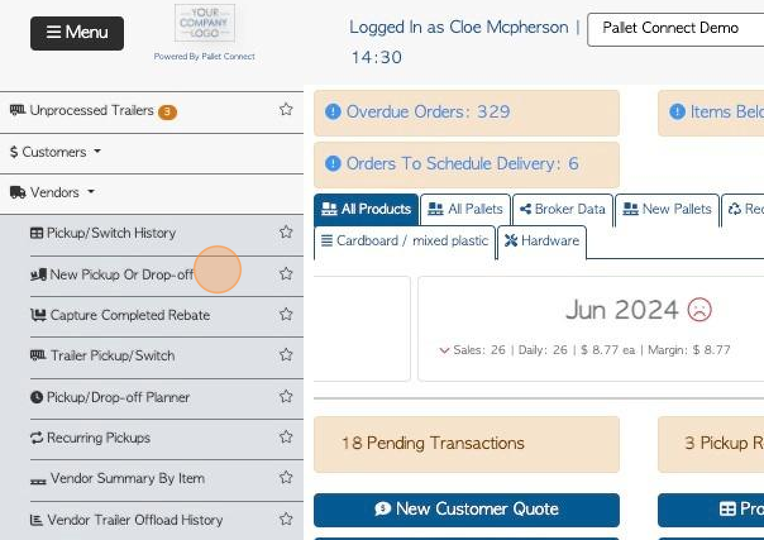
3. Click "New Pickup Or Drop-off"
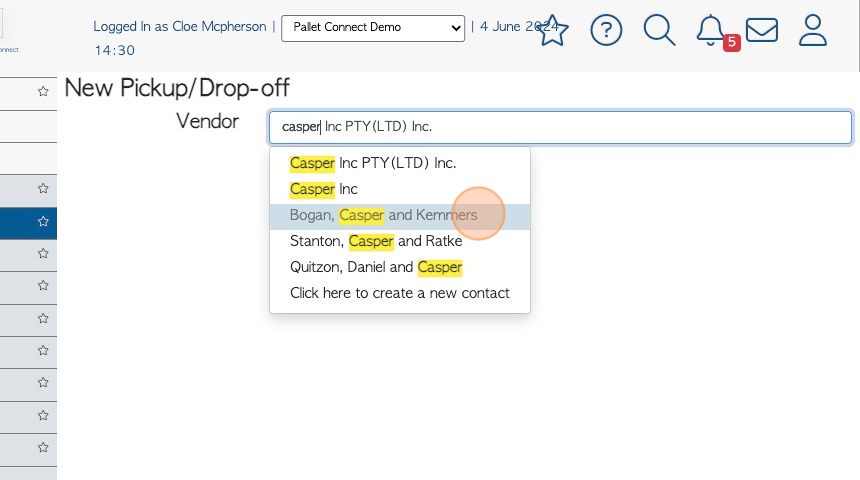
4. Click here to choose the selected Vendor from the drop down menu.
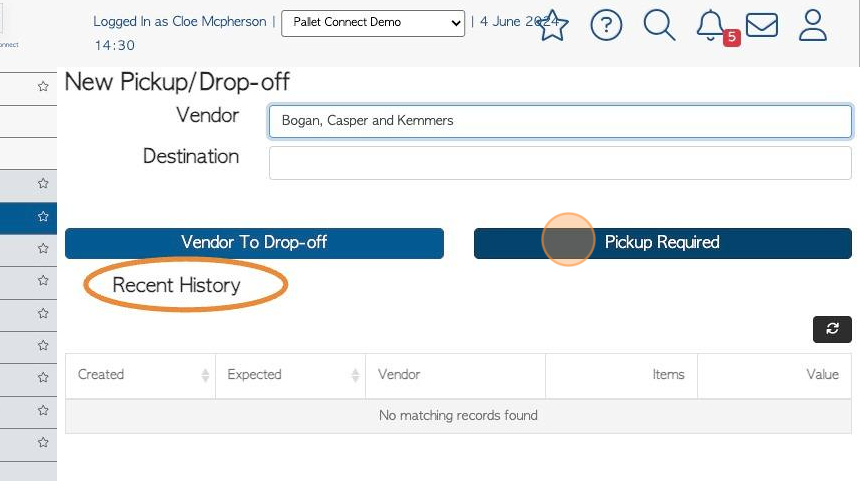
5. Click "Pickup Required" or "Vendor To Drop Off".
TIP! The "Recent History" of the Vendor shows transactions recorded in the last 30 days, however the date range can be edited.
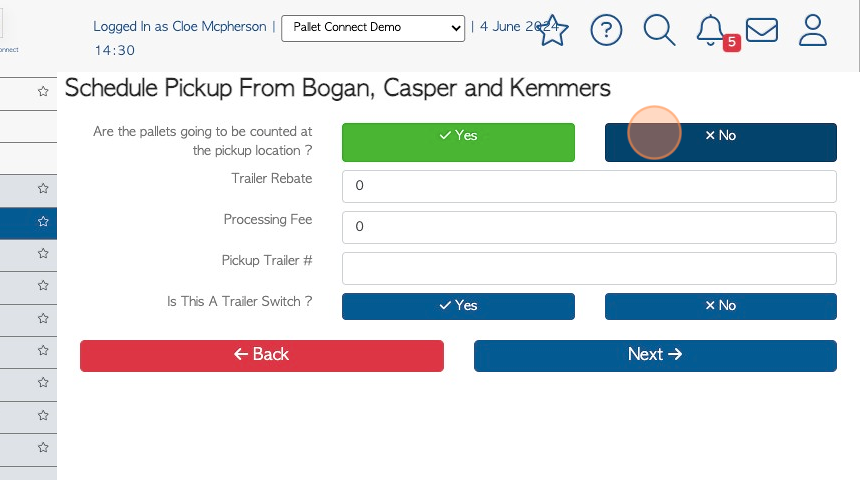
6. Click "Yes" or "No" to determine if the pallets will be counted at pick up location or during drop off. Fees and Trailer number can be added on this screen, if required.
TIP! If "Yes" is selected, there is an additional count screen, used for counting the quantity received.
7. Use the text fields to add rebate amount, processing fee and trailer number, if applicable.
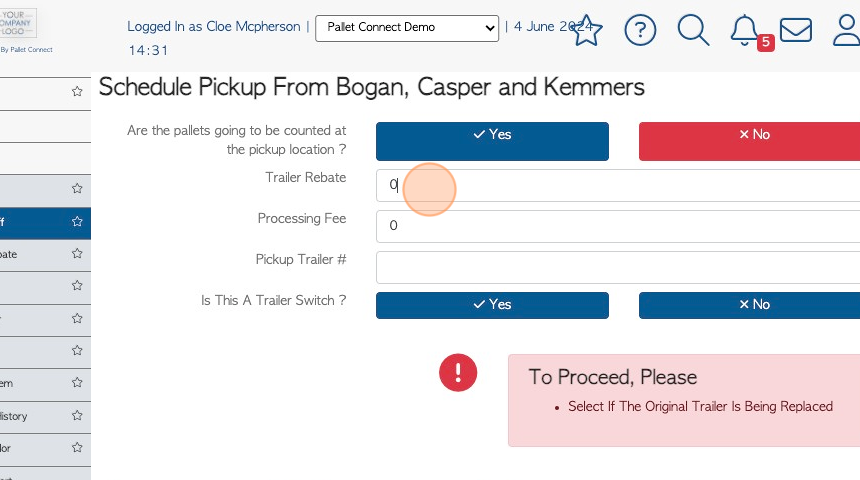
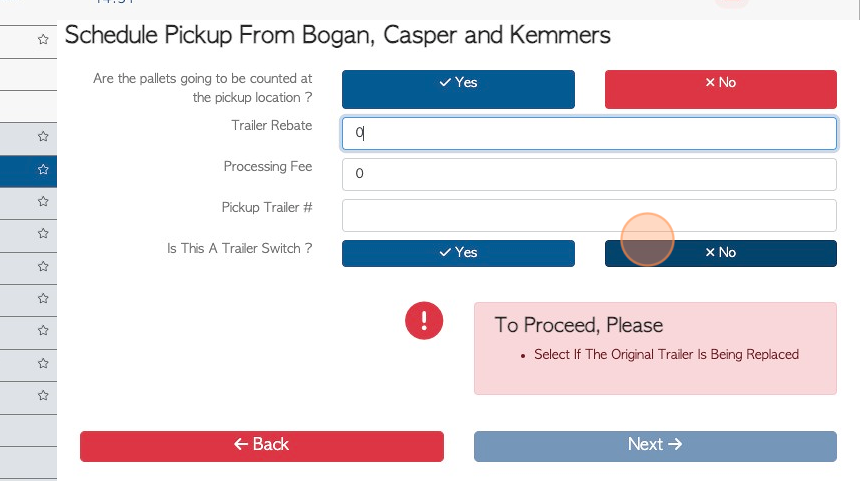
8. Click "Yes" or "No" to determine if this is a trailer switch.
See related article on trailer switch.
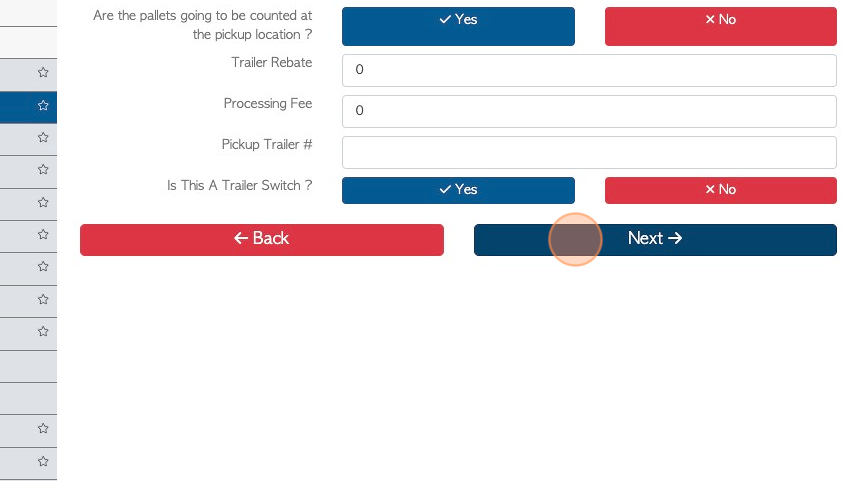
9. Click "Next"
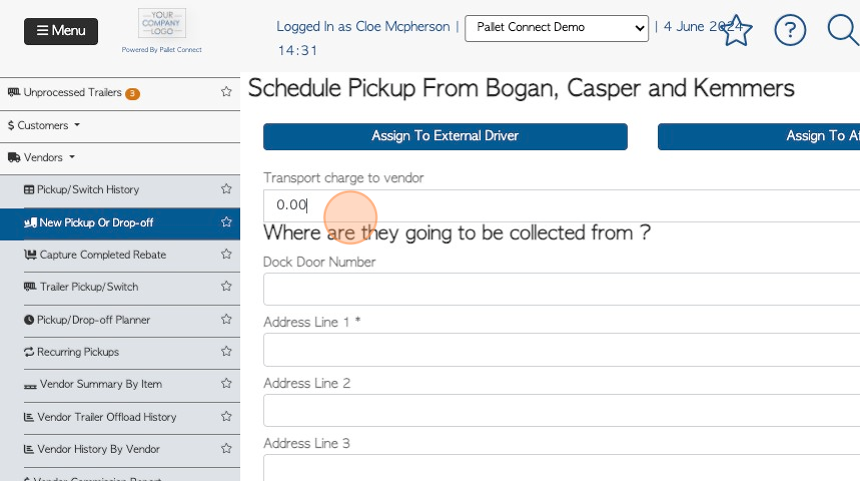
10. Click this field to add a transport charge, if applicable.
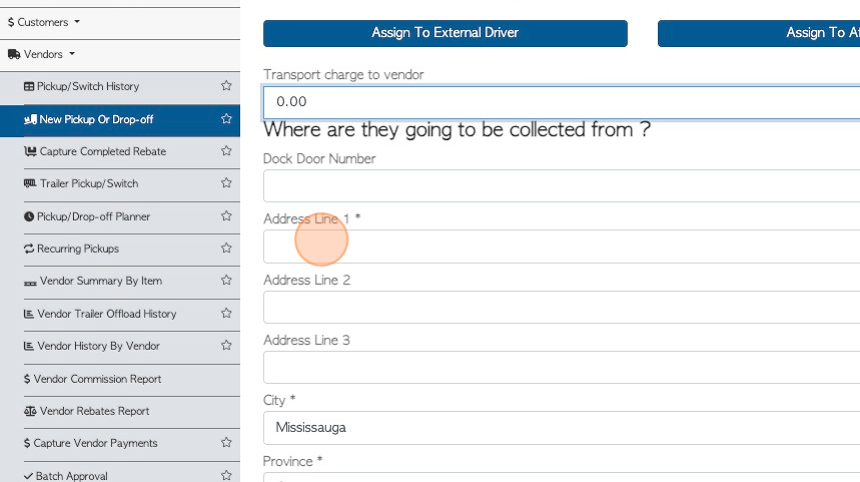
11. For a pick up request, review the address or click these fields to add information.
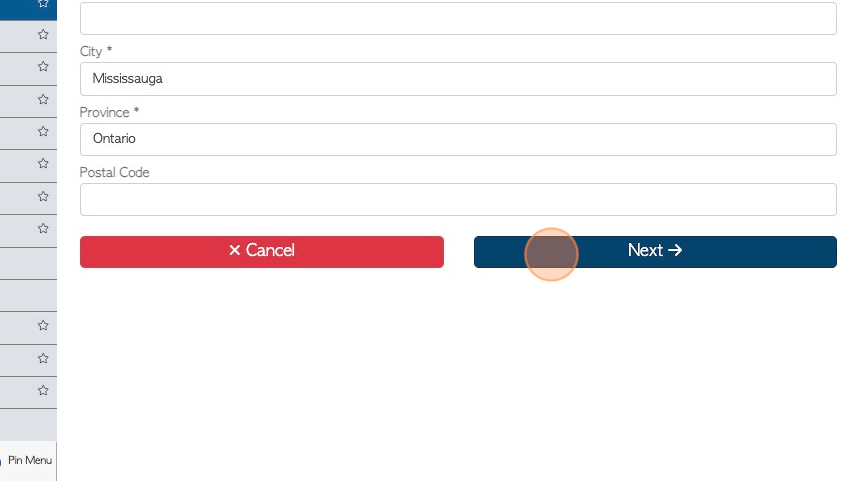
12. Click "Next"
13. OPTIONAL STEP: This transaction can be made recurring by selecting this button.
See related article on recurring pick up/drop off.
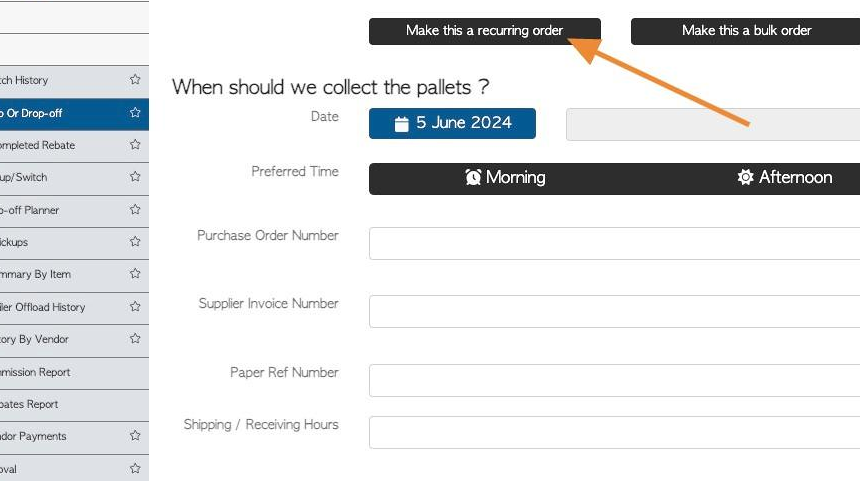
14. Pallet Connect will suggest an optimal date to schedule the pick up/drop off. This is based from production capacities and lead times entered in the stock item profile.
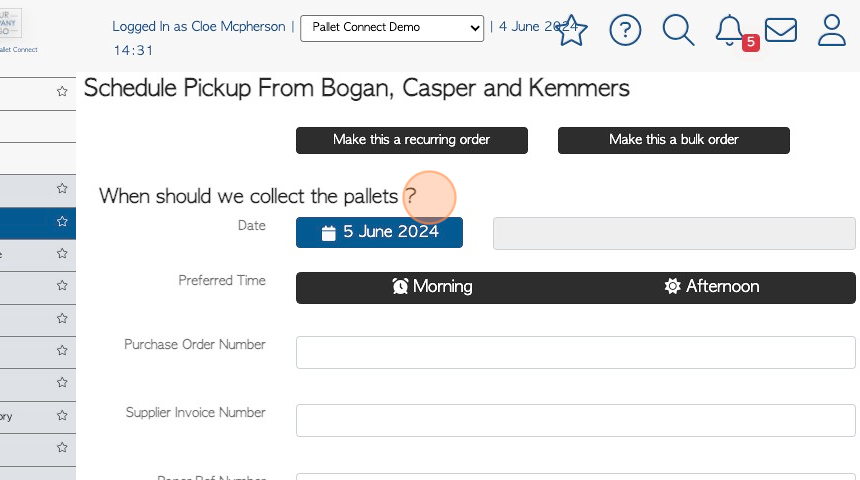
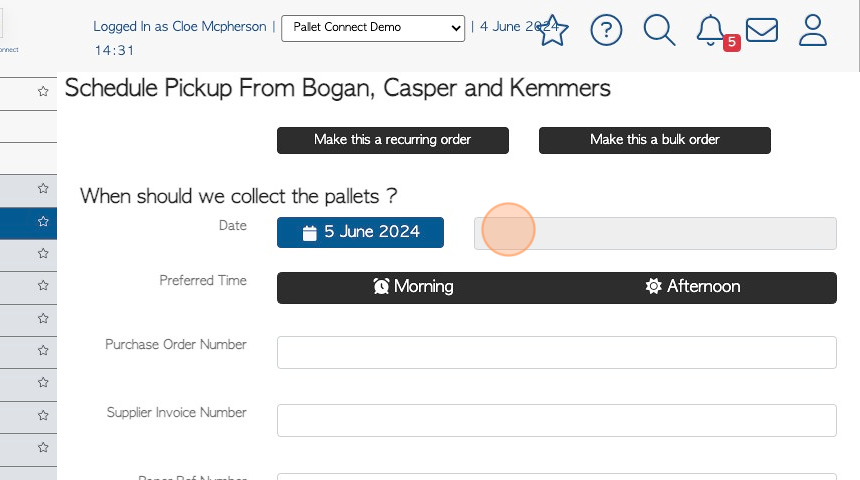
15. Click this field to choose an alternate date.
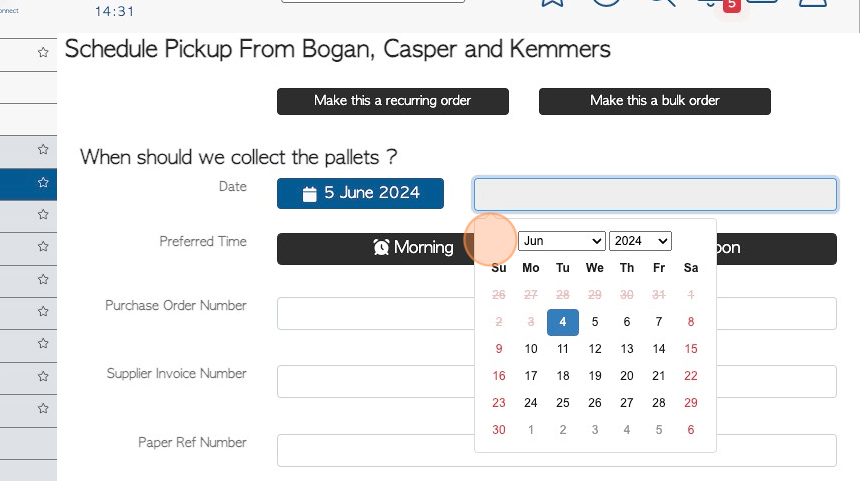
16. To choose another date that is not suggested, click on the drop down menu and pick a date from the calendar.
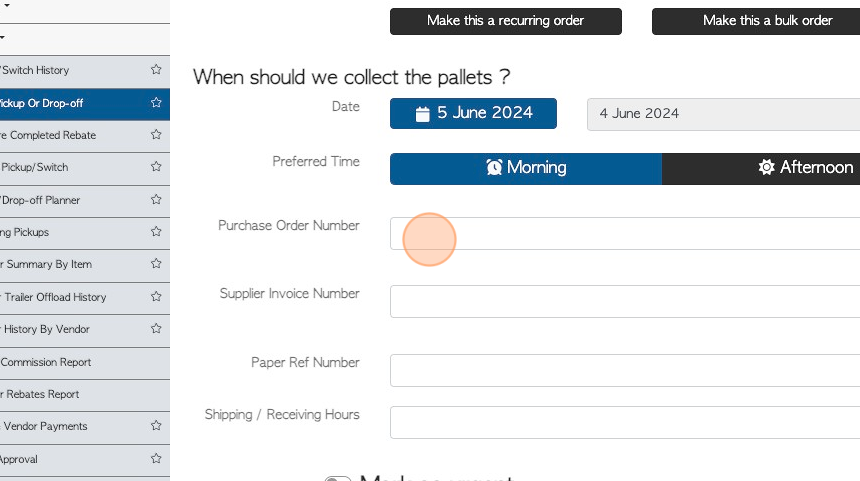
17. Click "Morning" or "Afternoon" to select a delivery time frame.
TIP! The system requires a preferred time frame to continue with the request.

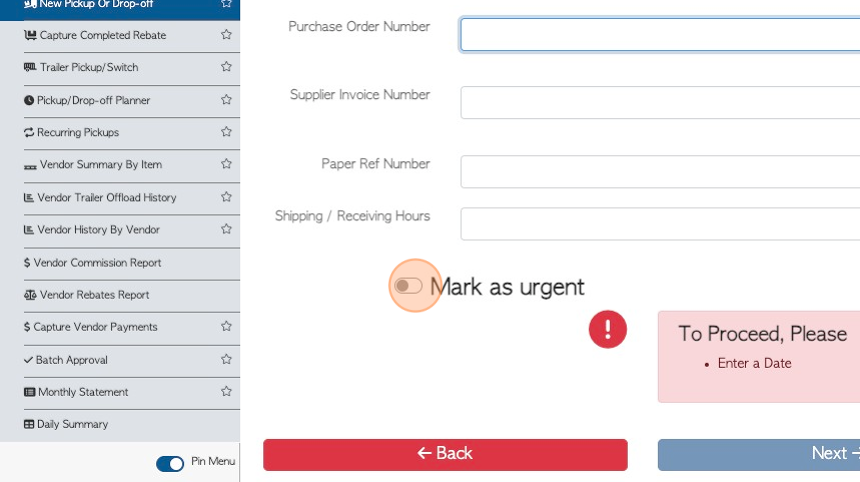
18. Click these text fields to enter reference numbers, if applicable.
19. OPTIONAL STEP: Click "Mark as urgent" to mark this drop off/pick up as Urgent.
20. OPTIONAL STEP: Click this button to place the transaction on hold.
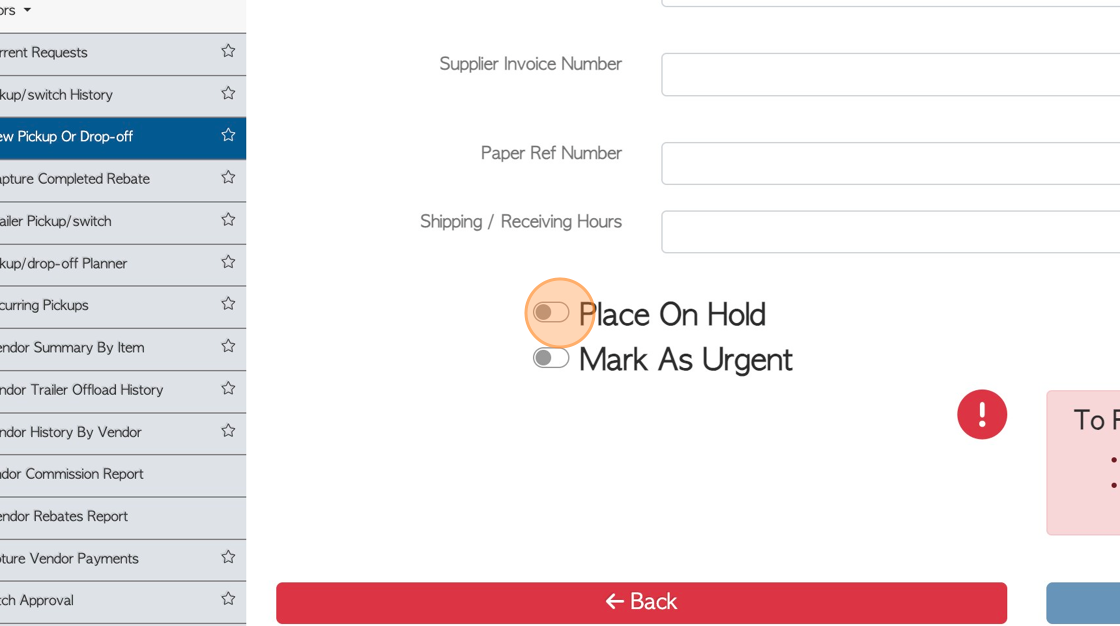
21. Click this dropdown to indicate the reason for the hold.

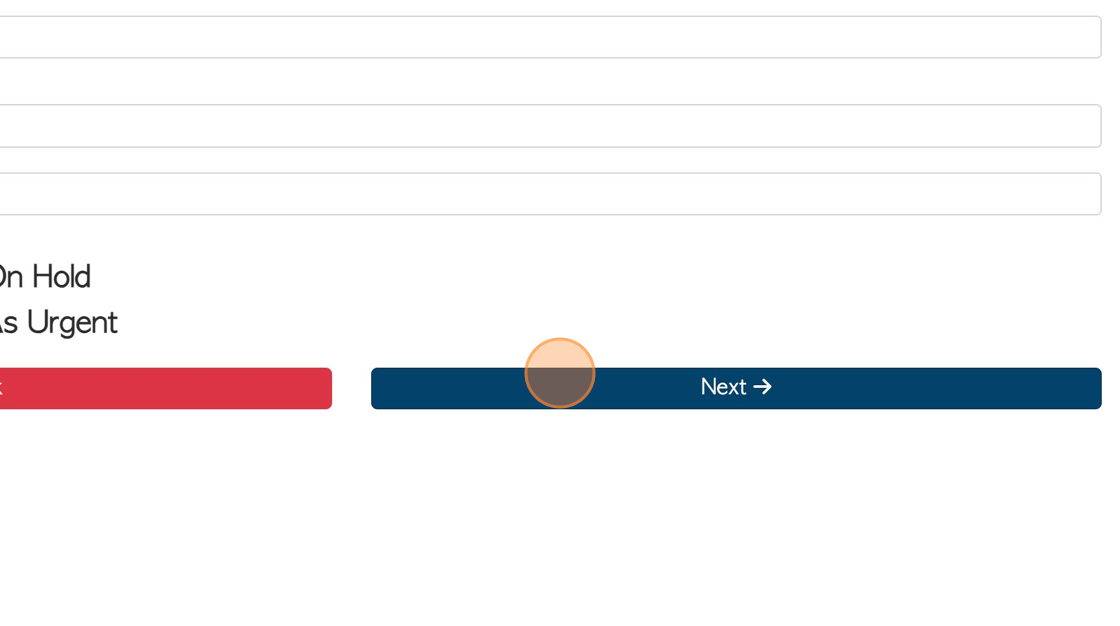
22. Click "Next"
23. Click here to attach images or files to the transaction.
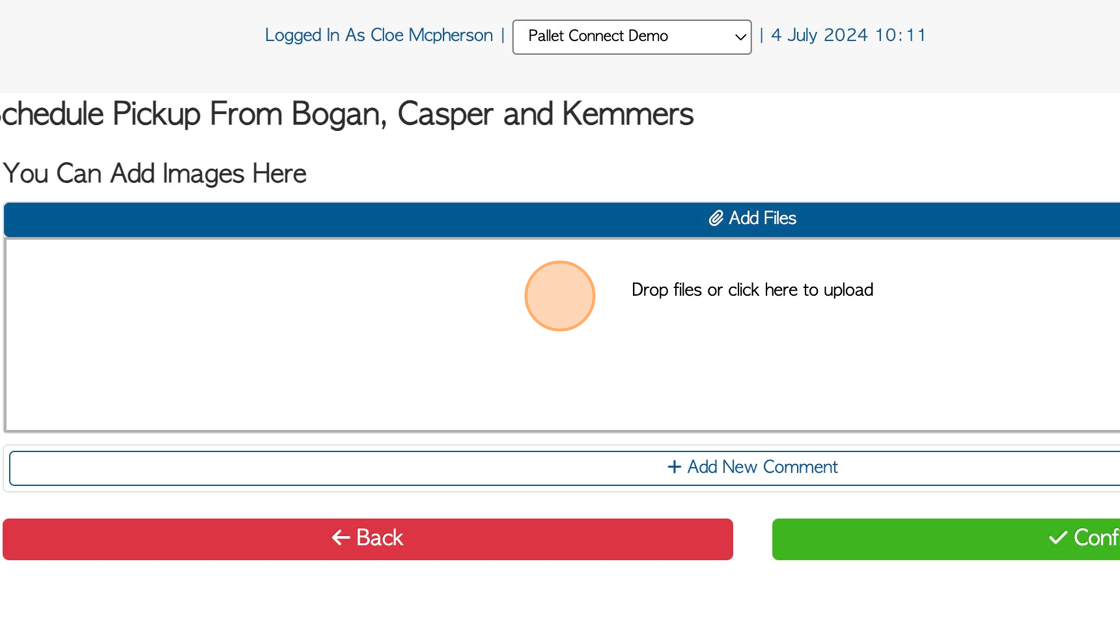
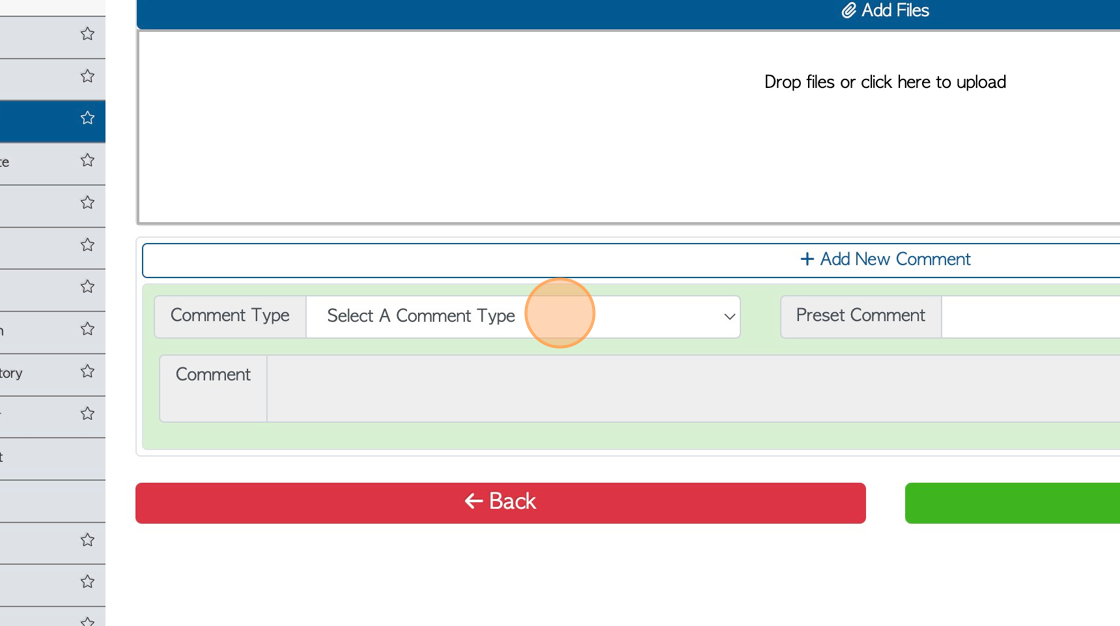
24. Click "Add New Comment" to attach comments to the pick up/ drop off.

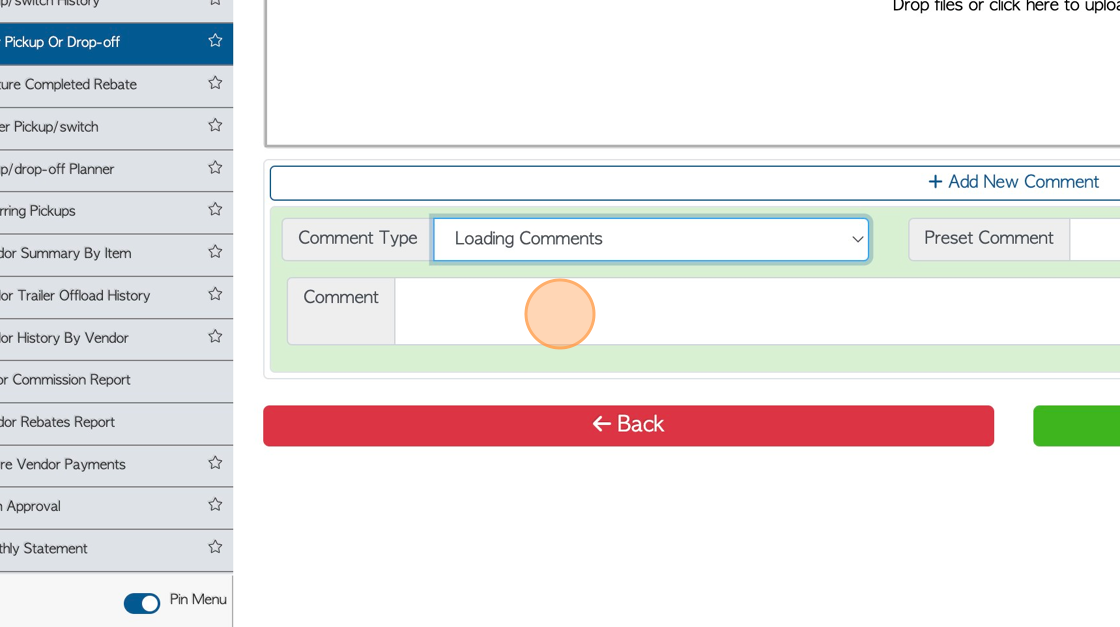
25. Click this dropdown to select the Comment Type.
TIP! The Comment Type must be set up in the Settings Tab in the main menu, prior to adding a comment.
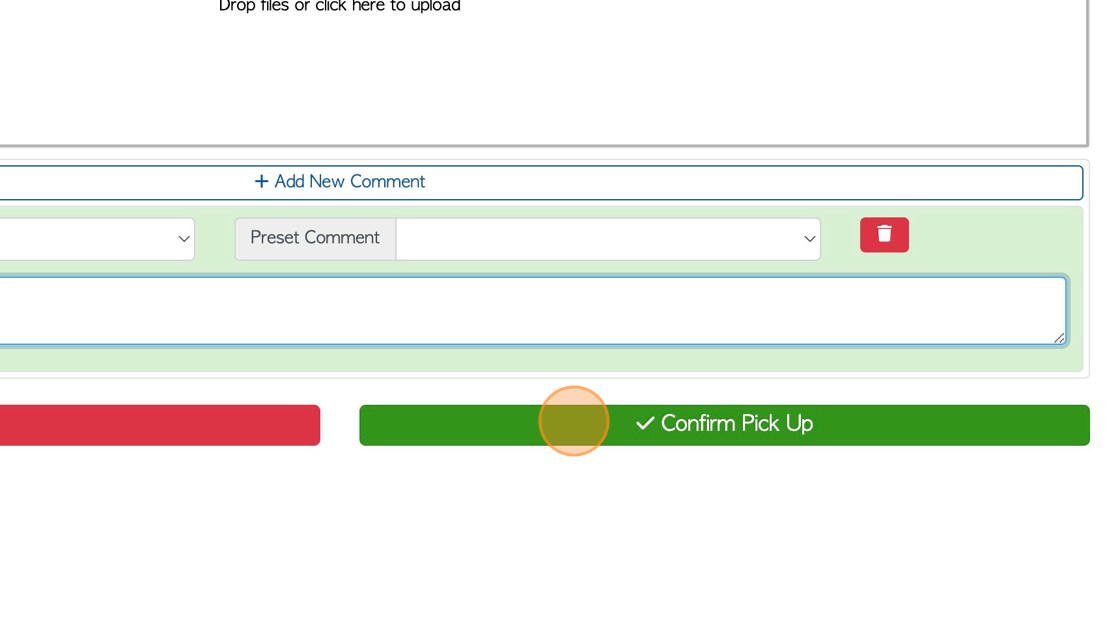
26. Click this field to add the actual comment.
27. Click "Confirm Pick Up"
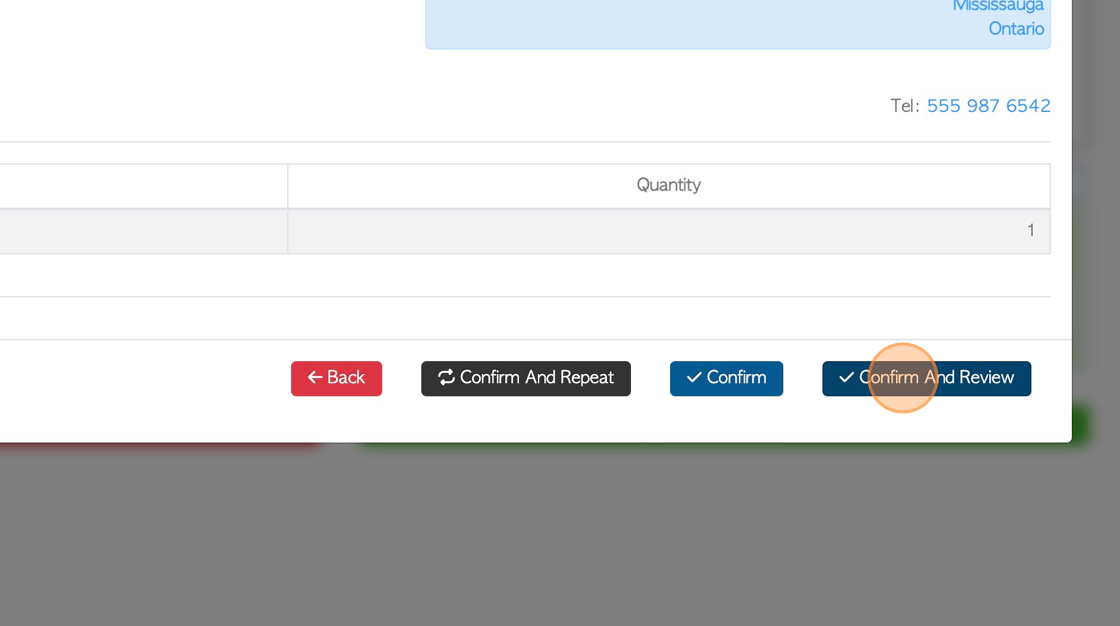
28. The transaction has now been given a reference number.
TIP: Apply tax can be toggled on/off before confirmation.
Click "Confirm" or "Confirm And Review" to complete.
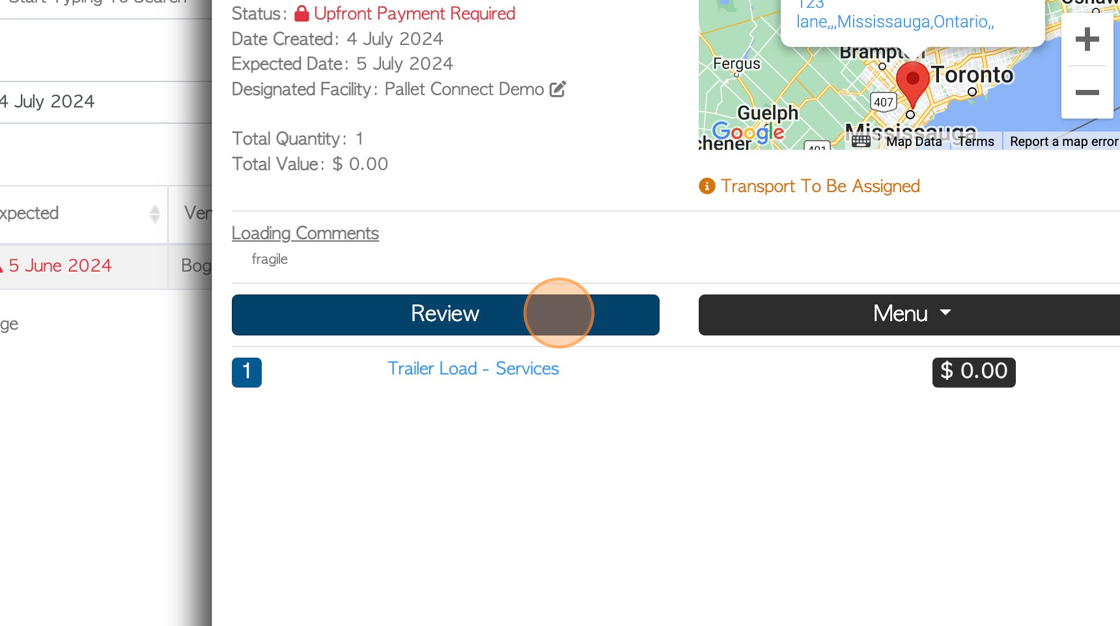
29. The slide in window will provide basic information on the Vendor request. Click "Review" to see full details.
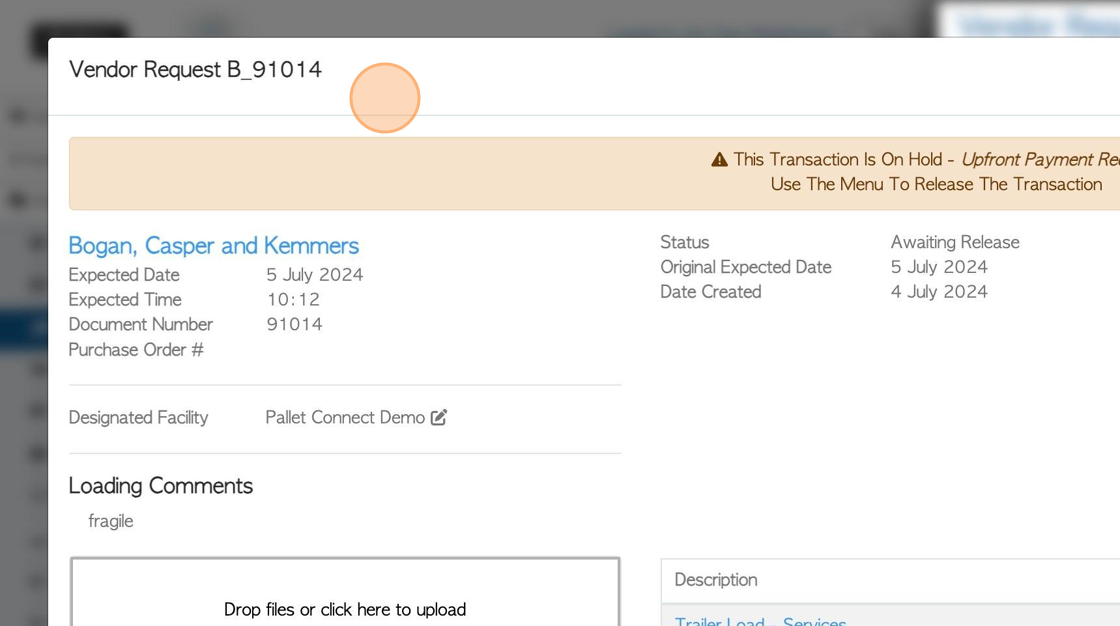
30. The pop up screen will display full transaction details.
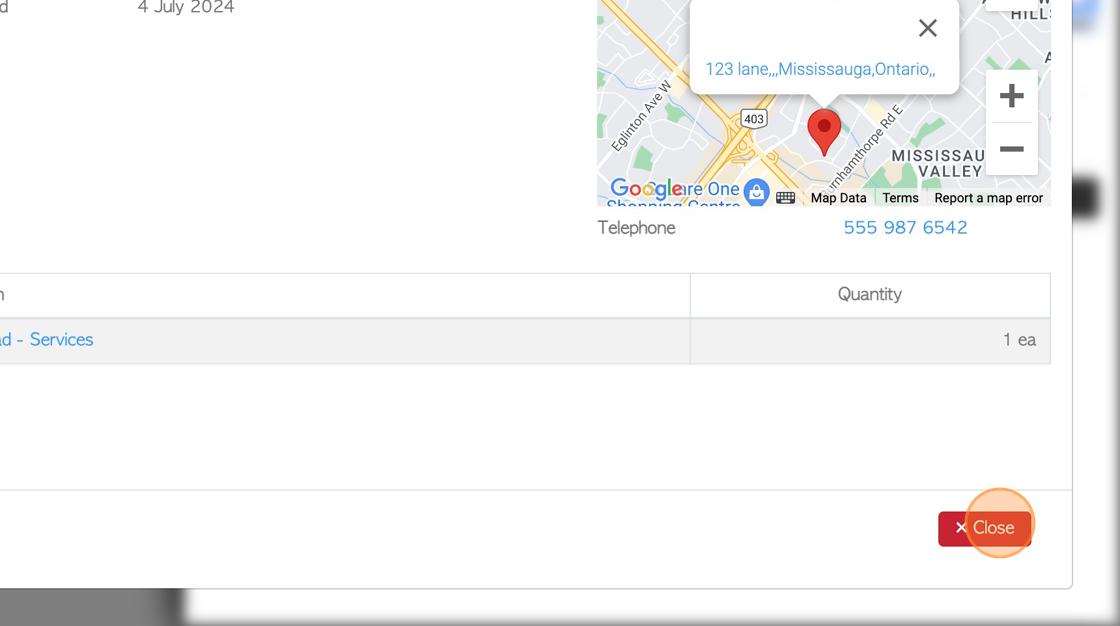
31. Click "Close" to complete.
32. The Drop Off Request will now appear on the Pickup/Switch history page and the Pending List.
