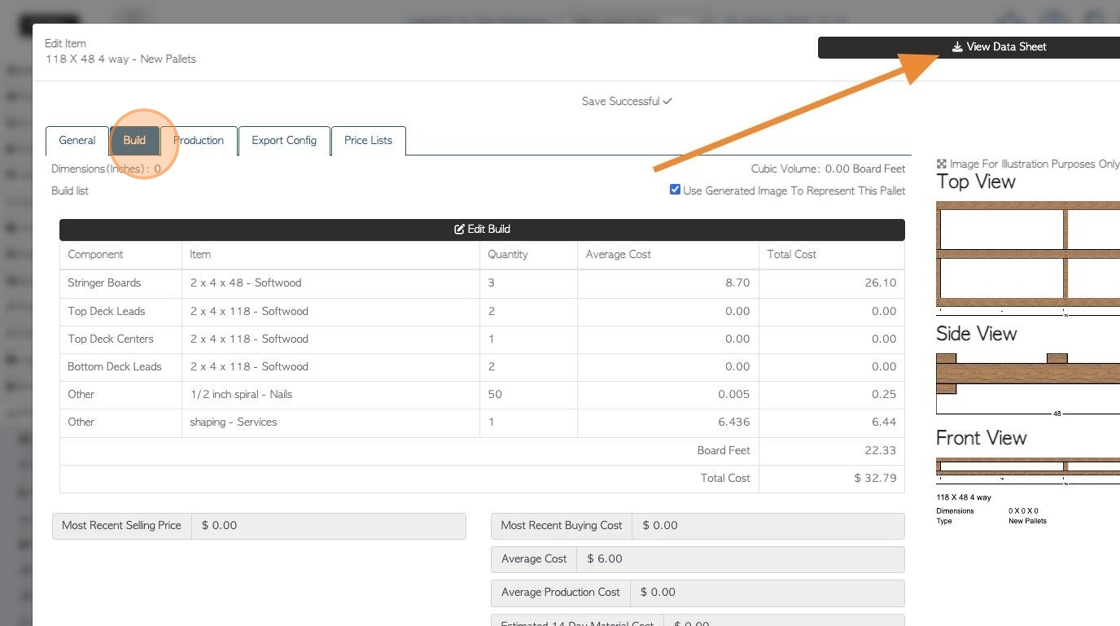
1. The Build List is located in the Stock Item Profile. It breaks down the components needed to build a new/combo pallet or crate.
The information from the Build List is used in the "Data Sheet" and "Bill of Materials".
The Build List is also useful for stock item flow and keeping accurate stock levels. The components contained in a build list are automatically taken out of stock, after production, as the finished product is put into stock.
TIP! SHORTCUT: Type the pallet name into the global search tool, located on the top right of each screen. This will bypass steps 2-4.
2. Navigate to the main menu. Click "Stock"
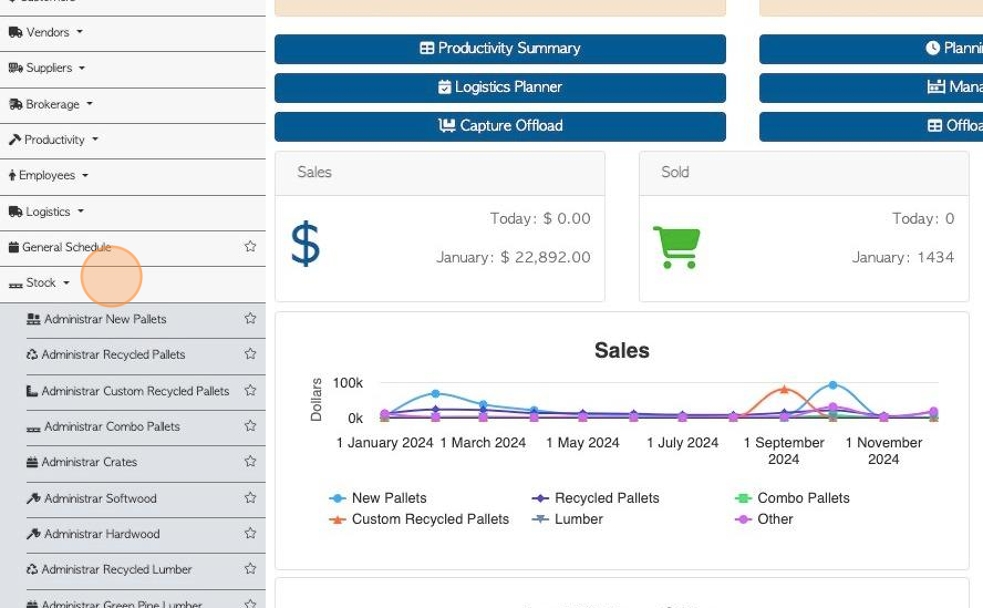
3. Click on the selected stock category e.g. "Manage New Pallets"
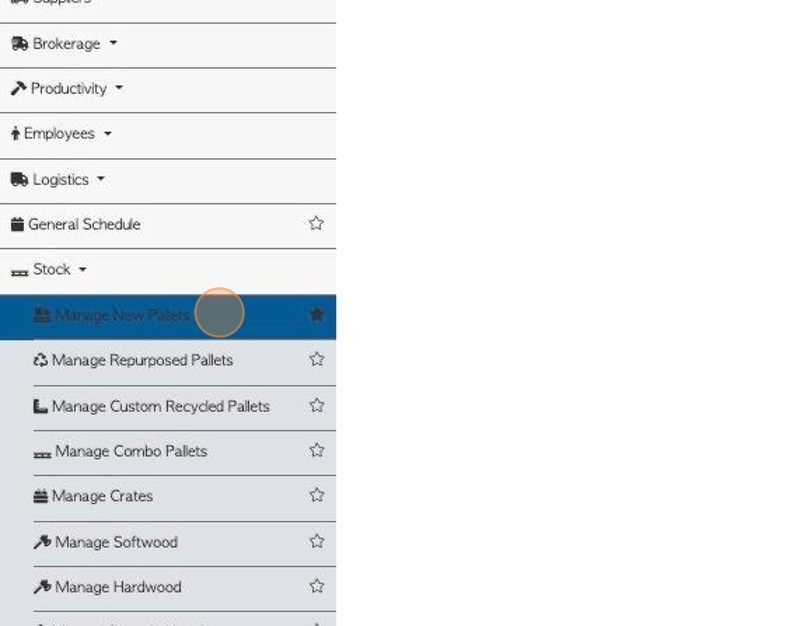
4. Select the pallet/crate from the list.

5. From the stock item profile, click on the "Build" tab.
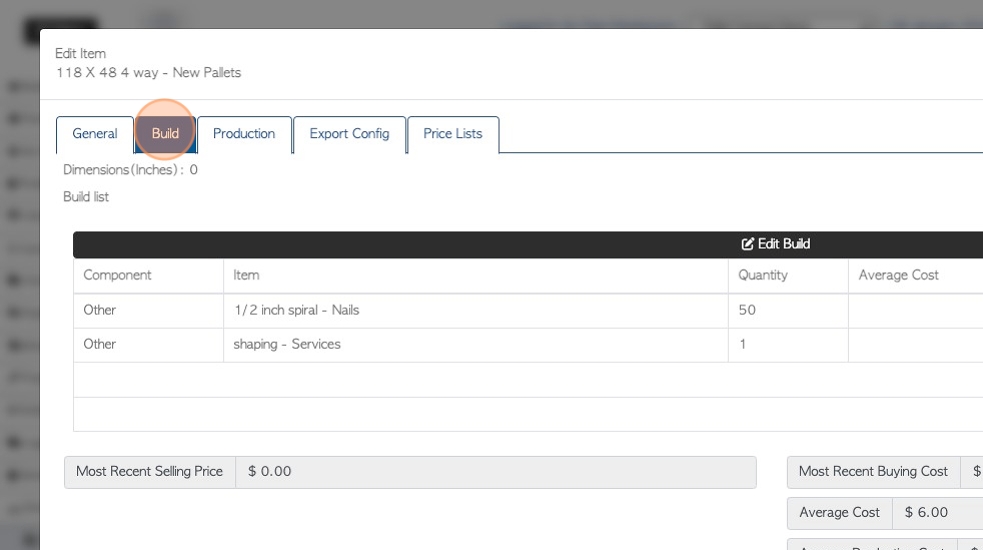
6. Click "Edit Build"
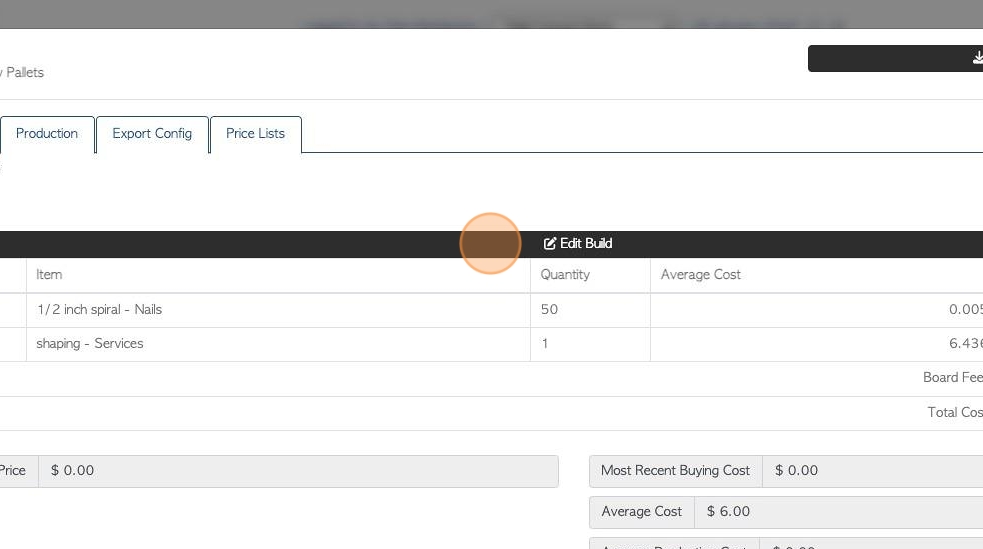
7. This will allow set up or editing of the Build List.
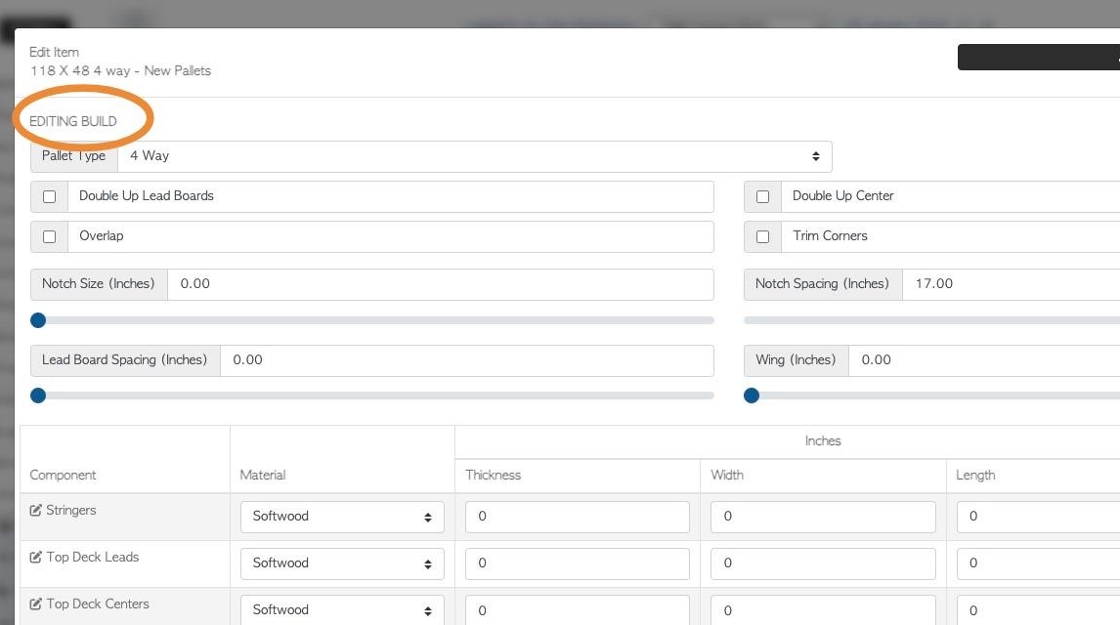
8. Select the pallet type.
There are options for specific instructions e.g. double up Lead Boards.
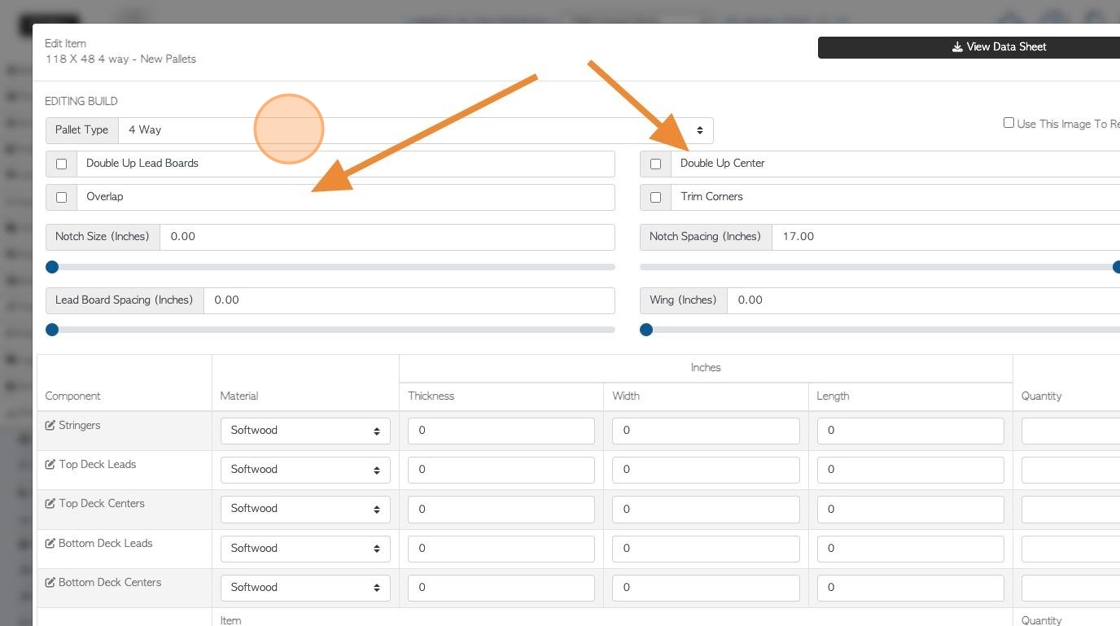
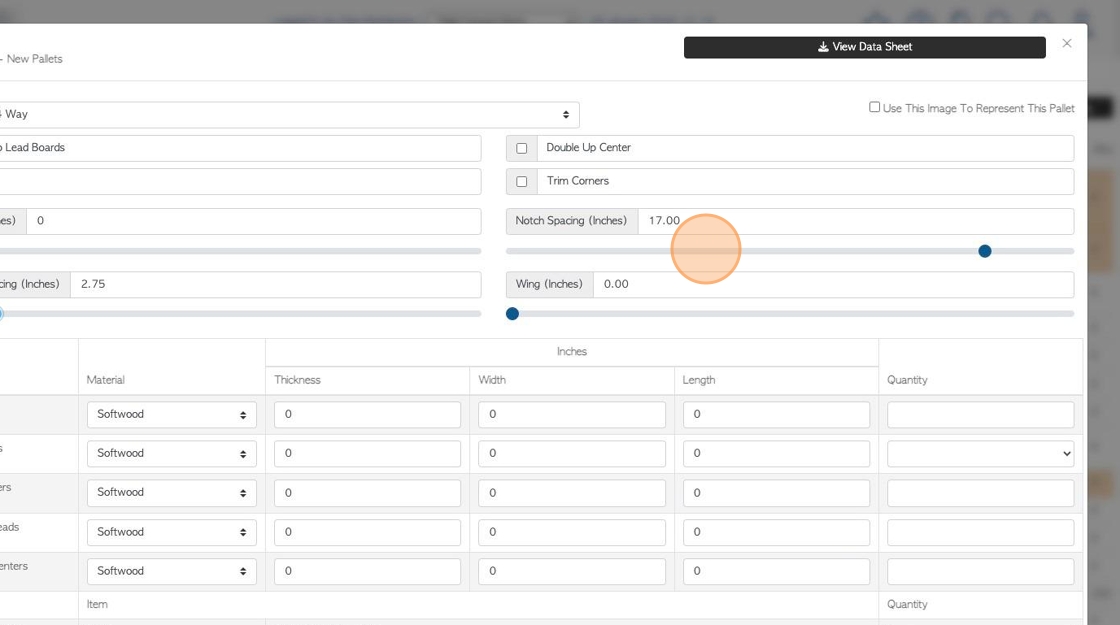
9. Click this range field. Use the sliders to select notch size and spacing.
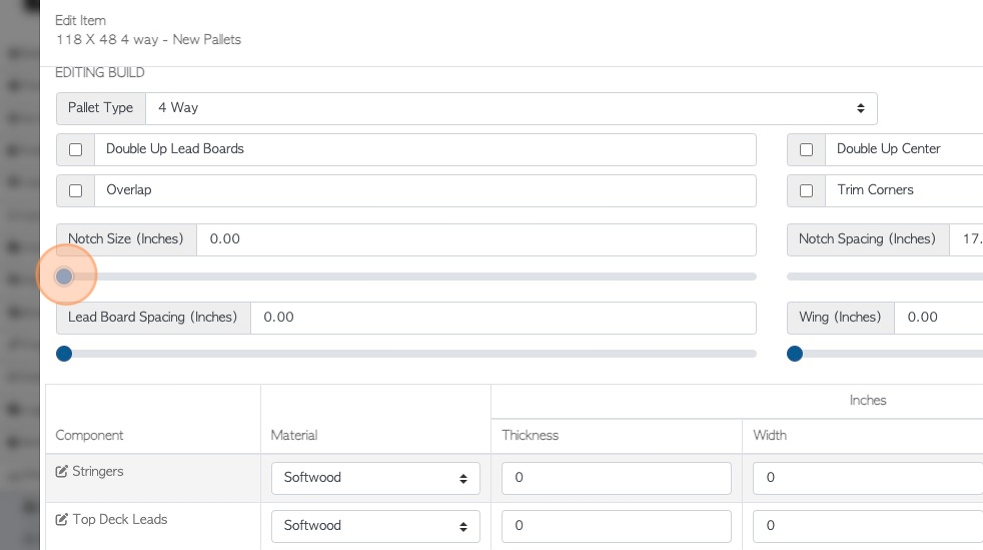
10. Click this range field. Use the slider to select lead board spacing and wings.
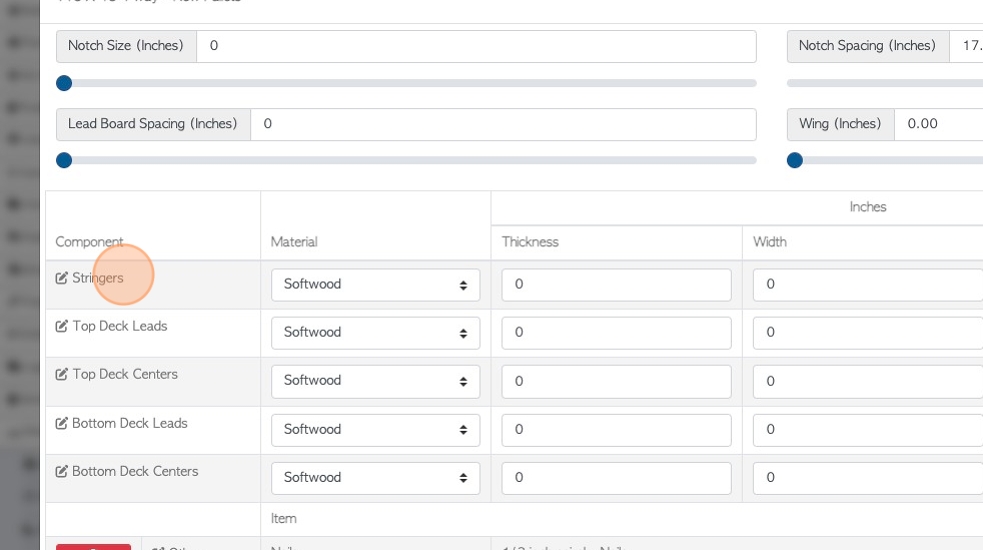
11. The component names are auto populated but can be changed. Click on the component name in the list.
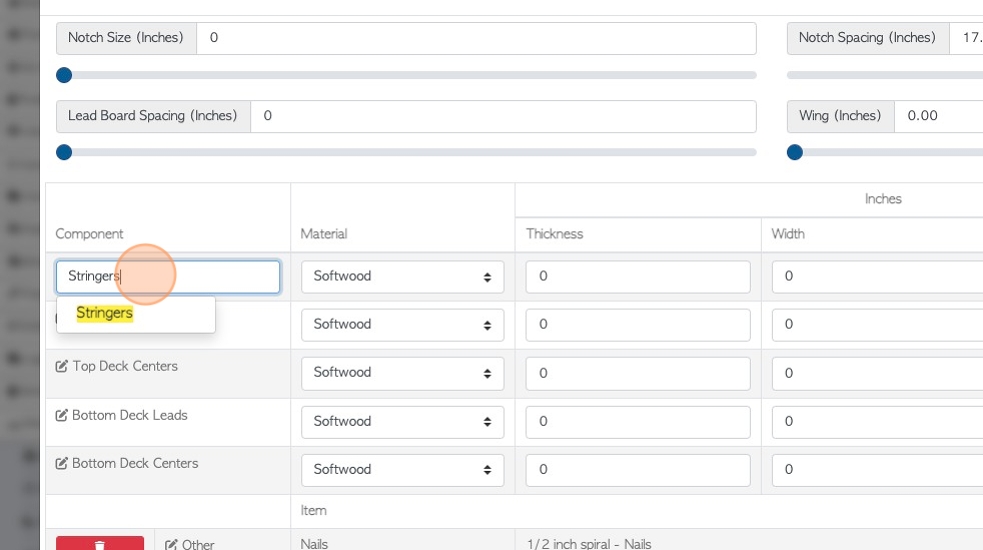
12. Select a name from the drop down or type in a new name.
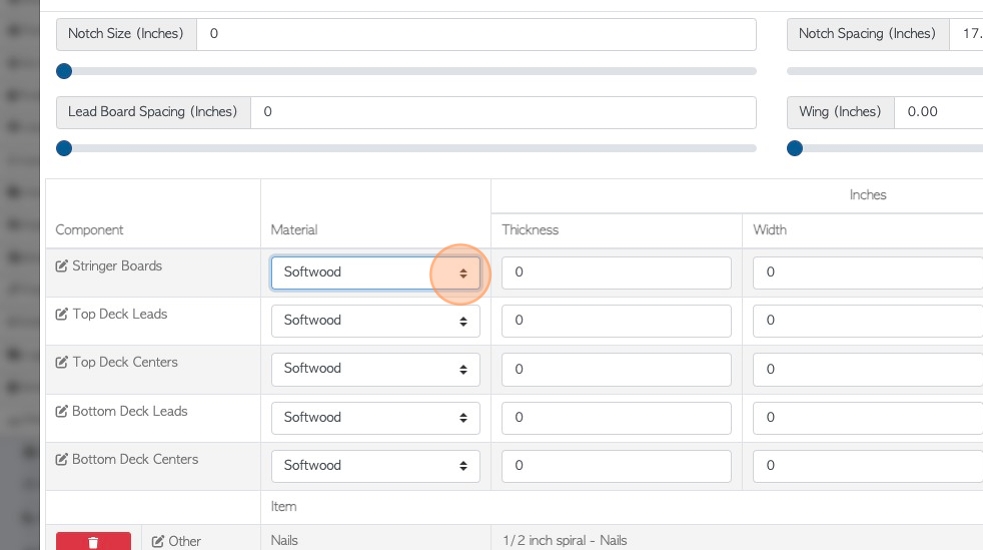
13. Click this dropdown to choose the material type e.g. Softwood, Hardwood.
14. Click this field to add the board thickness.
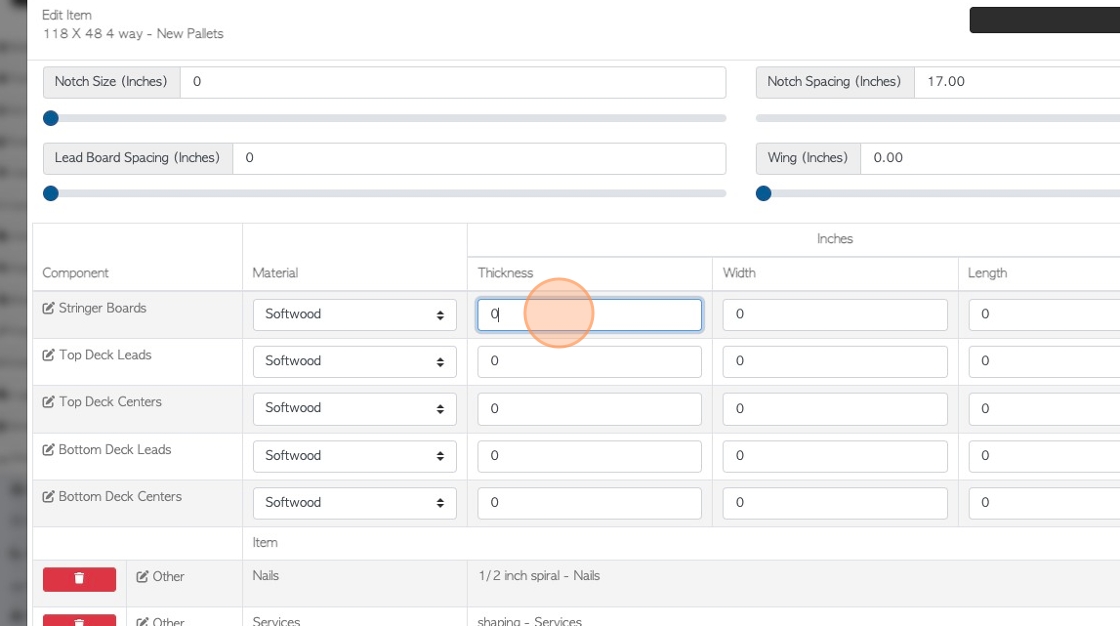
15. Click this field to add the board width.
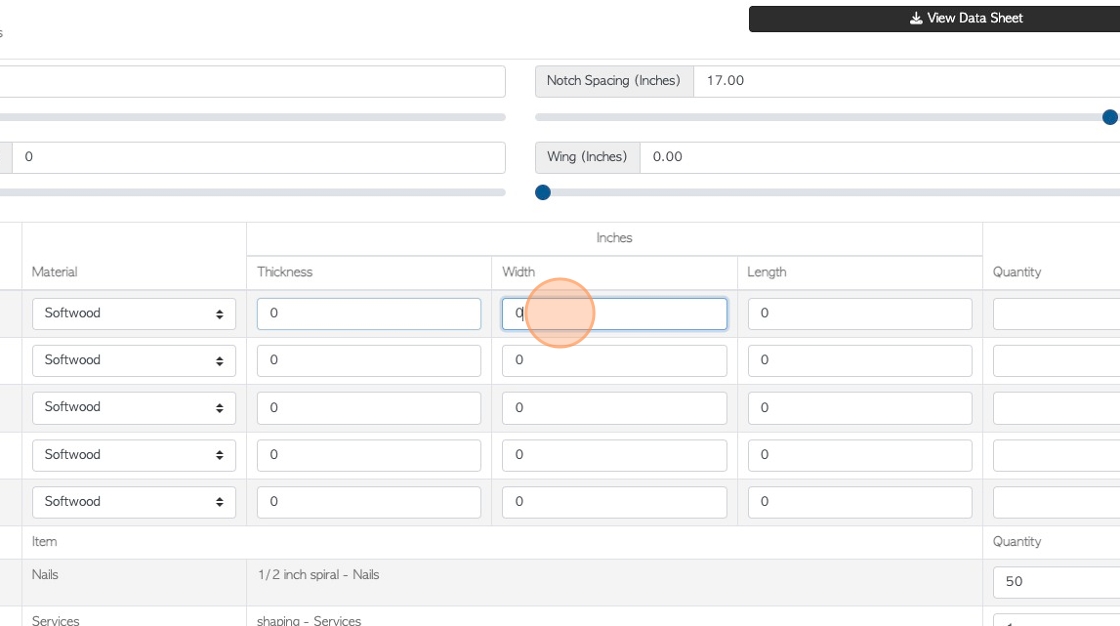
16. Click this field to add the board length
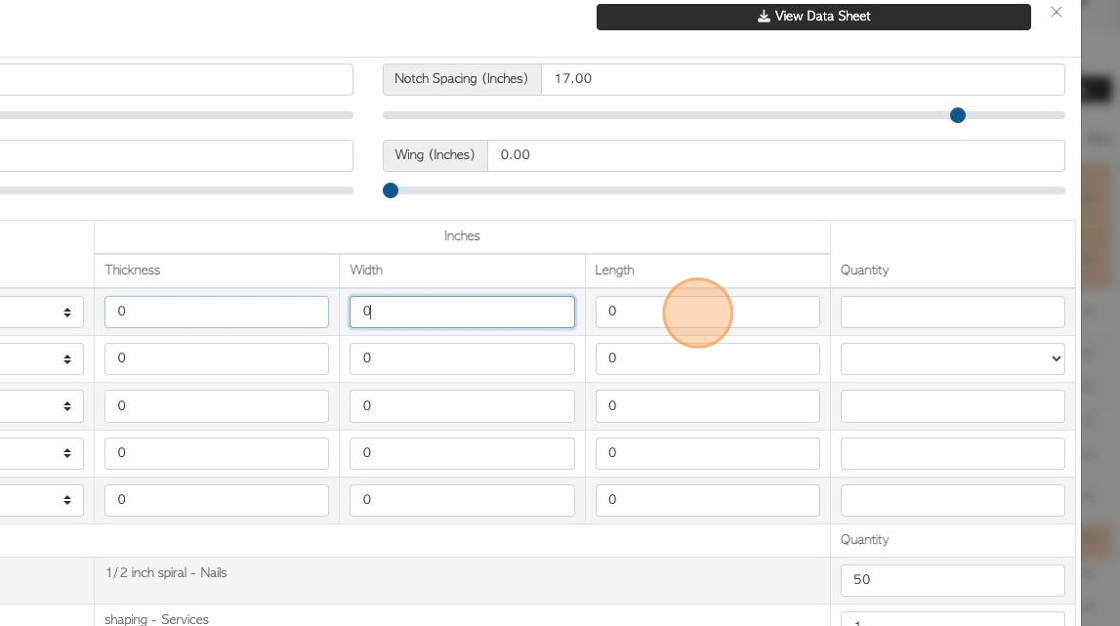
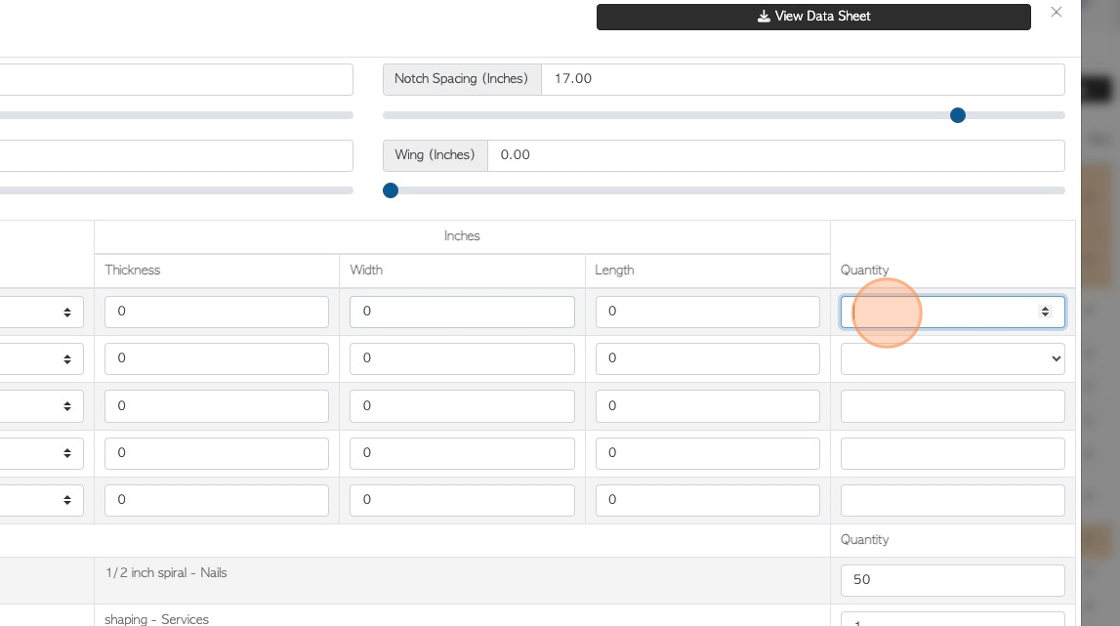
17. Click this number field to add the quantity needed for a single pallet.
Repeat these steps for all the boards.
TIP! Other items can be added to the Build List, see related article.
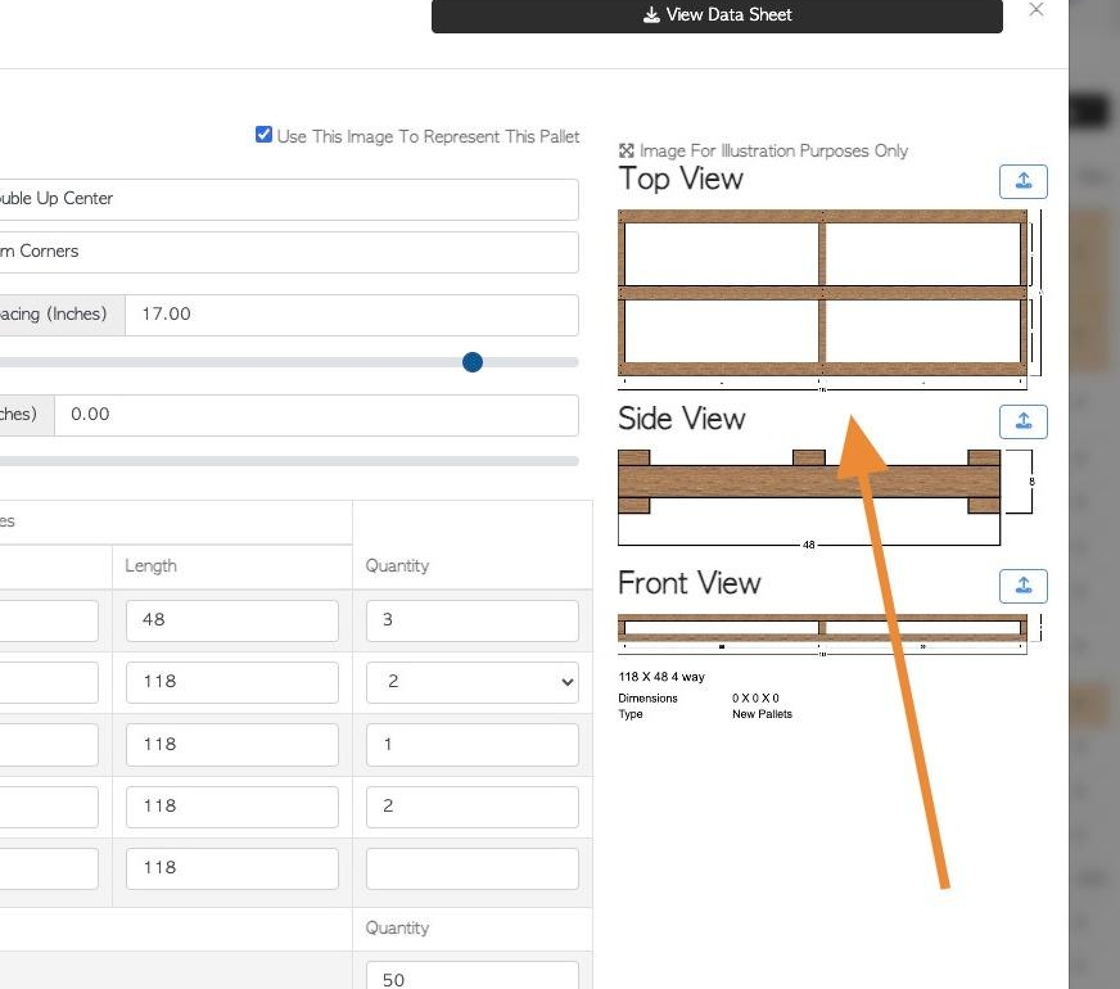
18. There is an option to click the "Use This Image To Represent This Pallet" field.
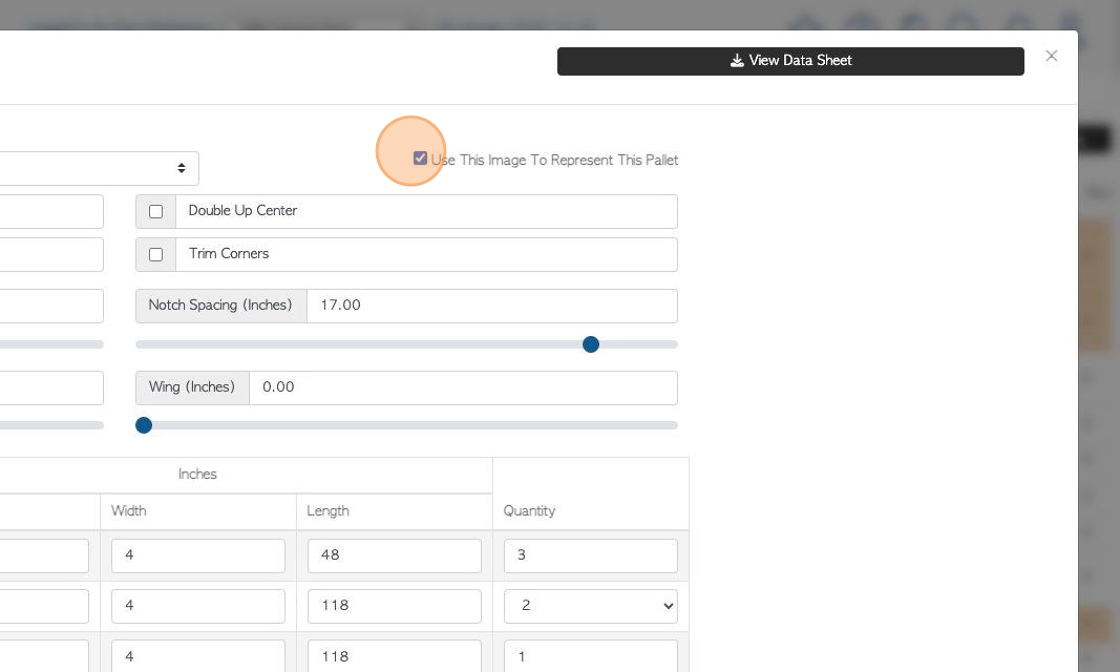
19. The diagram shows on the stock item profile and on relevant production documents.
20. To save, click "Confirm Build"

21. The Build List will now be displayed in the Build tab.
The Data Sheet can also be accessed from this tab.