Learn how to efficiently generate and manage production schedules using the AI driven, automated schedule feature. This guide walks through the navigation steps to utilize the auto schedule tool in the cut schedule.
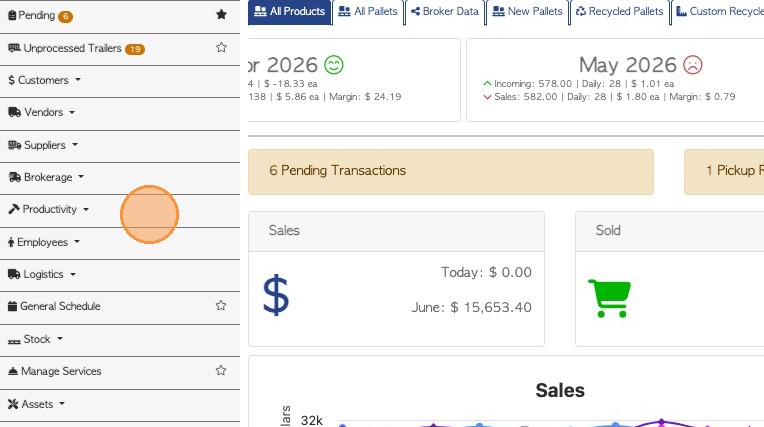
1. To navigate to the cut schedule, select Productivity from the main menu.
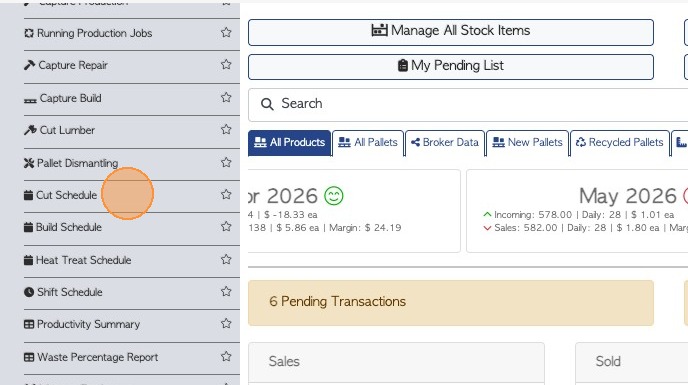
2. Select Cut Schedule
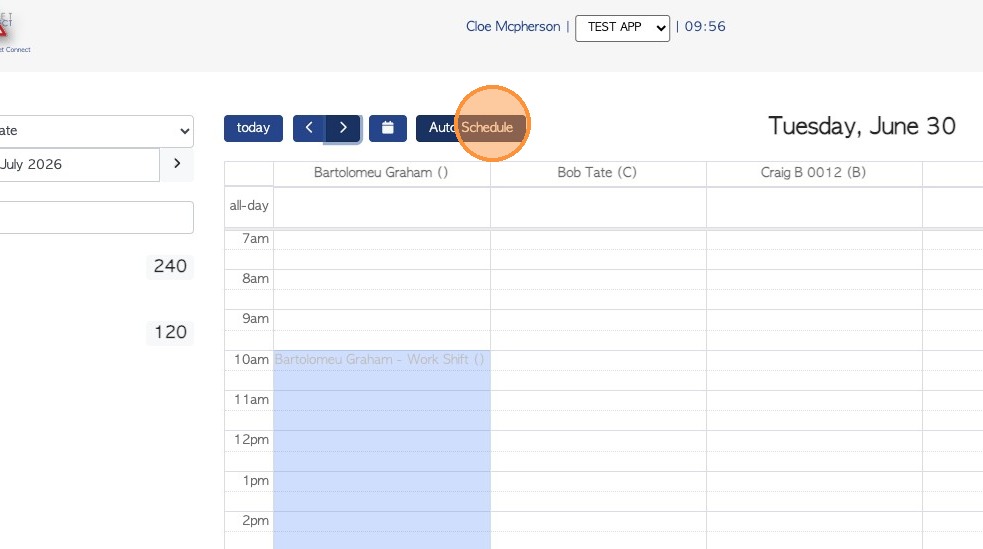
3. Click Auto Schedule
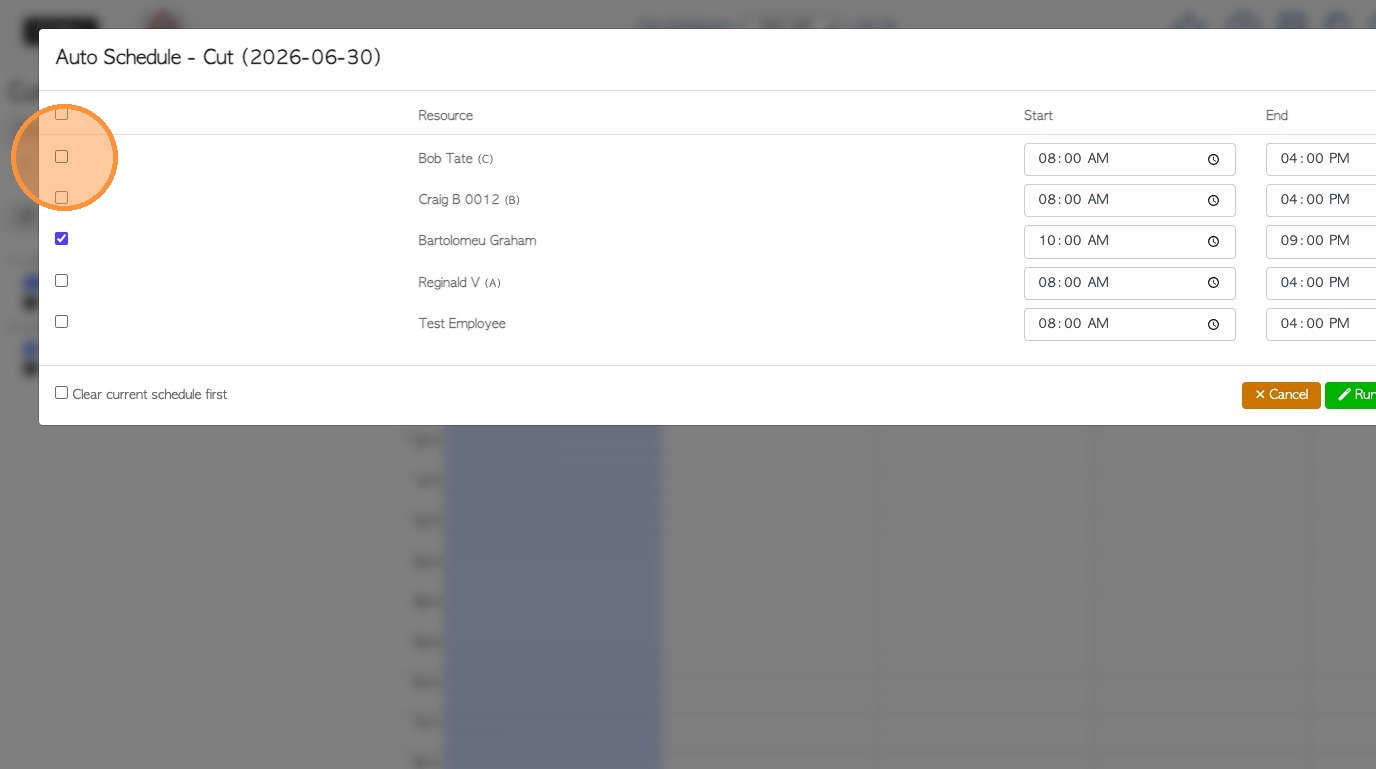
4. From the pop up screen, select the resources (employees/workstations) to be included in the schedule.
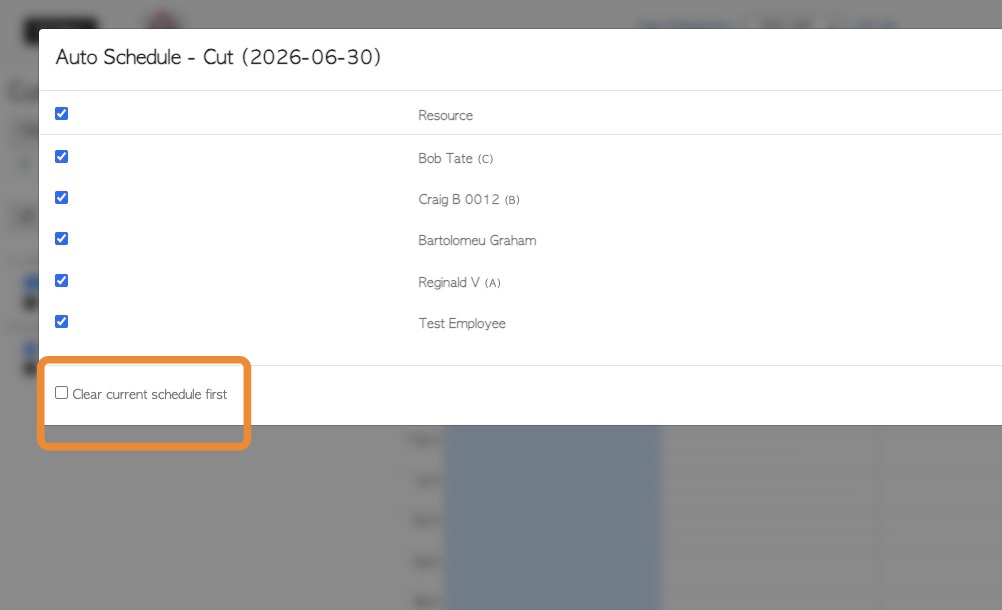
TIP! The top check box selects ALL resources.
The list includes the start and end time of a shift for the selected day.
5. OPTION: Click "Clear current schedule first" to clear the calendar, prior to running the auto schedule.
TIP! Tasks can be rescheduled manually later or this button can be used also, if changes need to be made.
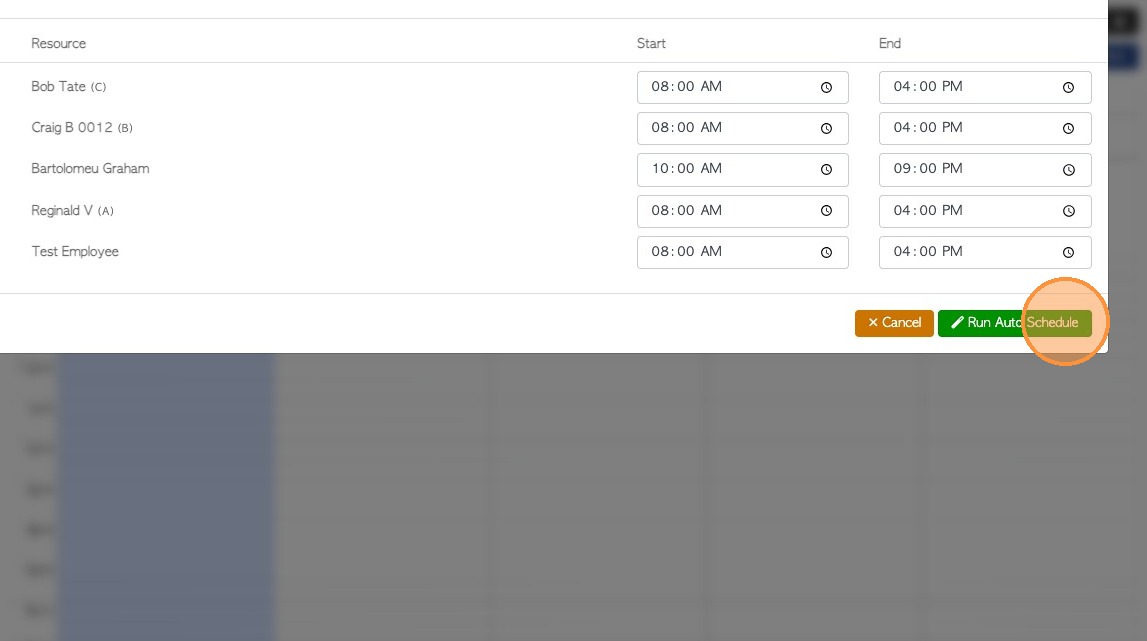
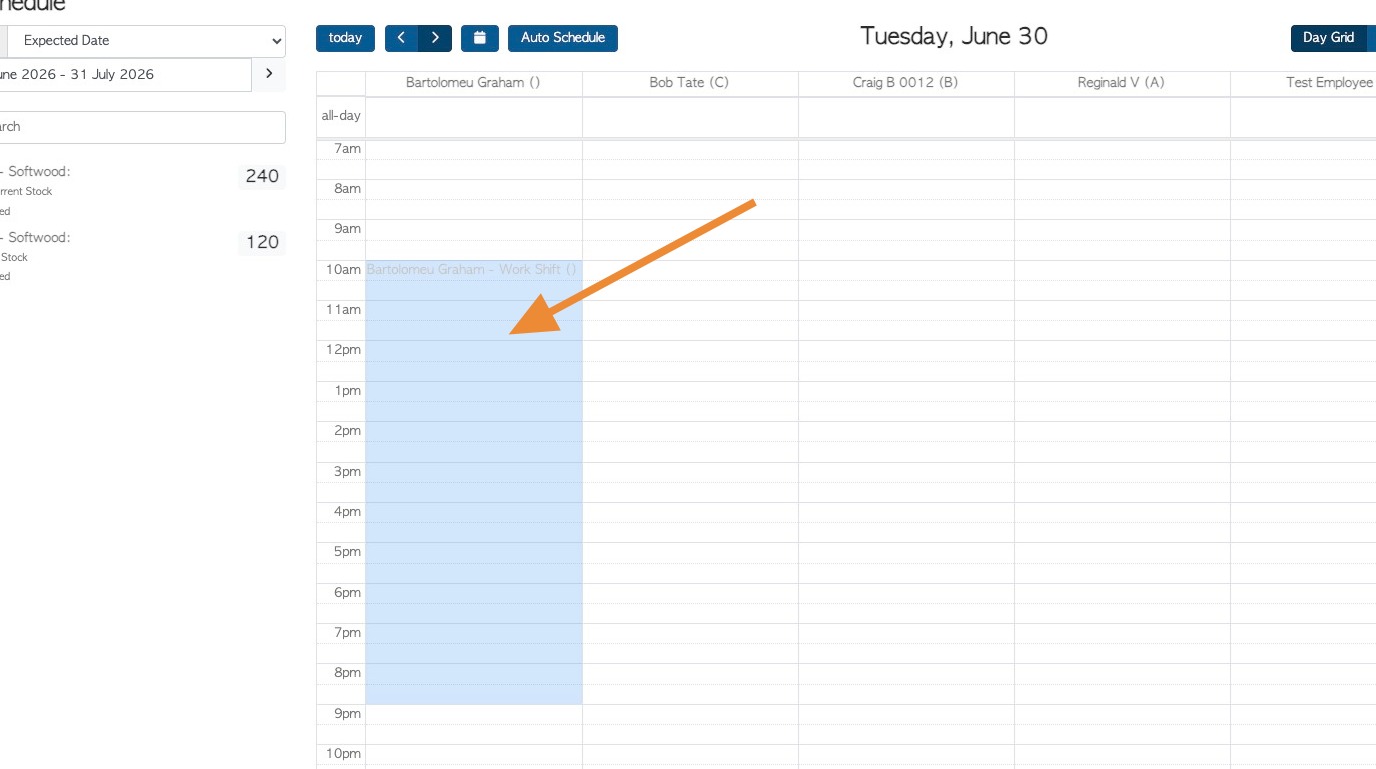
6. Click "Run Auto Schedule" to start
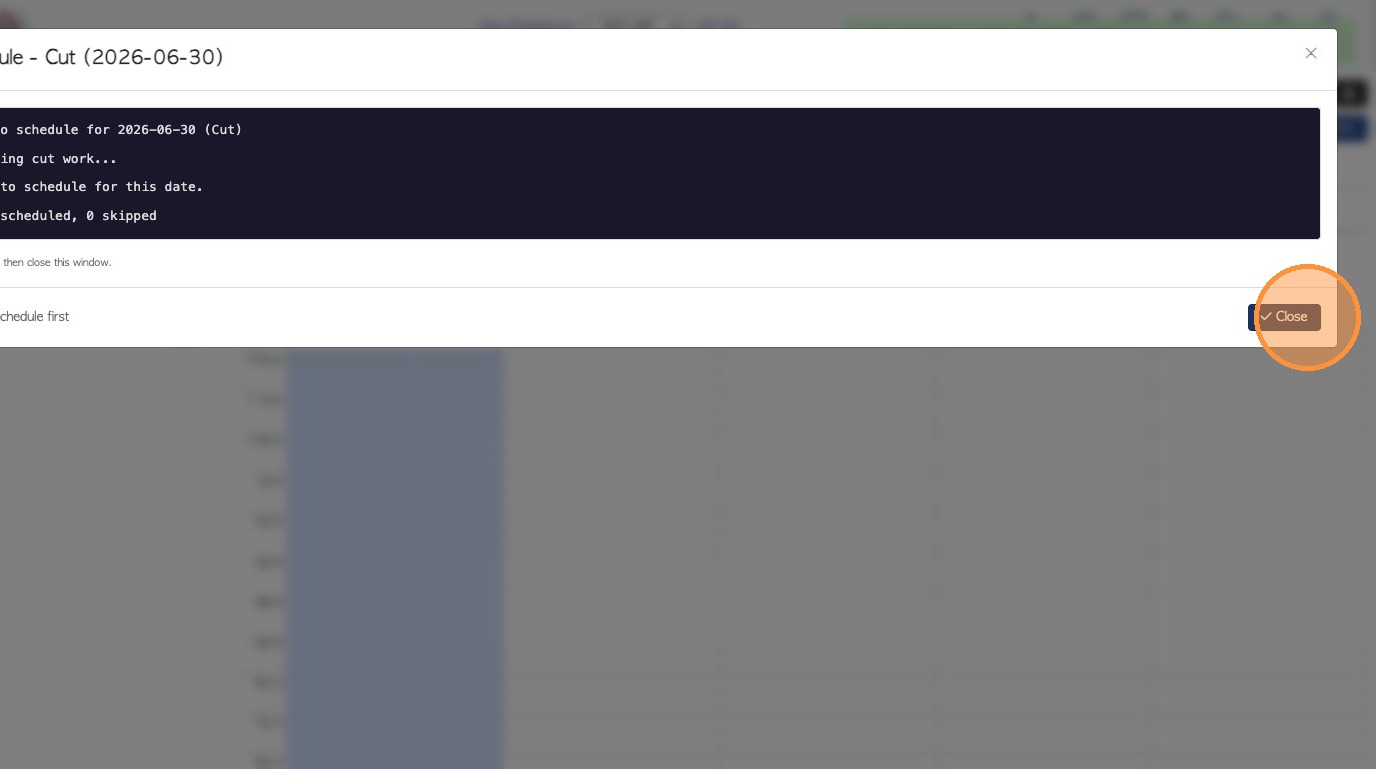
7. The calculation progress is shown and instruction suggests to review the log before closing the window.
Click Close to exit the log window
8. The scheduled tasks will now show on the calendar.
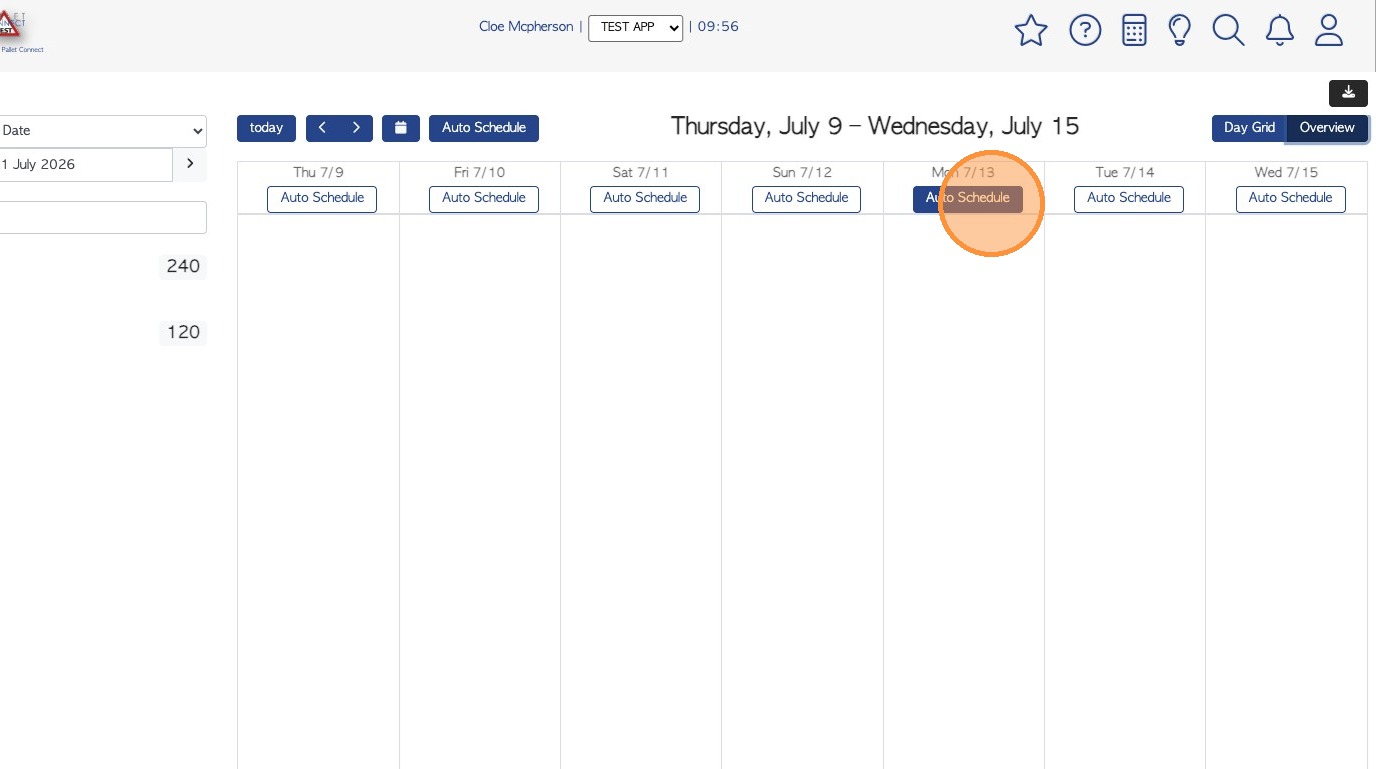
9. The auto schedule can be used from the Overview screen also.
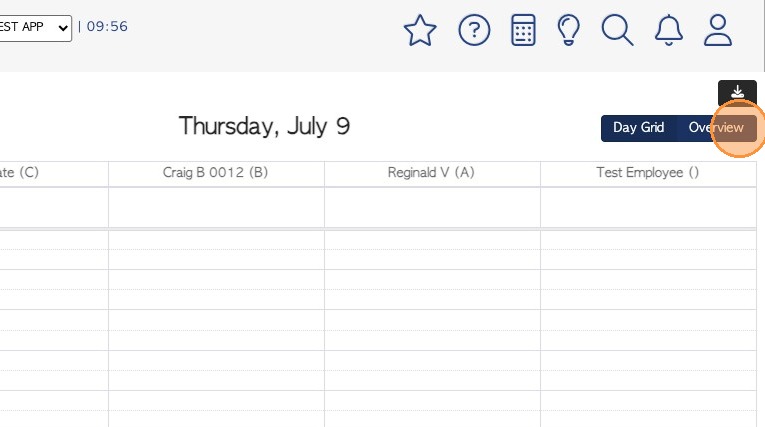
10. Click "Auto Schedule" to access the scheduling page.