1. This article explores how to use the Dock Door Schedule.
Incorporating Dock Doors into logistics planning is optional in Pallet Connect. The dock door schedule allows the user to book the loading time at a particular dock door.
TIP! For the schedule to be visible in the main menu, at least 1 Dock Door needs to be active in the system. See related article on creating and managing Dock Doors.
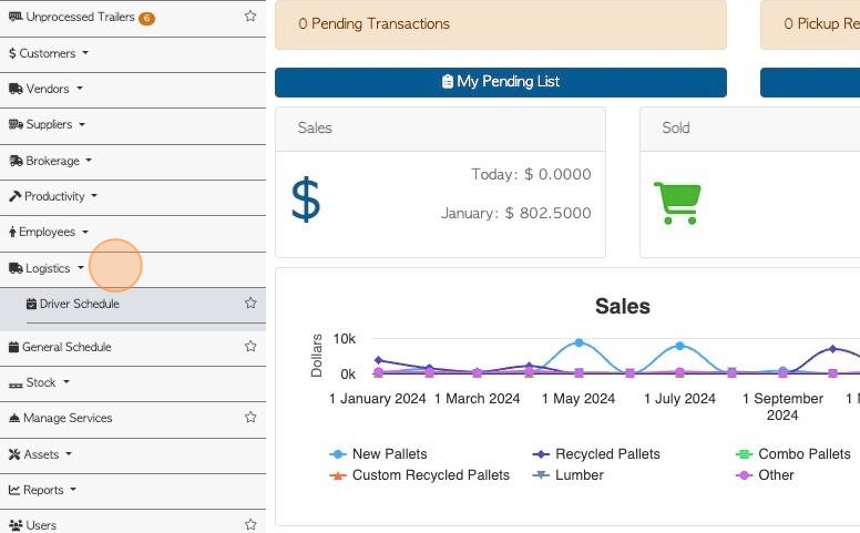
2. Navigate to the main menu. Click "Logistics"
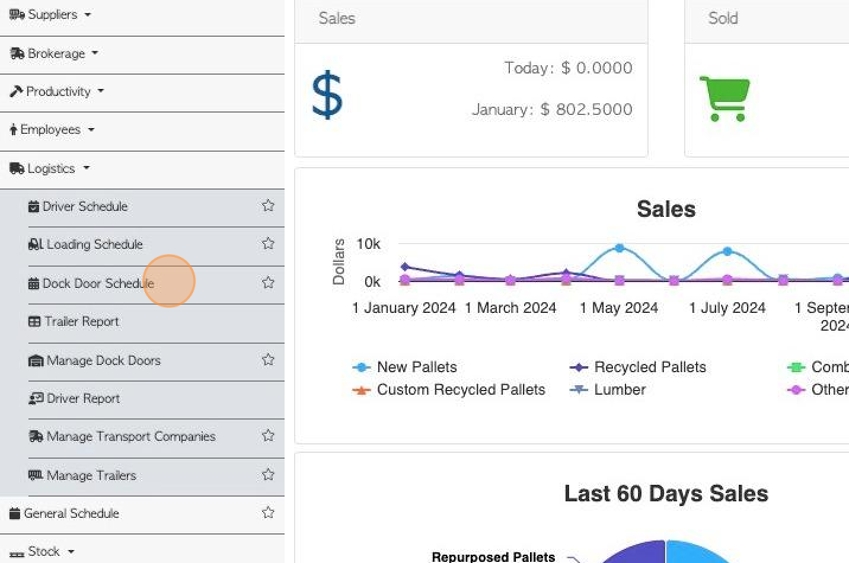
3. Click "Dock Door Schedule"
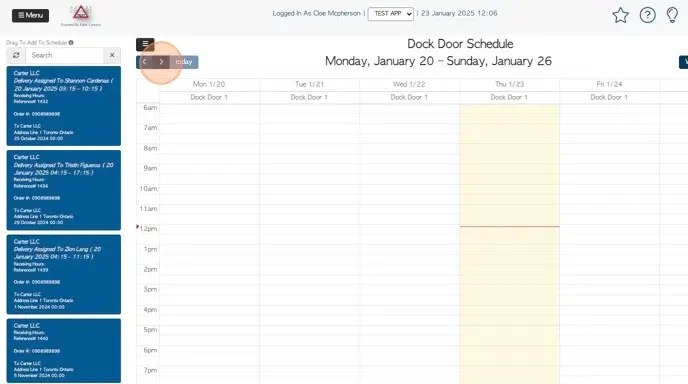
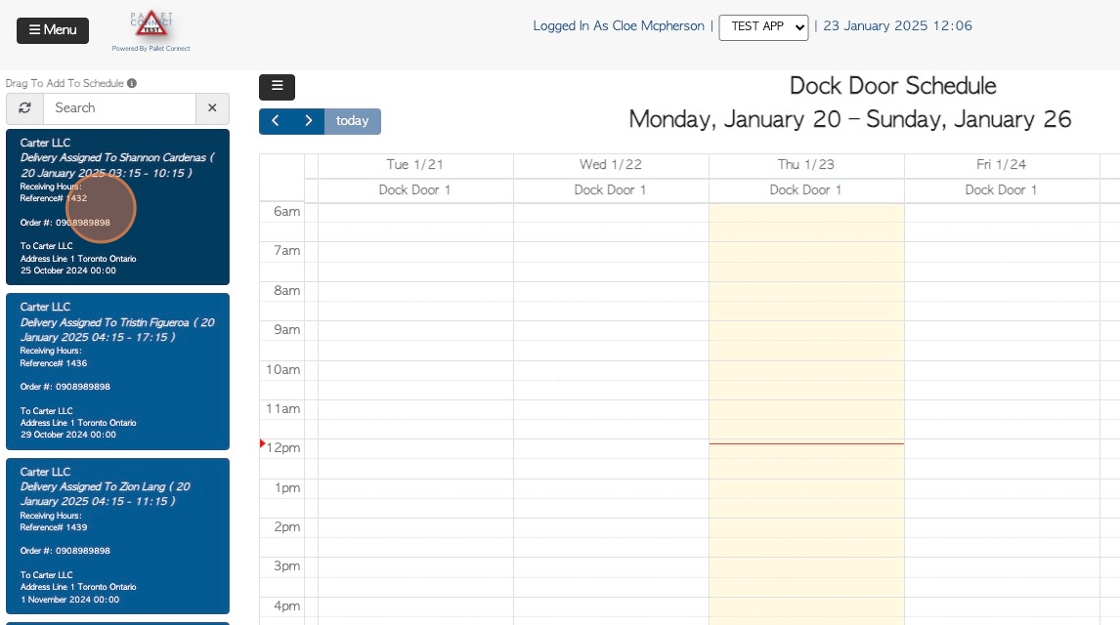
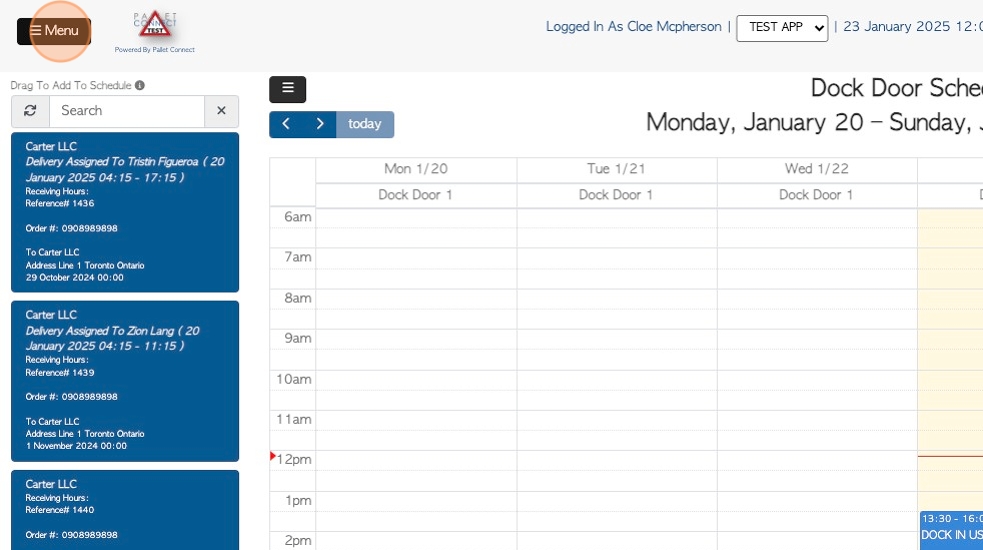
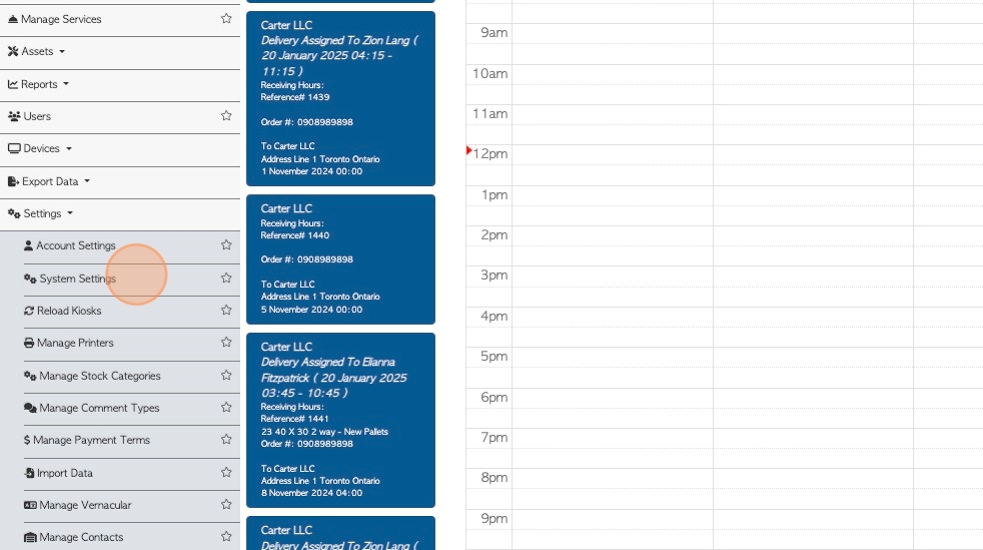
4. Customer orders and Vendor requests can be added to the schedule.
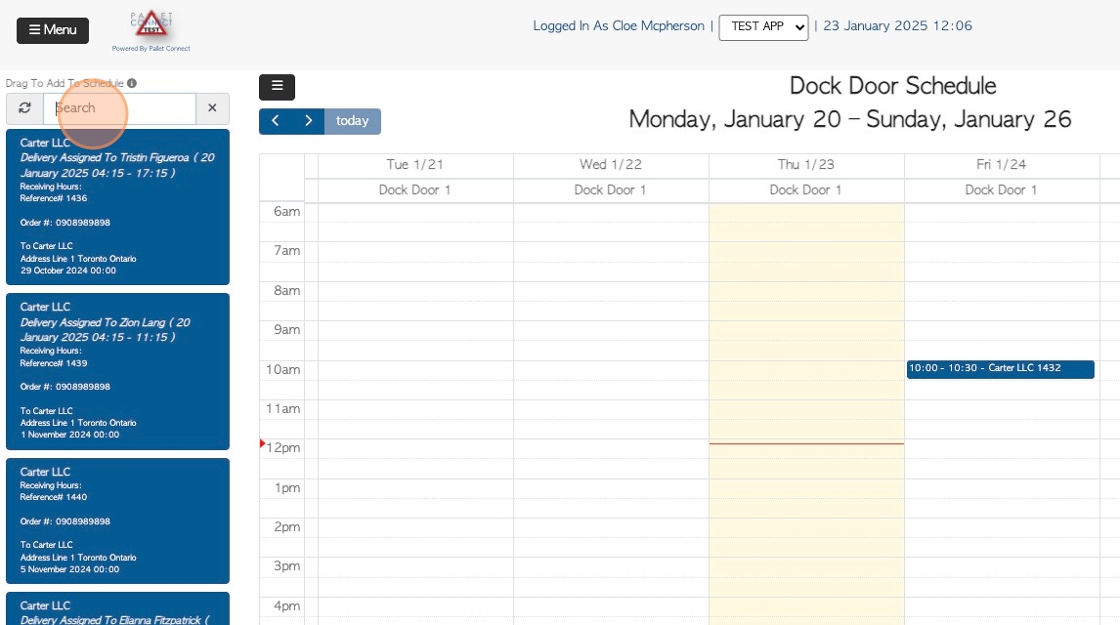
Click on the information icon to see the colour coded legend.

5. Click here to view only the calendar and hide the pending tasks.
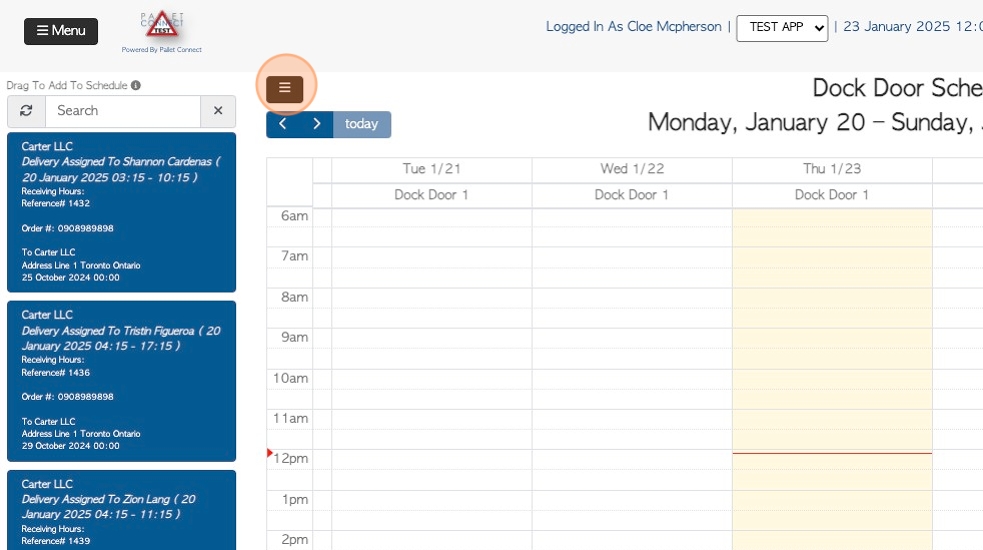
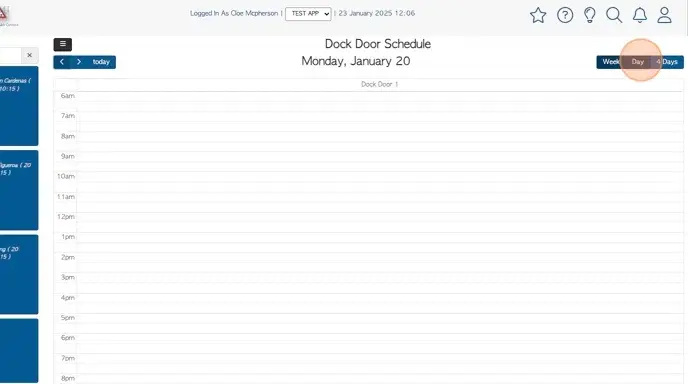
6. Click here again, to return to the previous view.
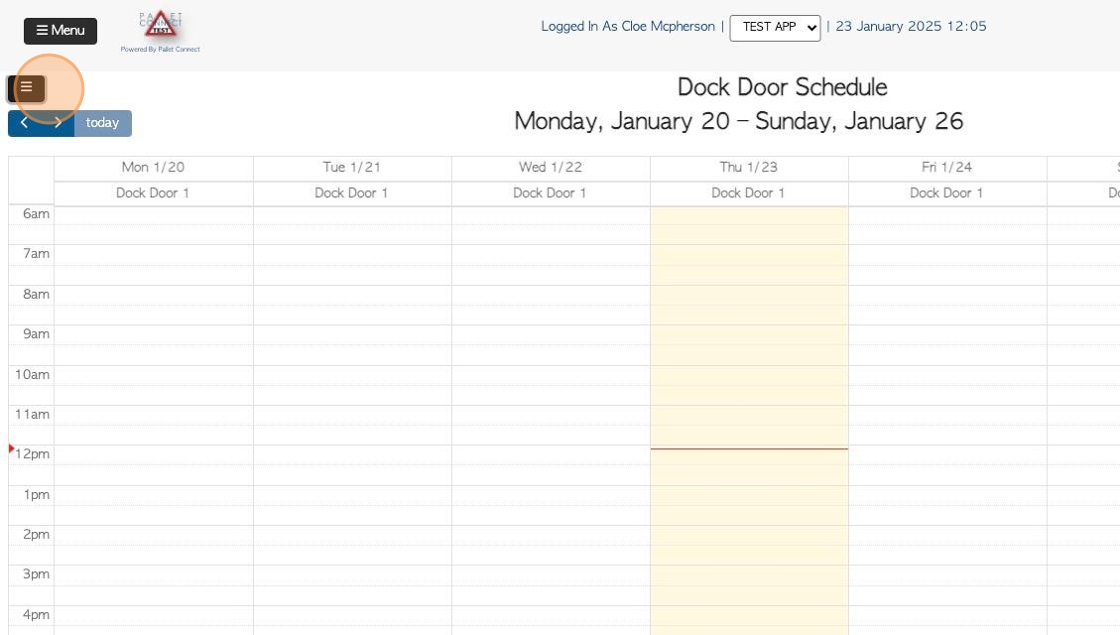
7. Click on the arrows to scroll through the calendar view.
8. Click here to view the calendar by Day, Week or 4 Days.
9. To schedule a transaction, drag and drop, from the list onto the calendar
10. Click the "Search" field, to look for a pending transaction.
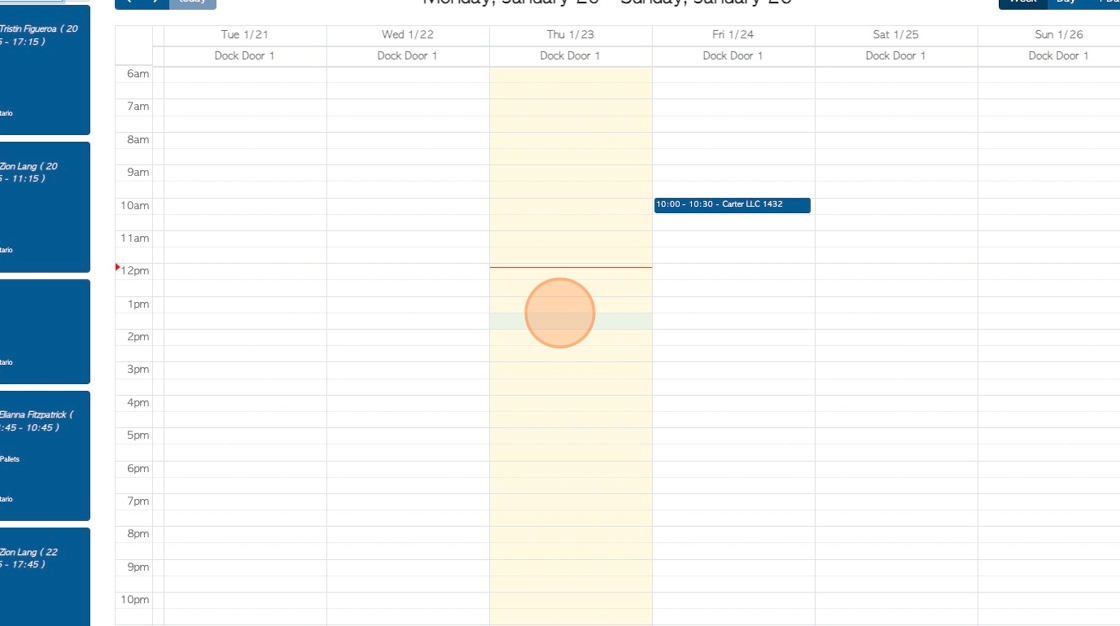
11. General events can be scheduled onto the calendar, that are not a transaction on the list.
Click on the preferred start time and drag down to the end time.
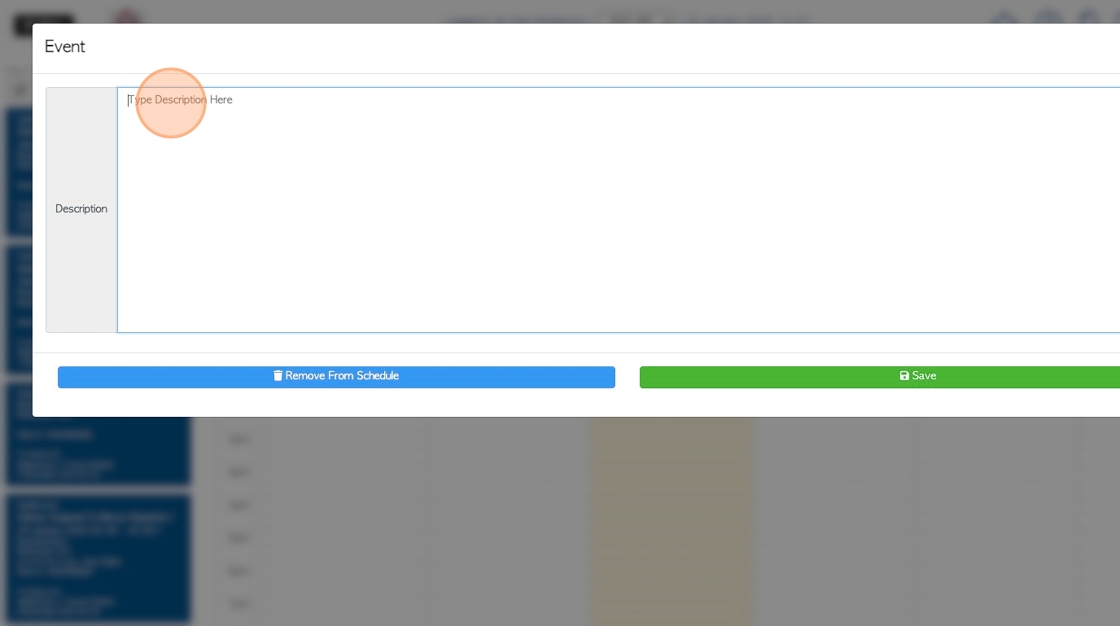
12. An event will be created. Click the "Type Description Here" field, to name the event and provide details.
Click "save" to complete.
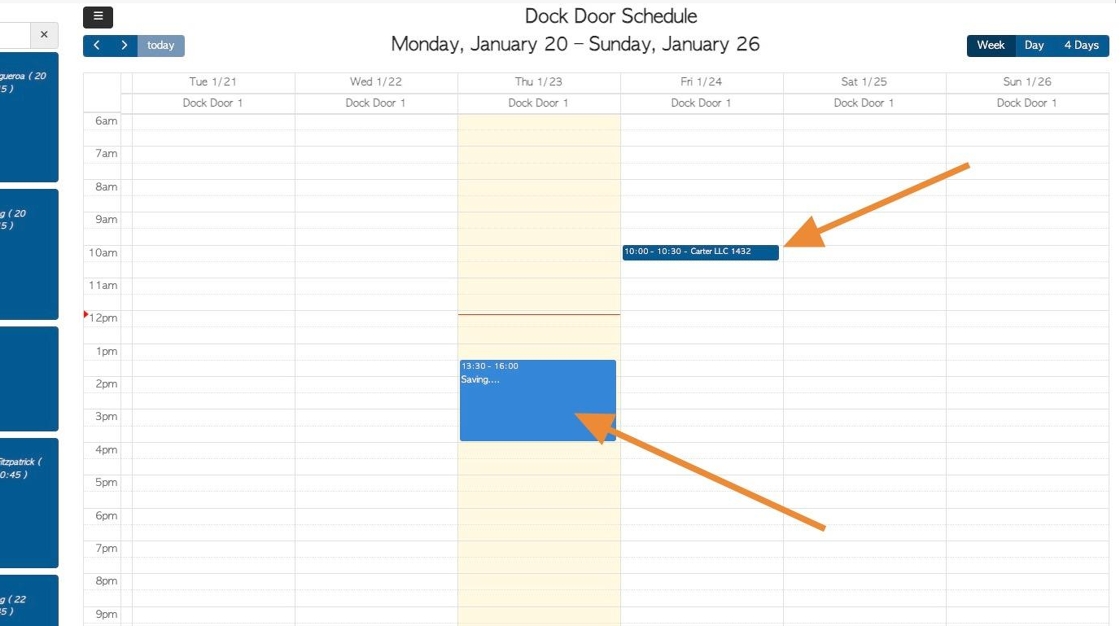
13. The event will be displayed on the calendar, similar to the scheduled transactions.
14. Click on a scheduled transaction to view the details.
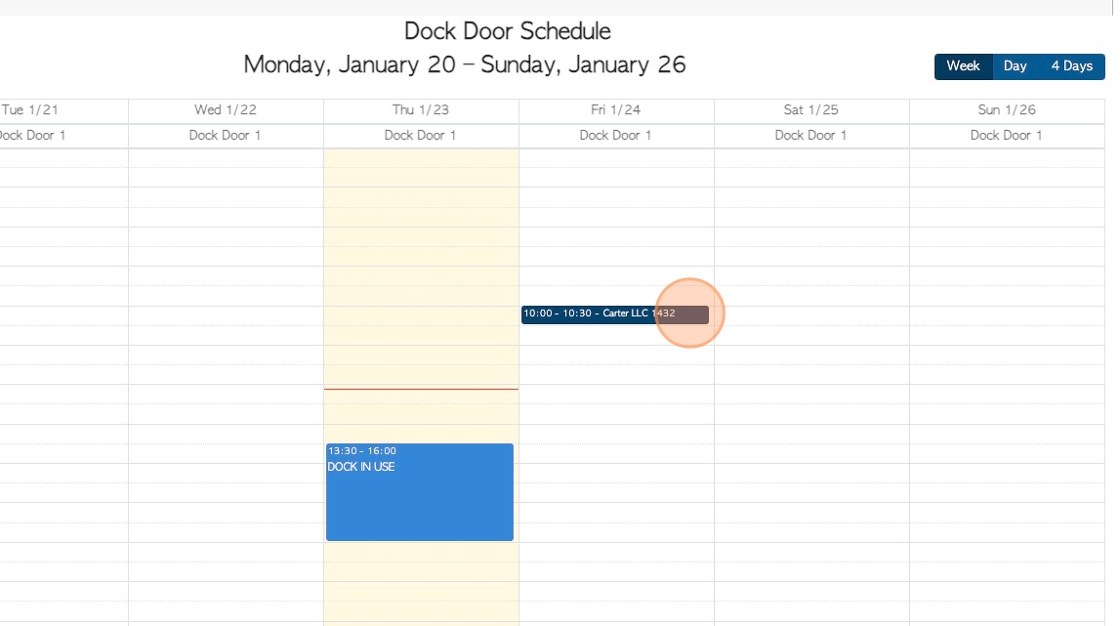
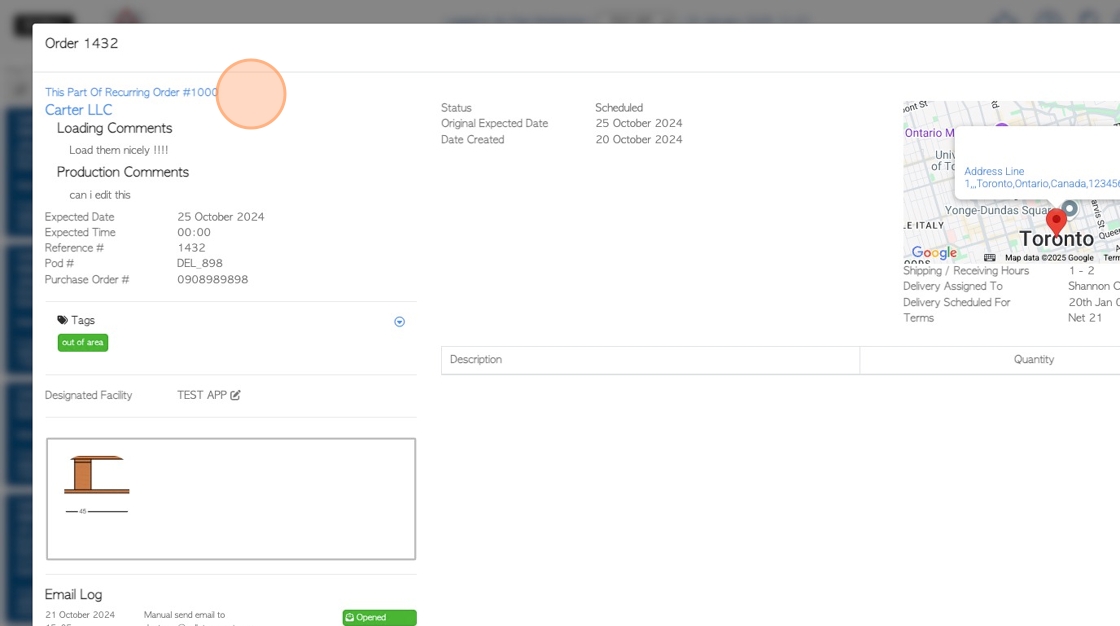
15. The transaction details page will be displayed.
Click "close" to return to the Dock Door schedule.
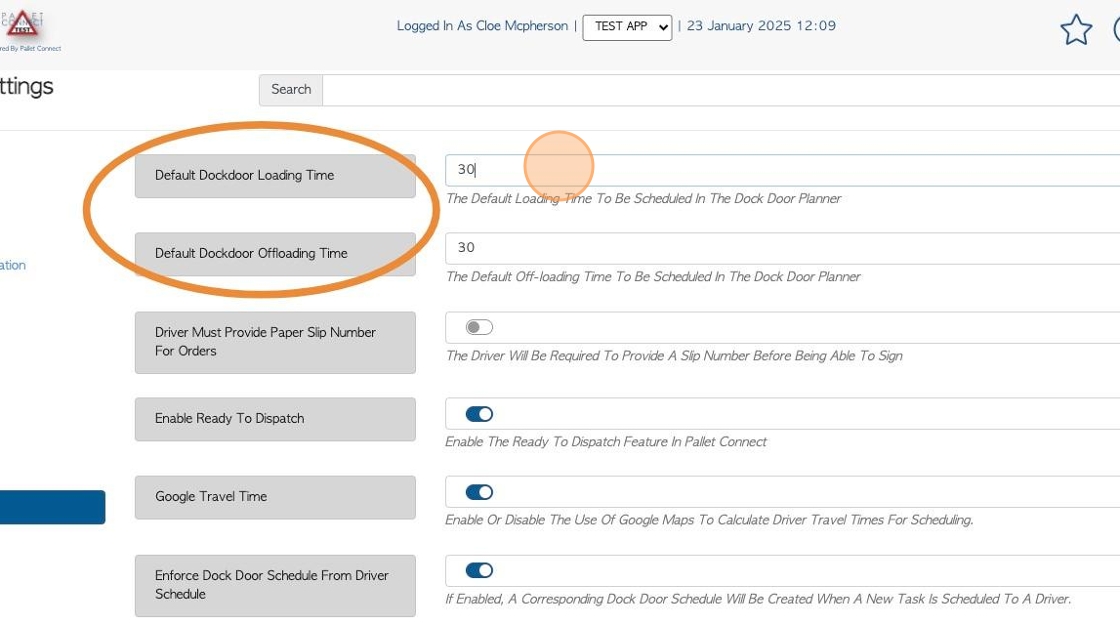
16. APPLY LOAD TIME SETTINGS TO DOCK DOOR SCHEDULE
Click "Menu"
17. Click "Settings"
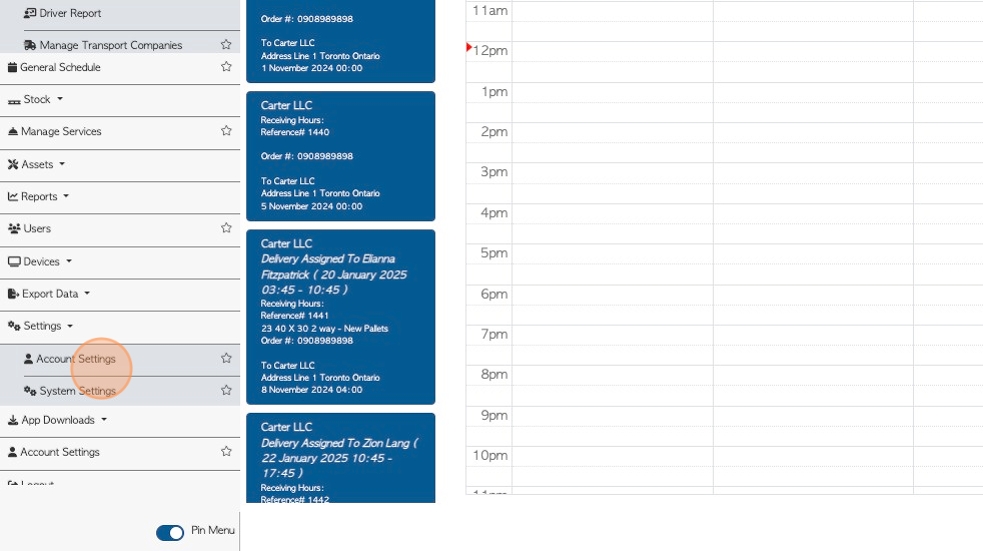
18. Click "System Settings"
19. Click "Logistics"
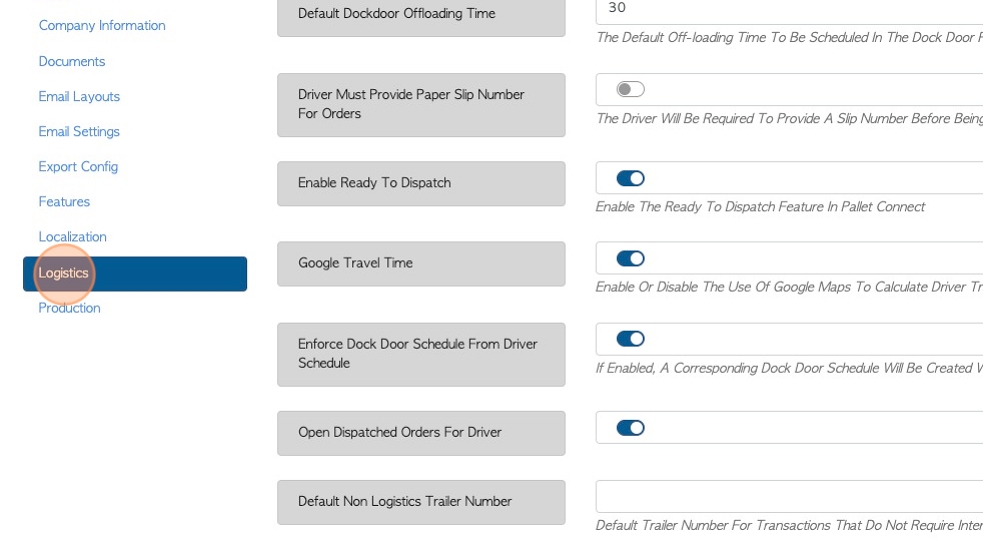
20. Click these number fields, to add the Loading and/or Offloading times.
These will be automatically applied to the schedule.