1. The Driver report is a useful way to keep record of a driver's activity.
It is also a beneficial report to review route efficiency, for delivery and picks up.
2. Navigate to the main menu. Click "Logistics"
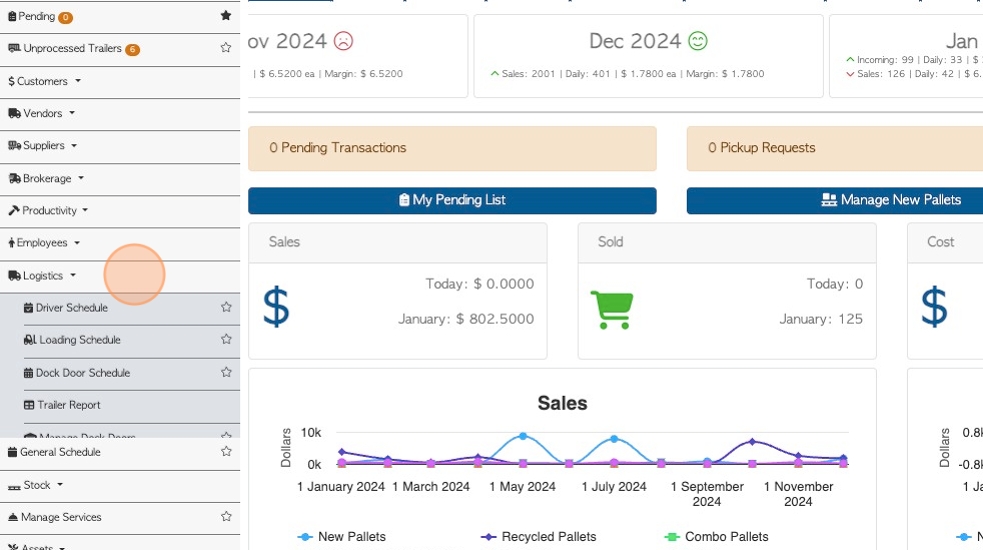
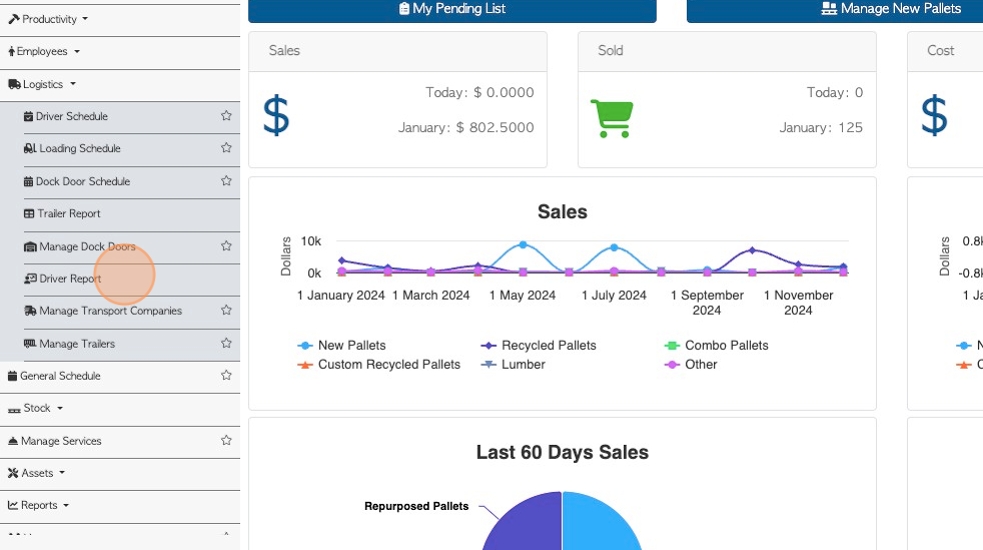
3. Click "Driver Report"
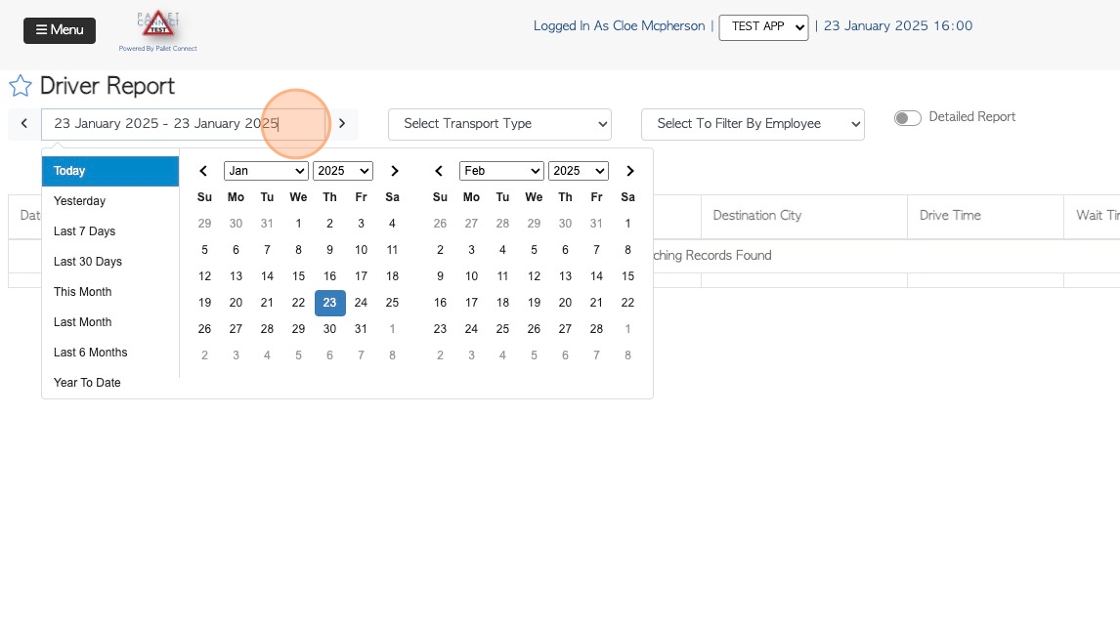
4. Click this field to change the date range of the report. Choose a date range from the drop down calendar or select a date from the list.
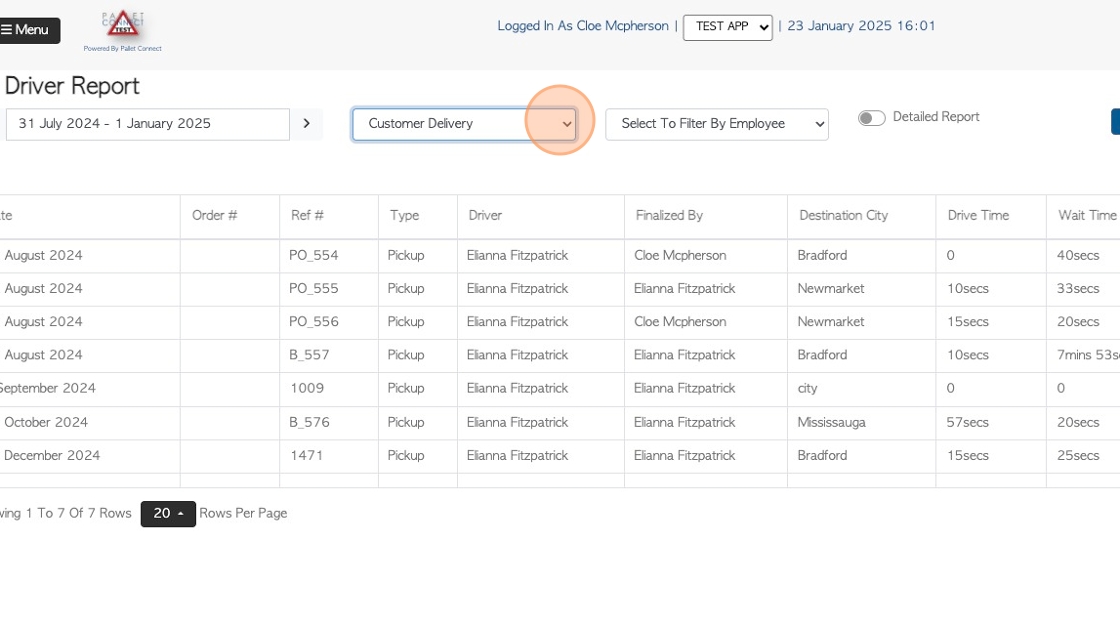
5. Select the "Transport Type" option to filter by Customer Delivery or Vendor Pick Up.
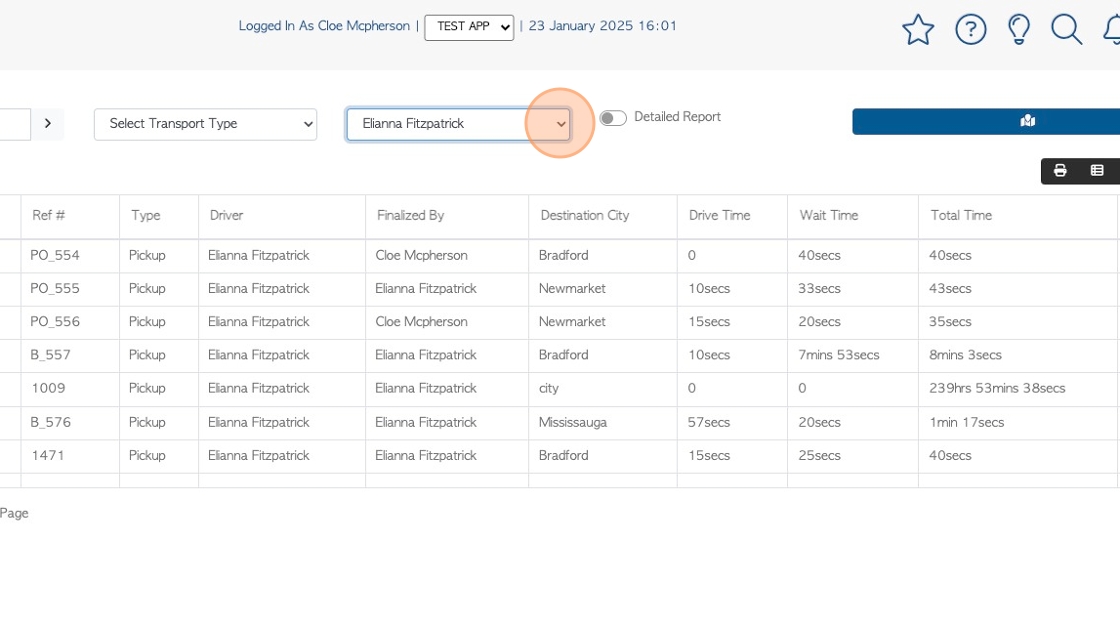
6. Select the "Filter By Employee" option to see data for one driver.
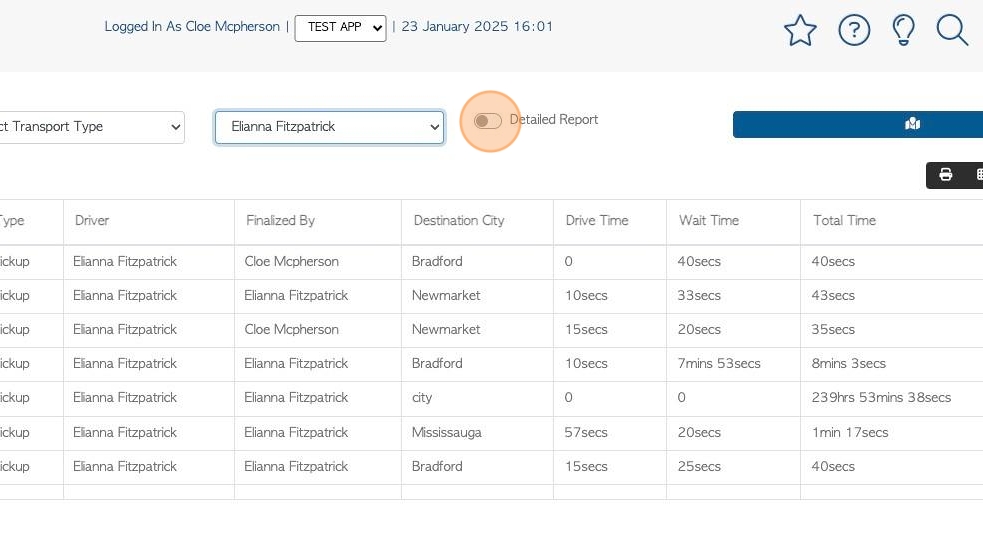
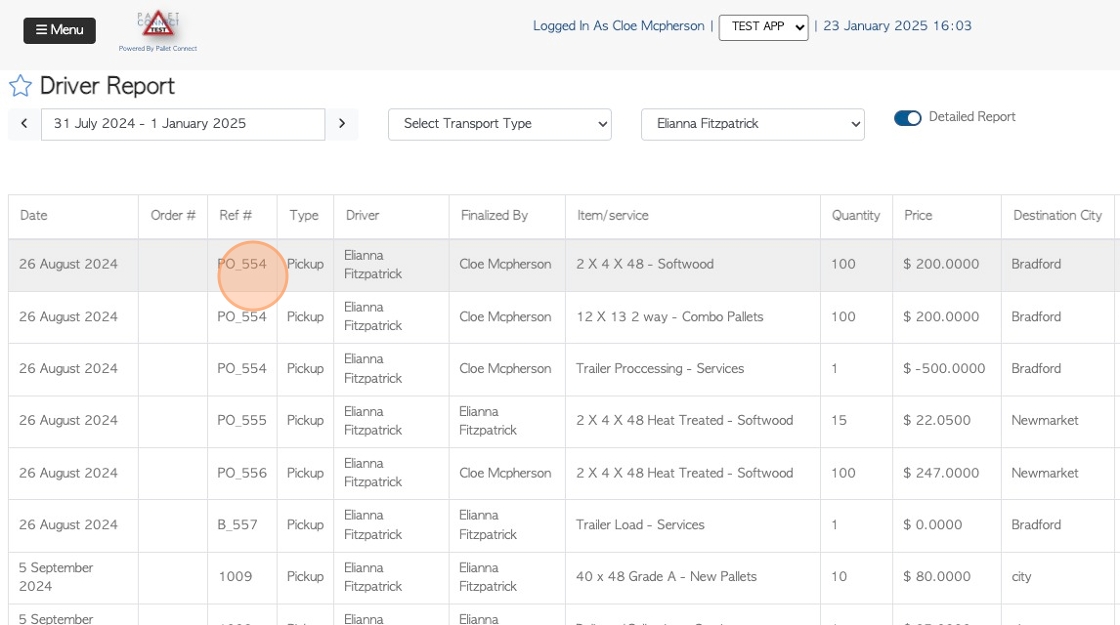
7. Click "Detailed Report" to view additional information.
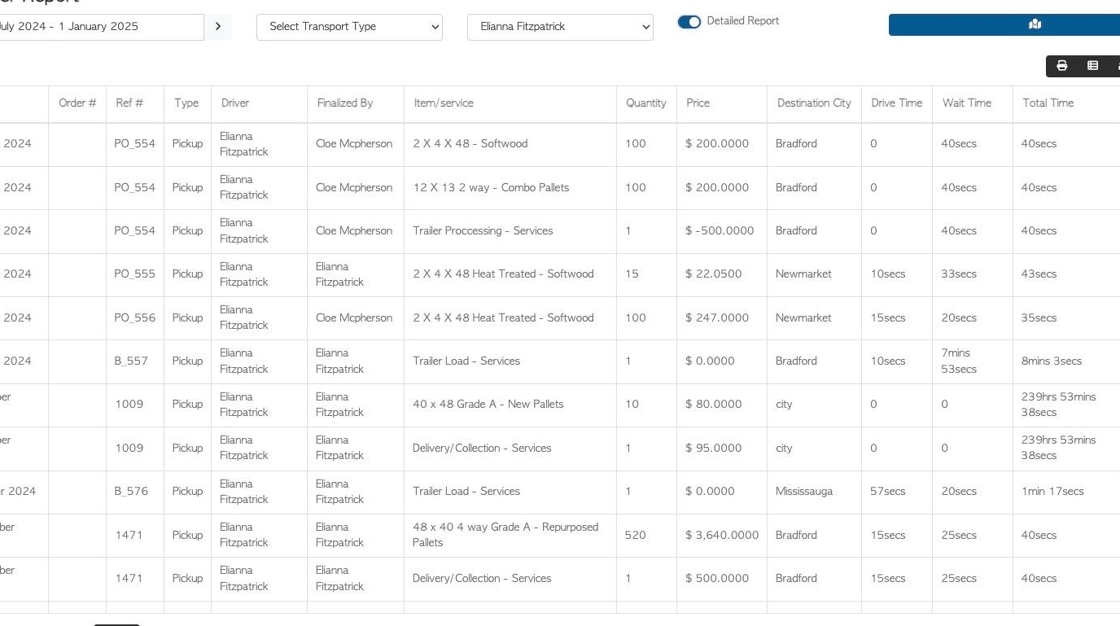
8. The report now shows details such as stock items and pricing.
TIP! If the "Dispatched" option is used by the office or driver; and if the "Check In" button is used by the driver, then this information will be displayed in the report.
9. Click here to print the report
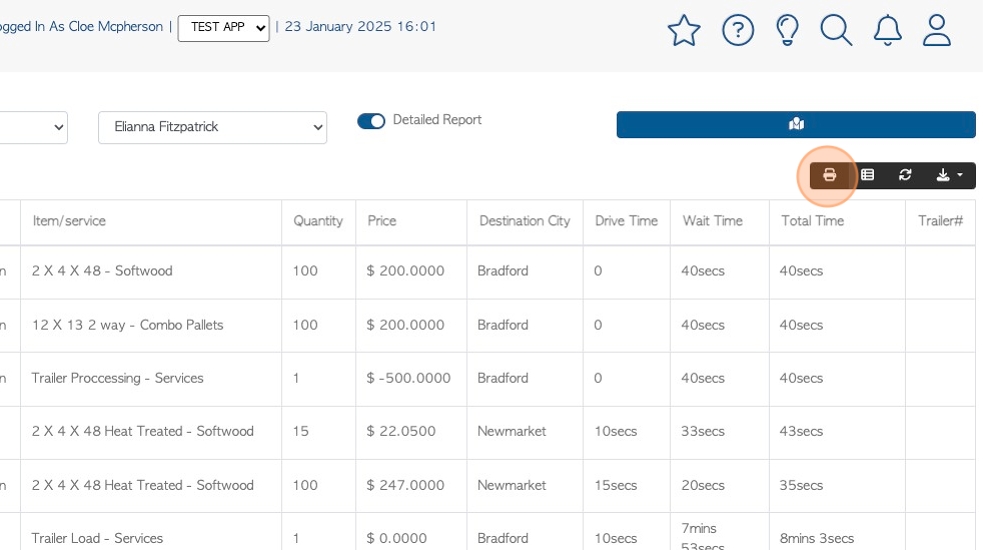
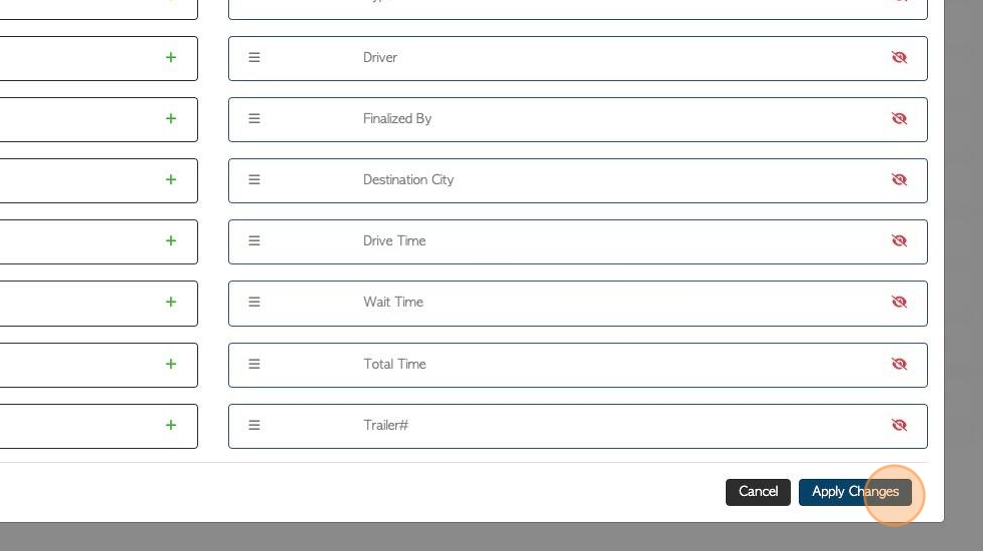
10. Click here to customize the report columns.

11. Hide columns that will not be displayed.
Add columns to "visible" to be shown on the report.
Click "Apply Changes" to save.
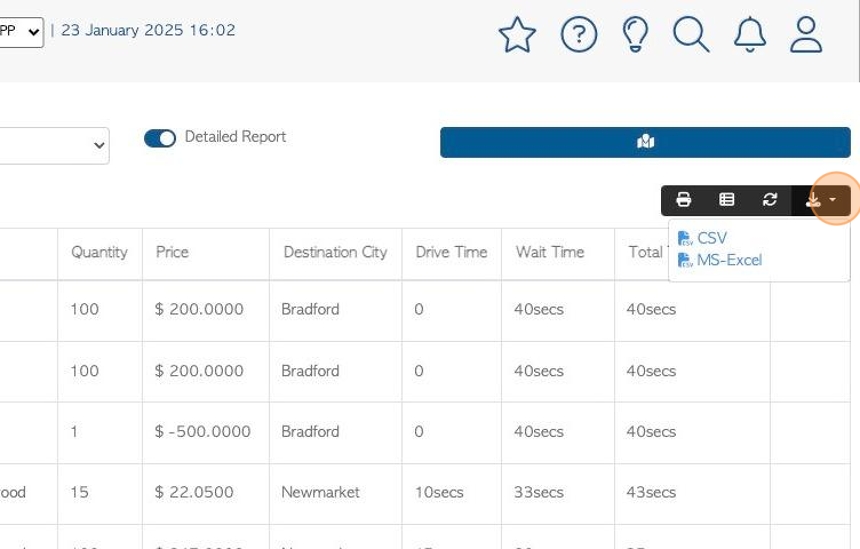
12. Click here to download the report.
Choose between CSV and MS-Excel format
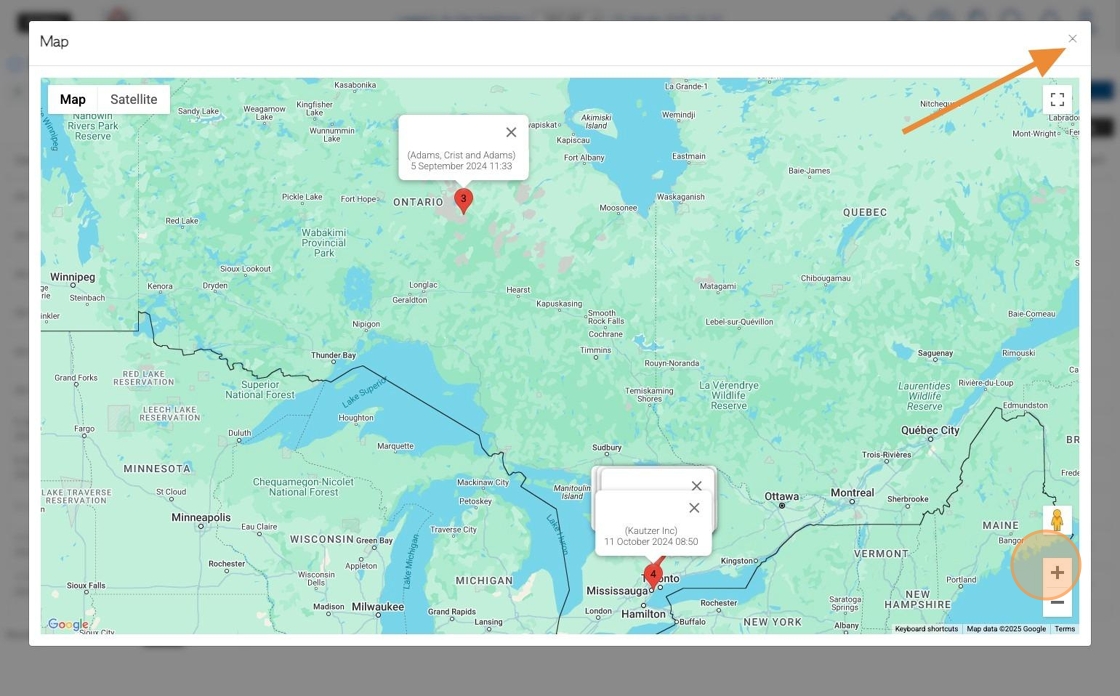
13. Click this button to view the driver destinations on a map view.
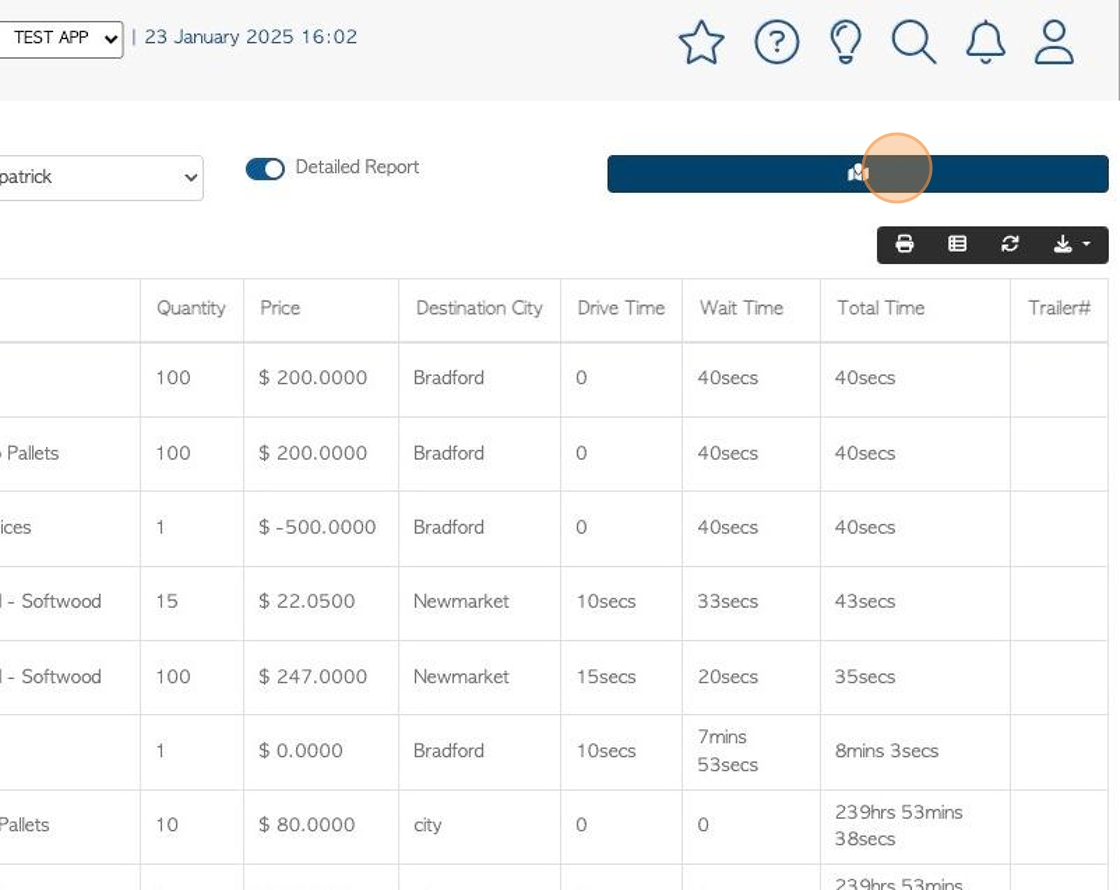
14. The map shows the drivers destinations and the time and date that they arrived, for the date range chosen in the report.
TIP! The time shown is the time of signature at the destination.
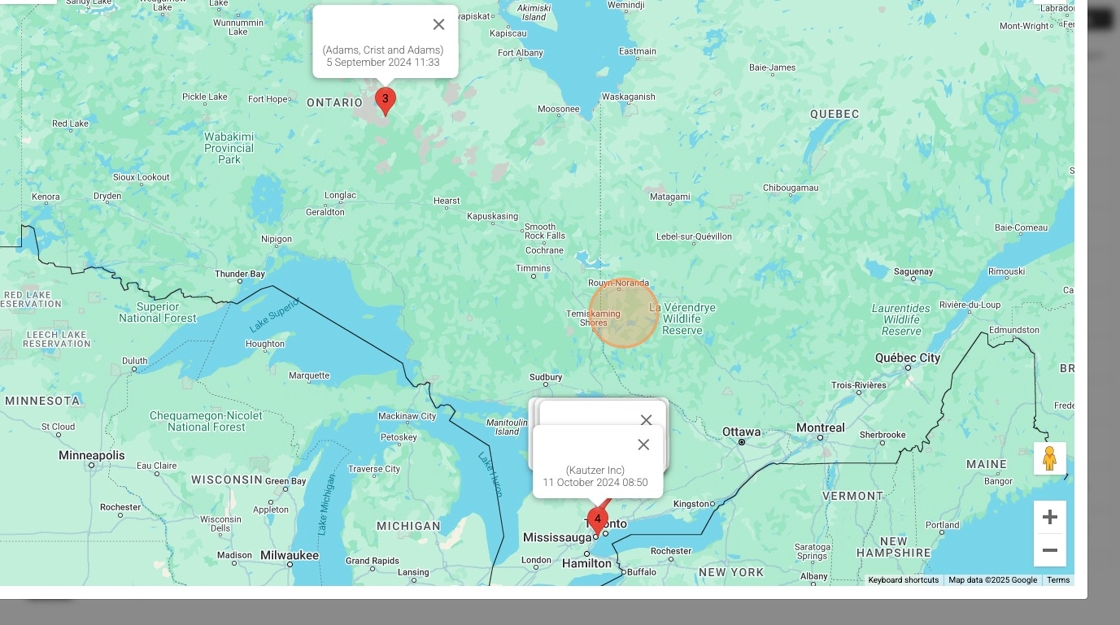
15. Regular functions of Google maps are available e.g. zoom.
Click 'x' to return to the driver report.
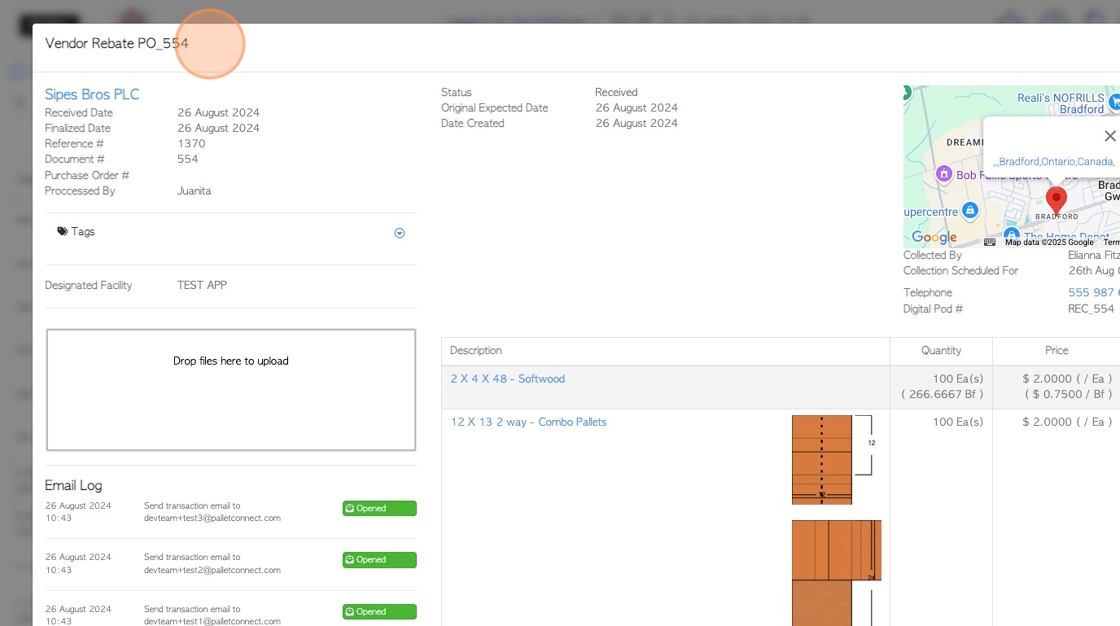
16. Click on a transaction number from the list.
17. The transaction details page will be displayed.
Click 'close' to return to the Driver Report.