1. The Employee profile is organized into various tabs. This articles provides an overview of the information in the General tab.
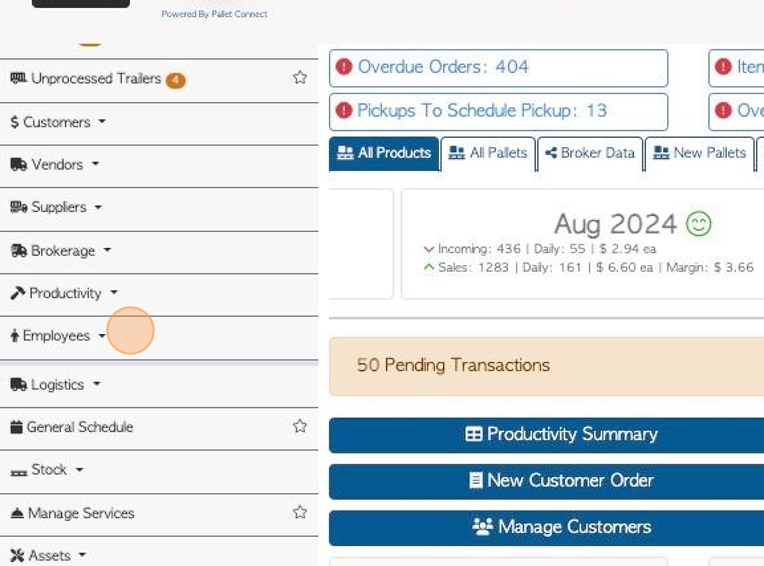
2. Navigate to the main menu. Click "Employees"
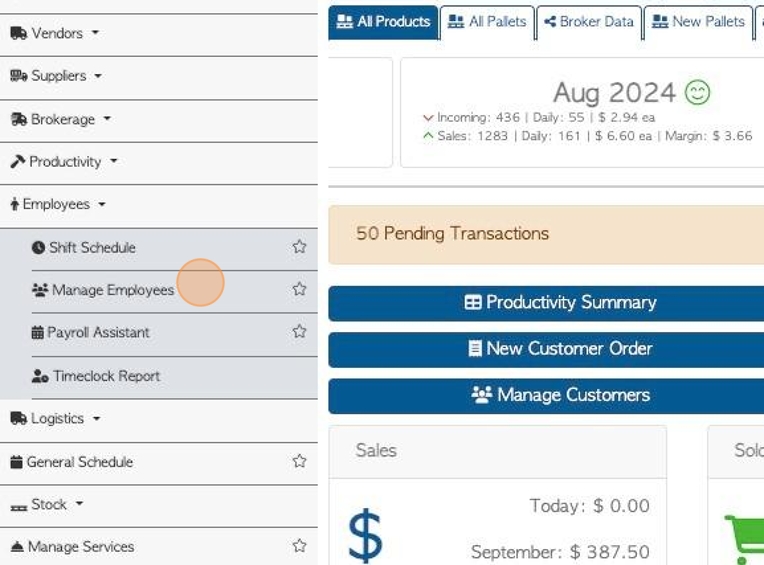
3. Click "Manage Employees"
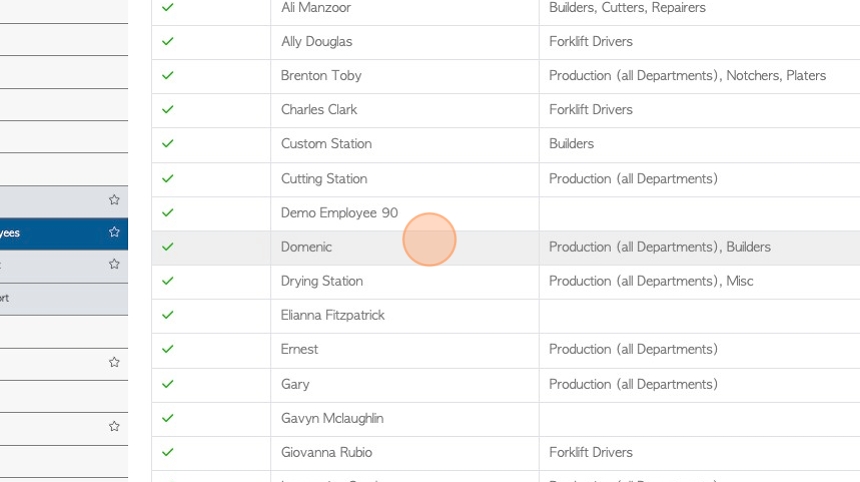
4. Click on the selected Employee from the list.
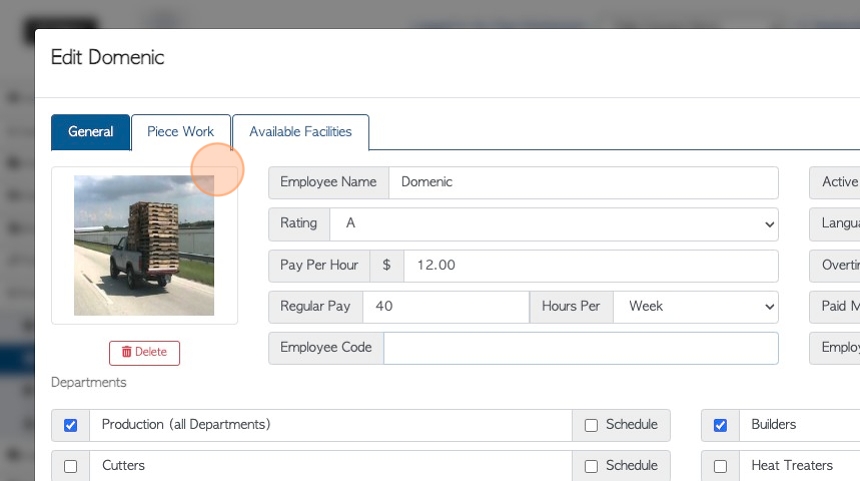
5. The General tab is always displayed first.

6. Input the Employee name here.
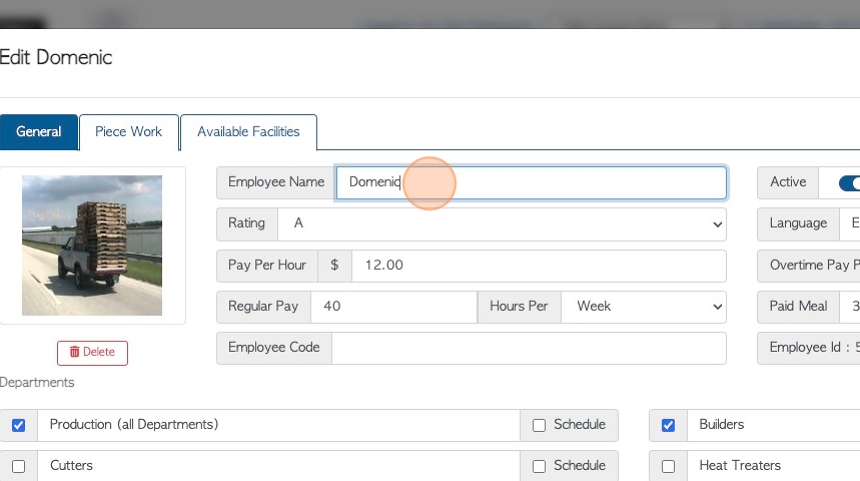
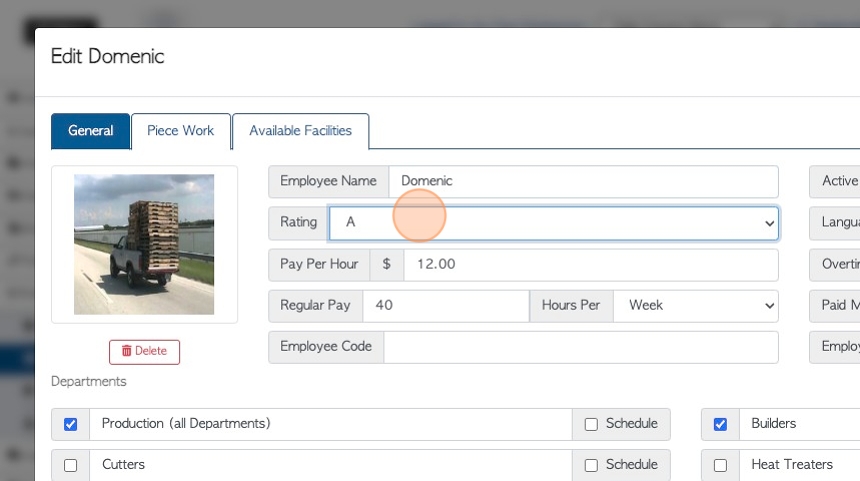
7. Click this dropdown to choose a rating.
The ratings range from A- E. "A" is used as the highest ranking and "E" the lowest.
These ratings are used during the production process. The ratings can be used to determine pay rate and expected quantity produced.
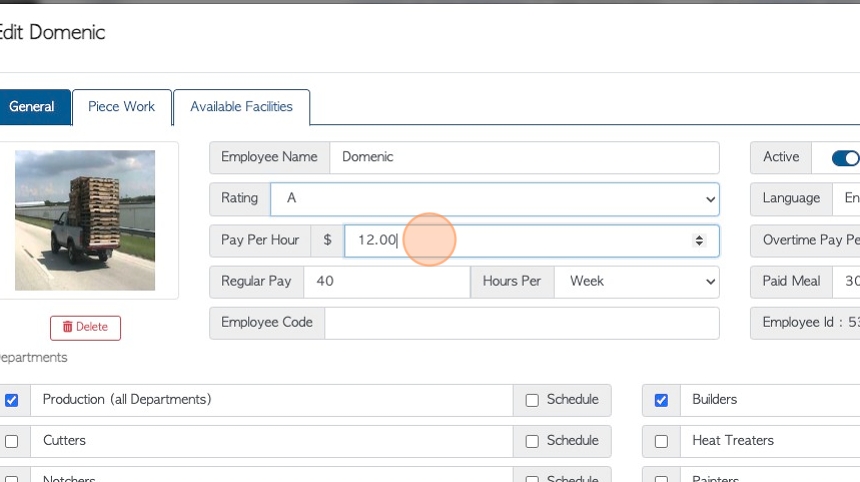
8. Click this number field to add a pay amount per hour.
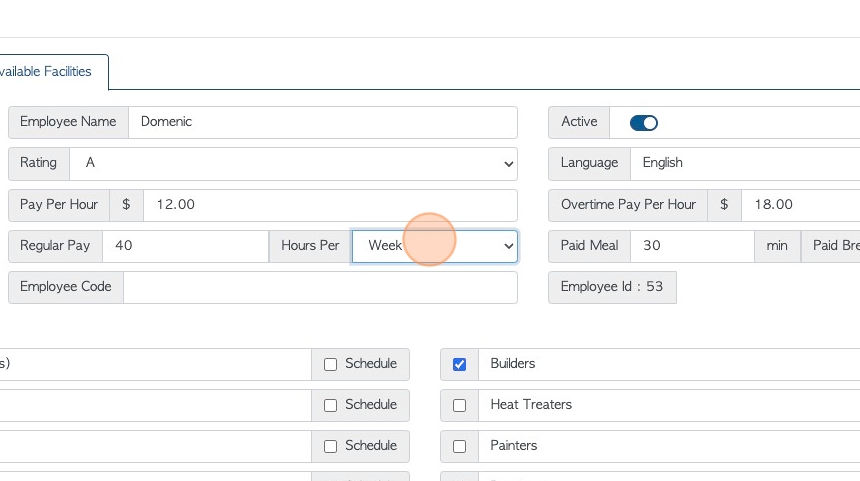
9. Click this number field to add the number of hours per week /day for regular pay.
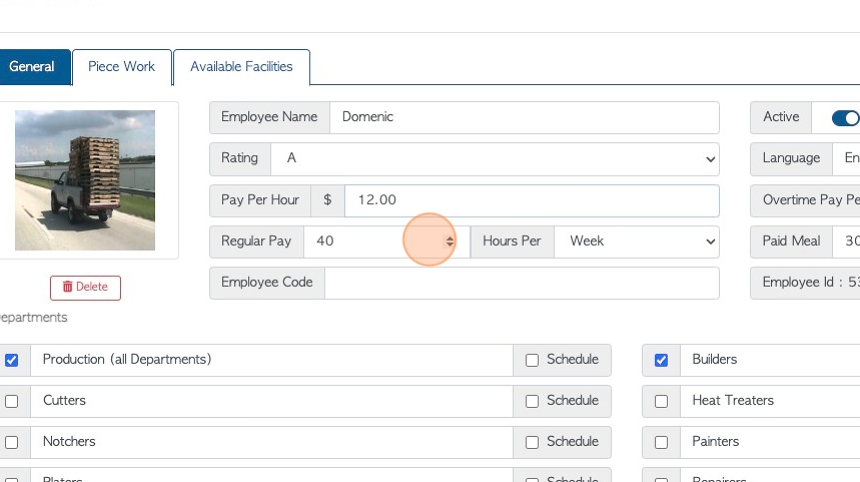
10. Click this dropdown to choose between "pay per week" or "pay per day", for regular pay.
11. Click this text field to add an internal employee code, if needed.
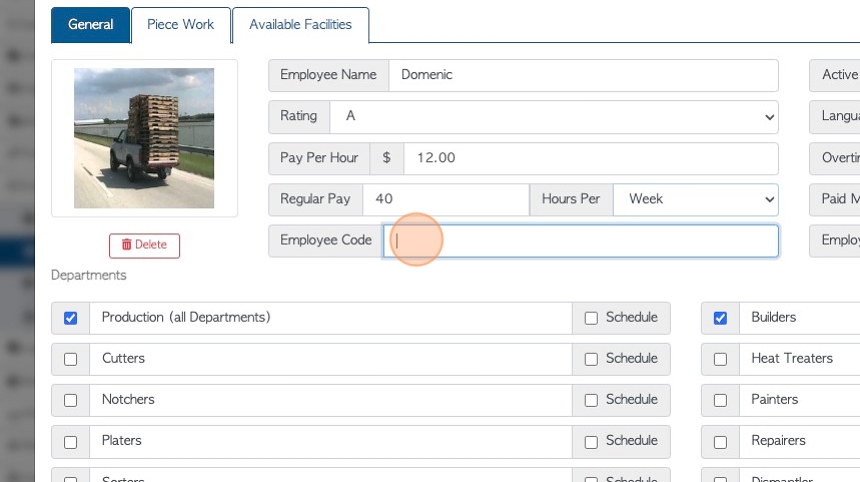
12. A photo can be uploaded to identify the Employee.
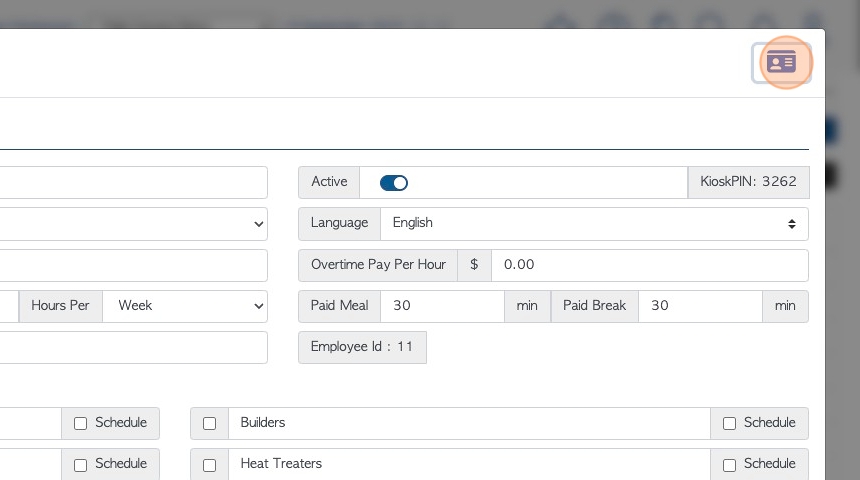
13. If an Employee is active they will show up for production and scheduling.
If "active" is toggled off, the Employee is 'deleted' and is not available for scheduling.
TIP! A deleted Employee can be found in the Manage Employees list and re-activated.
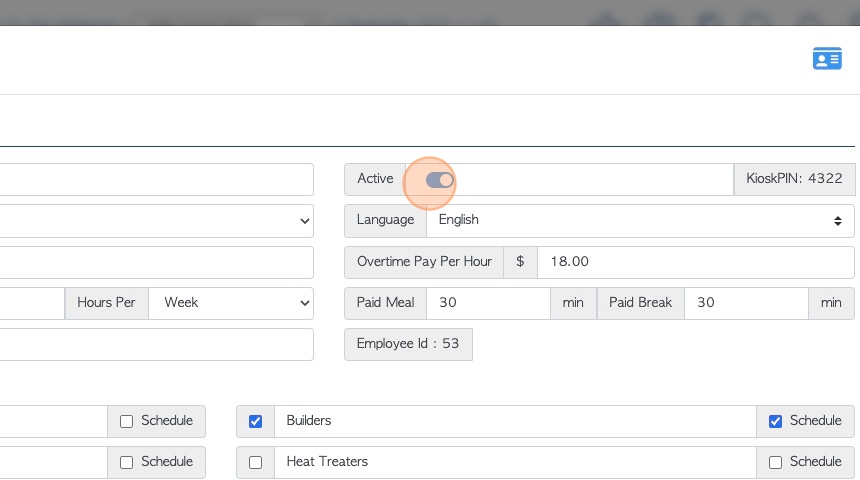
14. The Employee PIN can be found here. The kiosk PIN is automatically assigned by Pallet Connect. This PIN can be used to log into production kiosks and the Time Clock feature.
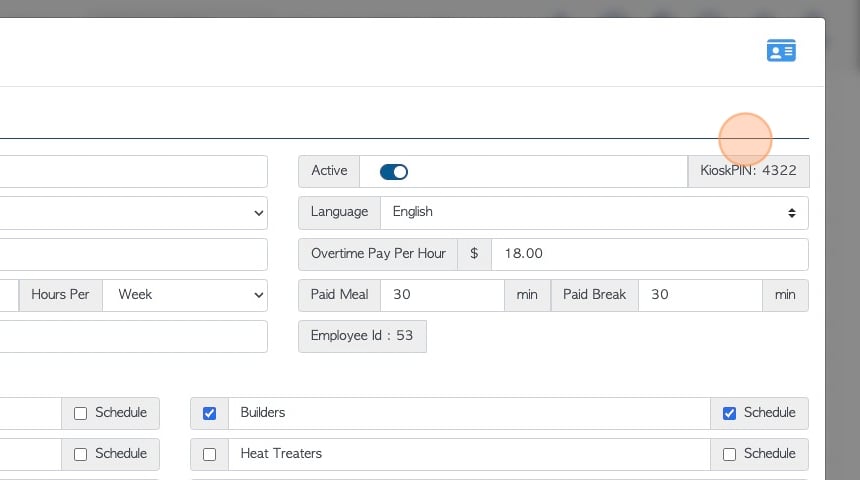
15. NOTE: The Kiosk PIN can be changed by using the edit button:

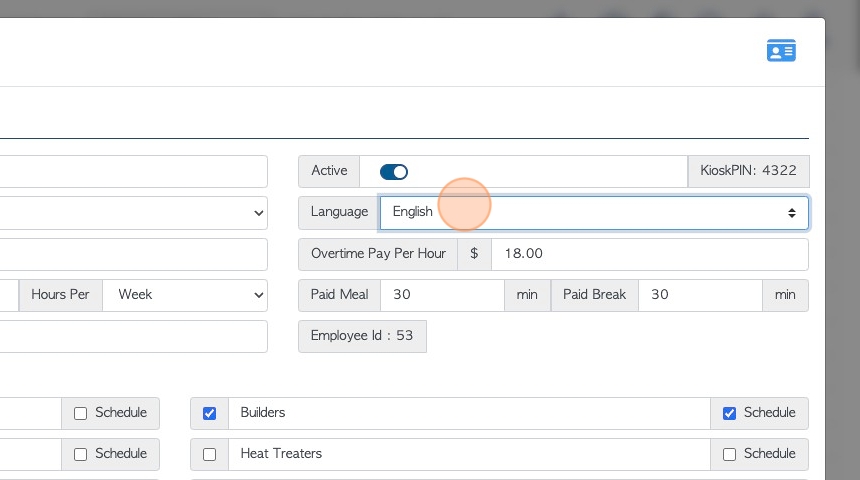
16. Click this dropdown to choose the Employee's language.
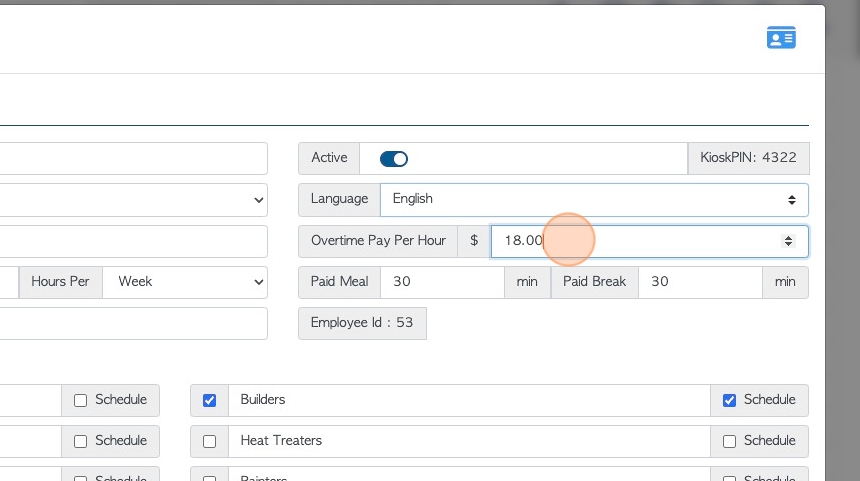
17. Click this number field to input the overtime hourly pay.
18. Click this number field to input if a meal break is paid.
TIP! This break will be reflected on the time clock report.
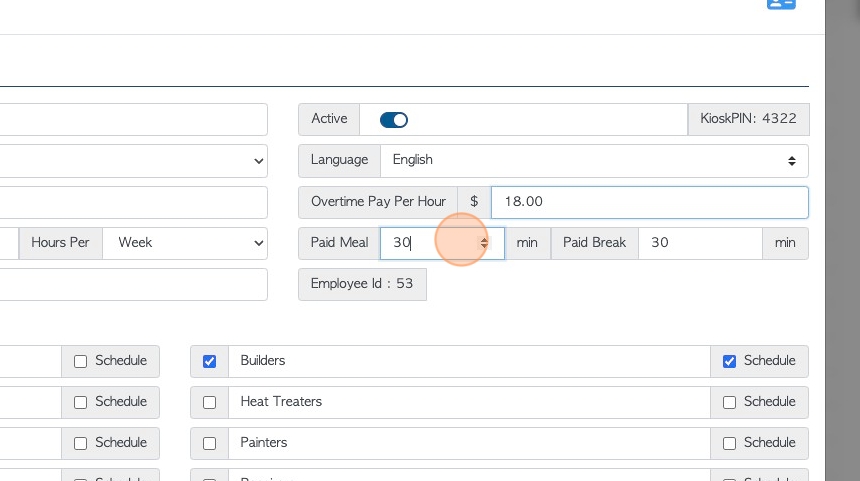
19. Click this number field to input if a regular break is paid.
TIP! This break will be reflected on the time clock report.
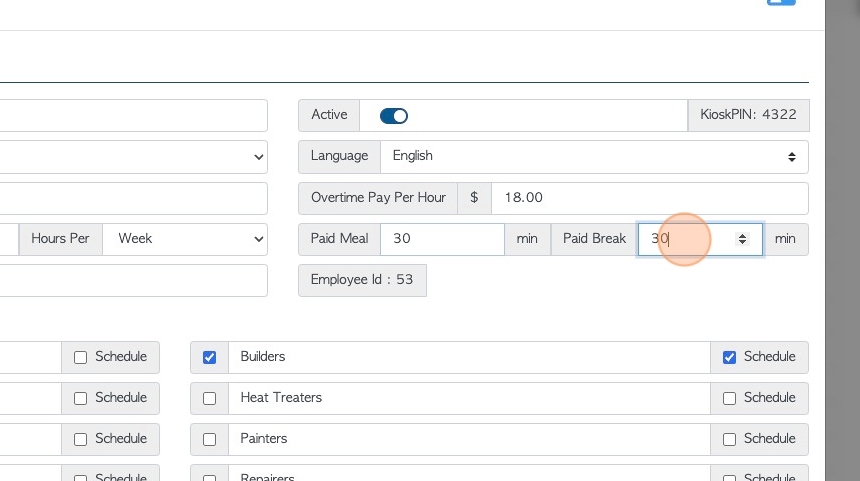
20. The employee ID is auto generated by the system and can be used as a reference number as needed.

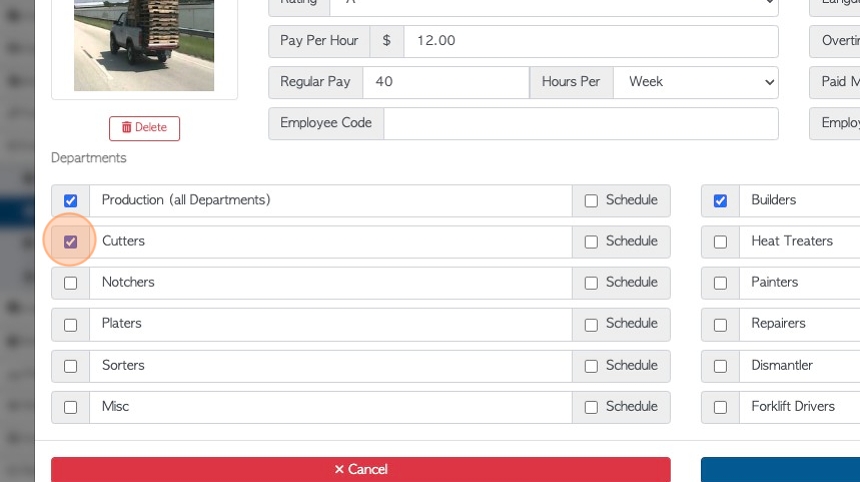
21. Check off the relevant department fields for the employee. Multiple departments can be chosen.
TIP! Click on "Production (all departments)" to check off all the departments.
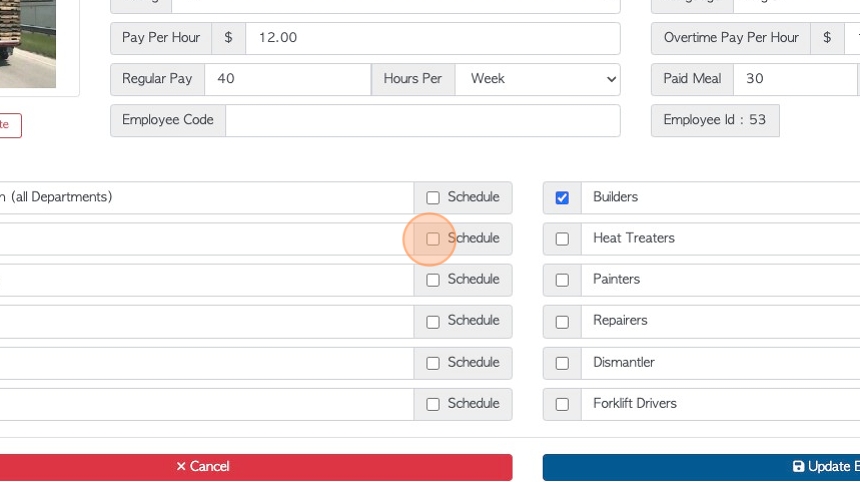
22. Click this checkbox to add the employee to the schedule for the selected department.
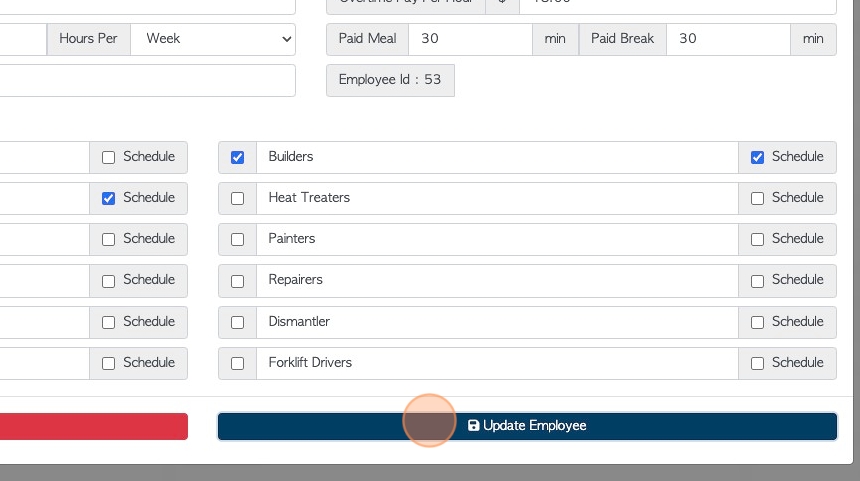
23. Click "Update Employee" to save any changes.
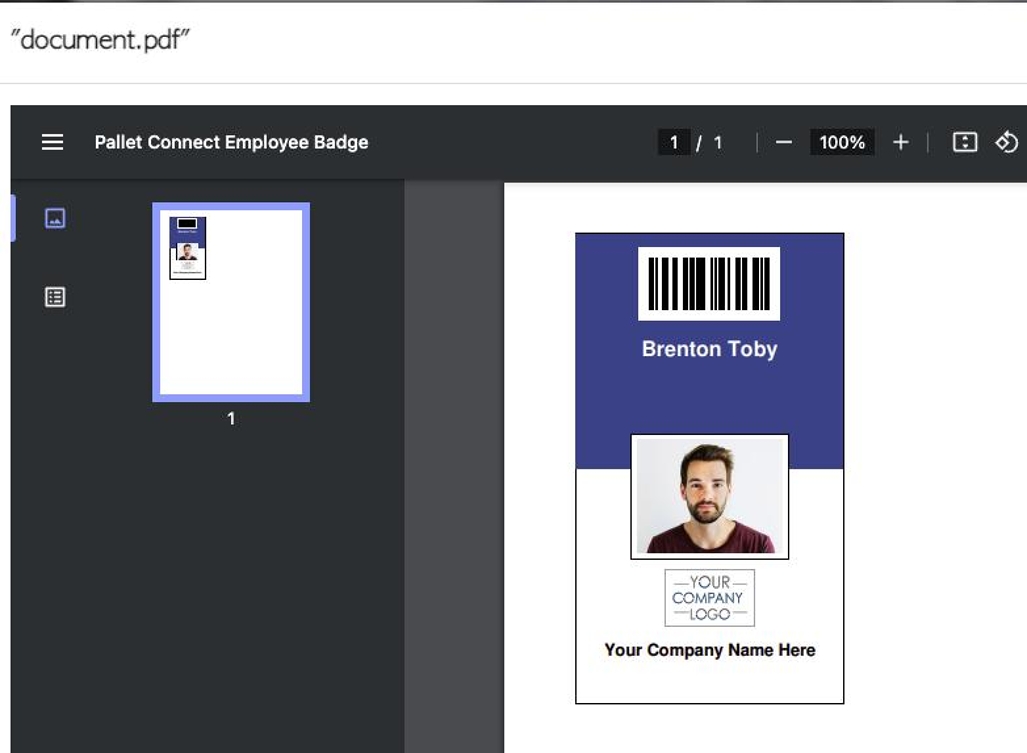
24. Click here to generate an ID badge.
25. Pallet Connect will use the information from the profile to generate an ID badge that can be downloaded/printed.
The bar code is generated from the 4 digit PIN on the profile. The ID badge can be used to access the Pallet Connect Time clock and Kiosks.