1. Pallet Connect defines Back Orders as orders that are not fulfilled as anticipated in the original order. This maybe due to lack of stock or logistics.
There maybe a full or partial back order. So either no stock was delivered or some items were supplied but there is a remaining amount to be fulfilled.
This article outlines how an Admin user would create a back order.
TIP! A Back Order can also be created by a driver. Back Orders need to first be enabled in System Settings. See related articles.
TIP! SHORTCUT: Type the order number into the global search tool, located at the top right corner of each page. This will bypass steps 2 - 4.
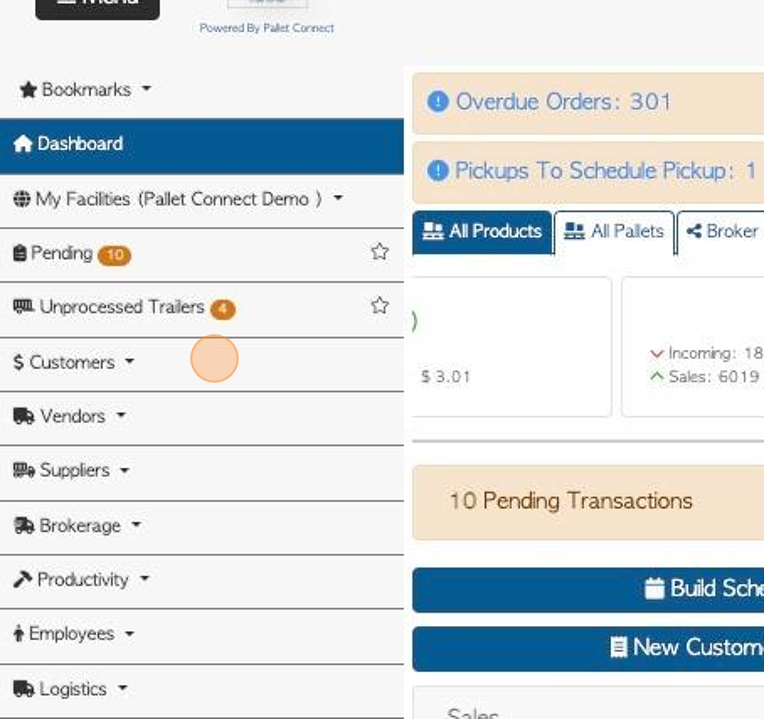
2. Navigate to the Main Menu. Click "Customers"
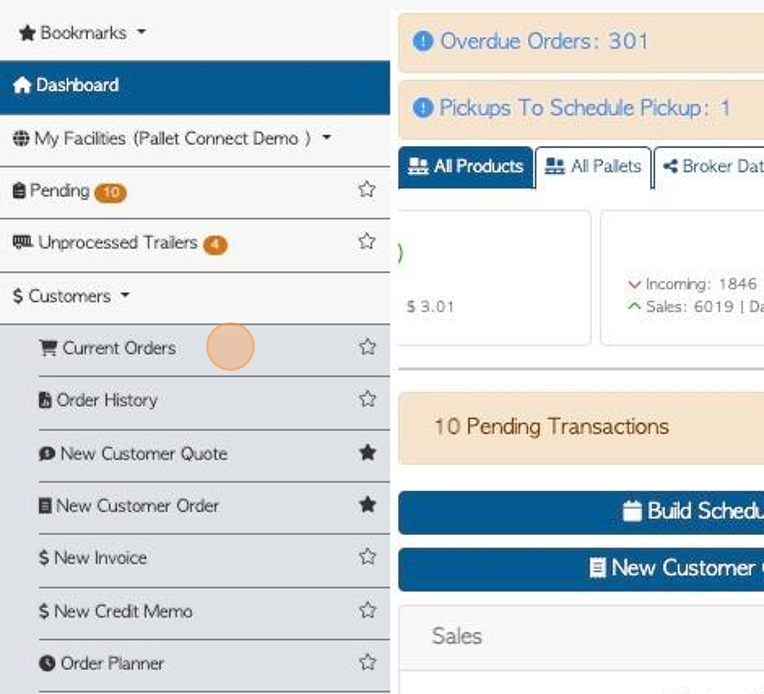
3. Click "Current Orders"
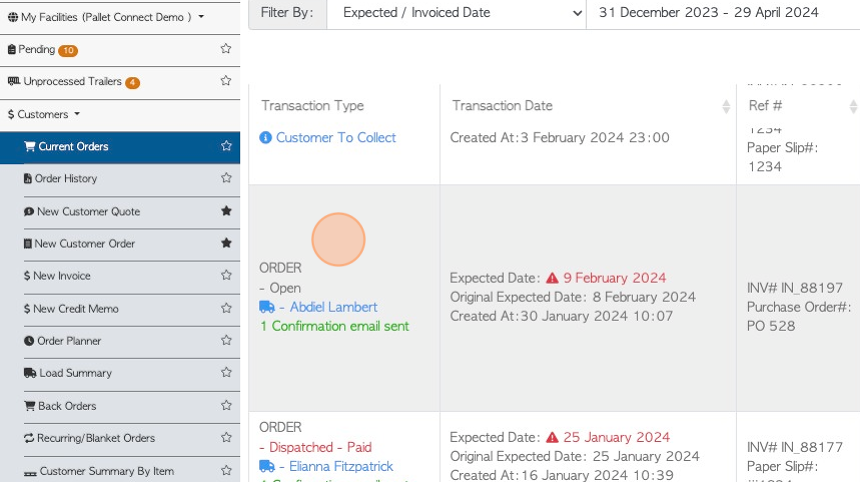
4. Click on the selected order from the list.
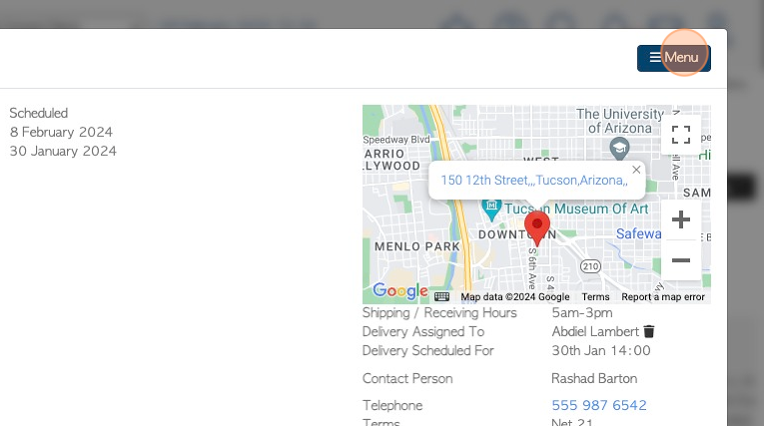
5. Click "Menu"
6. Click "Invoice"

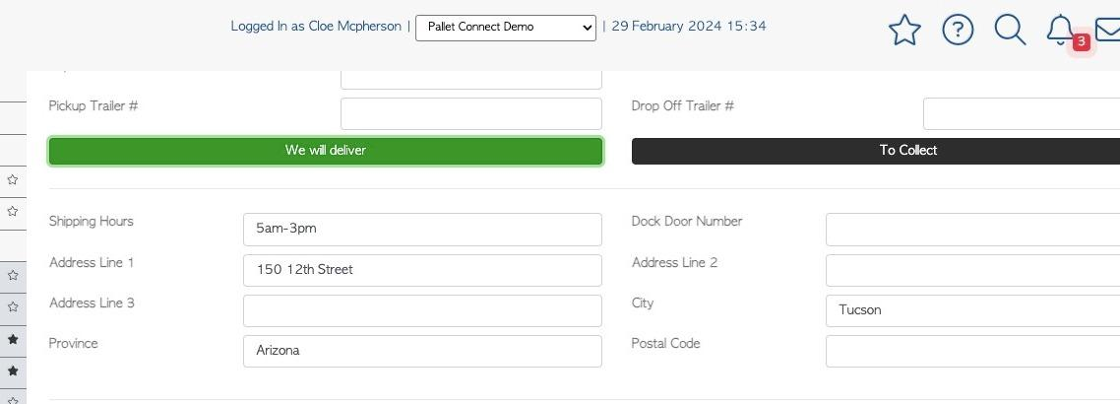
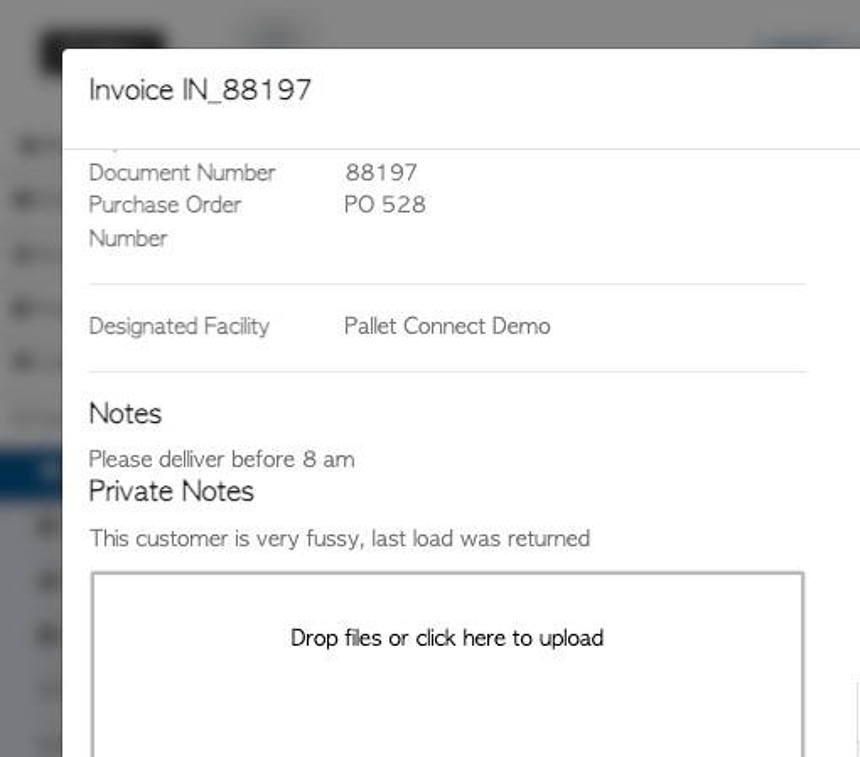
7. Ensure the customer information and address details are correct.
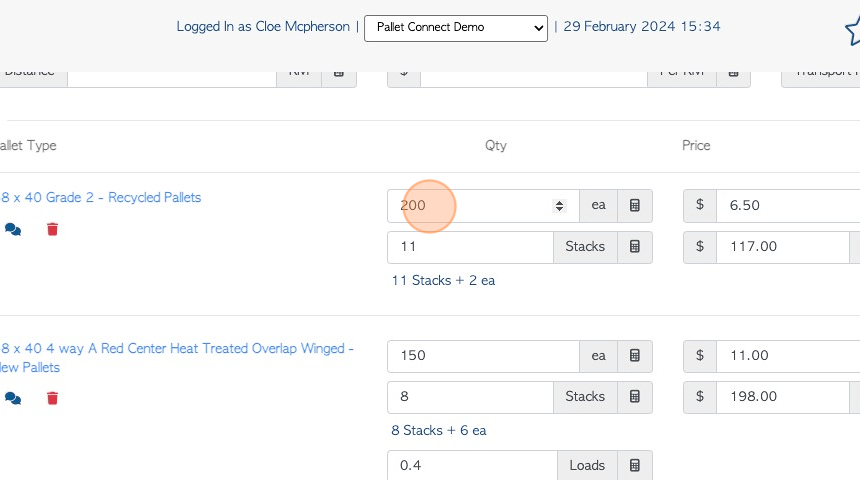
8. Click this number field to adjust to the quantity of the items that were actually delivered.
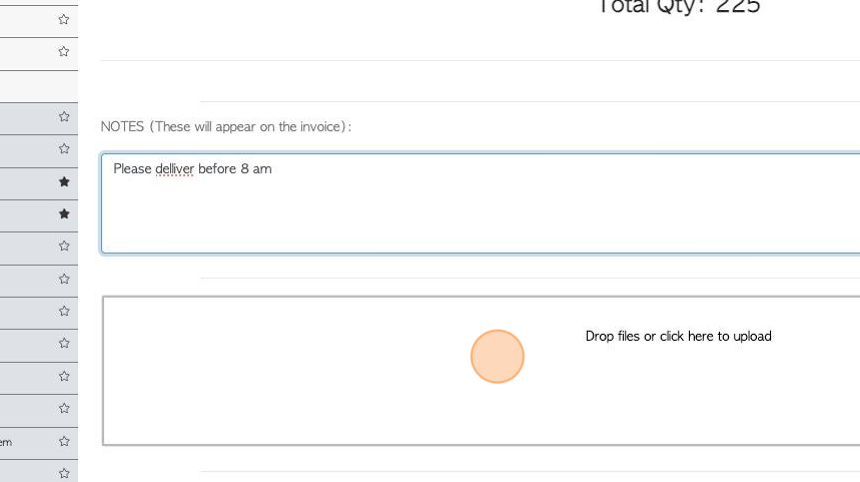
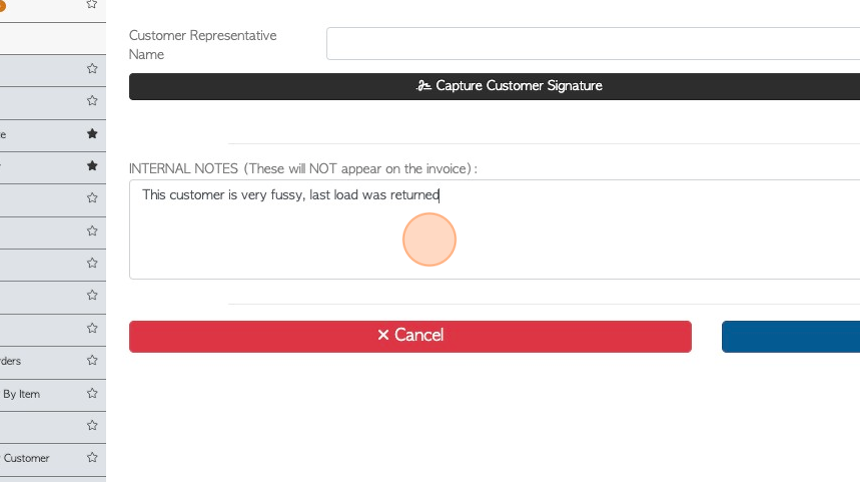
9. Click this field to add notes, if needed
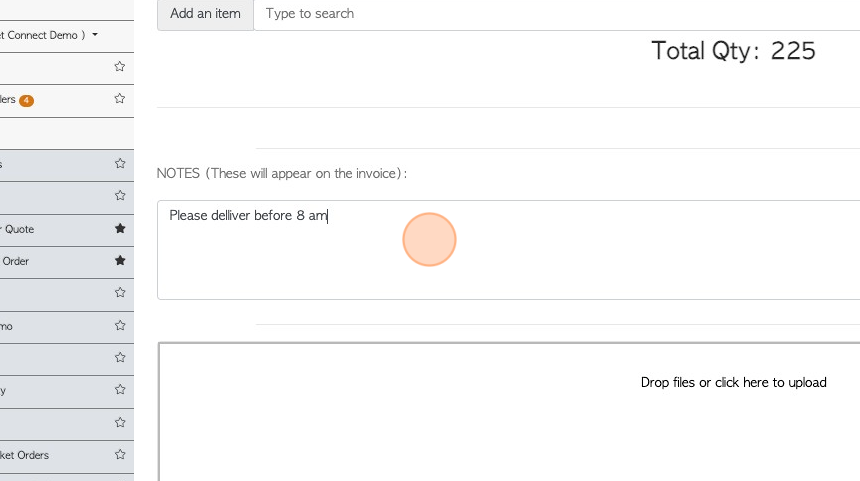
10. Click here to attach files or images, if needed.
11. Click here to add the shipping manager and customer rep signature if needed.
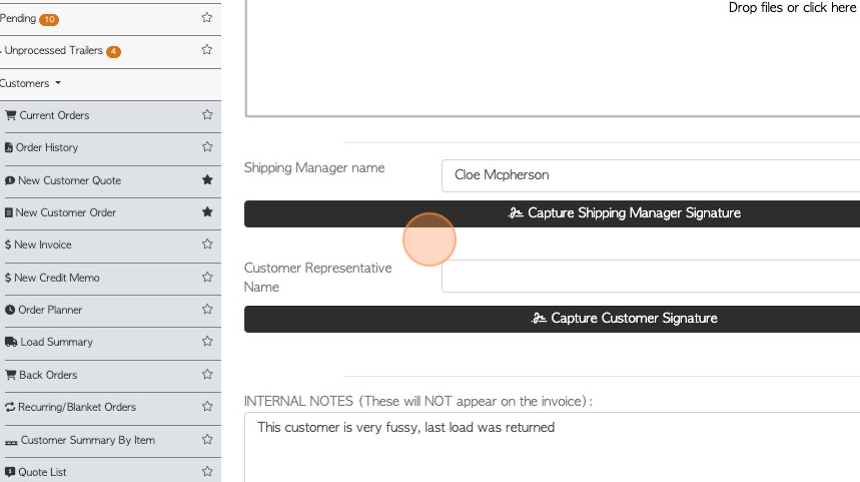
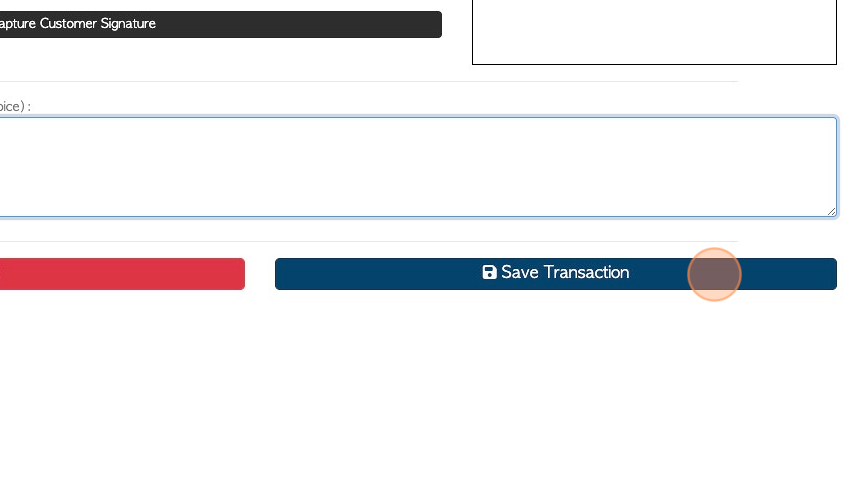
12. Click this field to add internal notes that will NOT appear on the invoice.
13. Click "Save Transaction"
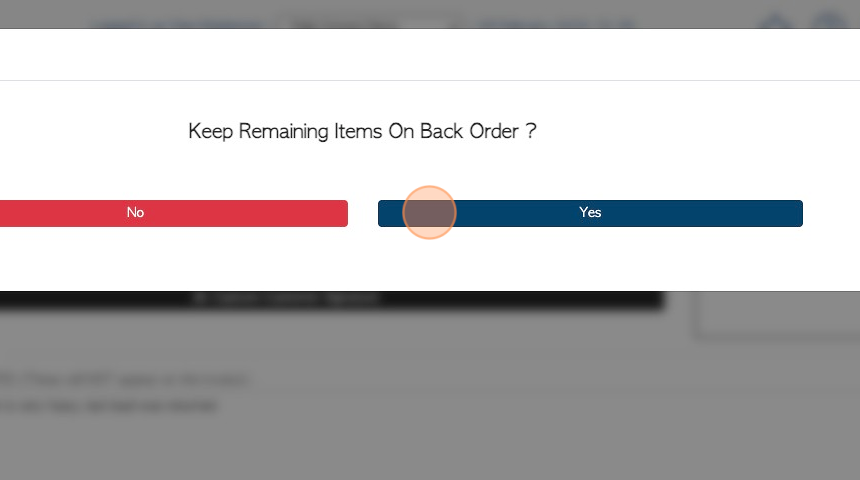
14. Reducing the quantity delivered, from the quantity in the original order, will prompt the system to ask if the remaining items are a Back Order. Click "Yes" to continue.
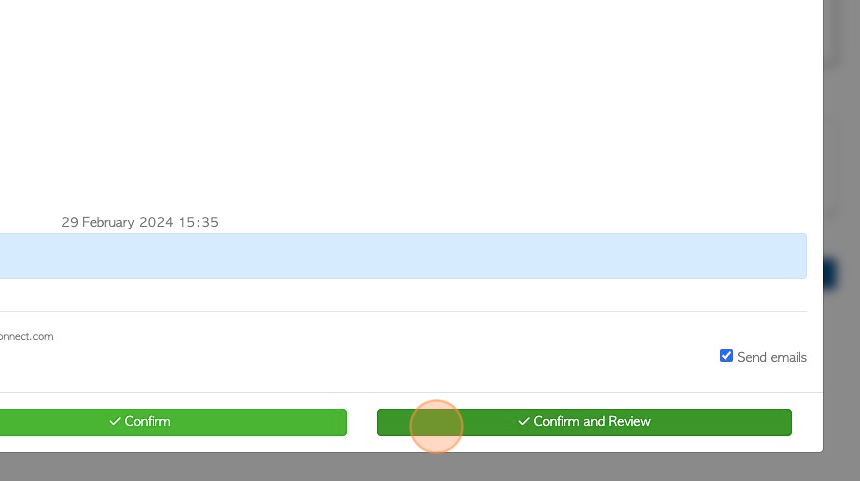
15. Click the date field to select a day for expected date of delivery.
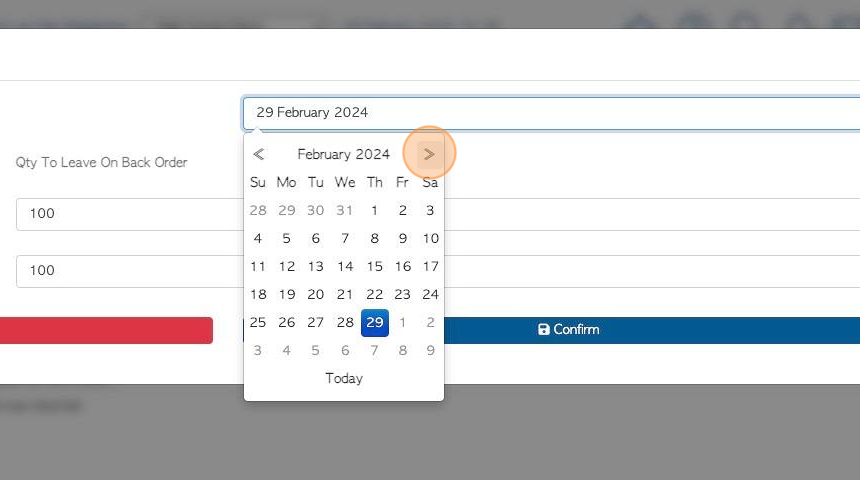
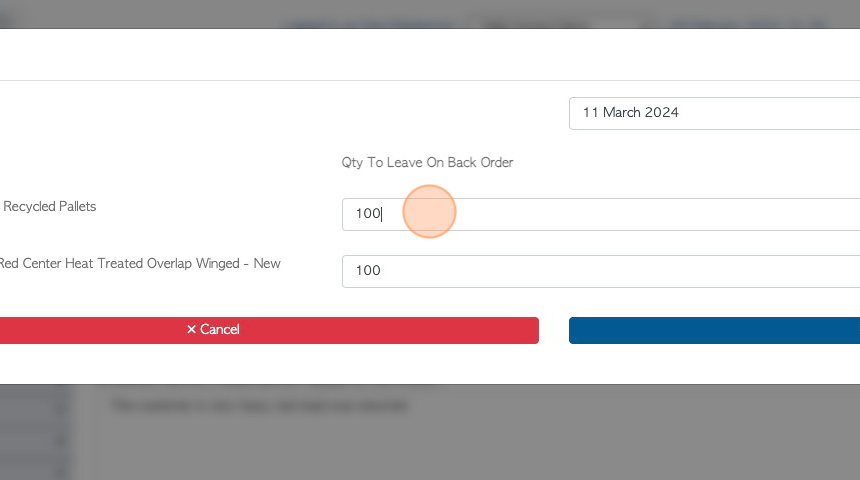
16. Click this field to add the amount of stock items that will be left on back order.
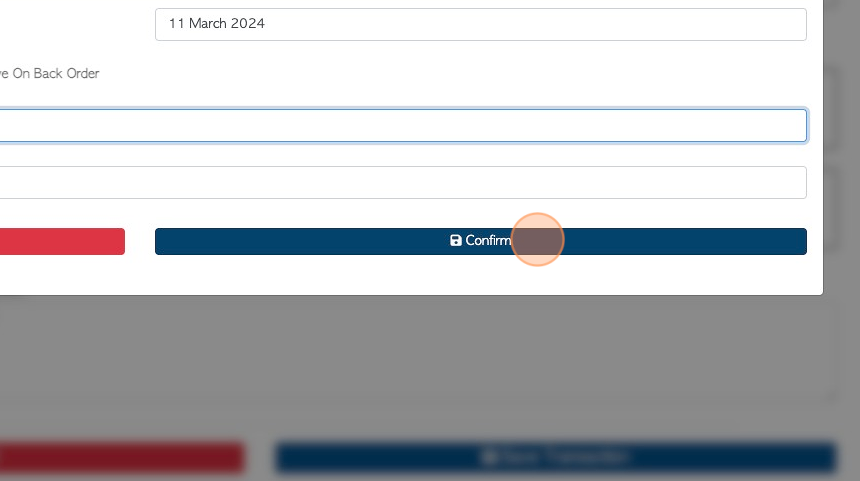
17. Click "Confirm"
18. An Invoice review will be generated to allow the user to check the information is correct, prior to completion.
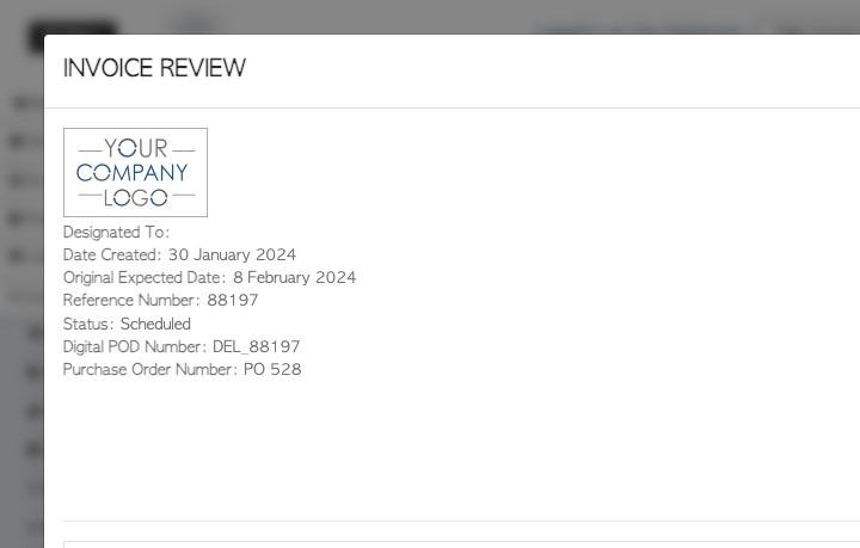
19. Click "Confirm and Review"
20. A new invoice will be generated for the items that were delivered.
21. A Back Order will be created and will show automatically on the Current Orders page.
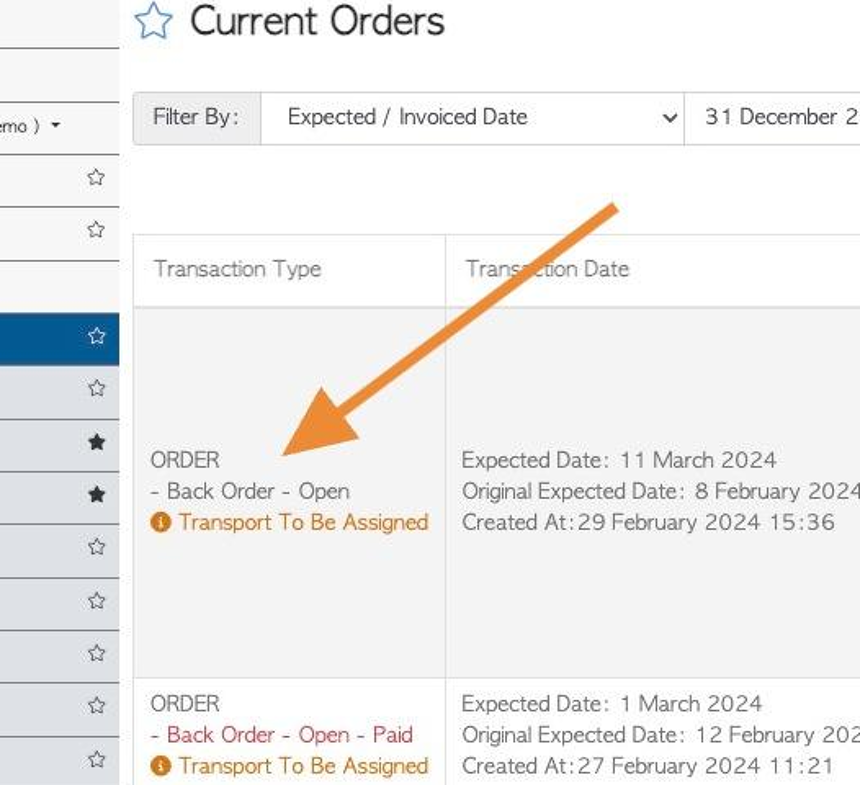
22. The Back Order will be given a new reference number.
