1. Pallet Connect allows admin users to add a Lead. A Lead is a potential sales contact that has expressed interest in your products/services.
The Lead differs from a Customer and an order cannot be placed for a Lead.
A Lead can easily be converted to a Customer if and when needed.
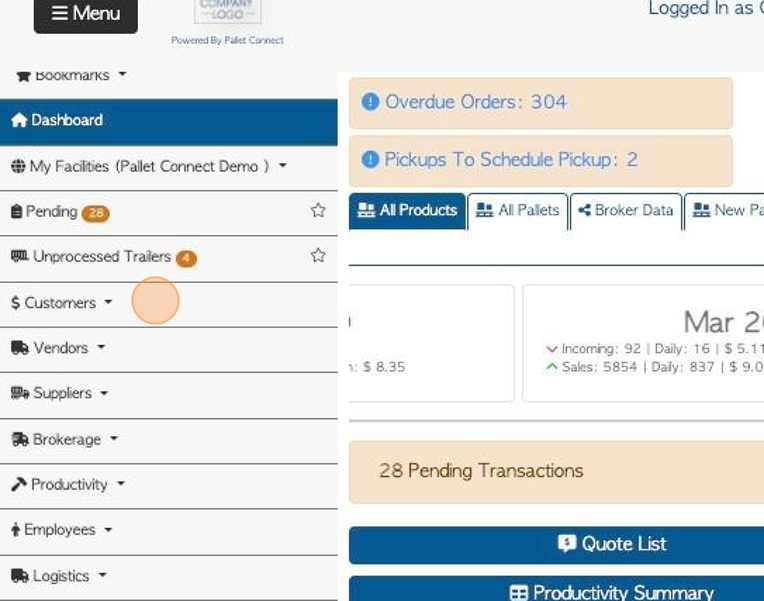
2. Navigate to the main menu. Click "Customers"
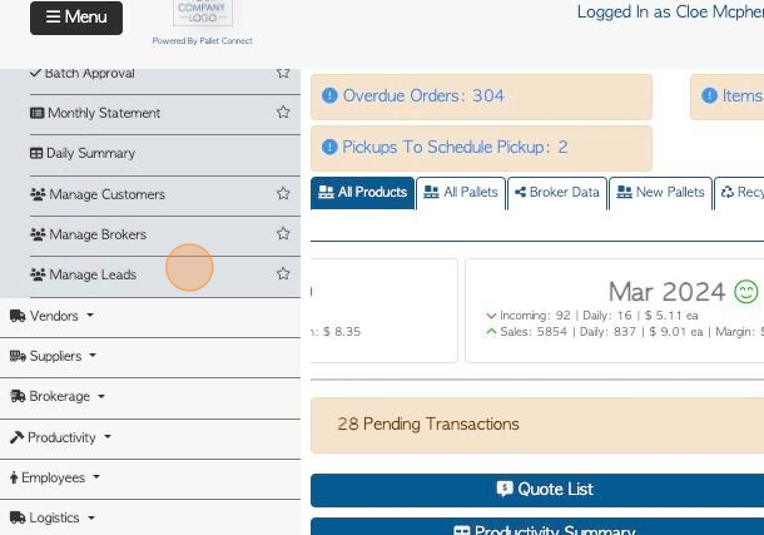
3. Click "Manage Leads"
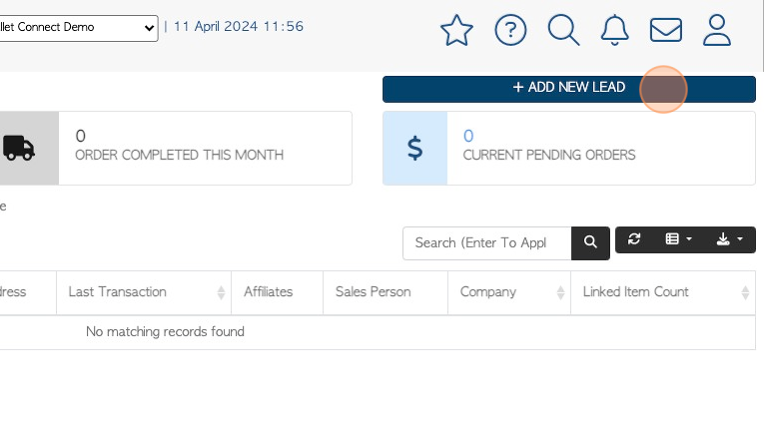
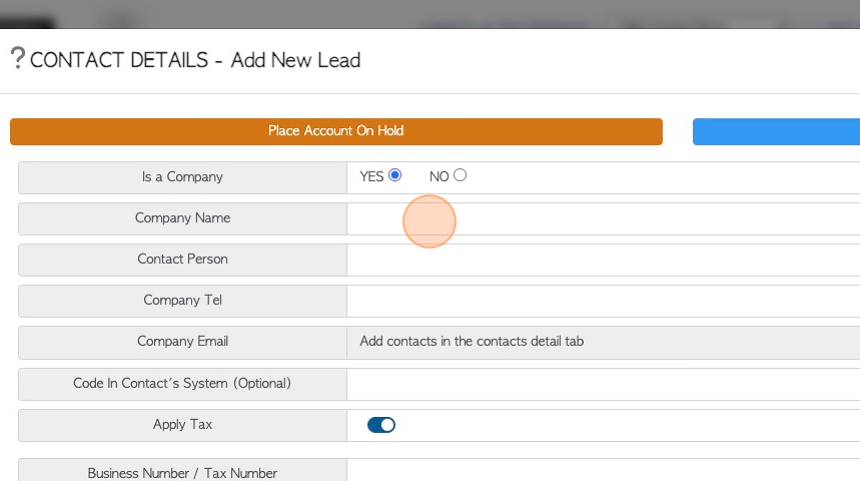
4. Click "ADD NEW LEAD"
5. Add the name and contact information of the company.
TIP! "Is a company" will not change any settings in Pallet Connect, it is a way for admin staff to know if contact is a company or independent operator.
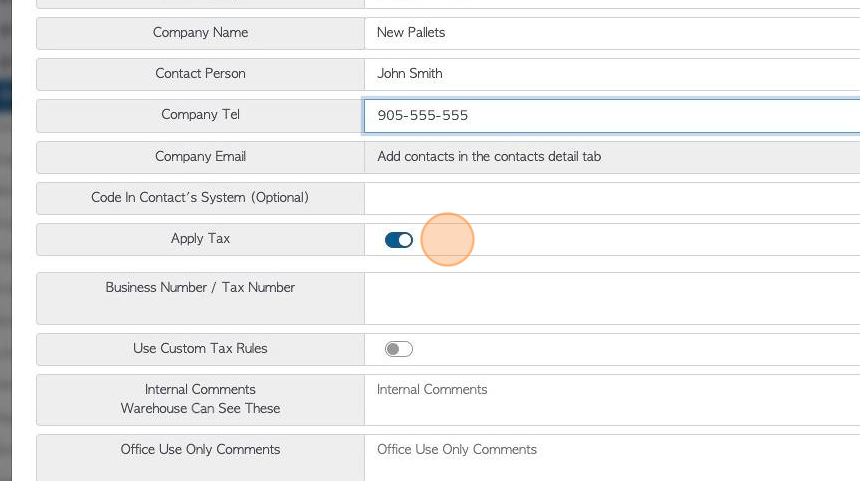
6. Add the relevant tax information. See related articles on setting up tax terms for a contact.
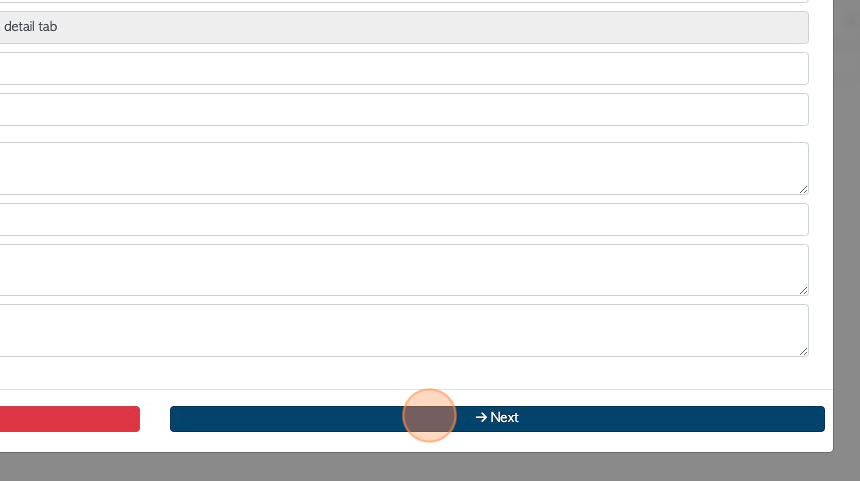
7. Click "Next" to continue adding information
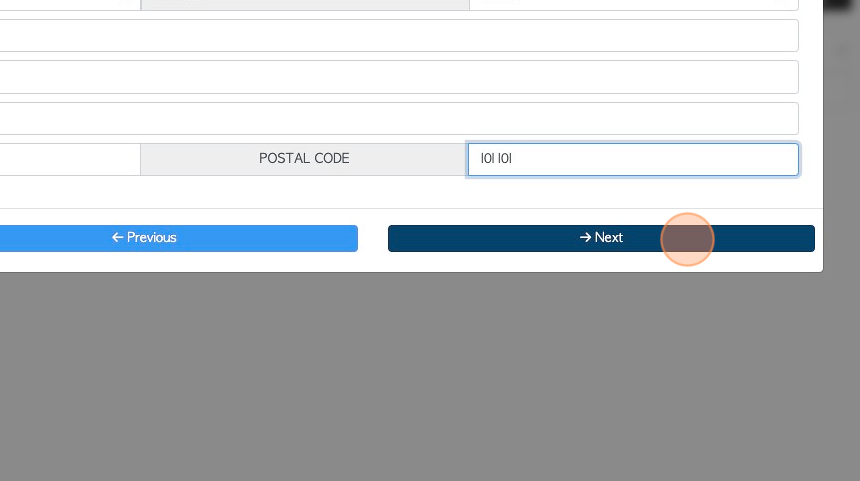
8. Add the physical address.
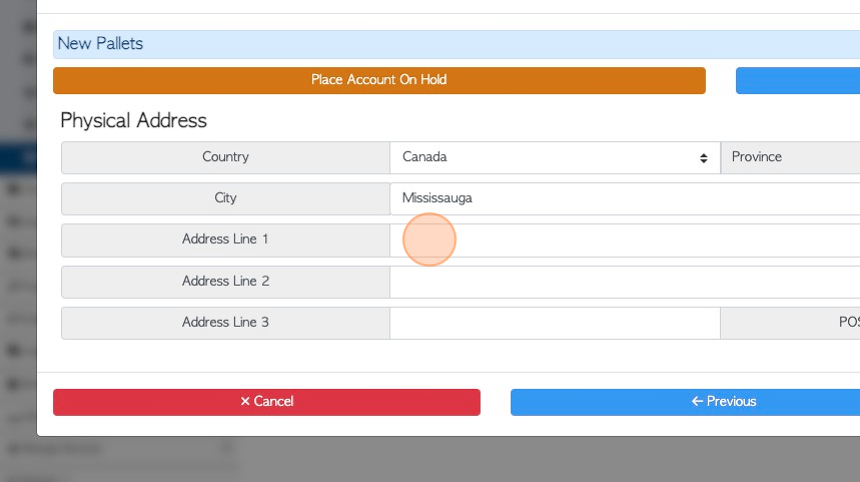
9. Click "Next" to continue adding information
10. Add any terms, if needed. See related articles on how to set up payment terms for a contact.
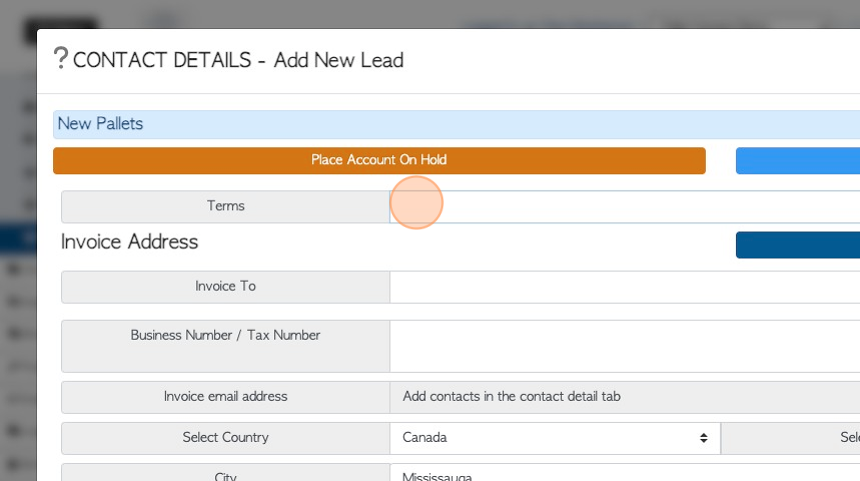
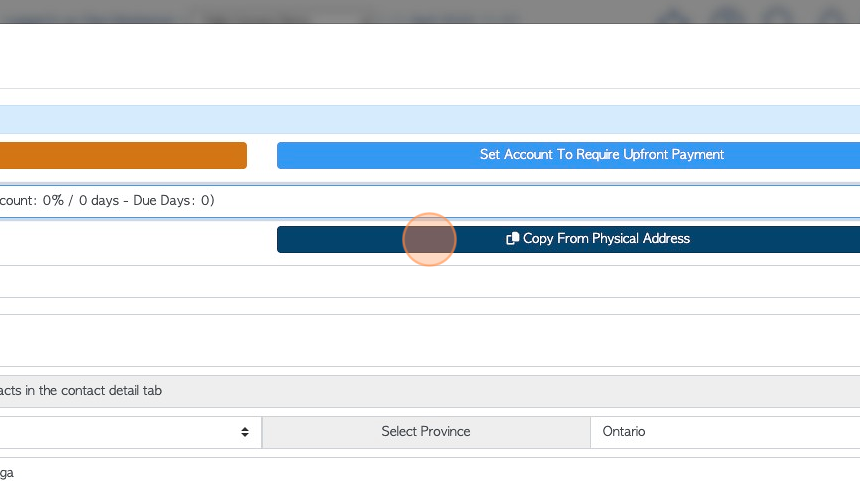
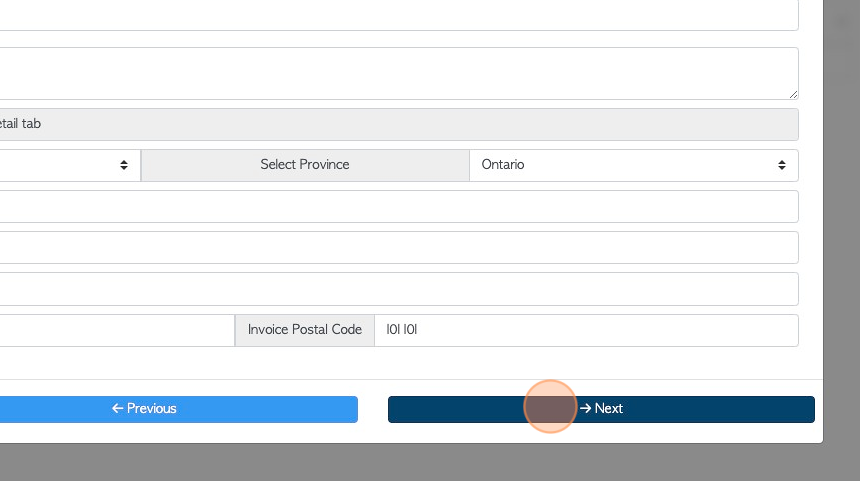
11. Add the billing address. Click "Copy From Physical Address" to copy the previous information.
12. Click "Next" to continue adding information
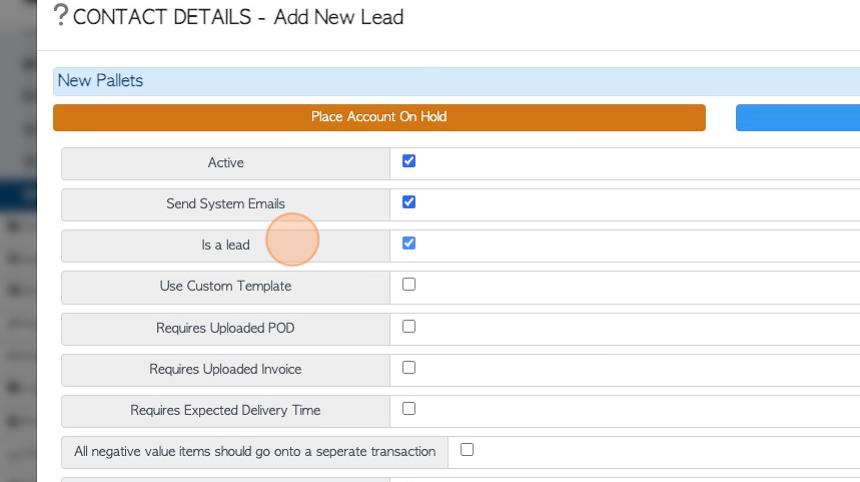
13. "Is a lead" will already be selected. Add any custom information on this page, as needed.
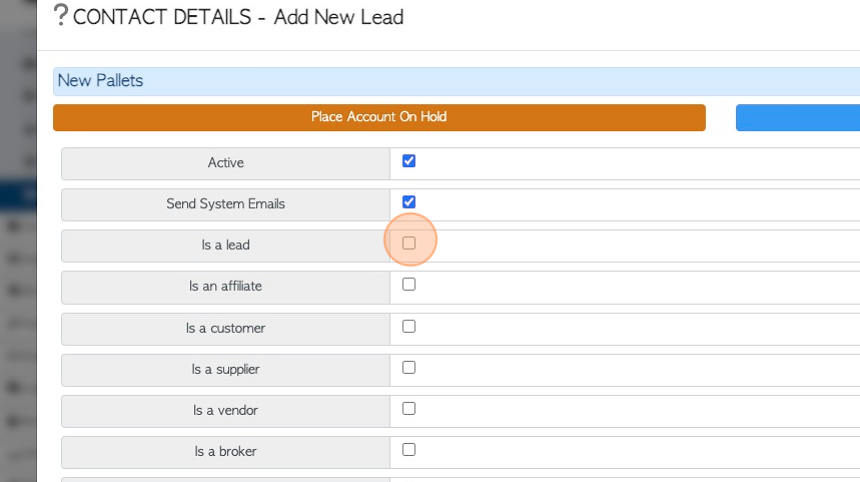
14. TIP! If the "Is a lead" field is deselected, other options appear to be able to assign a category. This is how the Lead can be converted into a Customer (or other category).
15. Click "Next" to continue adding information
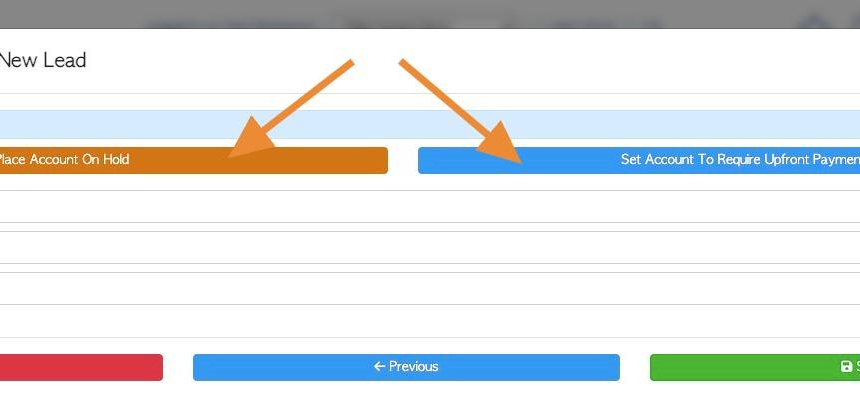
16. Click to select the facilities where the Lead will be associated.
NOTE: This is only applicable when multi facility has been enabled.
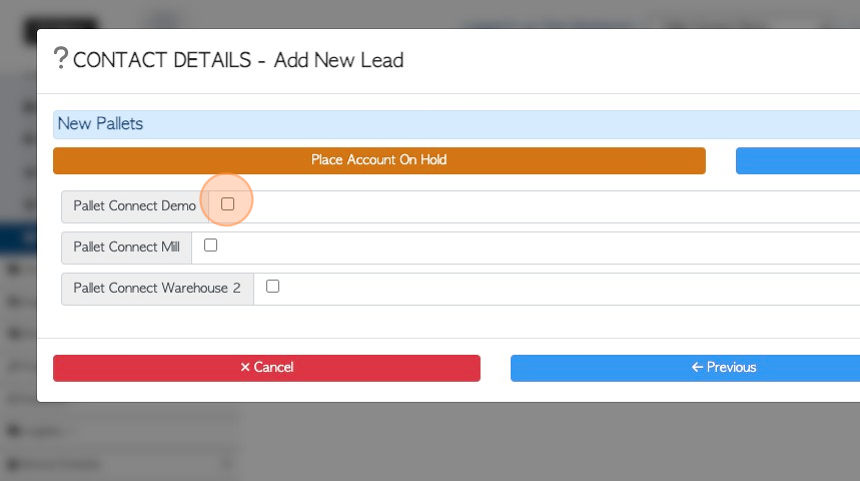
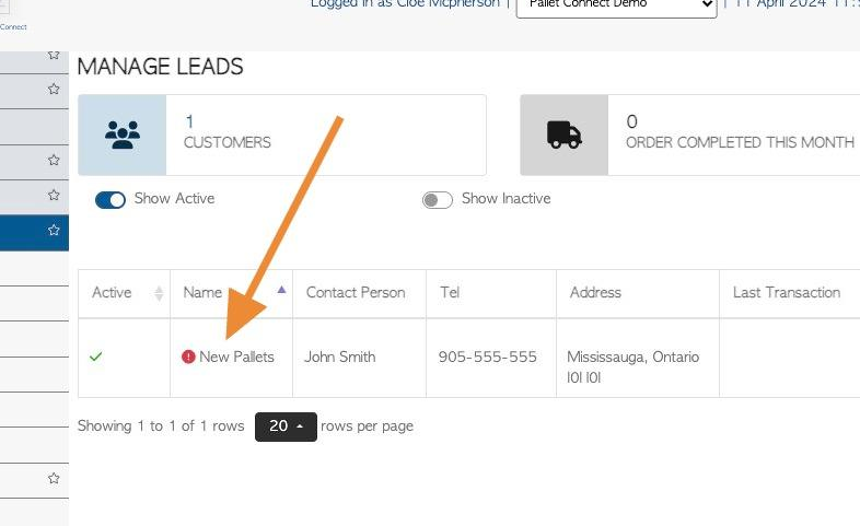
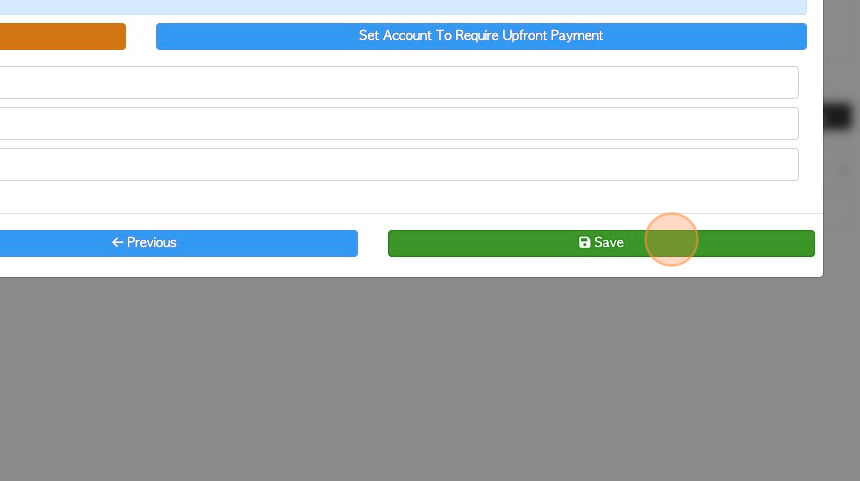
17. TIP! The account can be placed On Hold or set for Upfront payment
18. Click "Save"
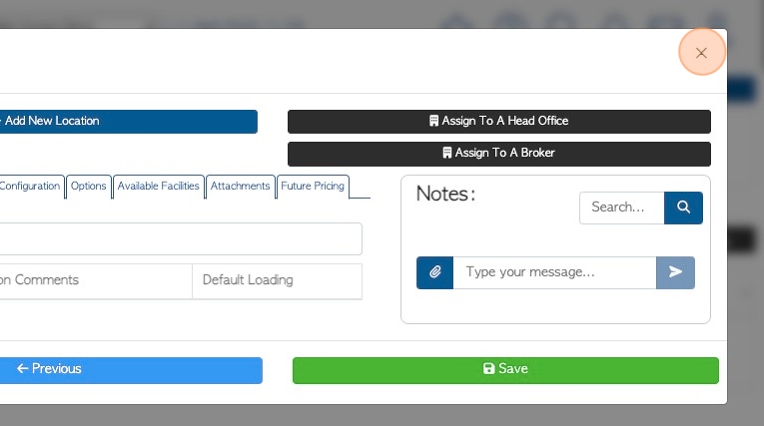
19. Click "×" to return to the "Manage Leads" page.
20. The lead will now display on the list for "Manage Leads"