1. The Comments are a versatile tool, as they can be customized to which screens and documents they are displayed and which users can view and edit them. The comments themselves can be fully customized. Comments can be added at a transaction, contact or stock item level. This article explain how to add a comment to a Vendor profile.
SHORTCUT: Type the Vendor name into the Global search tool, located at the top right corner of each page. This will bypass steps 2-4.
NOTE: A comment is always assigned to a Comment Type. The Comment Types must first be created in Settings. See related article.
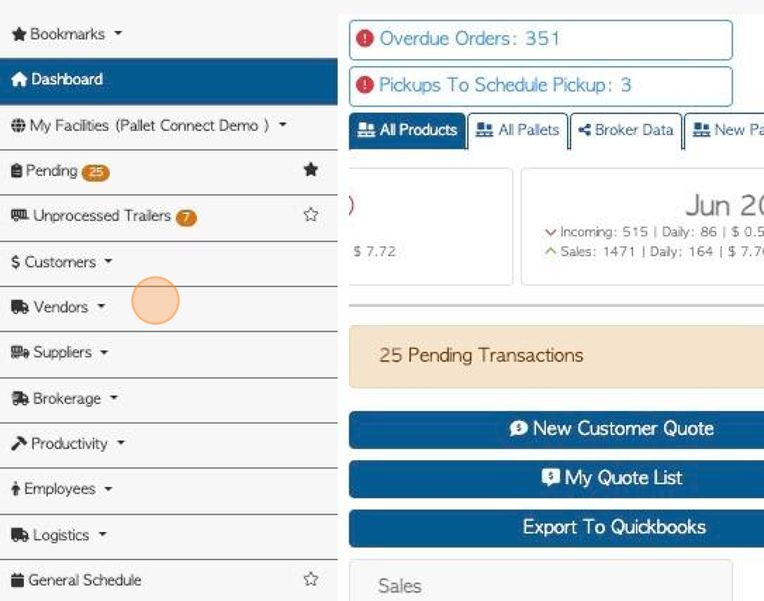
2. Navigate to the main menu and click "Vendors".
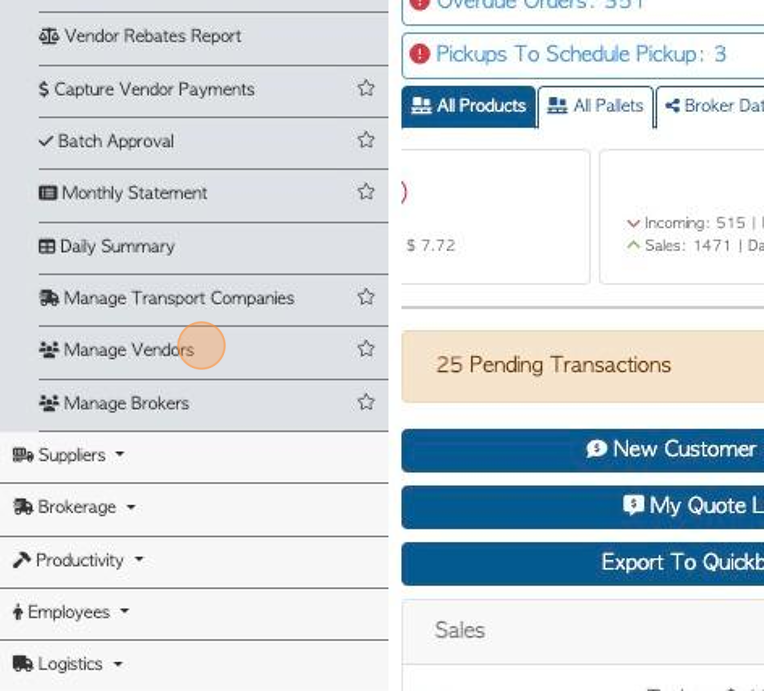
3. Click "Manage Vendors"
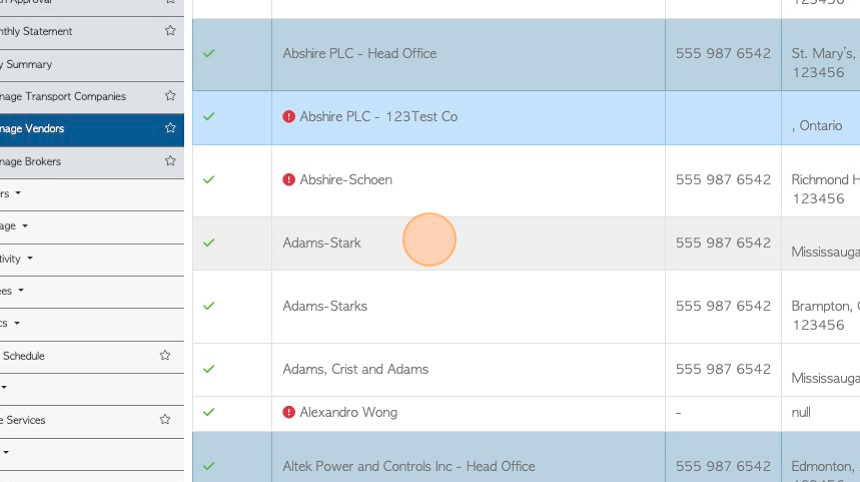
4. Click the selected Vendor from the list.
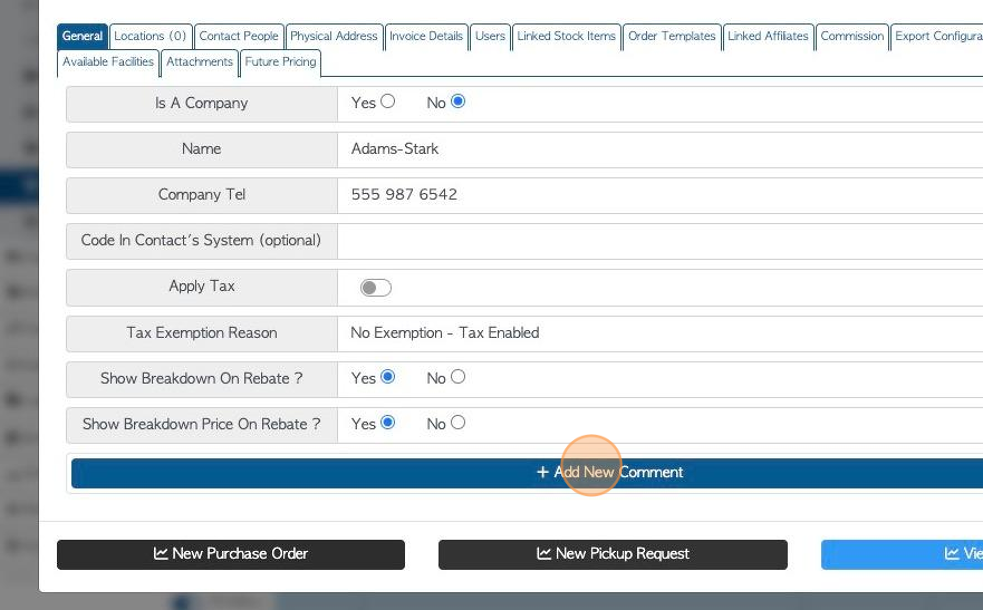
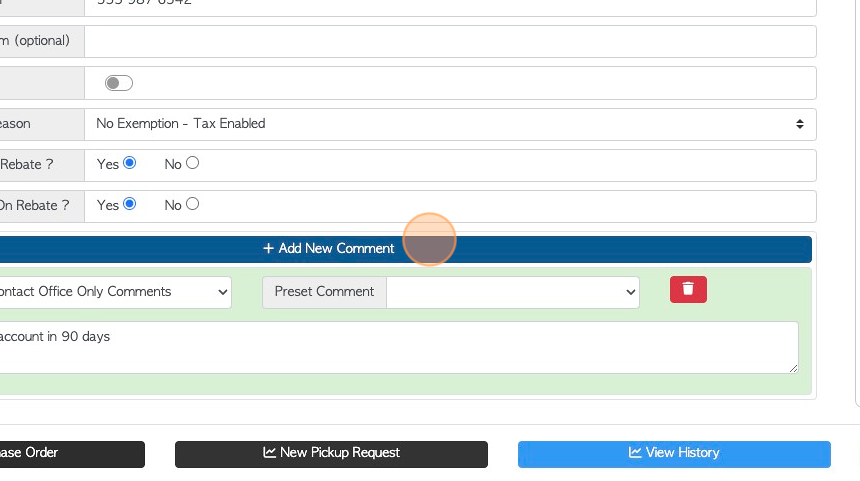
5. From the General tab in the Vendor profile. Click "Add New Comment"
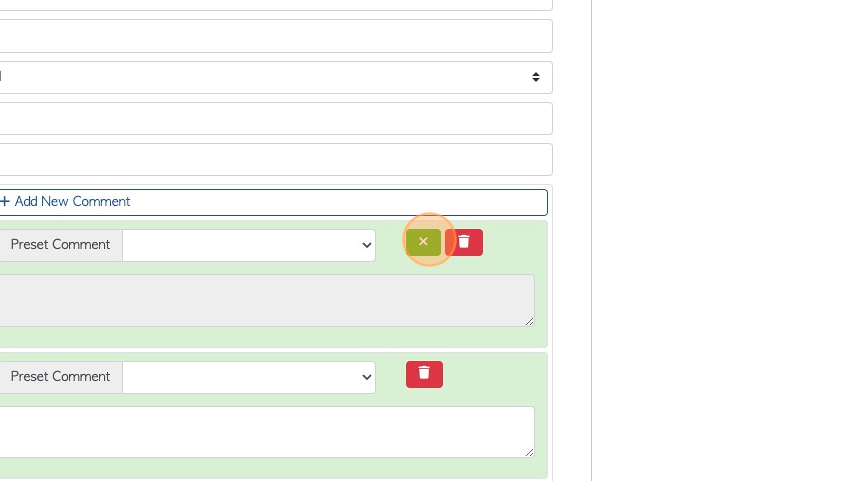
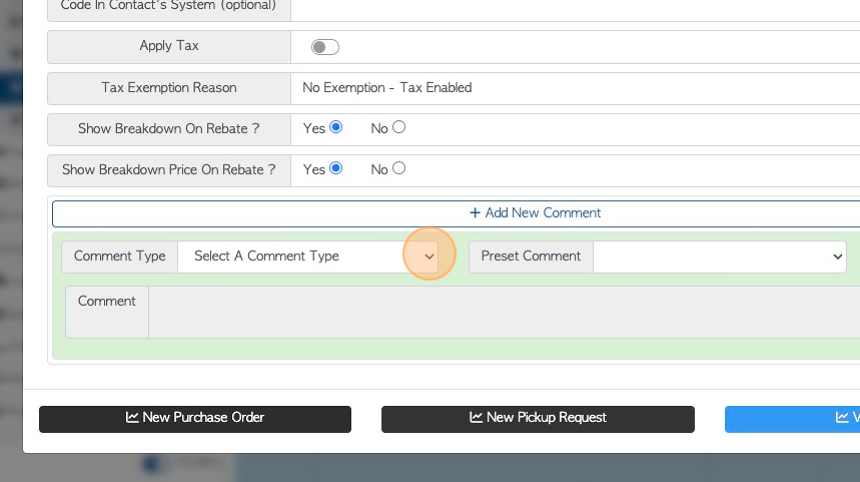
6. Click this dropdown to select the Comment Type.
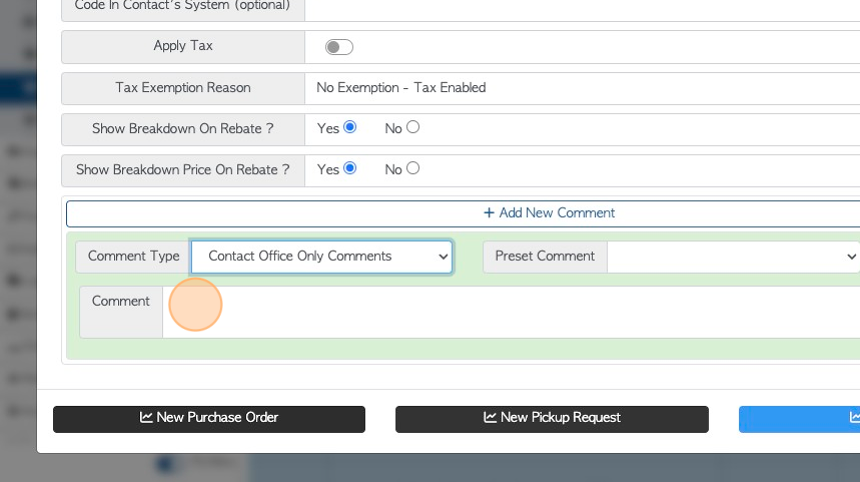
7. Click this text field, to add the actual comment.
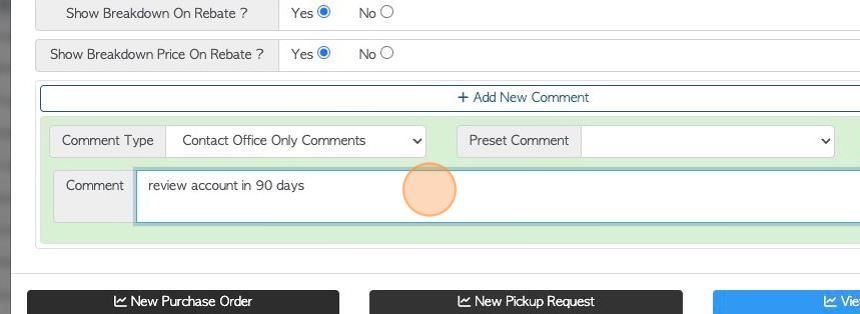
8. The comment will now be displayed.
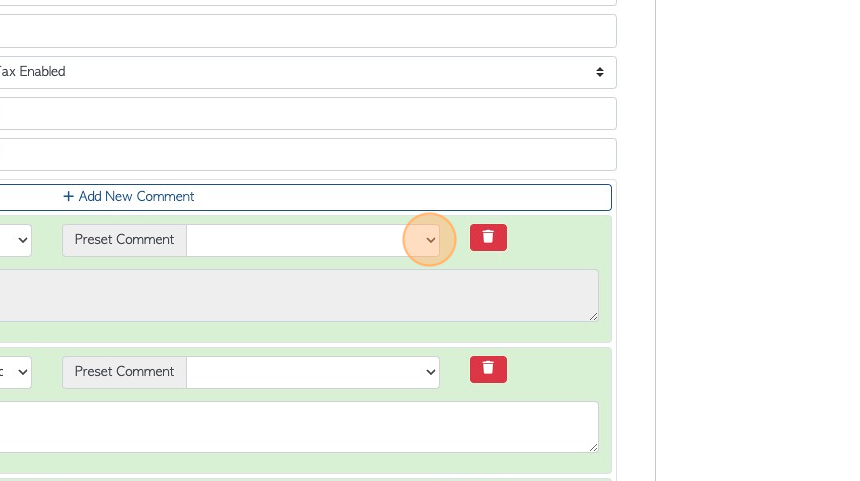
9. Click "Add New Comment" to add another Comment, multiple Comments can be added.
10. Click this dropdown to select a Preset Comment. The Preset Comments will be listed.
TIP! A preset comment is created in the "Manage Comment Type" setting. It is a comment attached to a comment type. This is an efficient way to avoid the user inputting the same comment multiple times.
11. Click "Save" to complete.
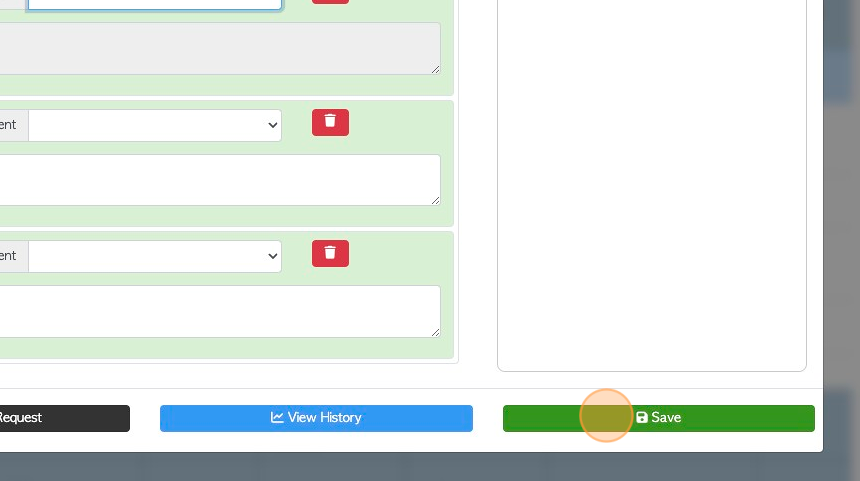
12. Comments can be deleted by clicking this button.