1. The Capture Complete Rebate feature is mostly used for unscheduled drop offs or pick ups. Once the Vendor drop off/pick up has occurred, a rebate needs to be issued. A rebate is payment to a vendor for used items (recycled pallets or cores).
This feature allows the user to capture the full transaction in one process and create the rebate.
For scheduled pick ups/drop off, see related article on creating a vendor request.
This article explains how admin staff can complete the rebate. The completed rebate can also be completed by using a phone or tablet in the warehouse, where the unscheduled transaction will occur. For example by a "warehouse" or "warehouse manager" user type. See related article.
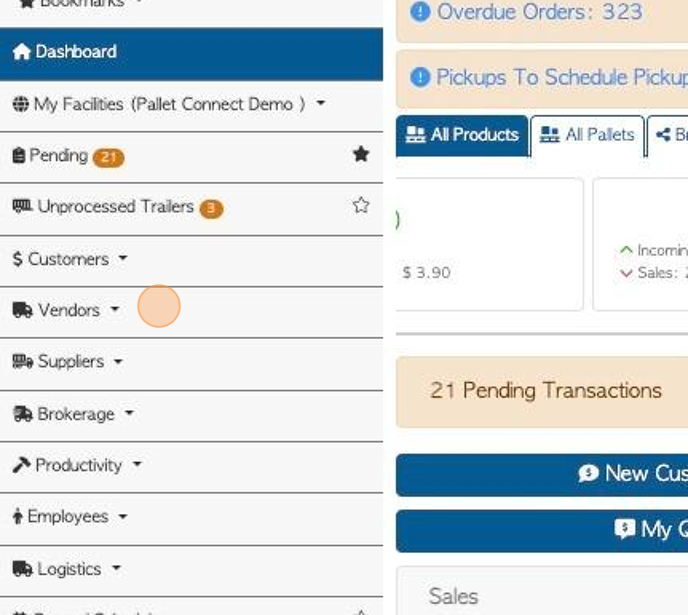
2. Navigate to the Main Menu. Click "Vendors"
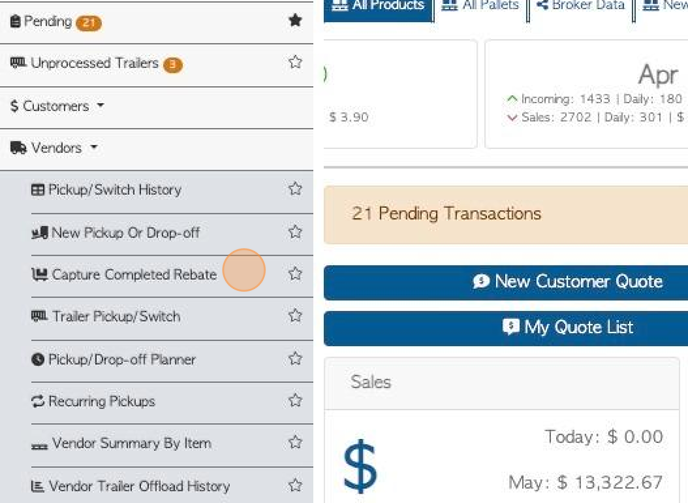
3. Click "Capture Completed Rebate"
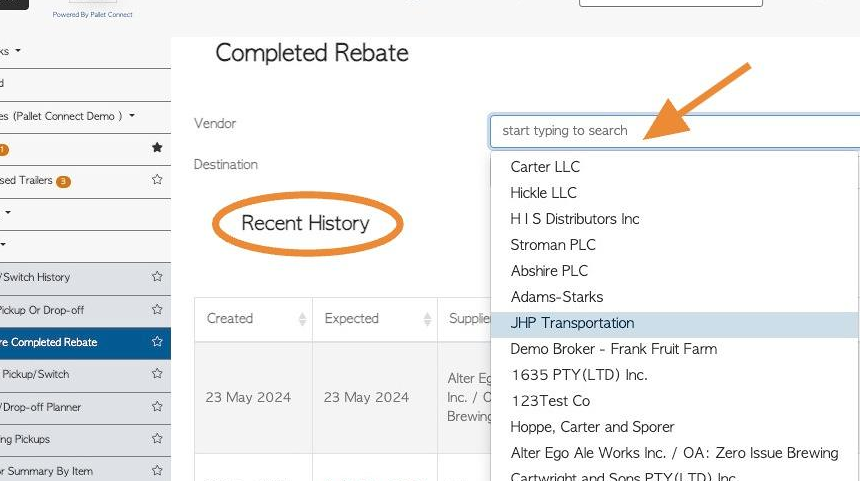
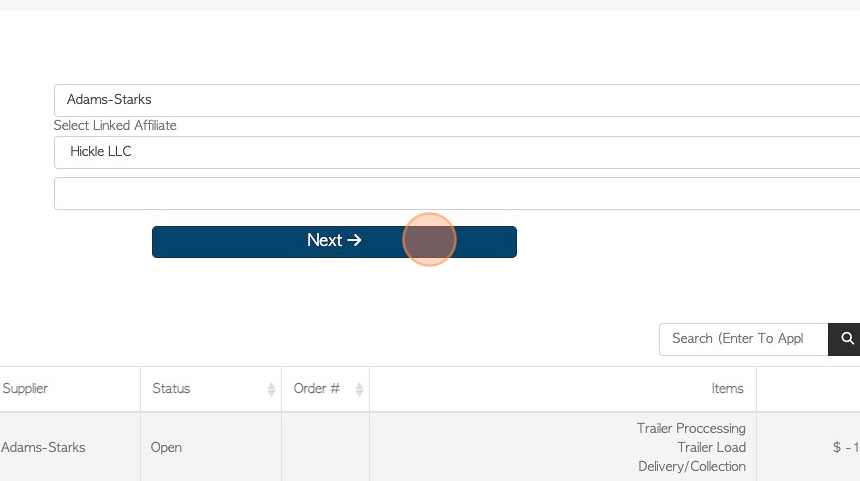
4. Find the selected Vendor from the drop down list or from the Recent History list.
TIP! The Recent History shows pick up/ drop off associated with this Vendor, in the last 30 days, however the date range can be changed.
5. Click "Next"
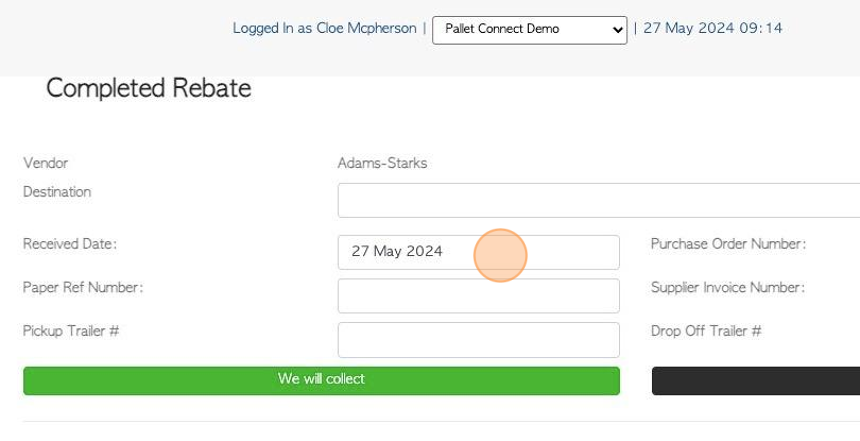
6. Check or add the transaction details in these text fields.
7. Click "We will collect" or "Deliver"
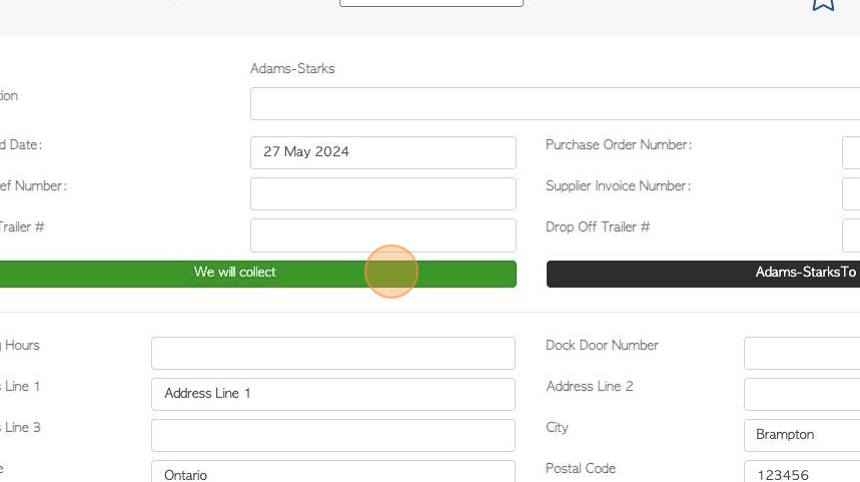
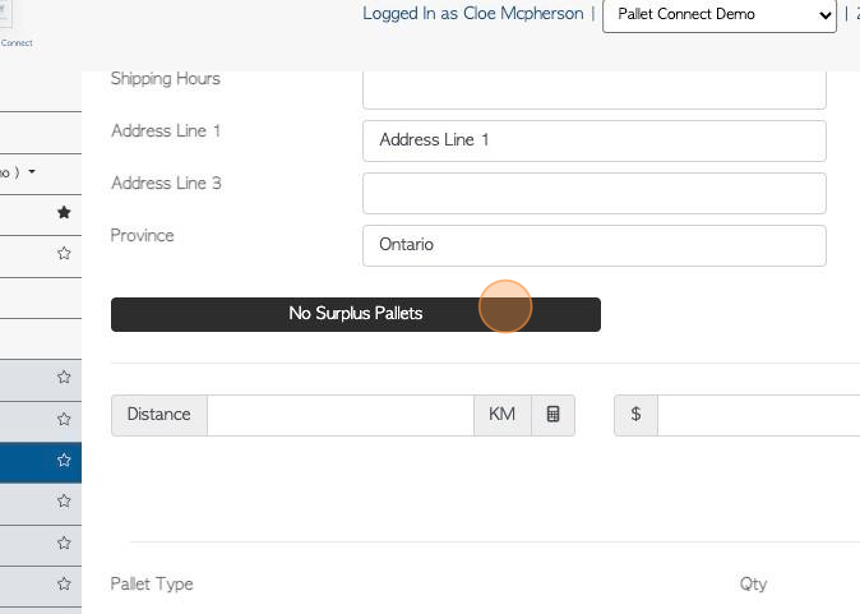
8. Check the Vendor's address information.
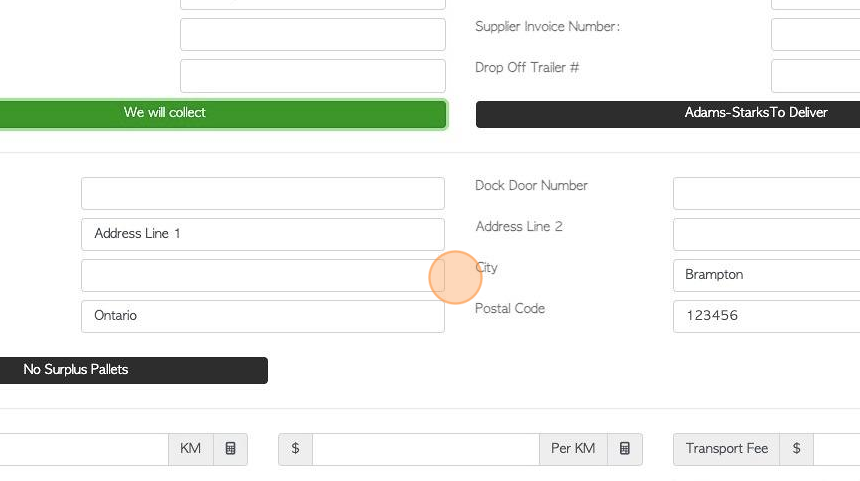
9. OPTIONAL STEP: There is an option to record when ZERO pallets were retrieved. Click on "No Surplus Pallets" and use the drop down menu to select a reason: 1)Service refused, 2)No pallets, 3)Receiving too busy, 4)Other.
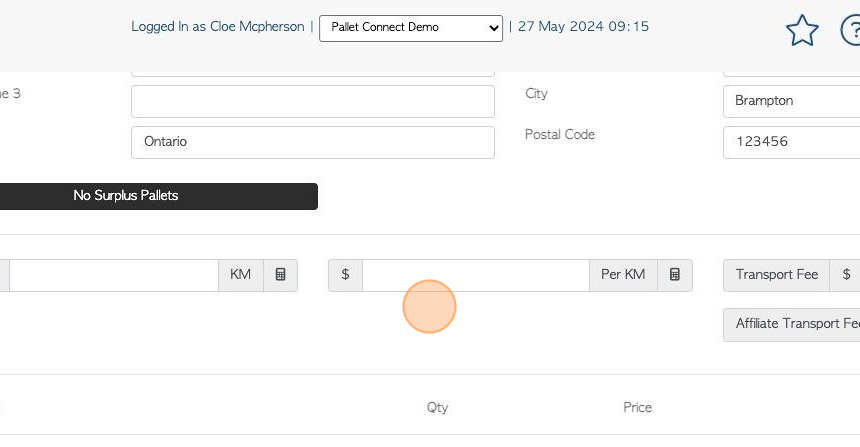
10. Add transport fees if needed.
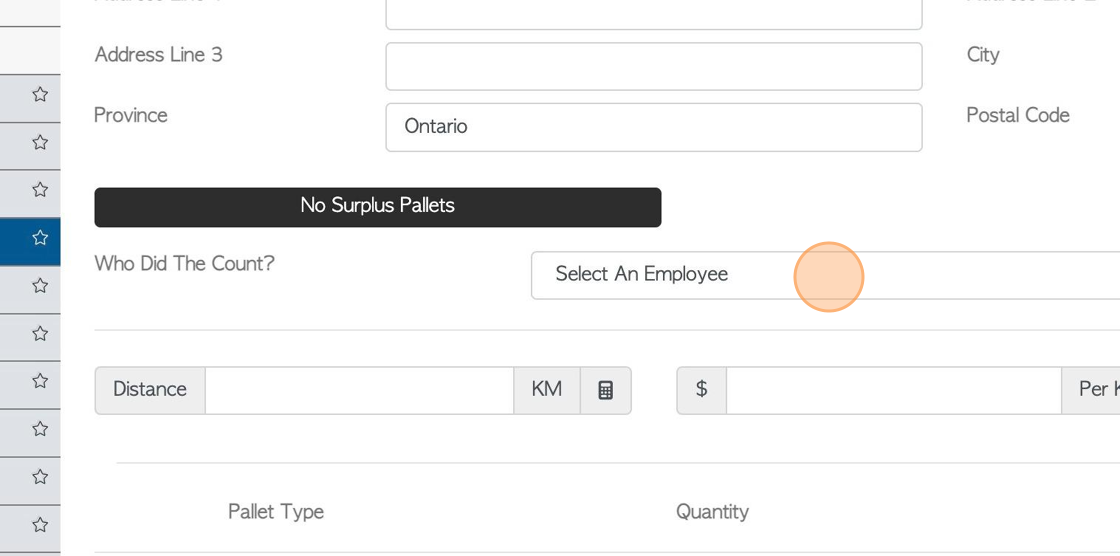
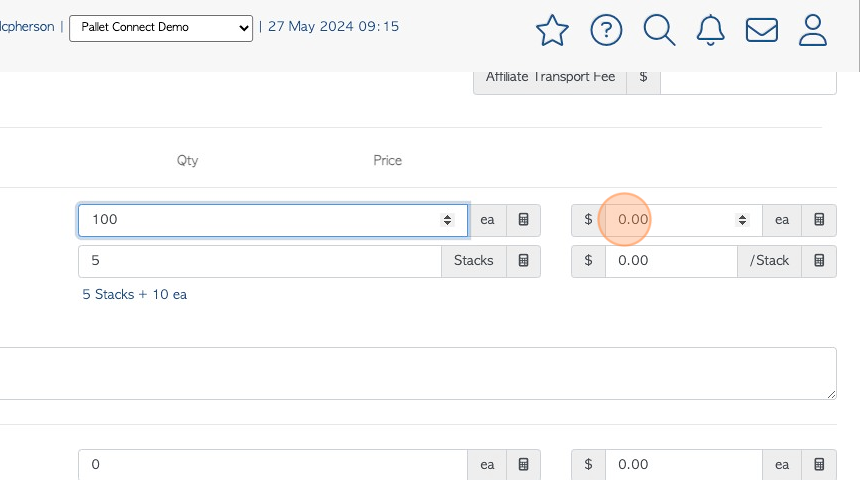
11. Click this dropdown to select who counted the pallets.
12. Enter the item counts.
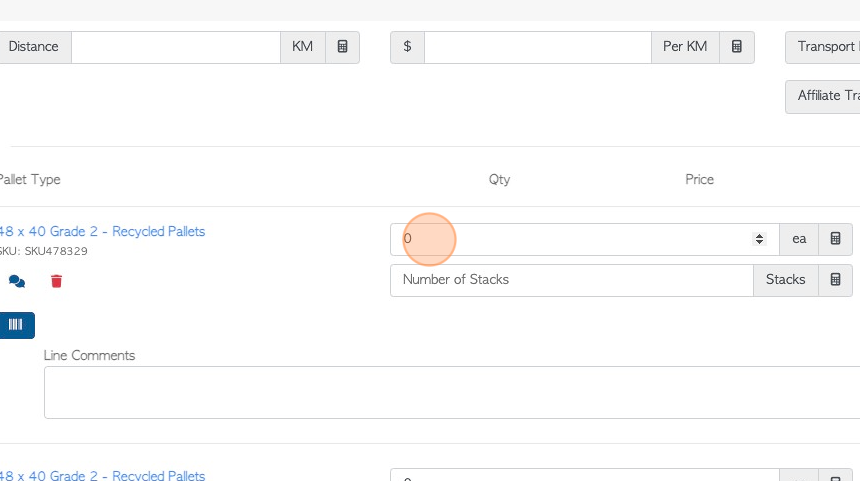
13. Adjust pricing if needed.
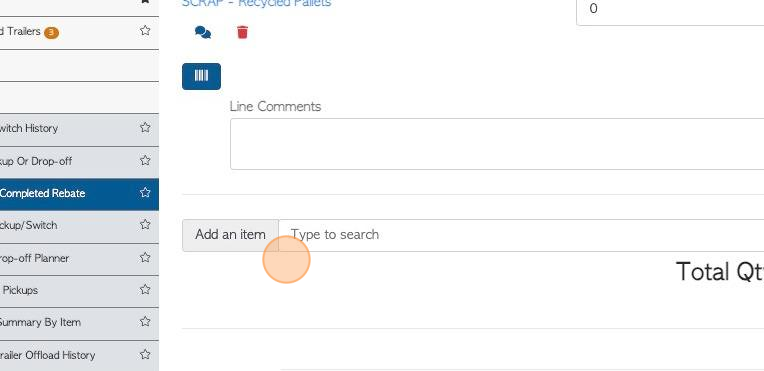
14. Click here to search for and add an item that is not on the list.
TIP! This feature can be disabled in settings.
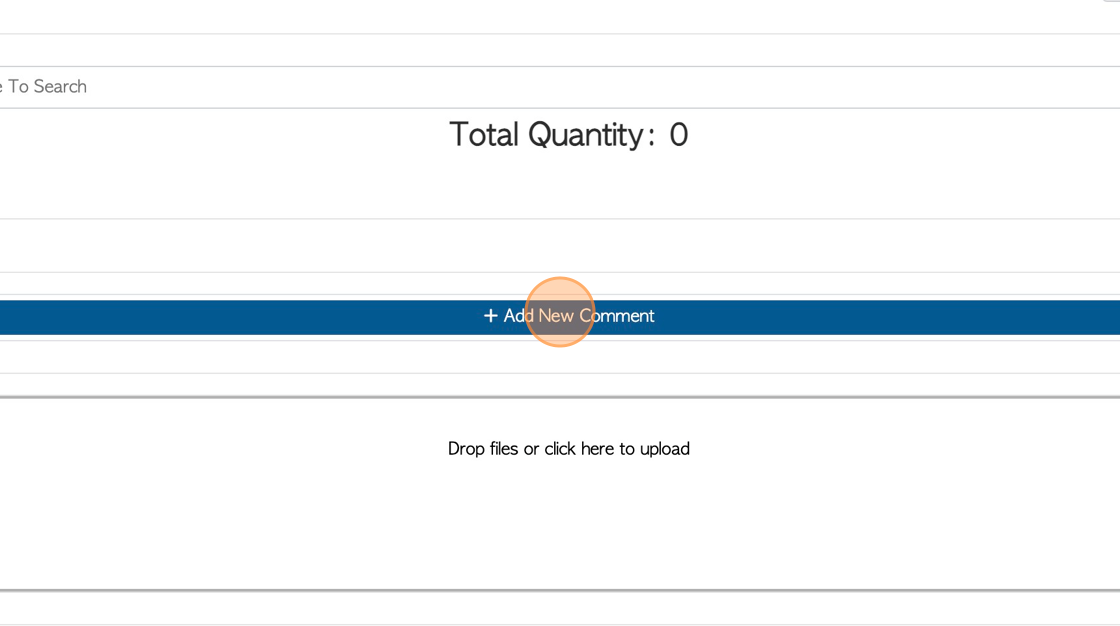
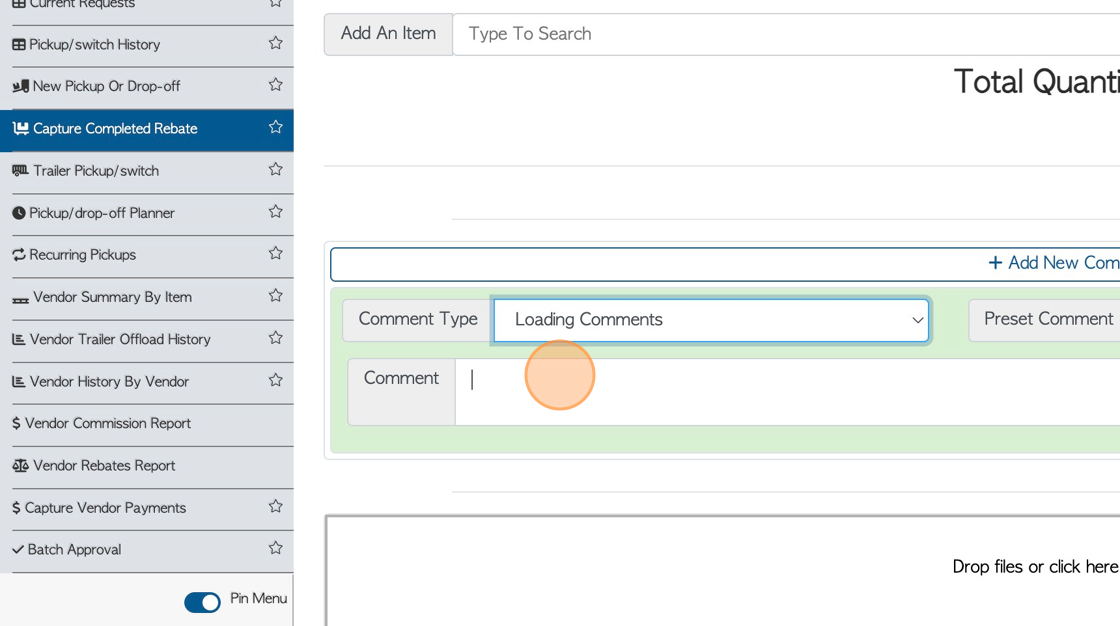
15. Click "Add New Comment" to attach a comment to the order.
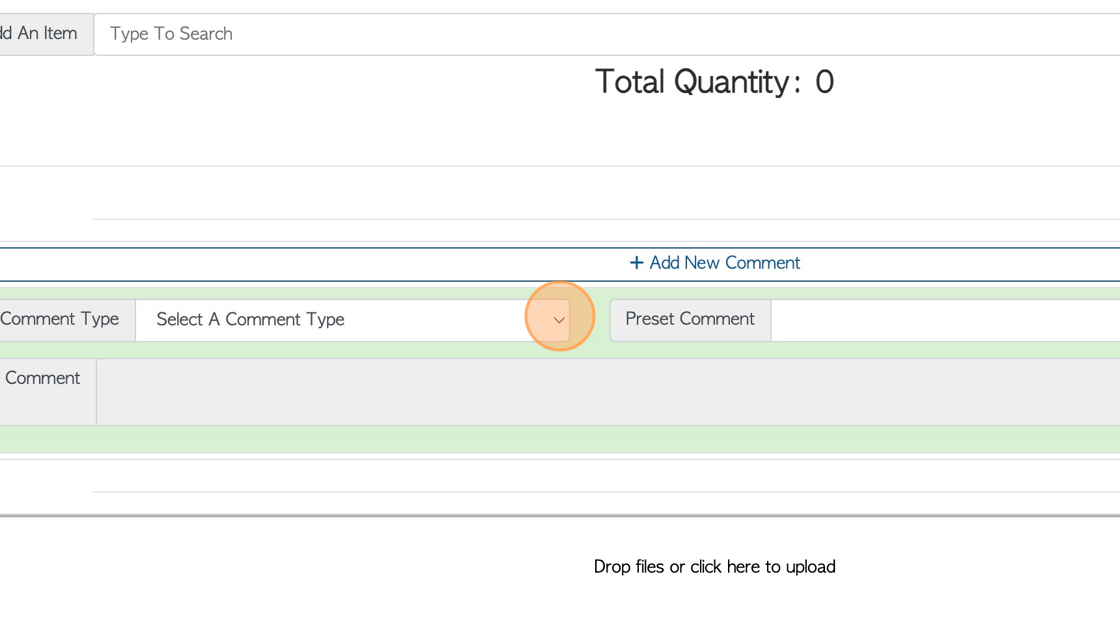
16. Click this dropdown to select the Comment Type.
TIP! Comment Types need to be set up in the Settings tab prior to adding comments. See related article.
17. Click this field to add the actual comments.
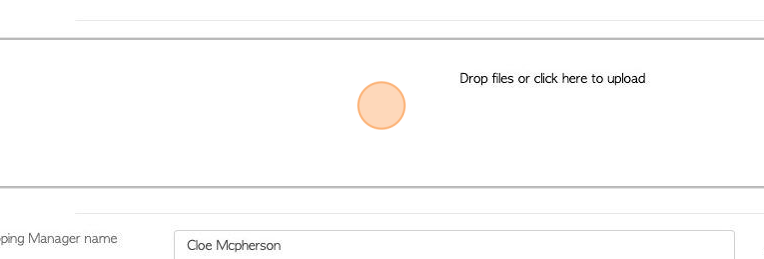
18. Click here to add images or files, if needed.
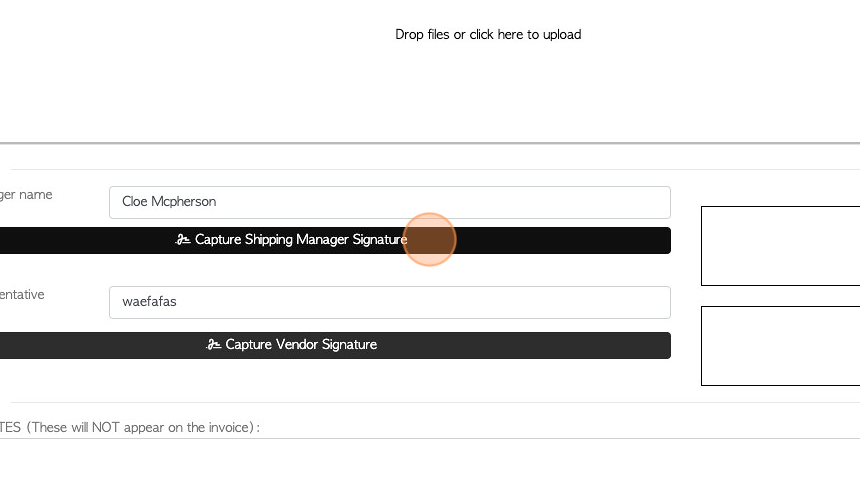
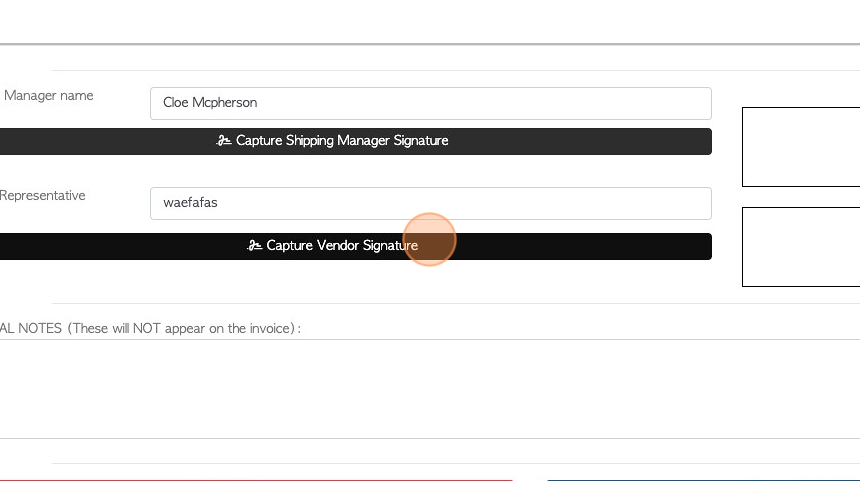
19. Click "Capture Shipping Manager Signature" to add internal staff signature.
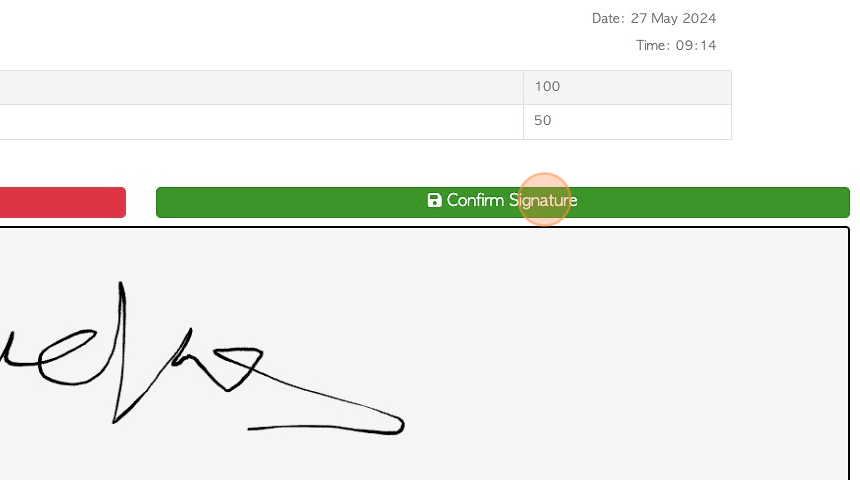
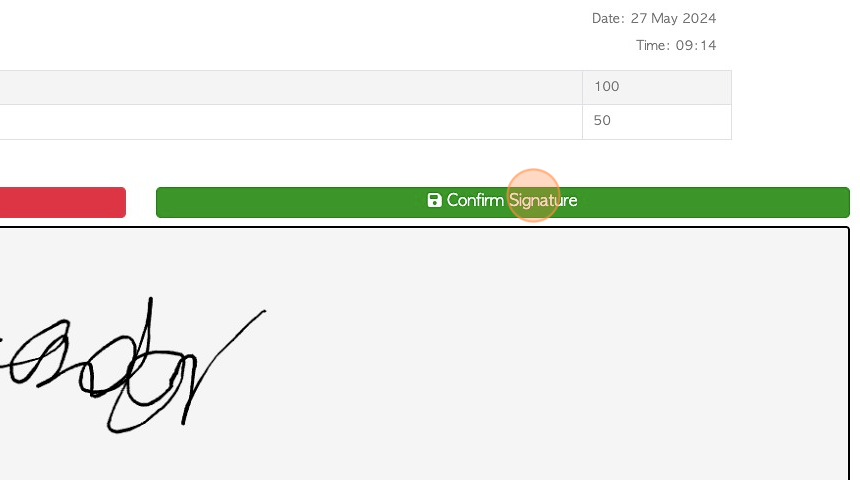
20. Enter signature and click "Confirm Signature"
21. Click "Capture Vendor Signature" to add the Vendor signature.
22. Enter the signature and Click "Confirm Signature"
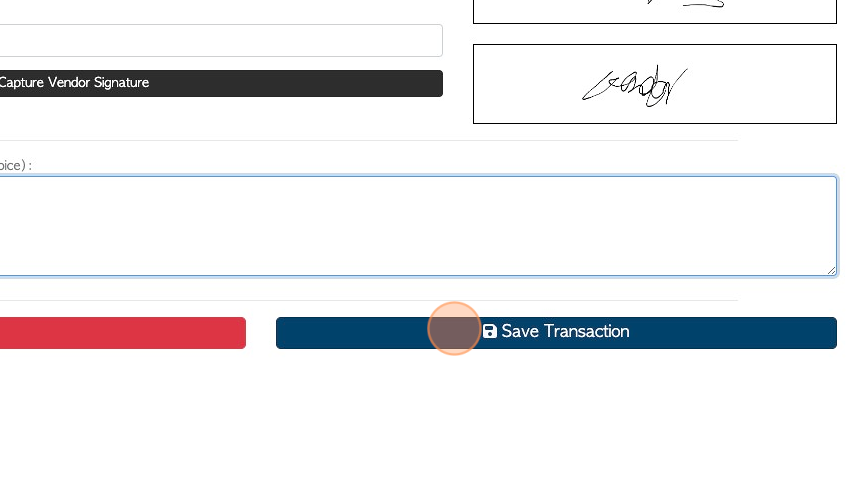
23. Click "Save Transaction"
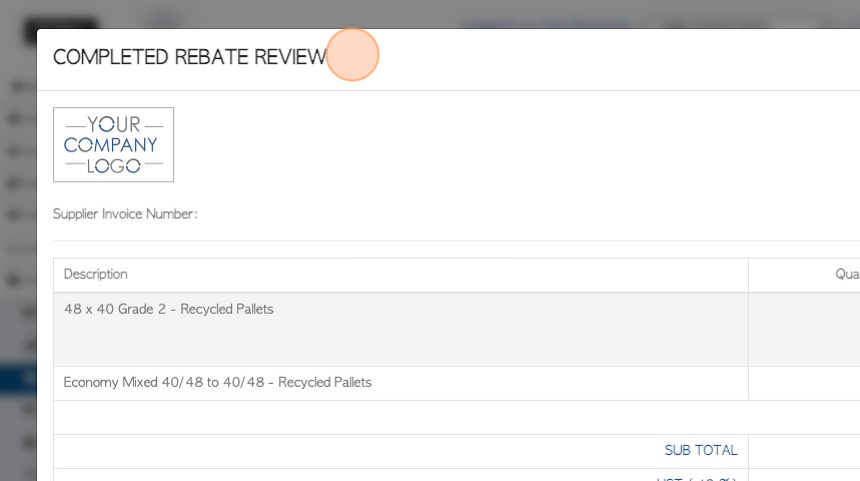
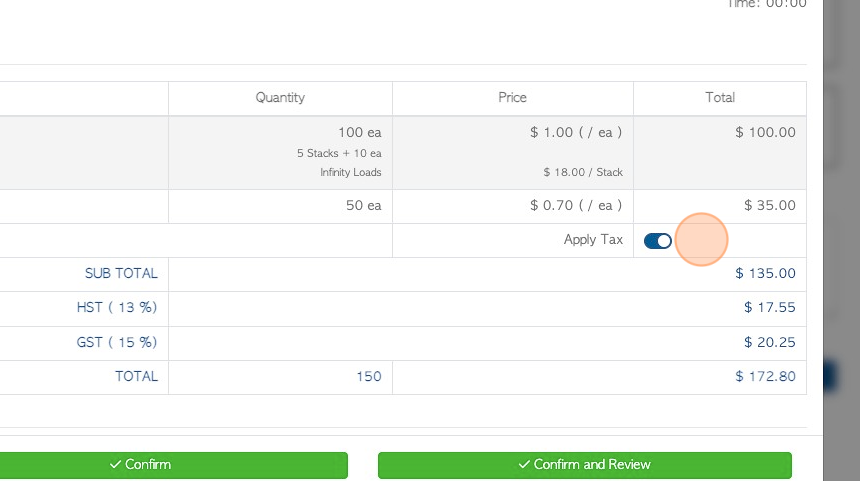
24. A "Completed Rebate Review" will appear, to confirm the details.
TIP! A rebate can be zero dollars, if there is no cost involved but the user wishes to record the transaction.
25. TIP! Apply tax can be toggled on/off on this screen.
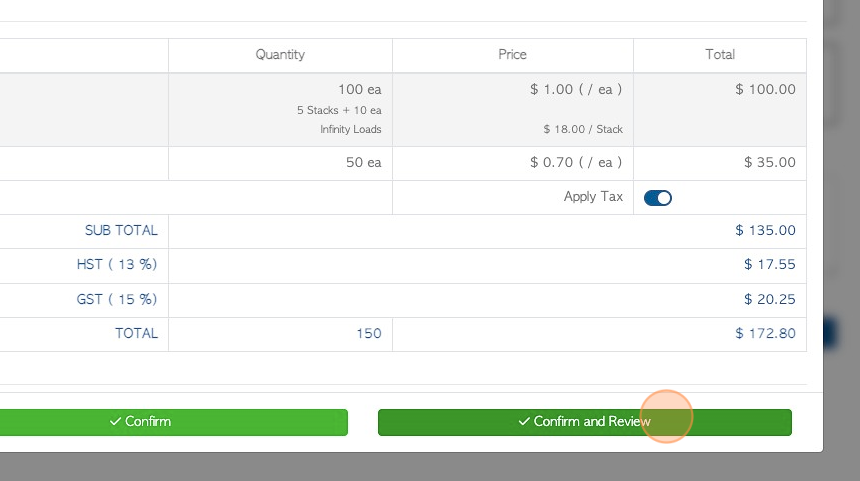
26. Click "Confirm" or "Confirm and Review".
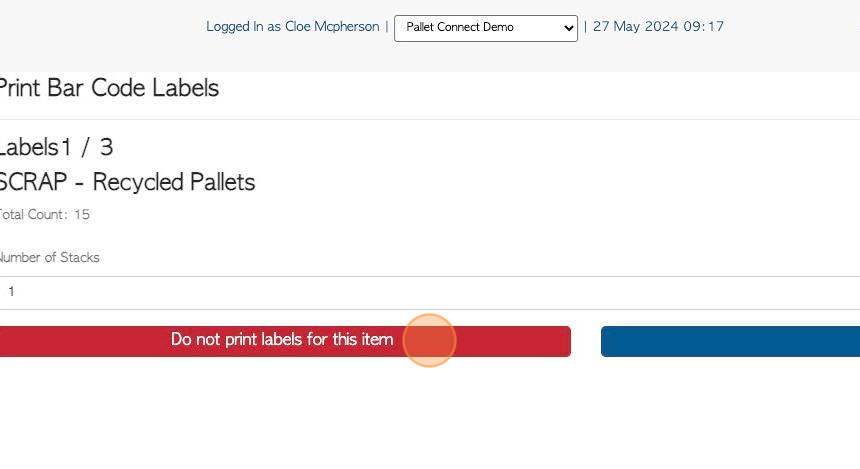
27. If enabled, bar codes can be printed here. Click "Next" to print. Click "Do not print labels for this item" to bypass.
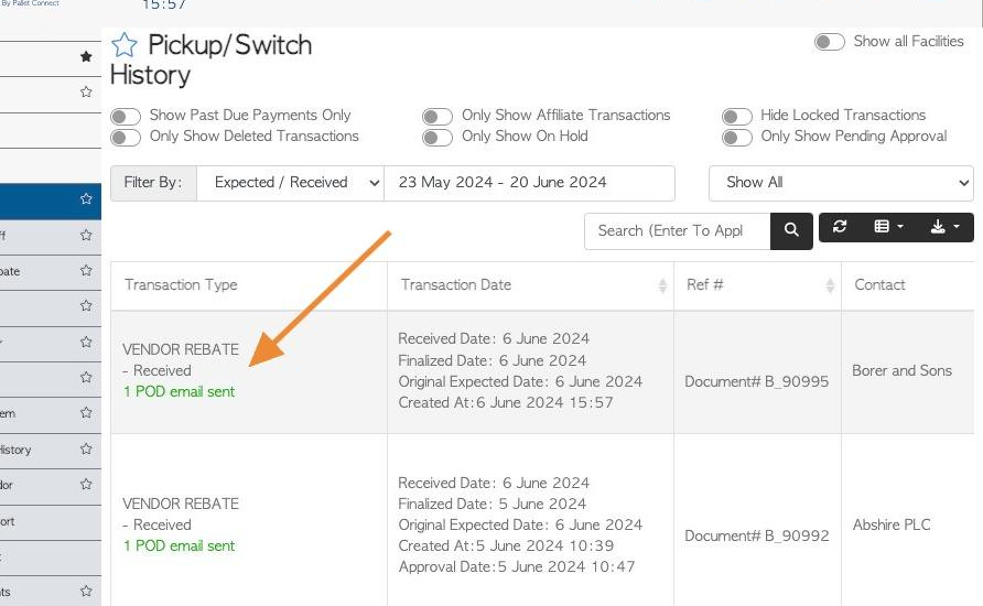
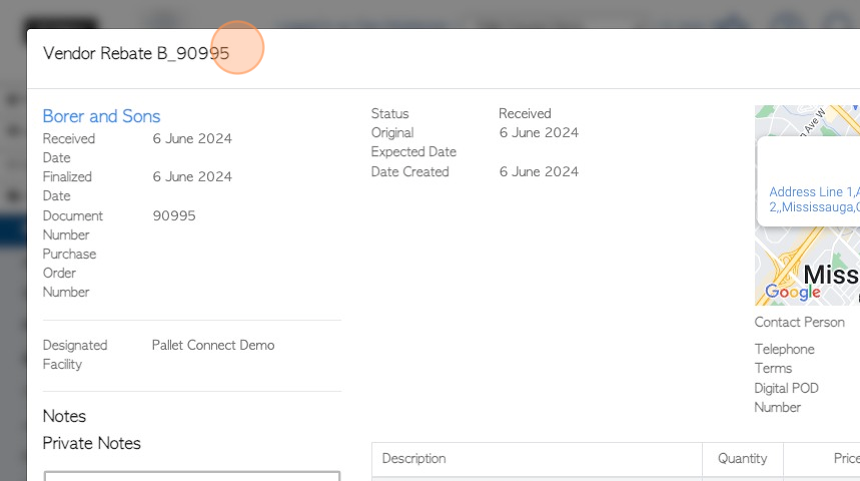
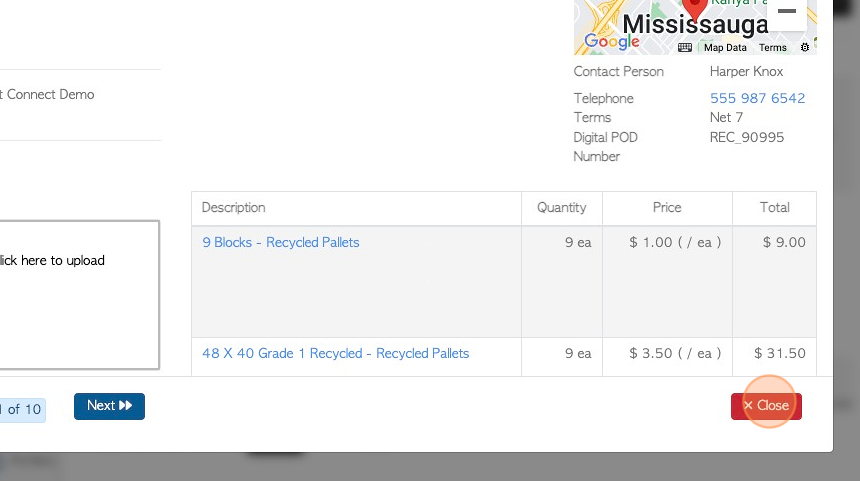
28. The Vendor Rebate is created and is allocated a reference number.
29. Click "Close" to return to dashboard.
30. The rebate is now visible on the pick up/ switch history.