Navigate to MAIN MENU - PRODUCTIVITY - CAPTURE PRODUCTION.
Select Capture Notch from the list.

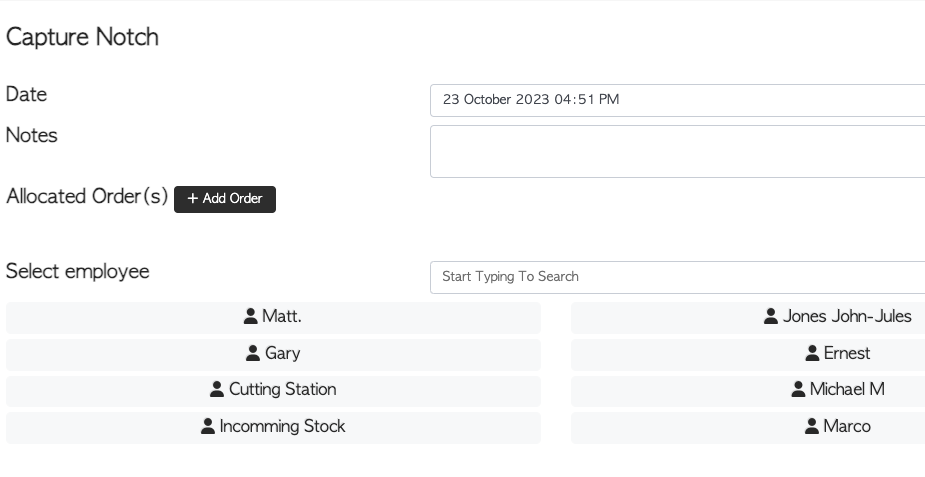
From the Capture Notch page, details can be added:
The date can be edited, if needed.
Notes can be added, if needed.
An optional step is to add an order by selecting the ADD ORDER action button. Existing orders will show, that can be selected. This will link the order to this production.
An employee is selected from the list or can be found by typing the name into the search bar.
NOTE: Only the employees who have been selected as Notcher or All Depts will appear on the list.
This setting can be viewed MAIN MENU - EMPLOYEES - MANAGE EMPLOYEES.
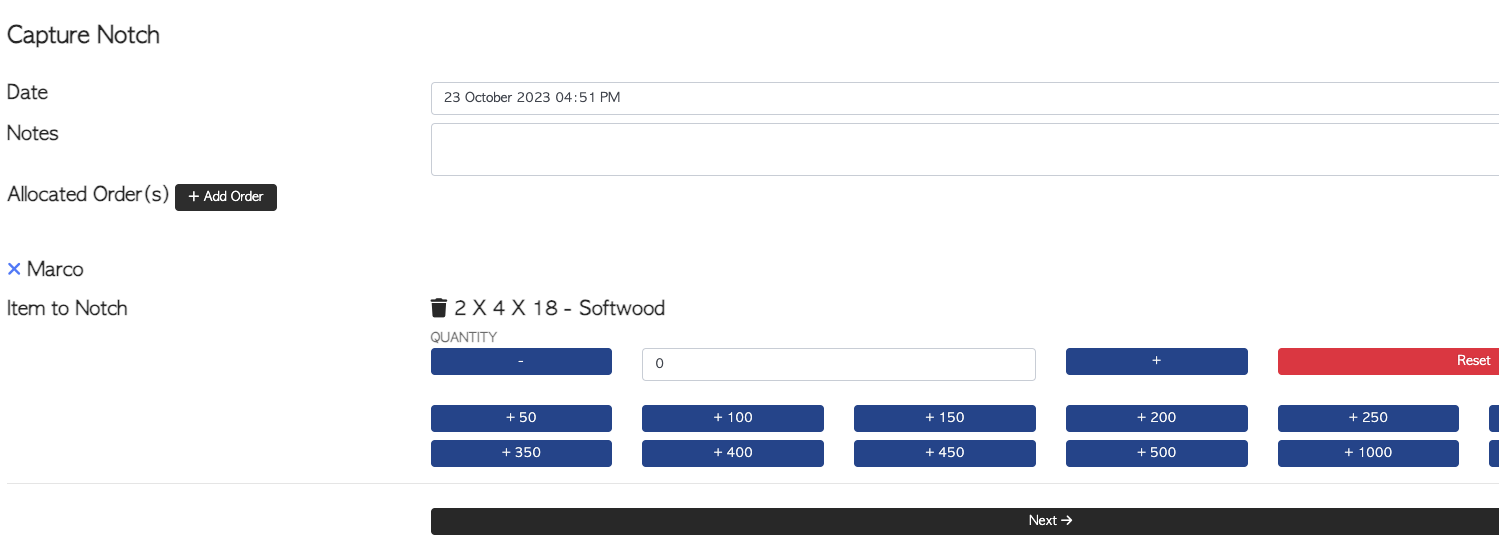
Once the employee has been selected, the items to be notched can be added. This is the source not the product; the item to be notched.
These can be selected from the list or found by typing the name into the search bar.
The items shown will correspond to previously entered stock items.
There is also an option to SCAN BARCODES of items, using the action button.
If no items appear, add items by using the CREATE NEW STOCK ITEM button.

When an item has been selected, the quantity can be inputted.
The plus and minus buttons can be used either side of the quantity bar. There is also an option to add multiples using the action buttons under the quantity bar.
Multiple items can be selected using the ADD ANOTHER ITEM action button.
Once completed, select NEXT.
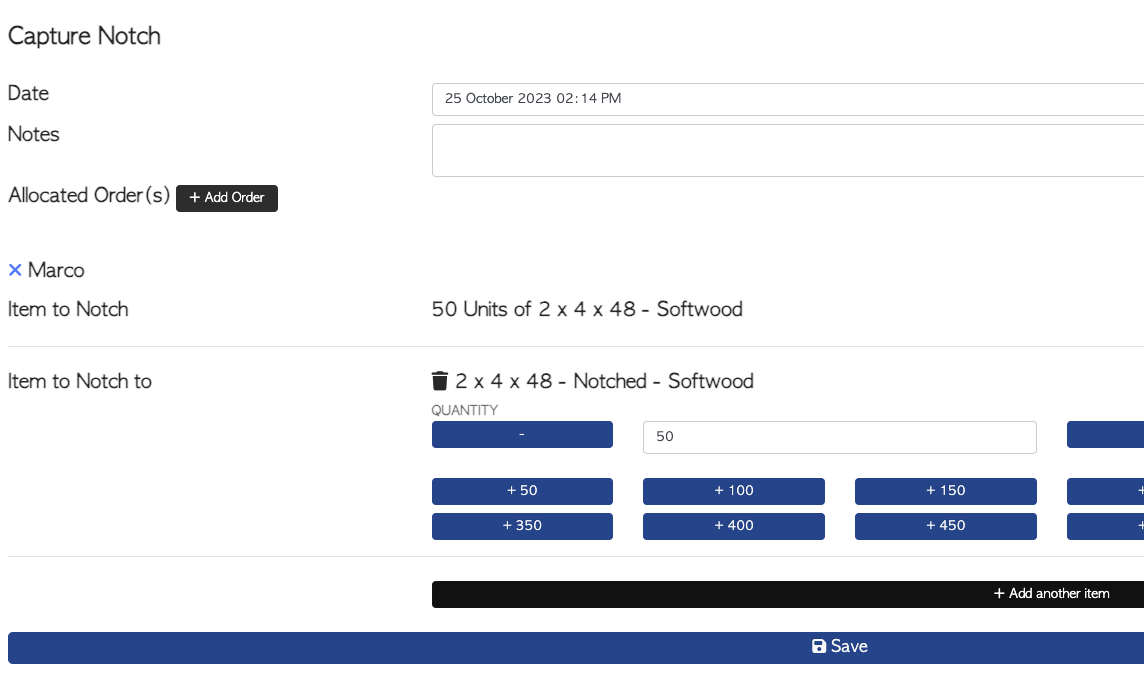
The next step is to select Item to Notch to. This item will be the product after notching.
Multiple items can be selected using the ADD ANOTHER ITEM action button.
If no items appear, add items by using the CREATE NEW STOCK ITEM button.
To add the amount, the plus and minus buttons can be used either side of the quantity bar. There is also an option to add multiples using the action buttons under the quantity bar.
Once completed, select SAVE.
NOTE: When entering a notched pallet as a stock item, core material can be entered in PRODUCTION tab.
Pallet Connect will then automatically pull out the source item from stock as notched pallets are captured and added to stock.
This can be viewed in MAIN MENU - STOCK - MANAGE ALL STOCK ITEMS.

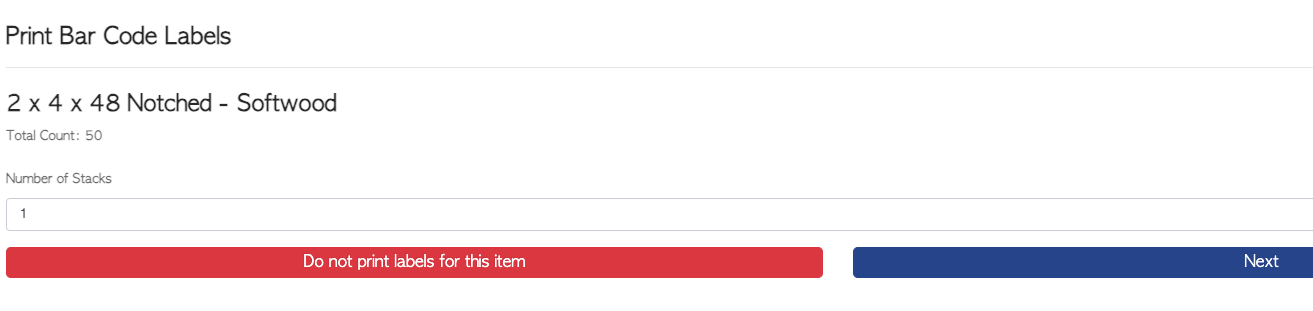
BAR CODES ENABLED FEATURE
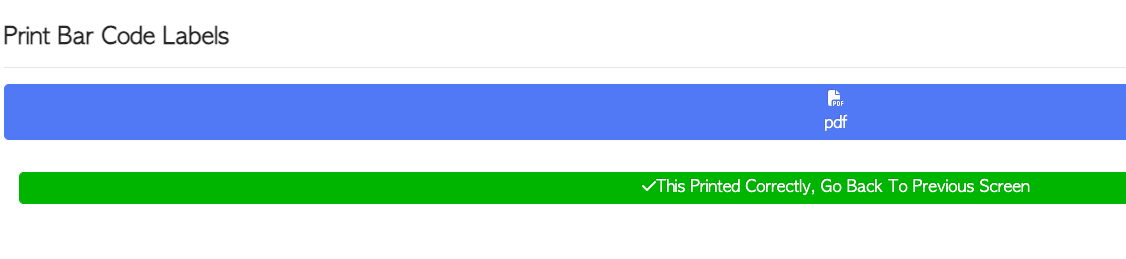
Once saved, bar codes can be printed for the items. To skip this step select the DO NOT PRINT button. To print, check the number of stacks and select NEXT.
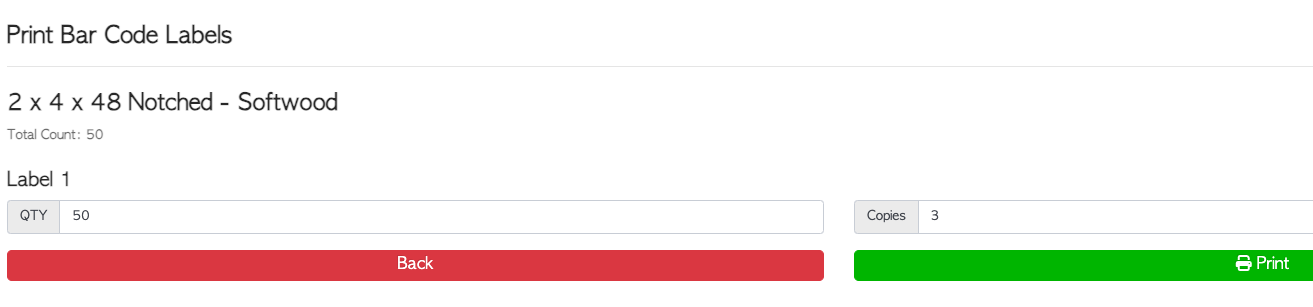
At the next page, the number of copies can be modified. Select PRINT button to see the PDF preview screen and select the printer icon to print the document.
Exit from the print screen to return to PRINT BAR CODE LABELS screen and select THIS PRINTED CORRECTLY button to finish.