1. Setting up an Broker profile in Pallet Connect is very efficient.
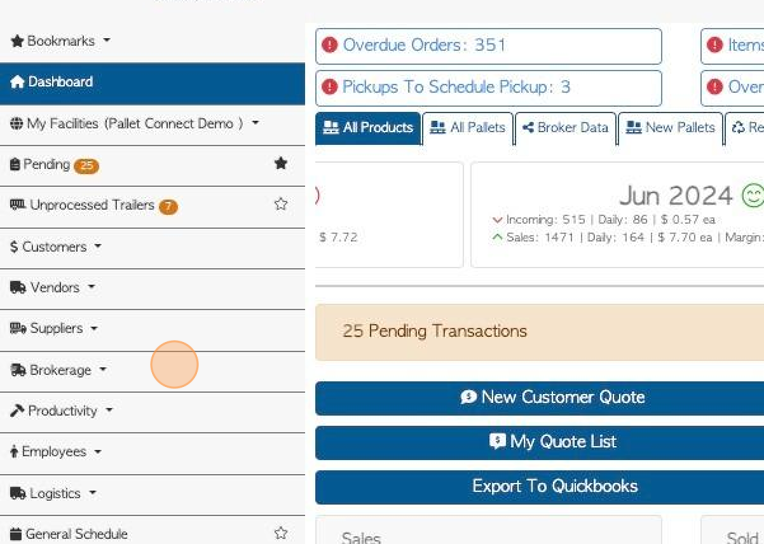
2. Navigate to the main menu. Click "Brokerage"
3. Click "Manage Broker"
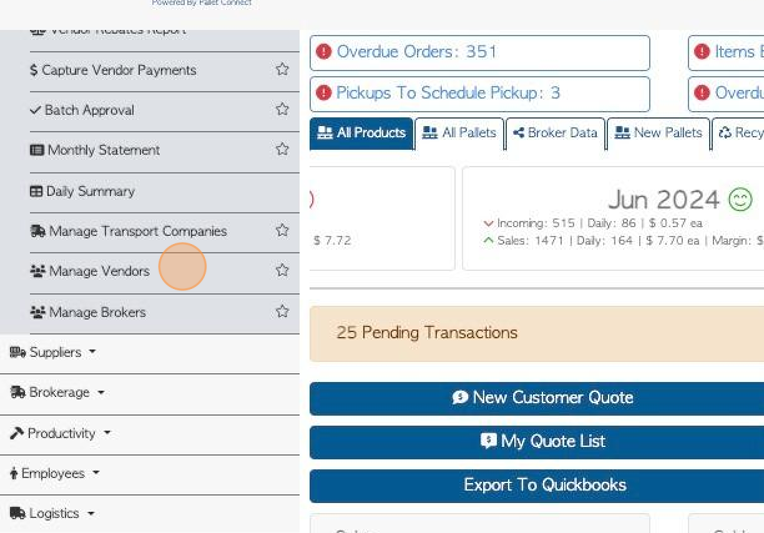
4. Click "Add New Broker"

5. Click this field to add the name of the Broker. If there is an existing contact with the same name it will appear in the drop down menu.
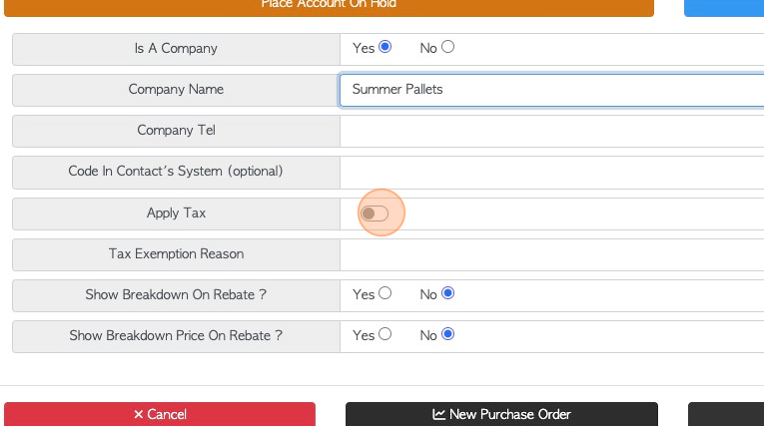
TIP! "Is a company" does not affect any settings for the Broker. It is used by admin to determine if the Broker is a company or independent operator.
TIP! A company name must be added to save the contact as an Broker.
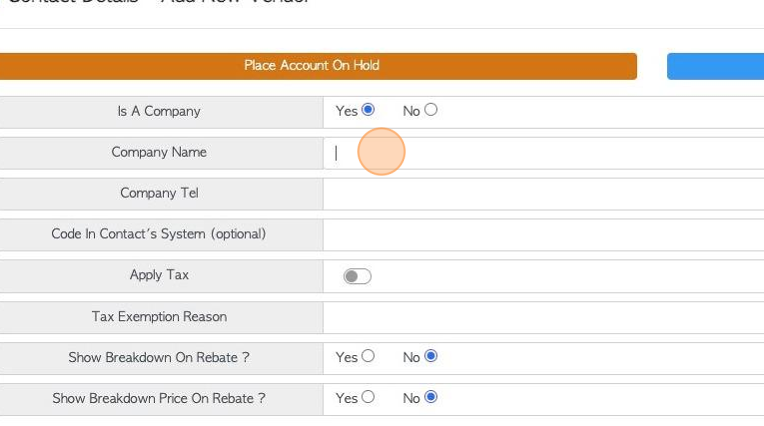
6. Click here to set whether taxes are applied to this Broker.
Select whether pricing and/or details will be shown on any rebates.
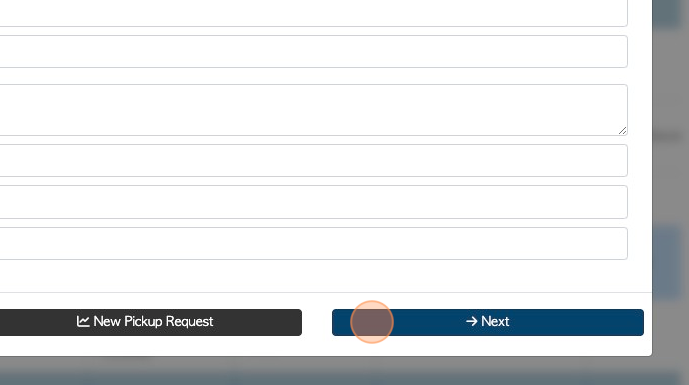
7. Click "Next"
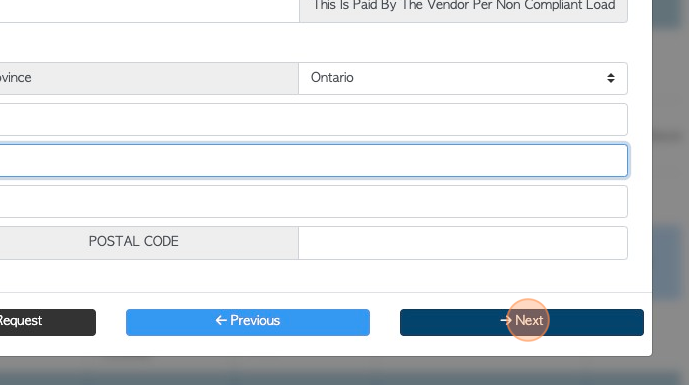
8. Add delivery and receiving information and fees.
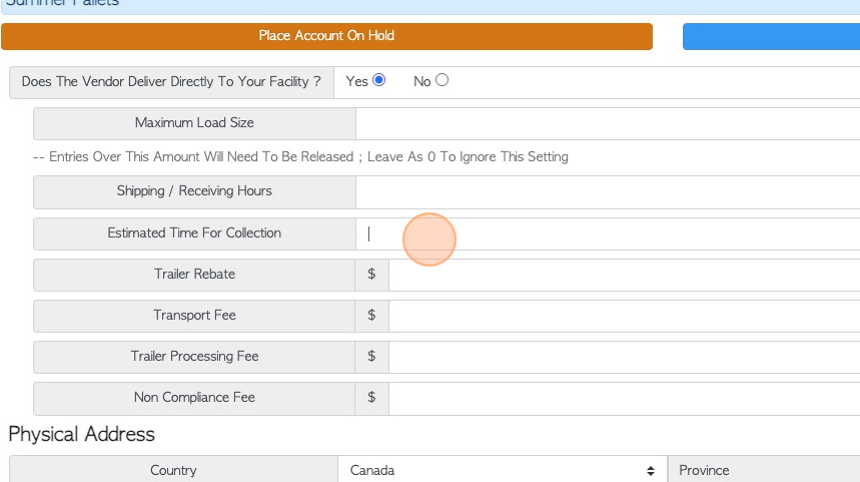
9. Click these fields to enter address information.
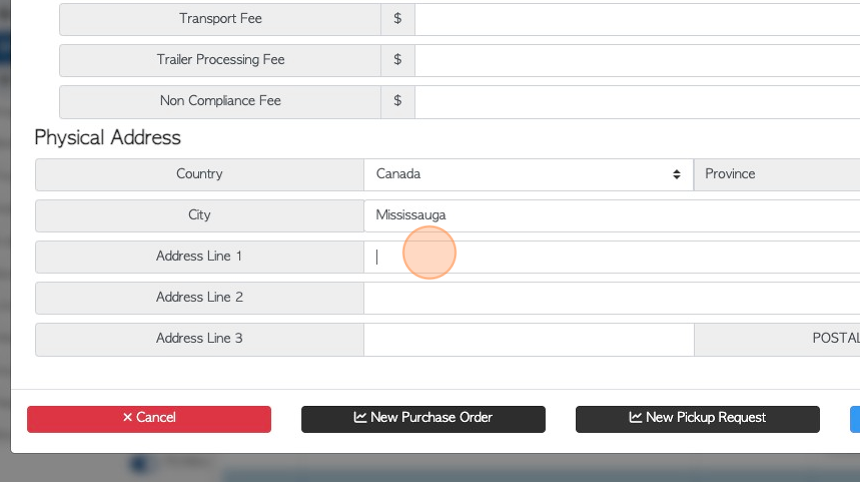
10. Click "Next"
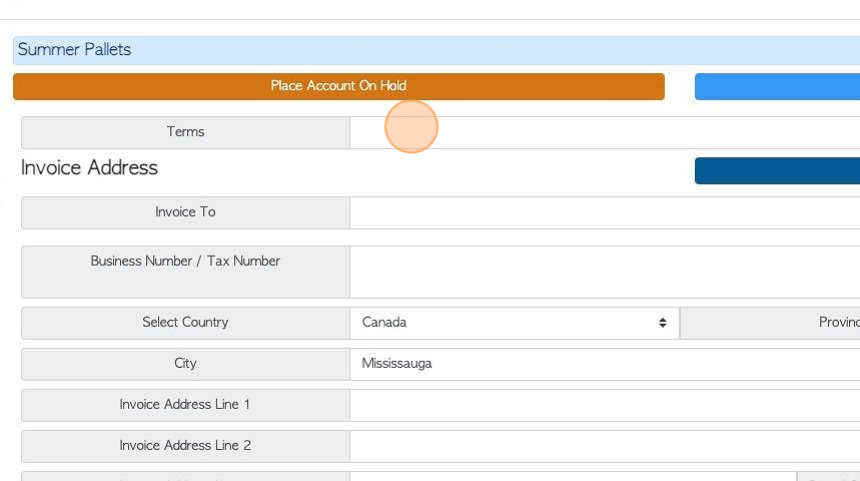
11. On this page enter the invoicing details. For example, any payment terms and the invoice address.
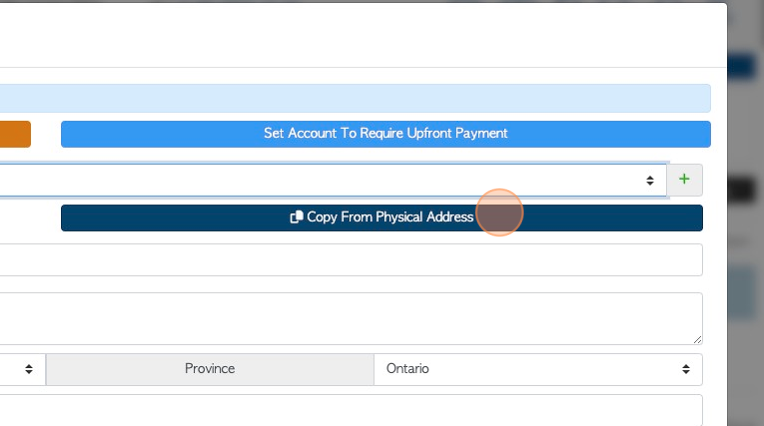
12. TIP! If the Physical Address is the same as the invoice address, click the "Copy From Physical Address" button to auto populate the fields.
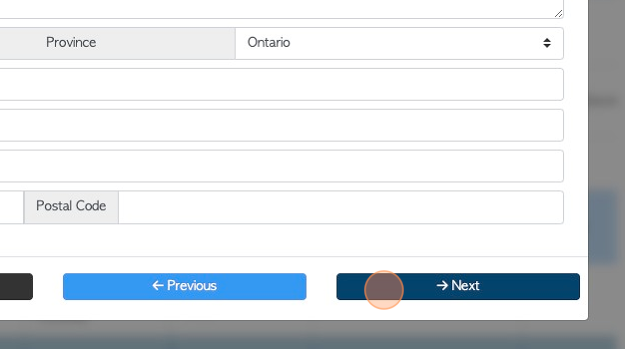
13. Click "Next"
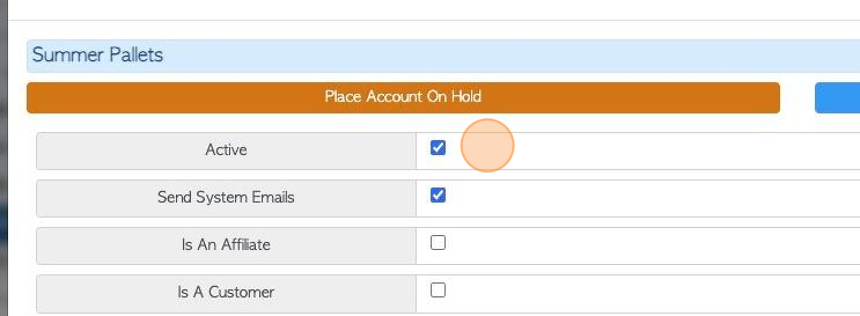
14. The next page allows the user to enable email. It also allows the contact to be added to other categories. A contact can be applied to more than one category easily, by checking the boxes that apply to the contact. The contact does then not have to be added twice.
TIP! The "Active" box must be checked in order for the Broker to show up in transaction lists e.g. for Customer orders.
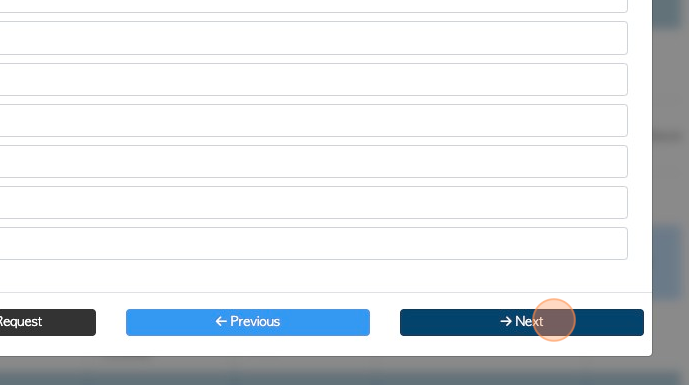
15. Click "Next"
16. If multi facility has been enabled for more than one site. The Broker can be linked to different sites, by checking the boxes.
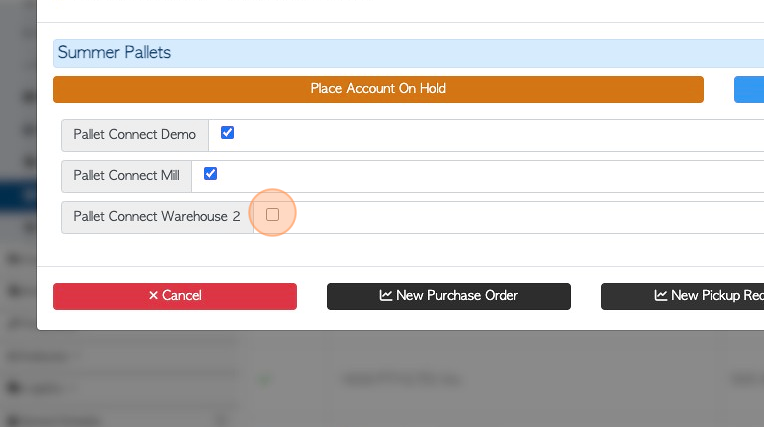
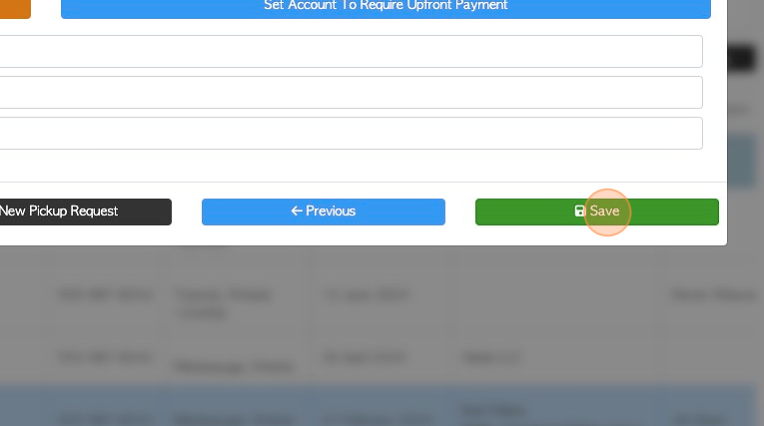
17. Once completed, click "Save". There is an option to scroll back through the information and make changes, if needed.