1. Creating an customer order through Pallet Connect is an efficient process.
Only office/admin staff and General managers have the ability to add an order.
There are a few ways to start an order. This article focuses on creating a new order through the customer tab.
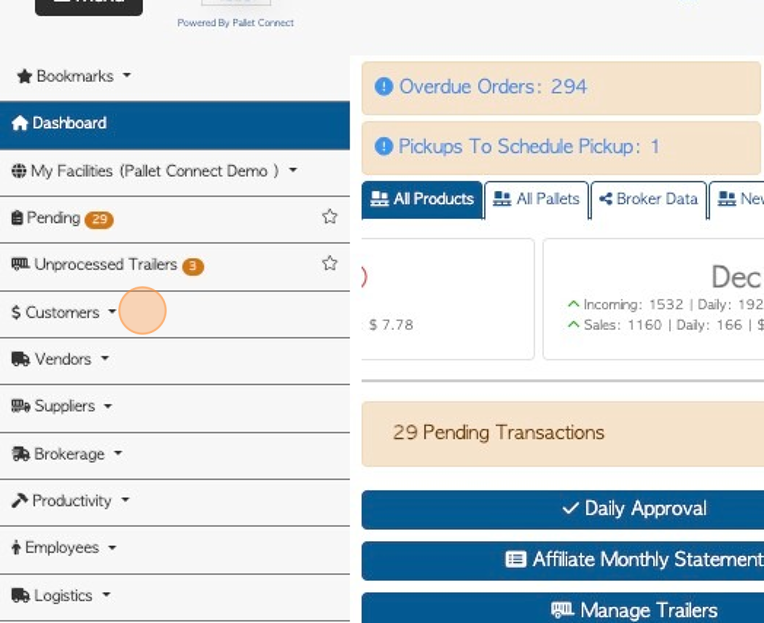
2. Navigate to the main menu. Click "Customers"
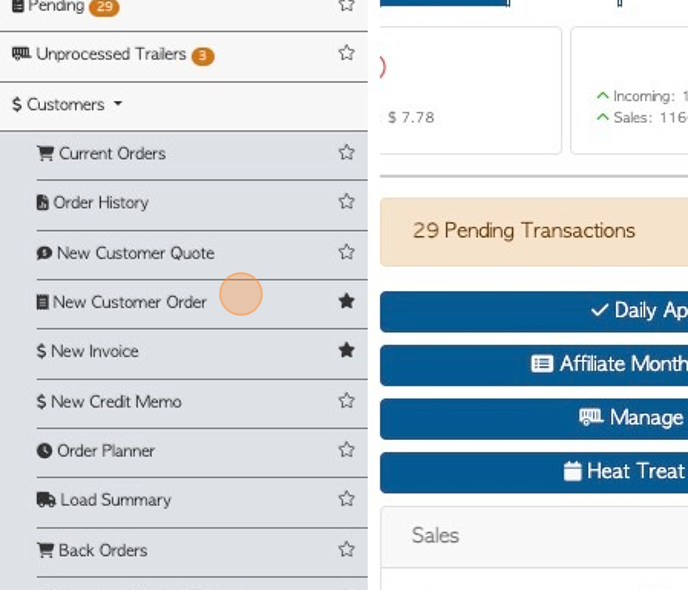
3. Click "New Customer Order"
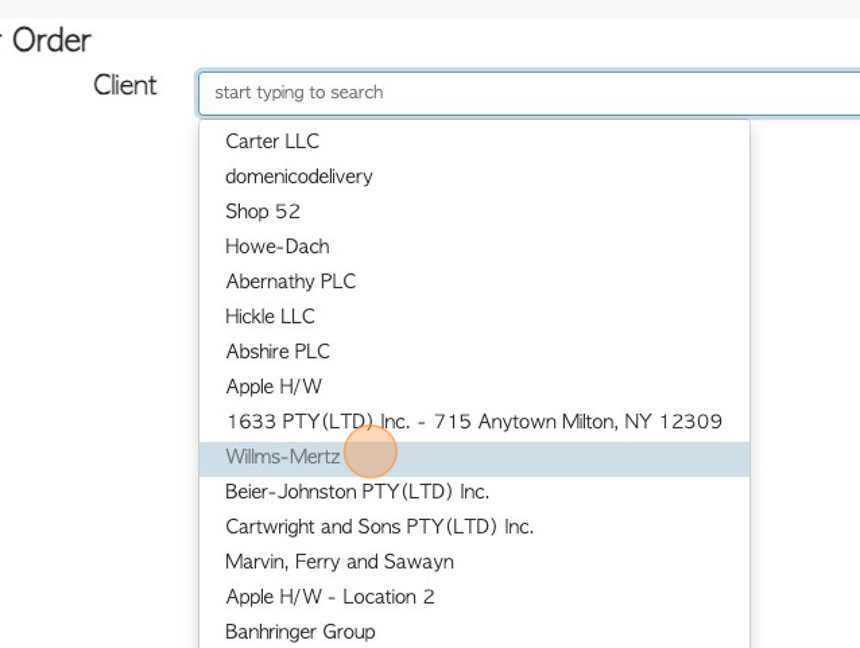
4. Use the "Client" menu to search for the customer name. Start typing in the text field to access the drop down menu and click on the selected name.
5. Click either "Client Will Collect" or "Delivery Required"
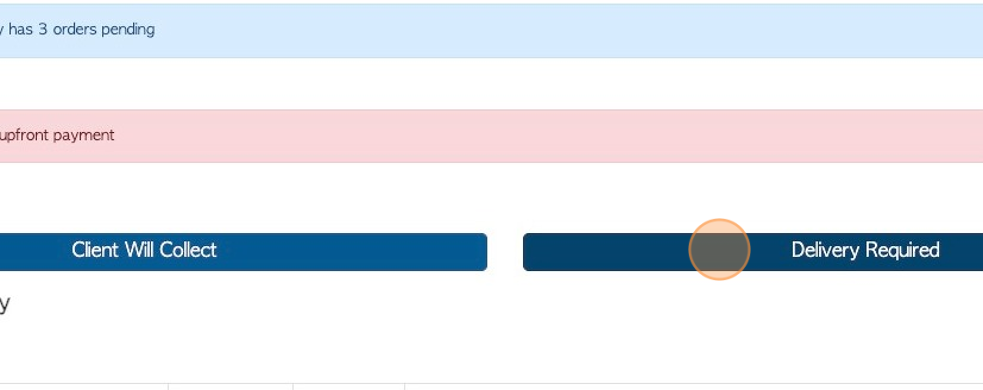
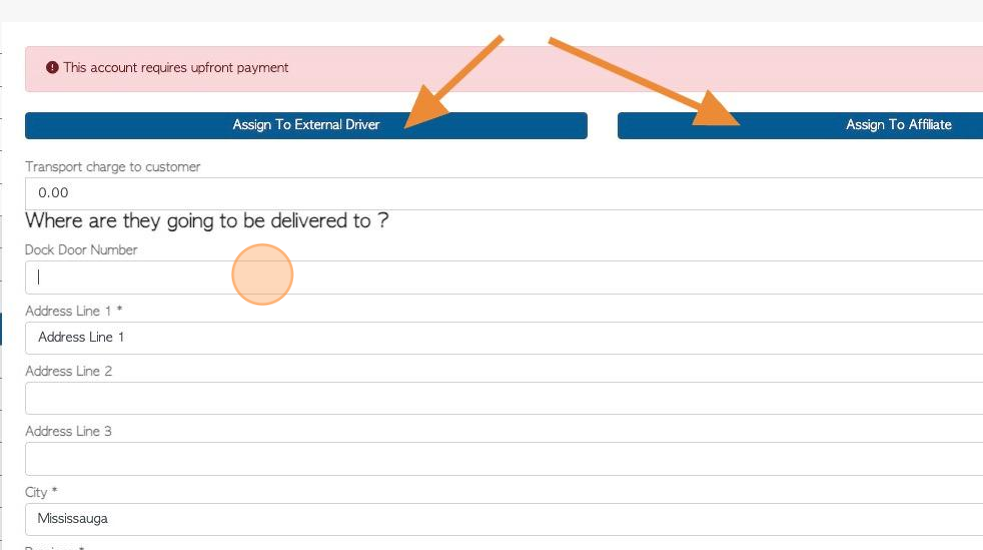
6. If "Delivery Required" is chosen then a delivery address needs to be entered.
TIP! The delivery can be assigned to an external driver or assigned to an affiliate from this page. See the related article.
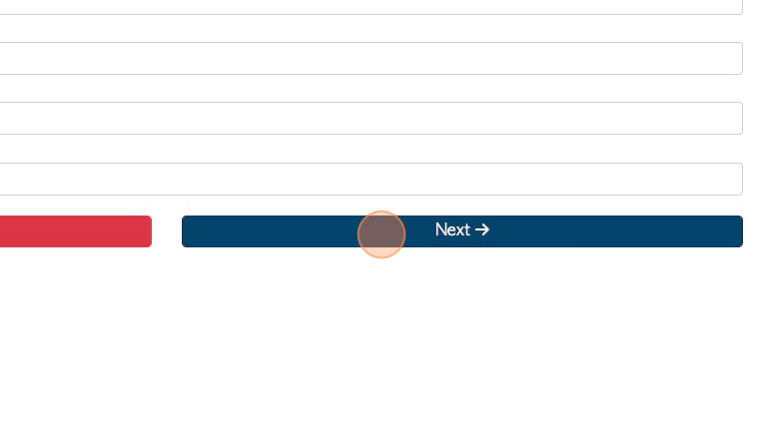
7. Click "Next"
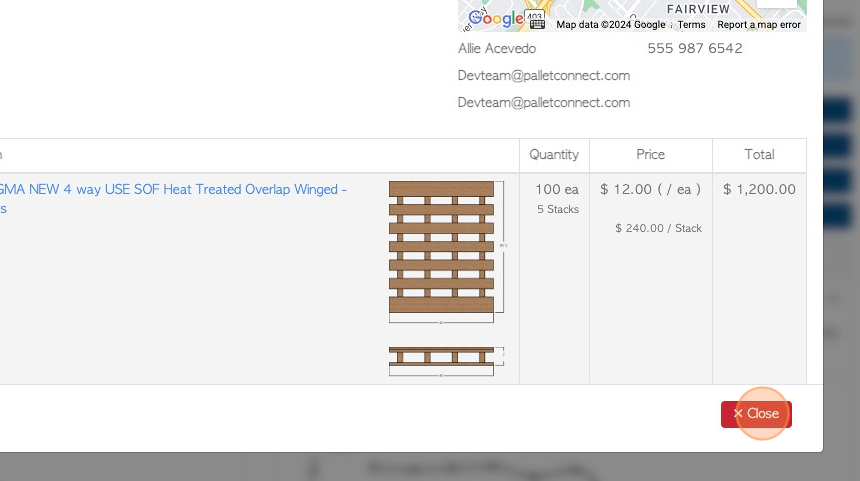
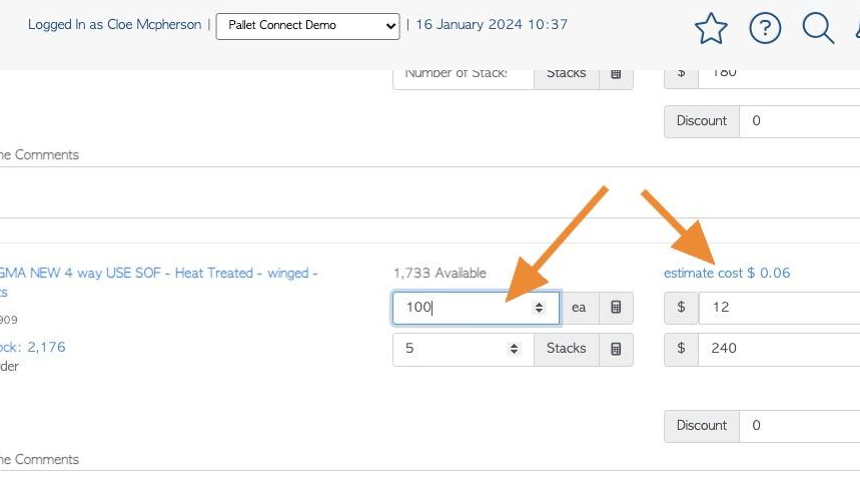
8. This page will show the items to add to the order.
Click on the text fields to add the quantity of pieces or stacks.
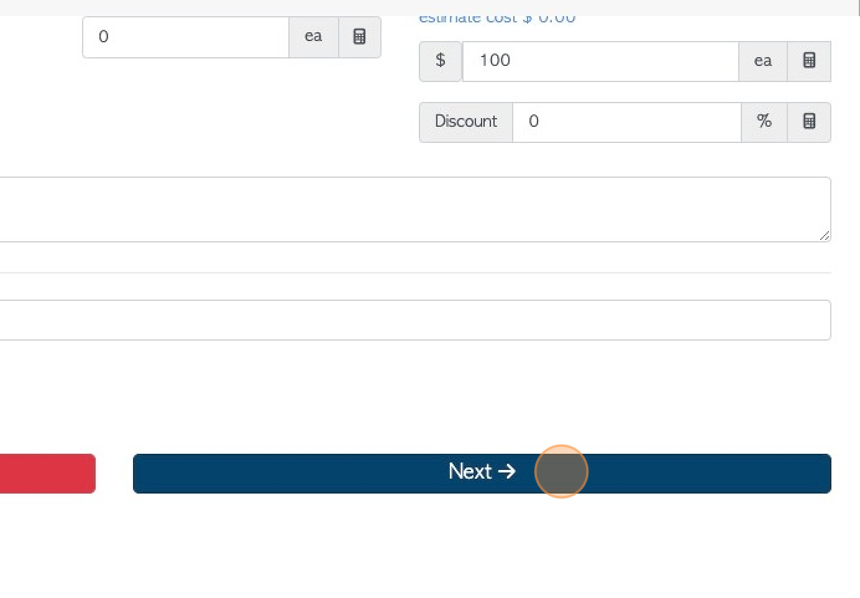
The price of the item can also be added or amended.
TIP! The stock items that appear on the list are "Linked stock items" that are set up in the customer profile. These are stock items that are regularly associated with the Customer. Please see the related article, on how to set up Linked stock items.
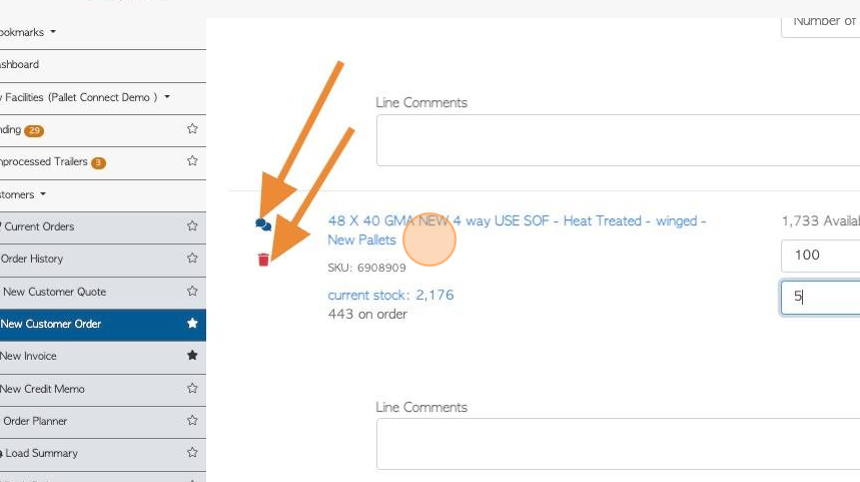
9. Click here, on the item text, to reach the stock item profile. This is useful if stock item details need to be amended.
An item can also be deleted from the list, by clicking on the garbage can icon.
Line comments regarding an item, can be added by clicking on the speech bubbles icon.
TIP! Items can be added to the list also. Click on the text box and start typing to search for a stock item to add.
10. Click "Next"
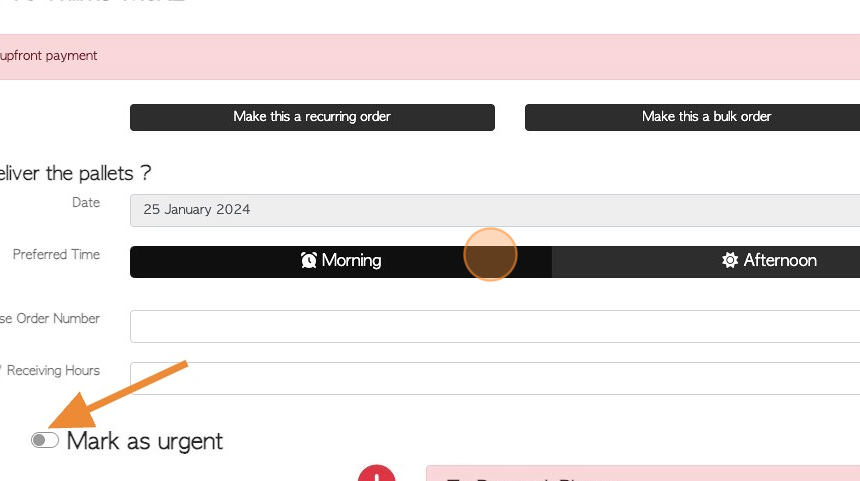
11. TIP! This order can now be turned into a recurring order or a bulk order. Please see related articles.
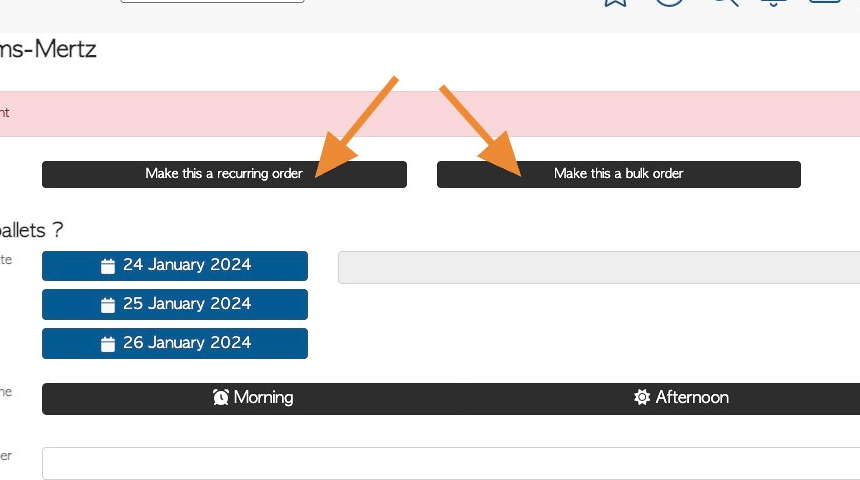
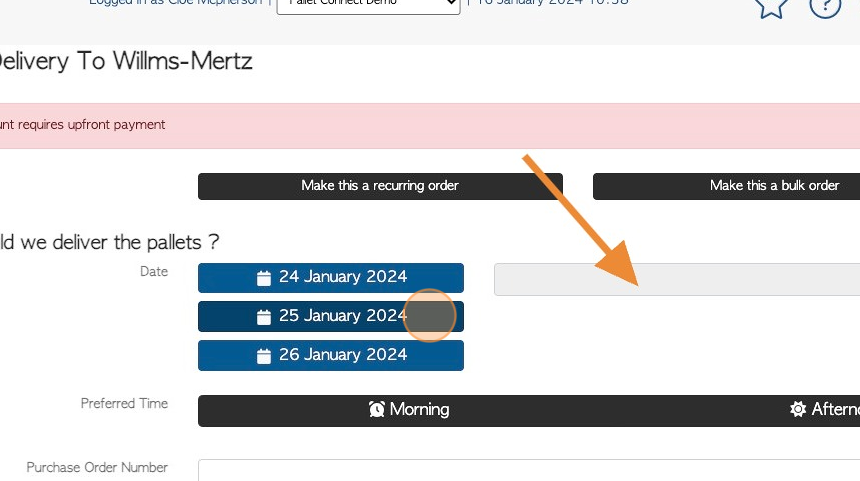
12. Click on one of the preferred dates from the list or click on the text box to open a calendar and choose a delivery date.
TIP! The preferred dates are generated from production lead times in the stock item profile. See related article. The user is able to override the preferred dates.
13. Click "Morning" or "Afternoon" for the preferred delivery time.
TIP! The order can be marked "Urgent" using the toggle button.
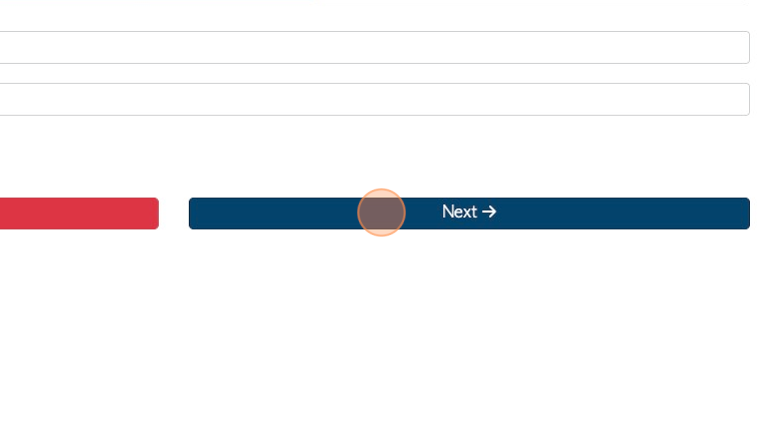
14. Click "Next"
15. Click here to add files. For example PDF documents or images.
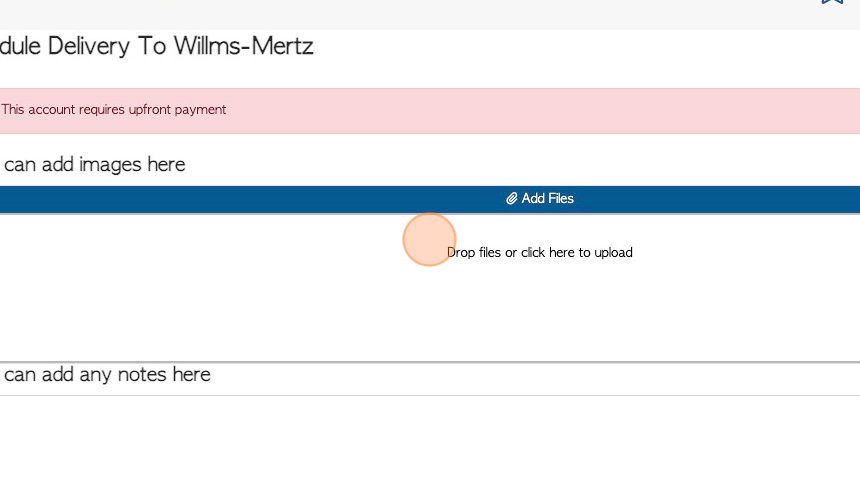
16. Click this field to add general notes. These will be visible on external documents.
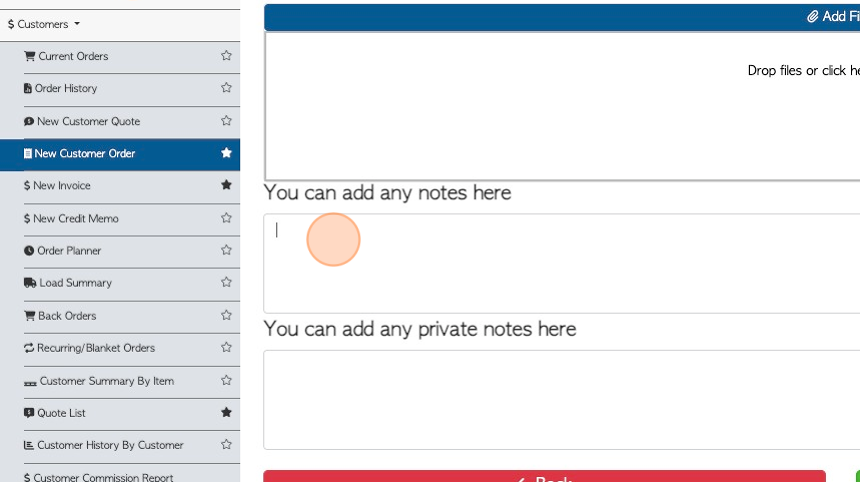
17. Click this field to add private notes. They will only be seen on internal documents.
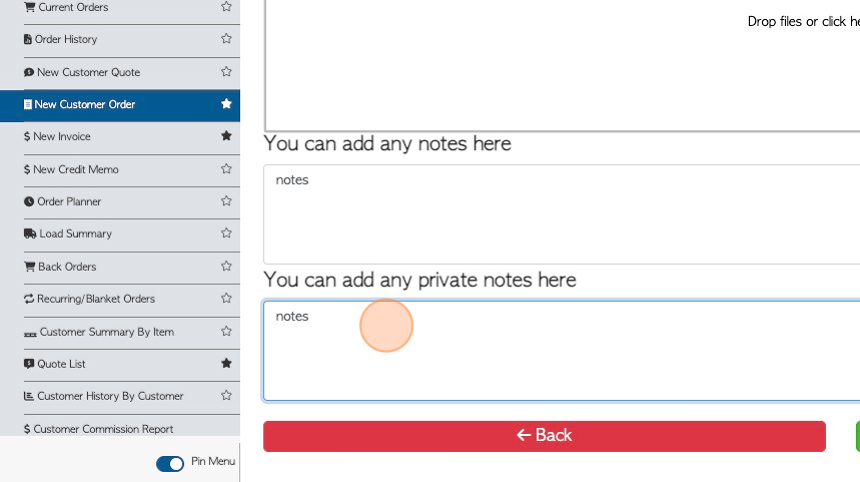
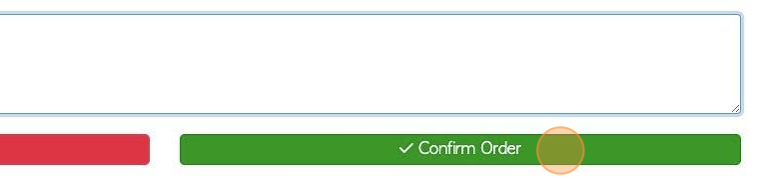
18. Click "Confirm Order" when completed.
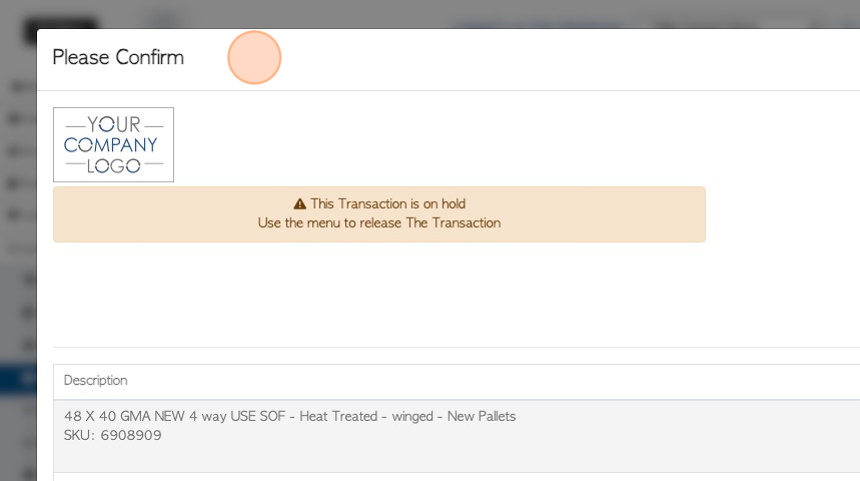
19. A summary of the order will be generated for the user to confirm the information.
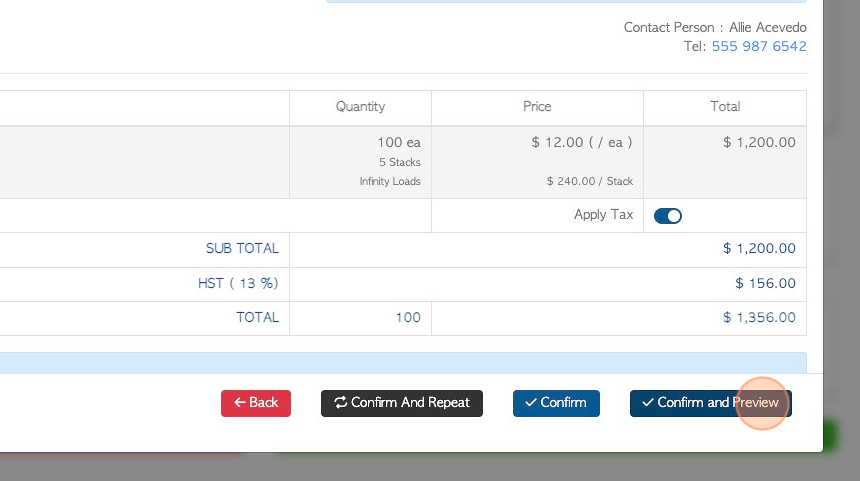
20. Click "Confirm and Preview" or "Confirm" to save the order.
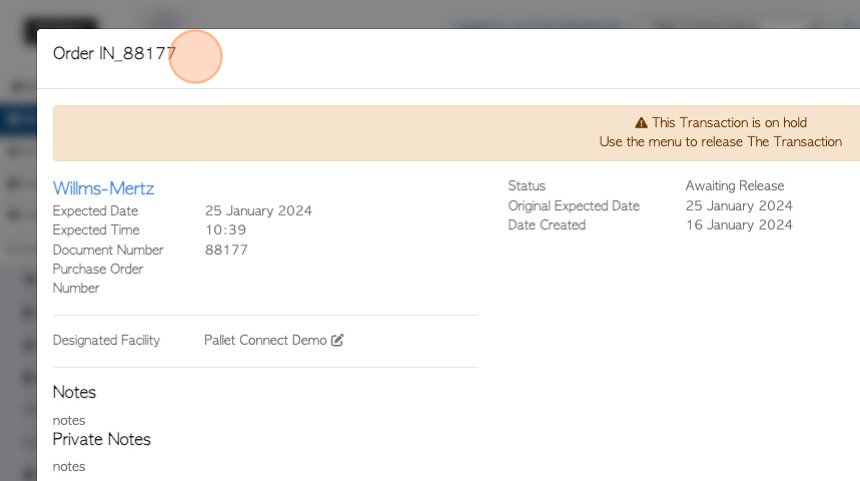
21. The saved transaction will now be given a reference number.
22. Click "Menu" to access the action menu for this order.
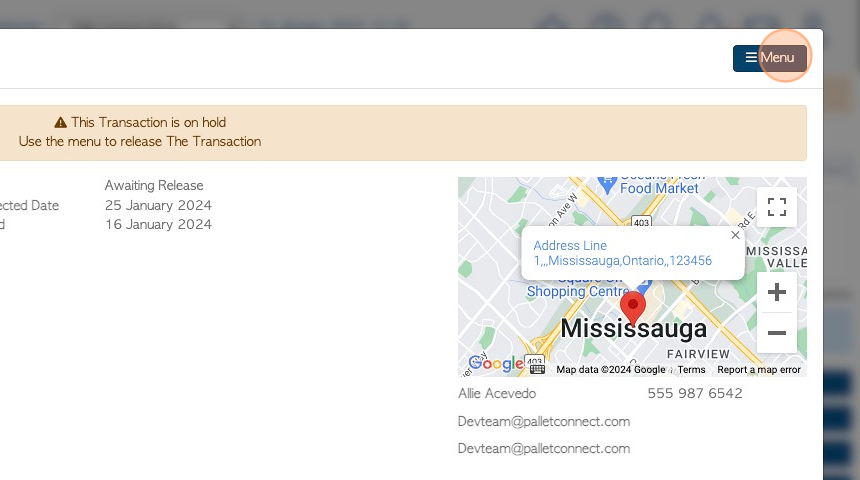
23. There are various options on the action menu.

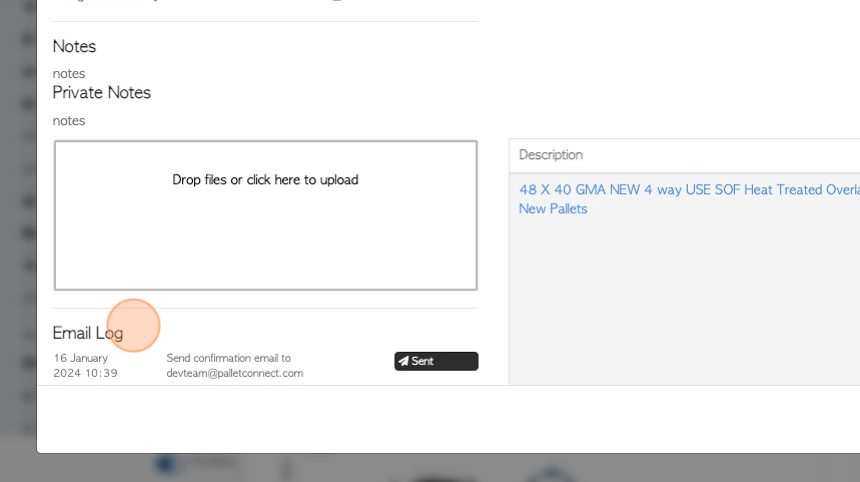
24. NOTE: If email communication has been enabled, then an order confirmation is sent to the customer.
25. Click "Close" to return to the dashboard.
TIP! The order can now be found in the current orders list or by typing the reference number into the global search, located at the top right of each page.