1. In order to purchase or sell products, or to use them in production processes, they will need to be set up as active Stock Items in Pallet Connect.
Stock items are divided into different categories. Each item has it's own profile, that contains the details of the item. See related articles on stock categories and details of the various tabs within the item profiles.
This article will explain how to create a New Pallet.
2. Navigate to the main menu. Click "Stock".
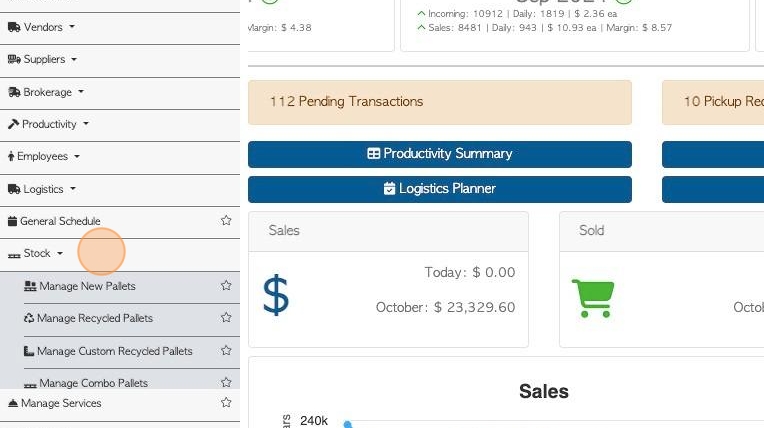
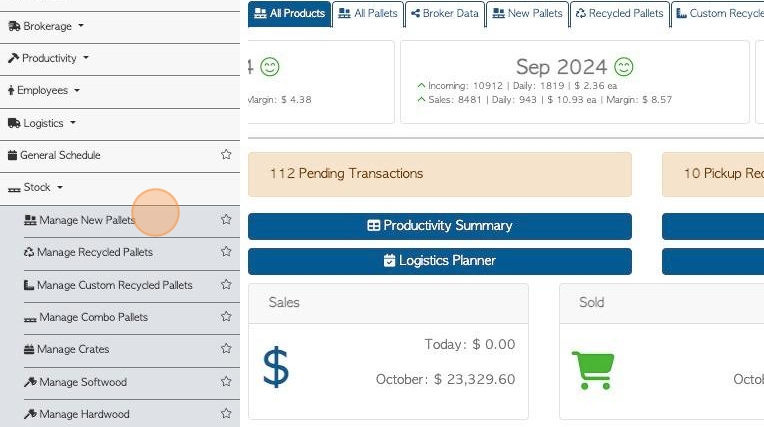
3. Click "Manage New Pallets"
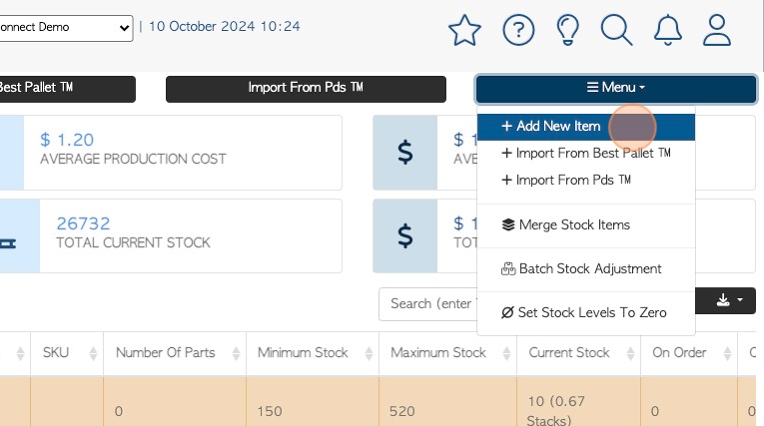
4. Click the action "Menu".

5. Click "Add New Item".
6. Start by filling out the information in the "General tab".
Click the "Item Description" field, to add the stock item name.
TIP! The "Name" is the only field that needs to be filled out, to create and save a new item.
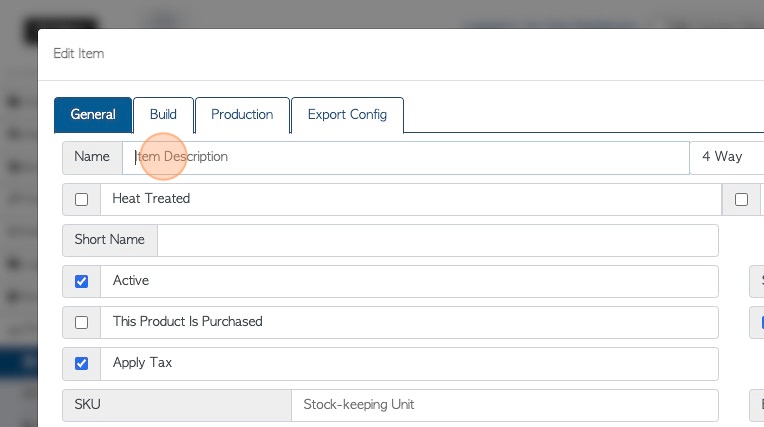
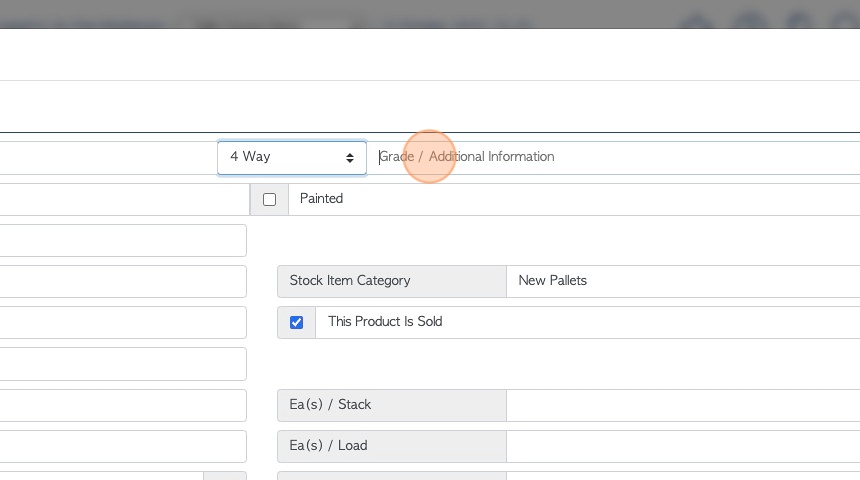
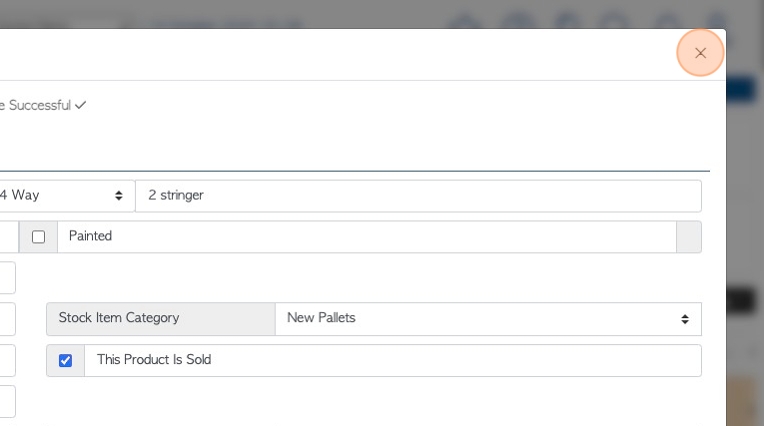
7. Click this dropdown to indicate 4-way, 2-way or block pallet.
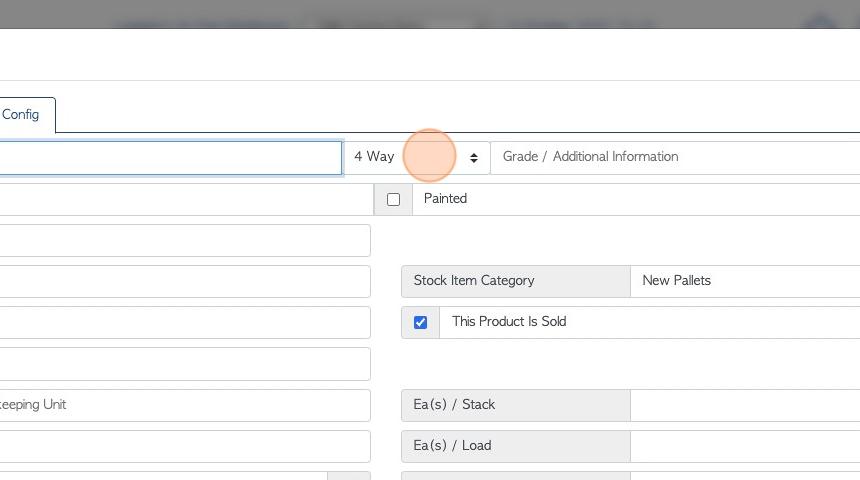
8. Click the "Grade / Additional Information" field to add details if needed.
9. Click the "Heat Treated" field, if needed.
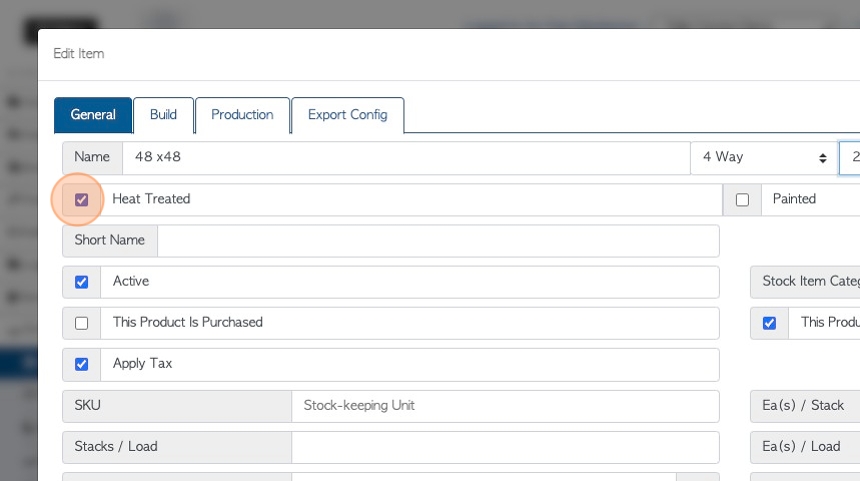
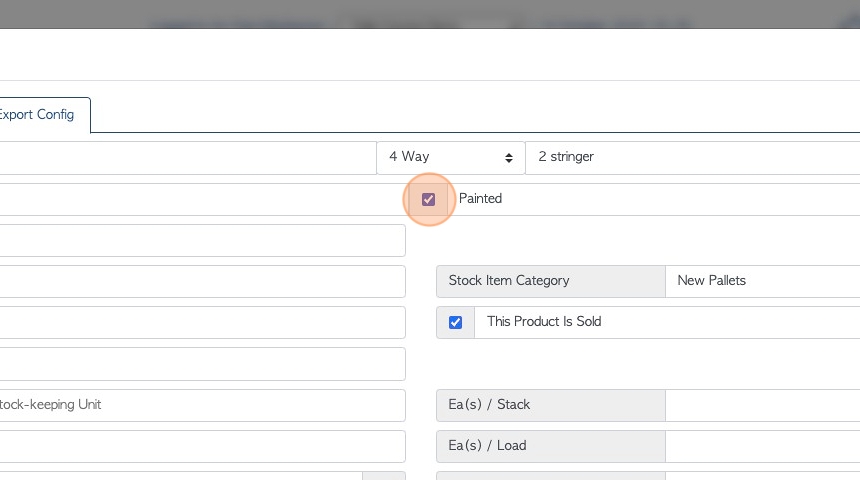
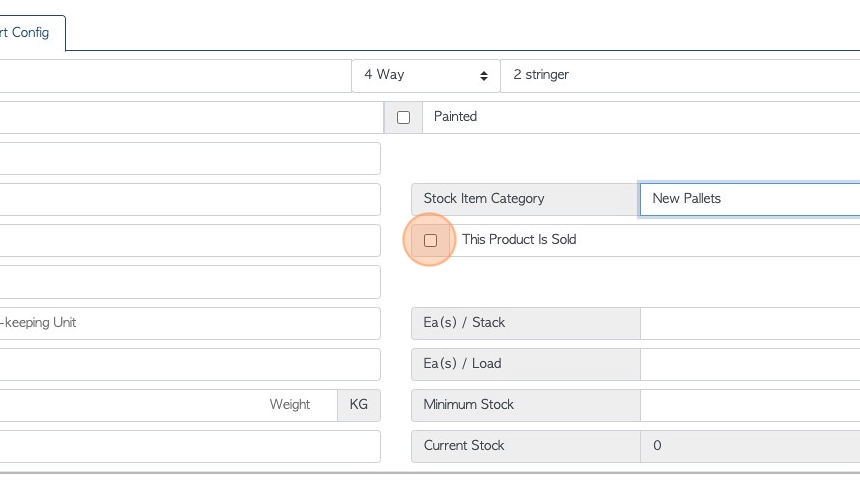
10. Click the "Painted " field, if needed.
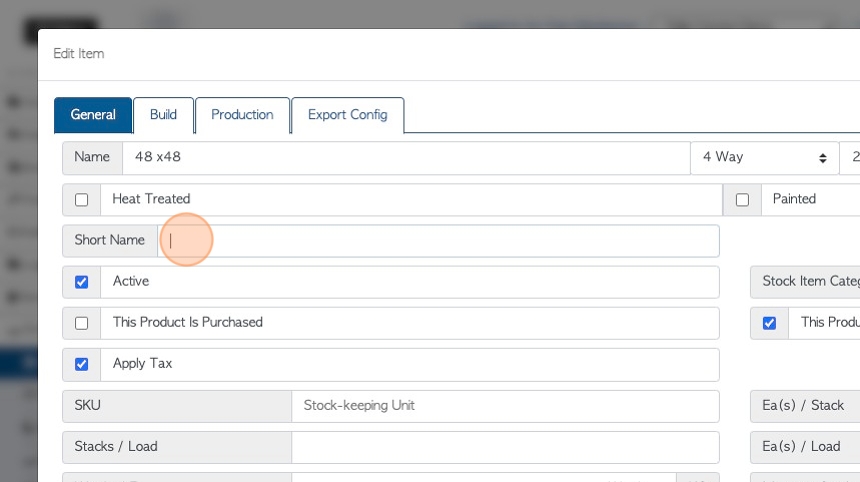
11. Click this text field to add a short name, if needed.
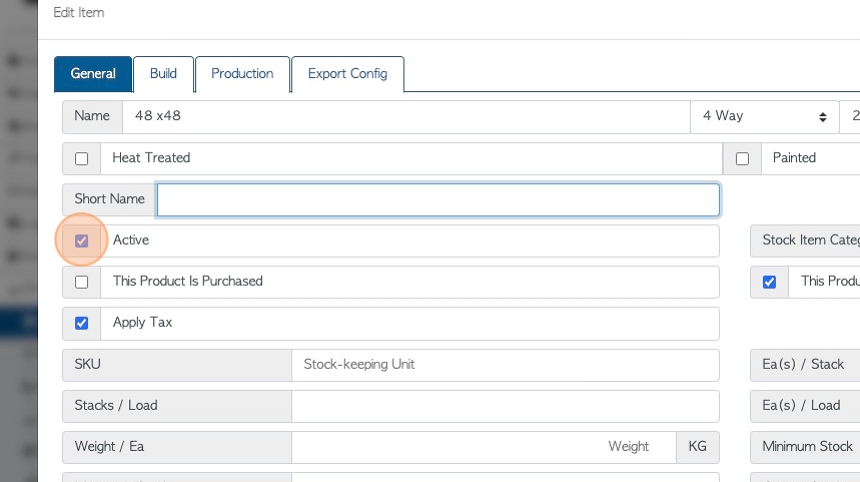
12. Click the "Active" field.
TIP! An item needs to be active to show up in reports, ordering processes and production.
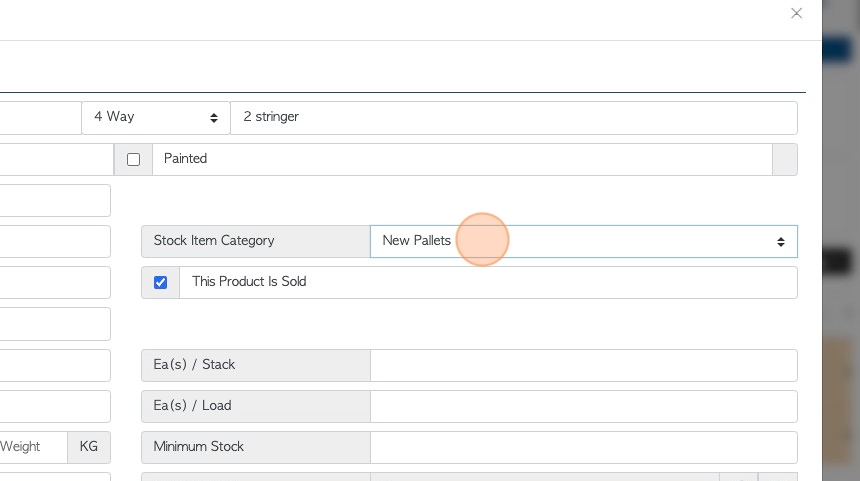
13. Click this dropdown to change the stock category, if needed. The default is the page where the 'add new item' process began.
14. Click the "This Product Is Sold" field for the item to be available in Customer orders.
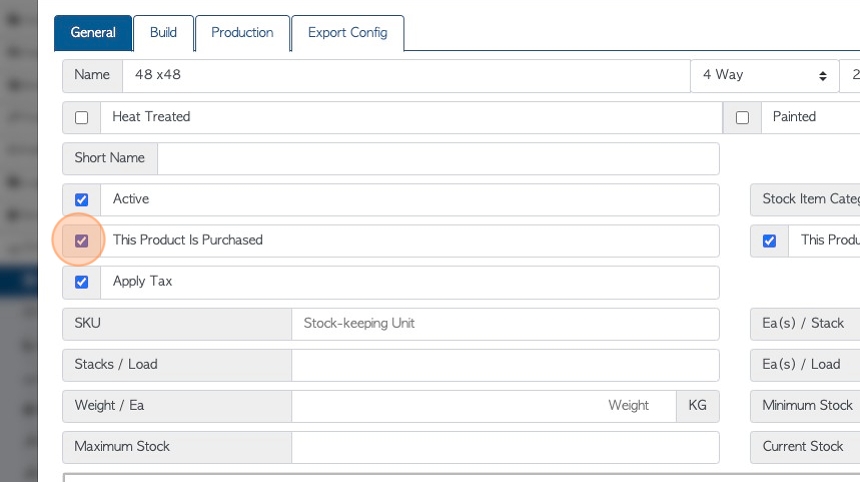
15. Click the "This Product Is Purchased" field to be available for purchase from Vendors or Suppliers.
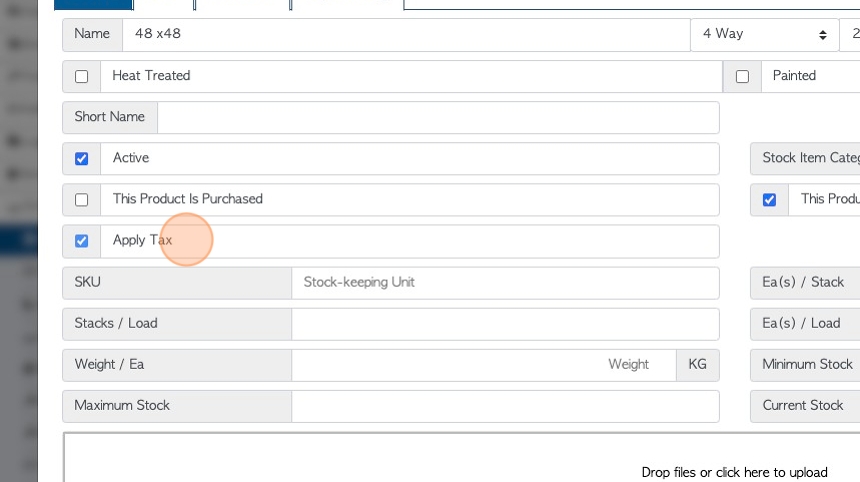
16. Click "Apply Tax" to add tax to the item during transactions.
17. Click the "Stock-keeping Unit" field to add a SKU, if needed.

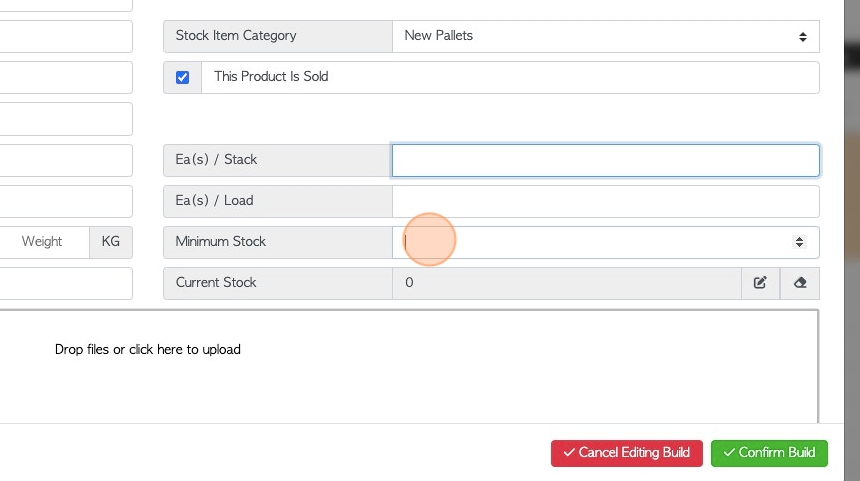
18. Click these number fields, to add stacks per load or add an item weight.
Maximum stock can be added also, this assists with ordering.
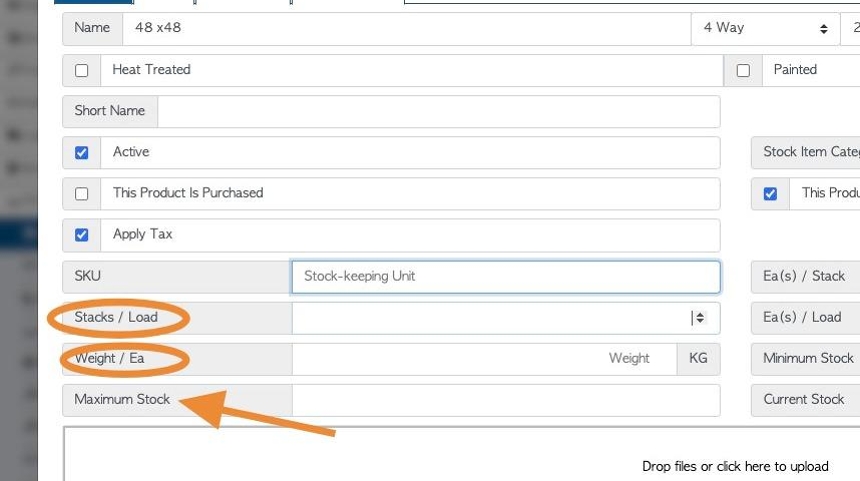
19. Click these number fields to add number of items in a stack and/or a load.

20. Click this number field to add a minimum stock level, this will assist with ordering.
See related article on General tab, for more details.
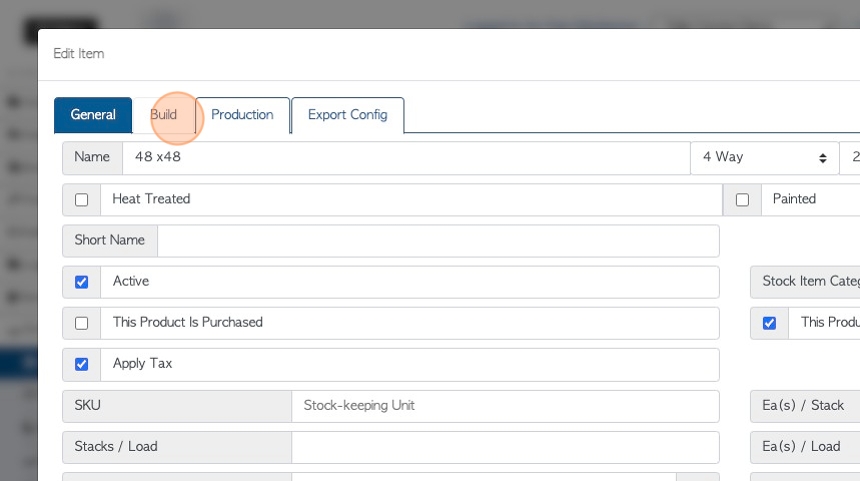
21. Click "Build" tab.
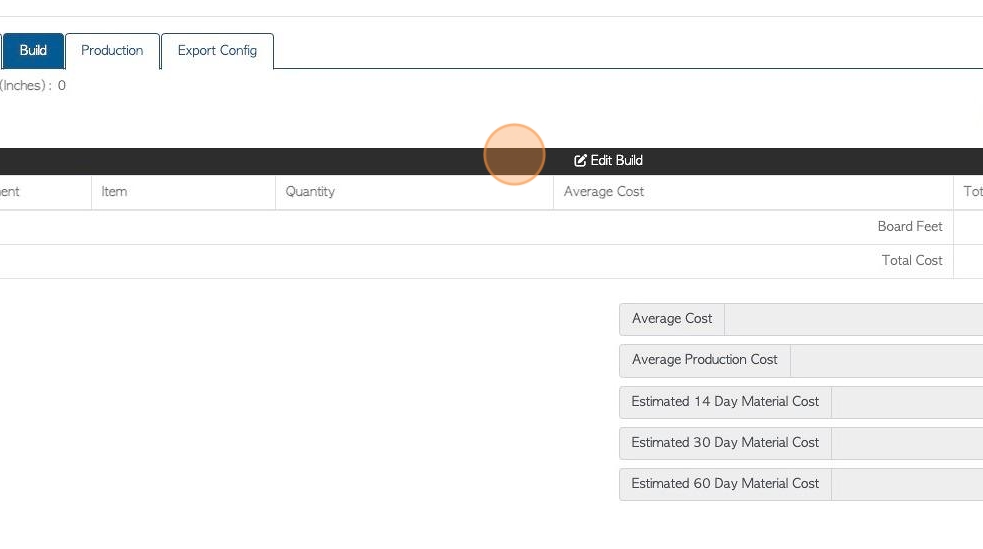
22. Click here to edit or add a build list. This will detail the components needed to build this pallet.
See related article explaining this tab in detail.
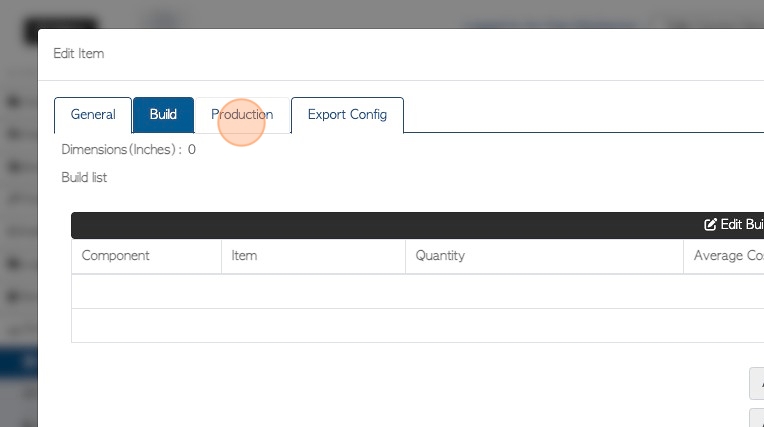
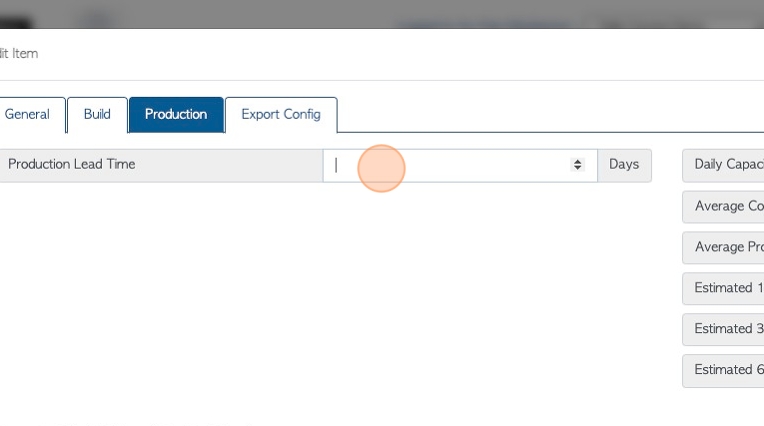
23. Click "Production" tab.
24. Click this number field to add lead time. This assists with ordering and logistics.
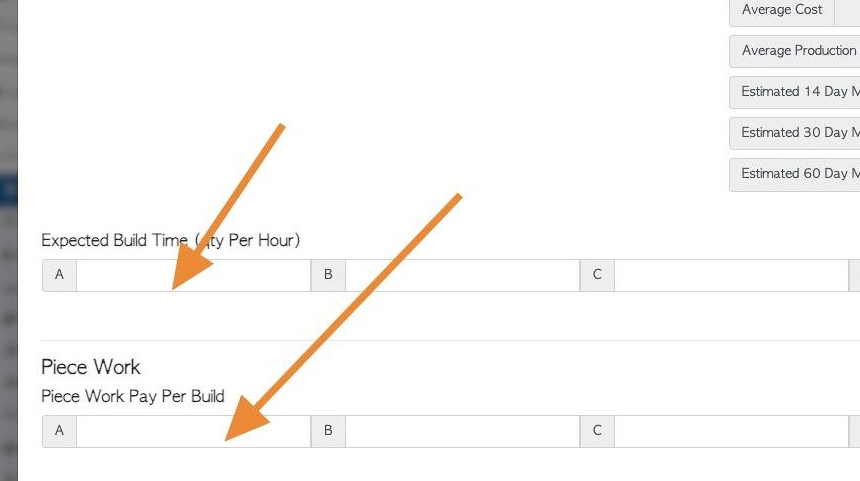
25. Click here to add build time and piece work rates.
See related article on the Production tab.
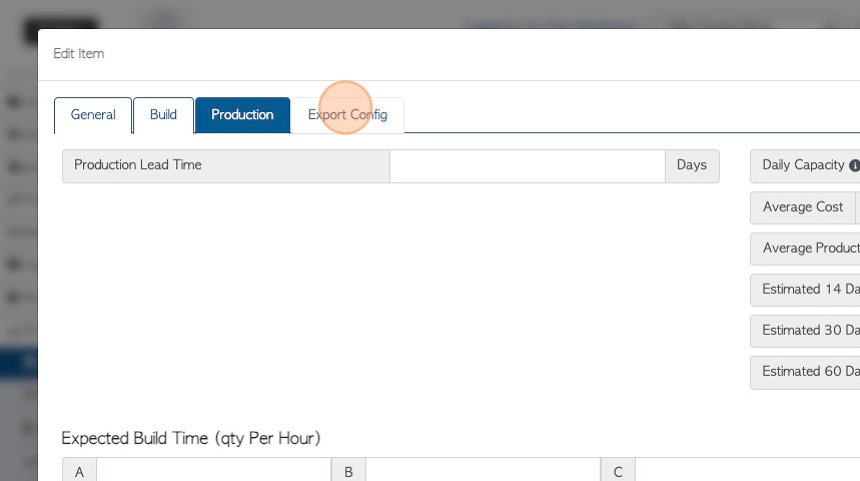
26. Click "Export Config" tab.
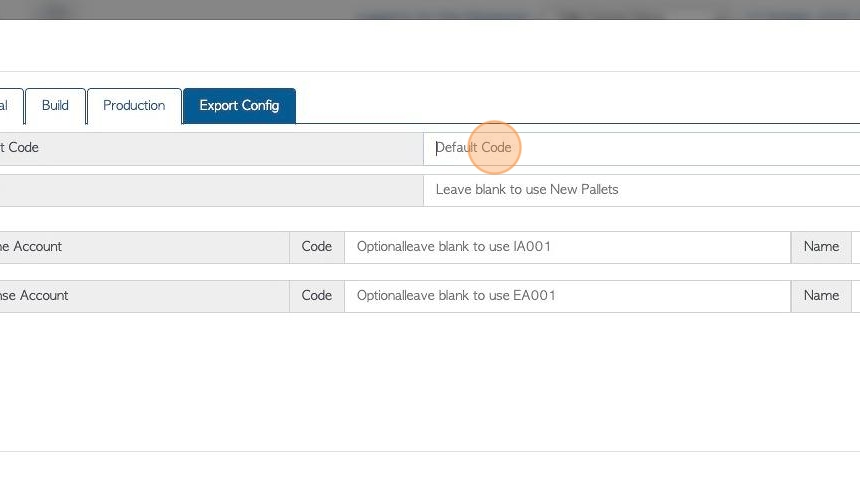
27. This tab relates to exporting information to accounting software.
Click the "Default Code" field to add an export code, if needed.
See related article on the Export Config tab.
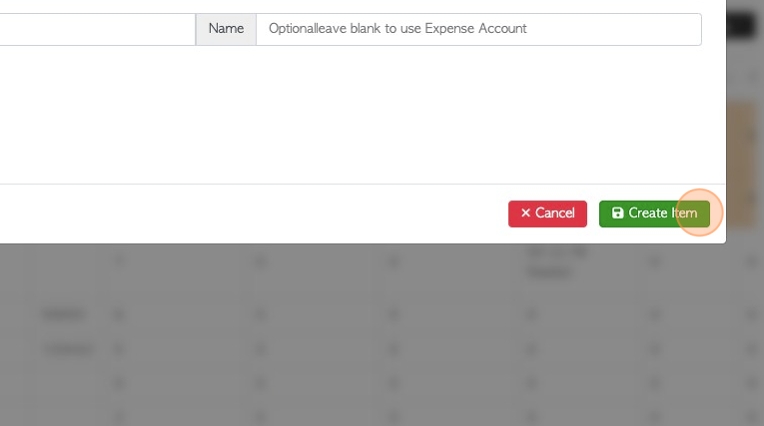
28. Click "Create Item" to save.
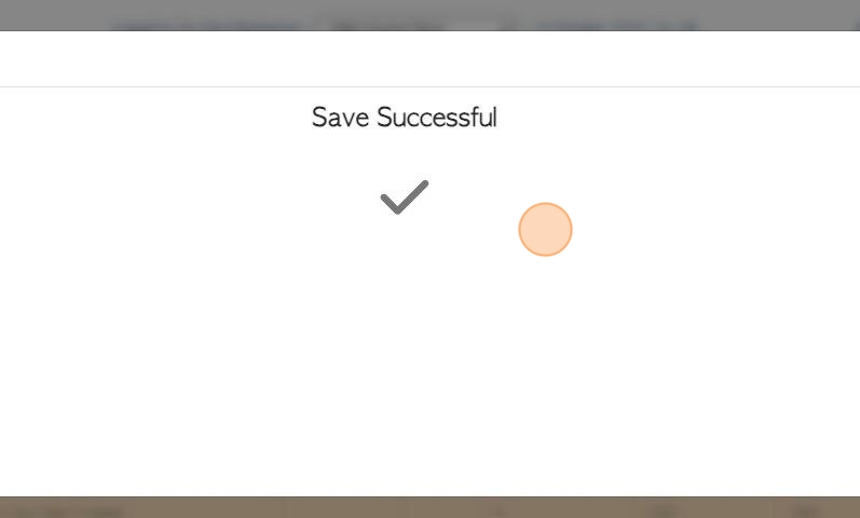
29. The created item will be confirmed.
30. Click "×" to return to the stock item list.
31. The item will now appear on stock item lists.