1. Stock Transfers are used to track when stock is moved between sites or facilities, within the company. They are non-sale transactions.
This article focuses on creating a NEW stock transfer to RECEIVE stock from another facility.
TIP! The Sending site can create a transfer that will show on the list as Pending and can be reviewed and received. See related article " View and Edit transaction on the Stock Transfer page".
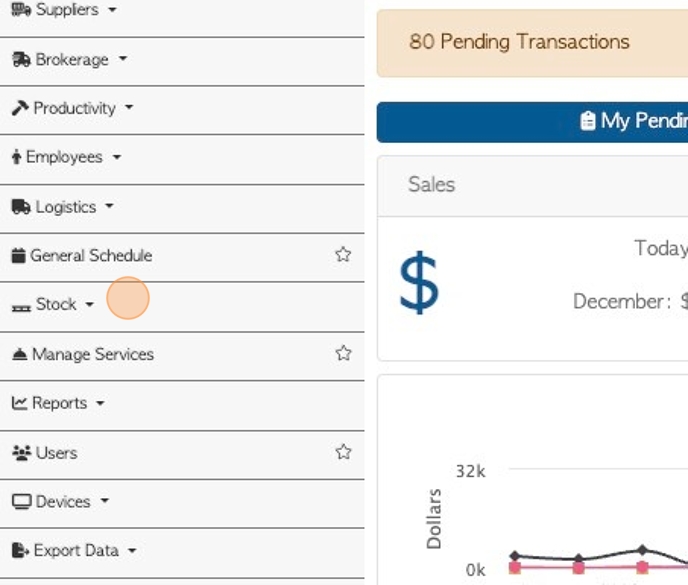
2. Navigate to main menu and Click "Stock"
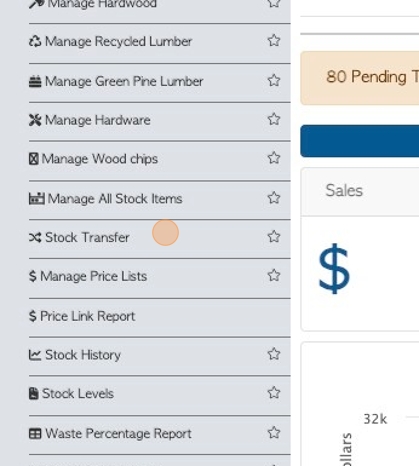
3. Click "Stock Transfer"
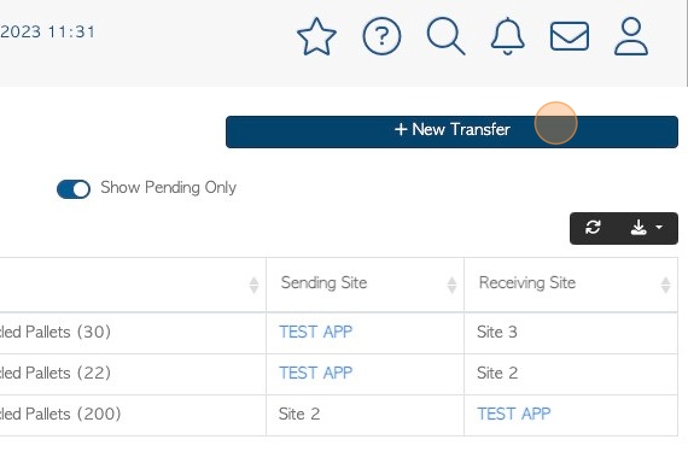
4. Click here on the action button "+ New Transfer"
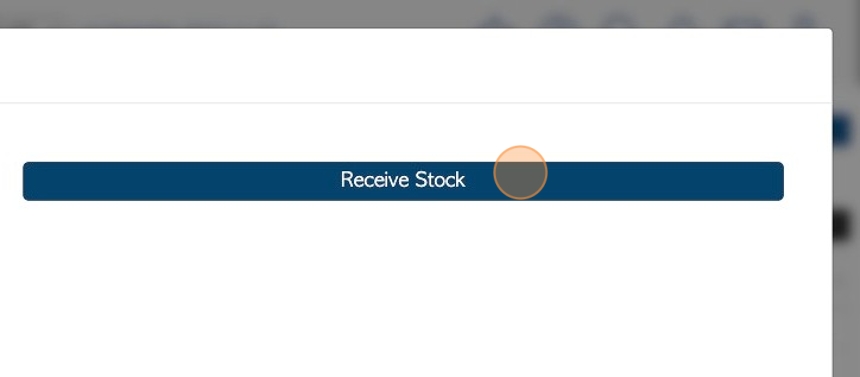
5. Click "Receive Stock"
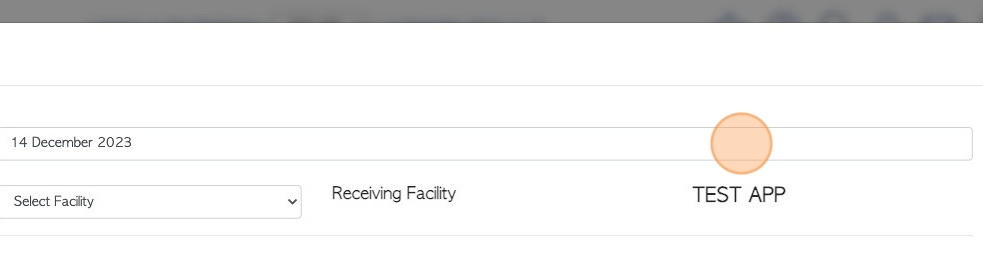
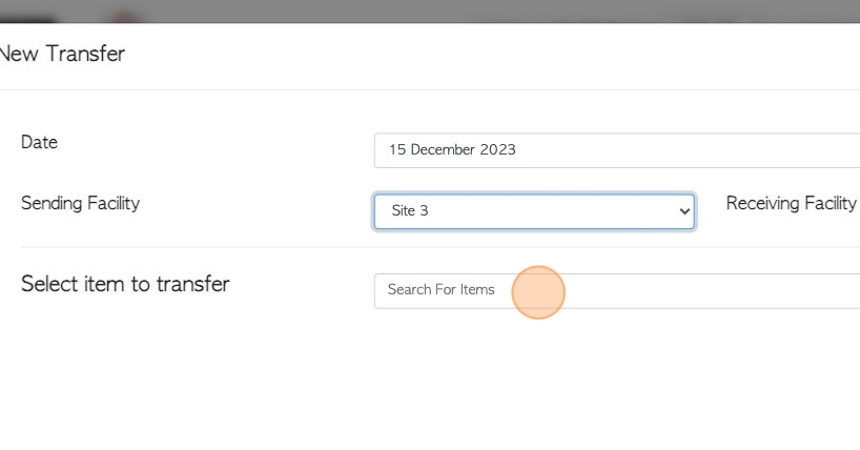
6. Click this field, if the date of transfer needs to be changed.
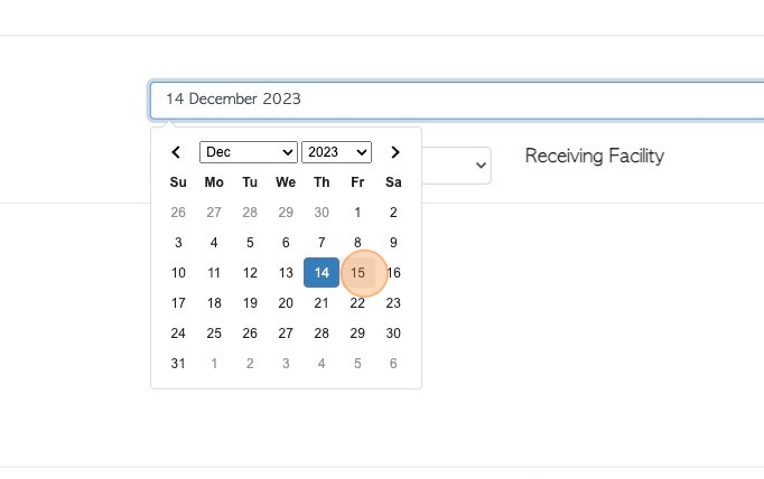
7. This will allow access to the calendar, Click on the desired date.
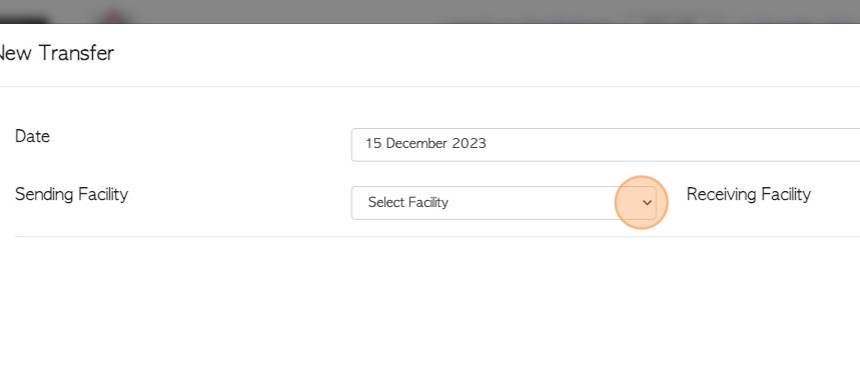
8. Click this dropdown, to choose the facility that is sending the stock.
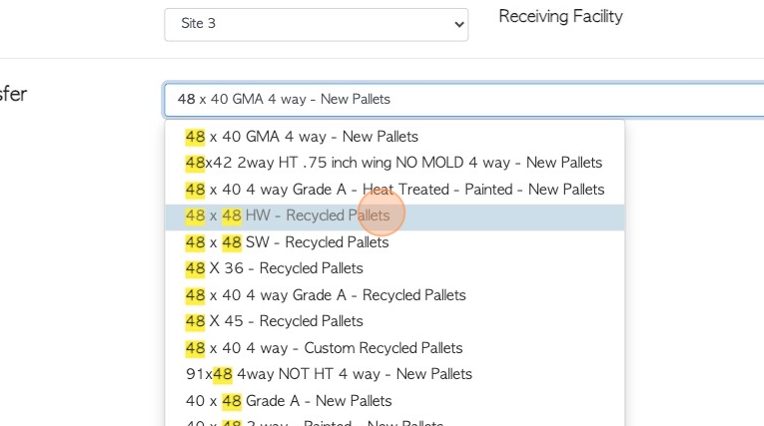
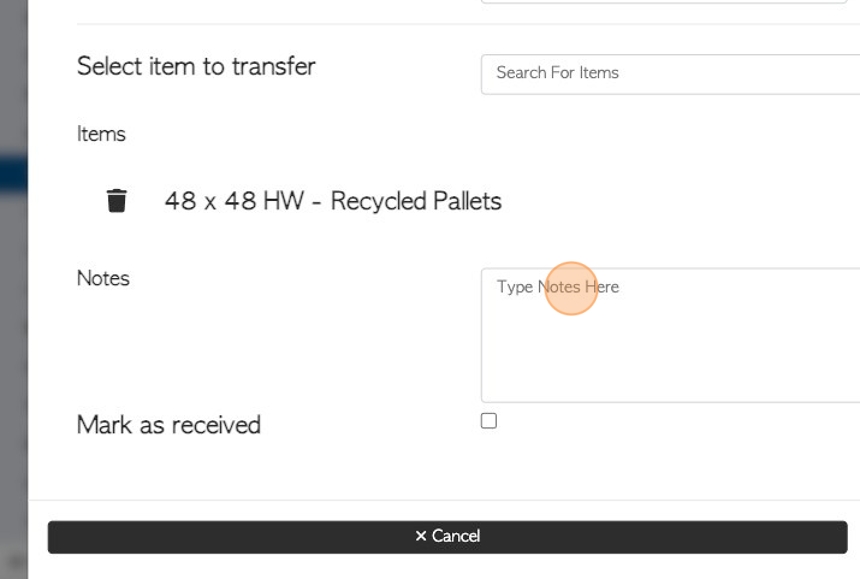
9. Click the "Search For Items" field, to choose the item that is being received.
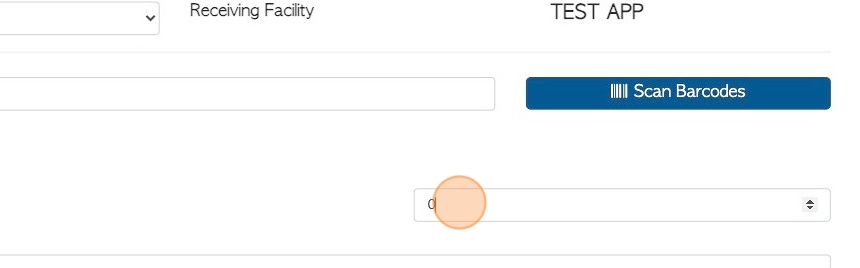
10. Click here to select the item from the drop down menu.
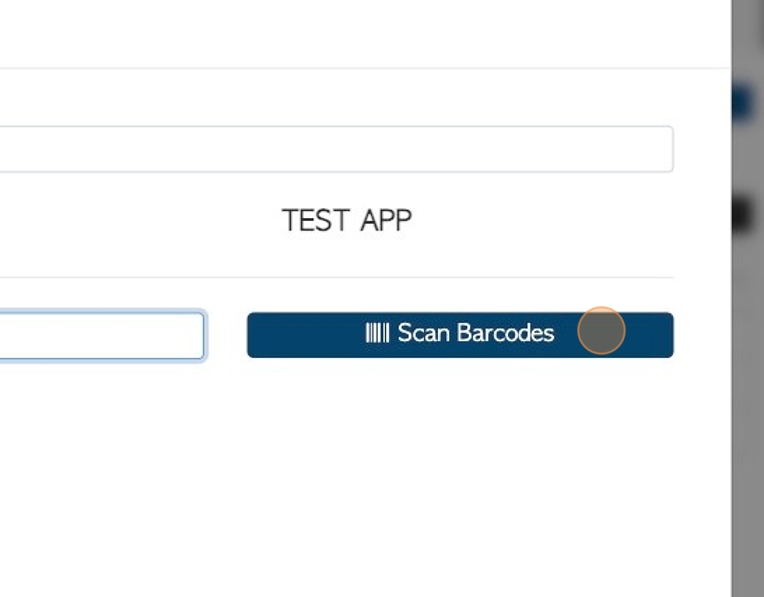
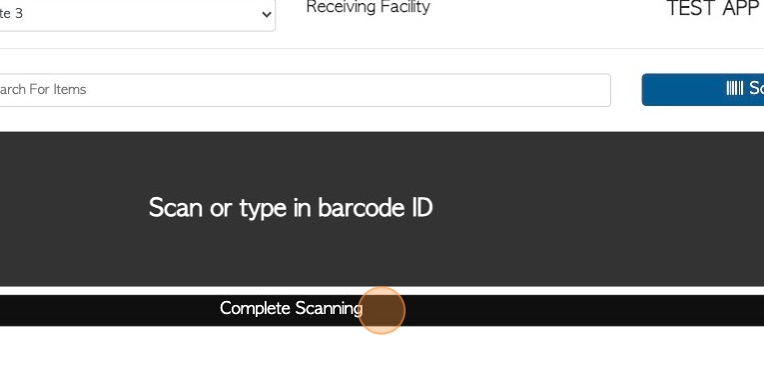
11. Click action button "Scan Barcodes", if applicable.
12. Click "Complete Scanning" once barcode has been scanned.
13. Click the "Enter Qty" field to record the quantity of the item being received.
TIP! Multiple stock items can be listed on a transfer. Repeat steps 9-13 for each item.
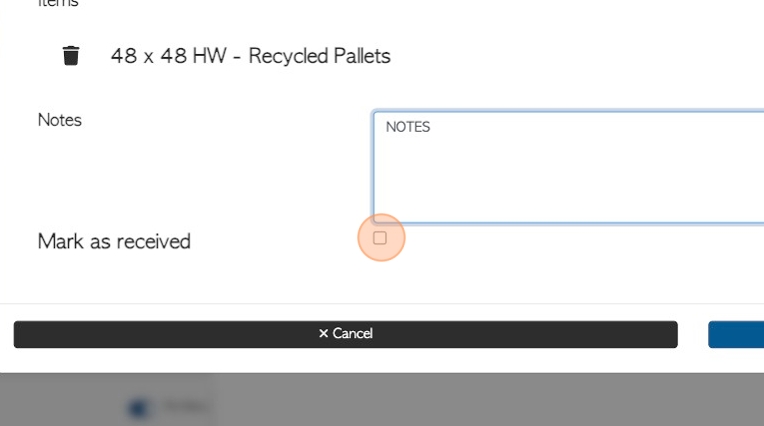
14. Click the "Type Notes Here" field, if additional transfer notes are to be added.
15. Click this checkbox to "Mark as received". If this box is not checked, the transfer will remain on the Stock Transfer list as "Pending", until it is received and completed.
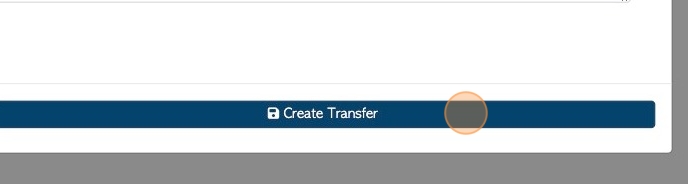
16. Click "Create Transfer" to save the transfer.