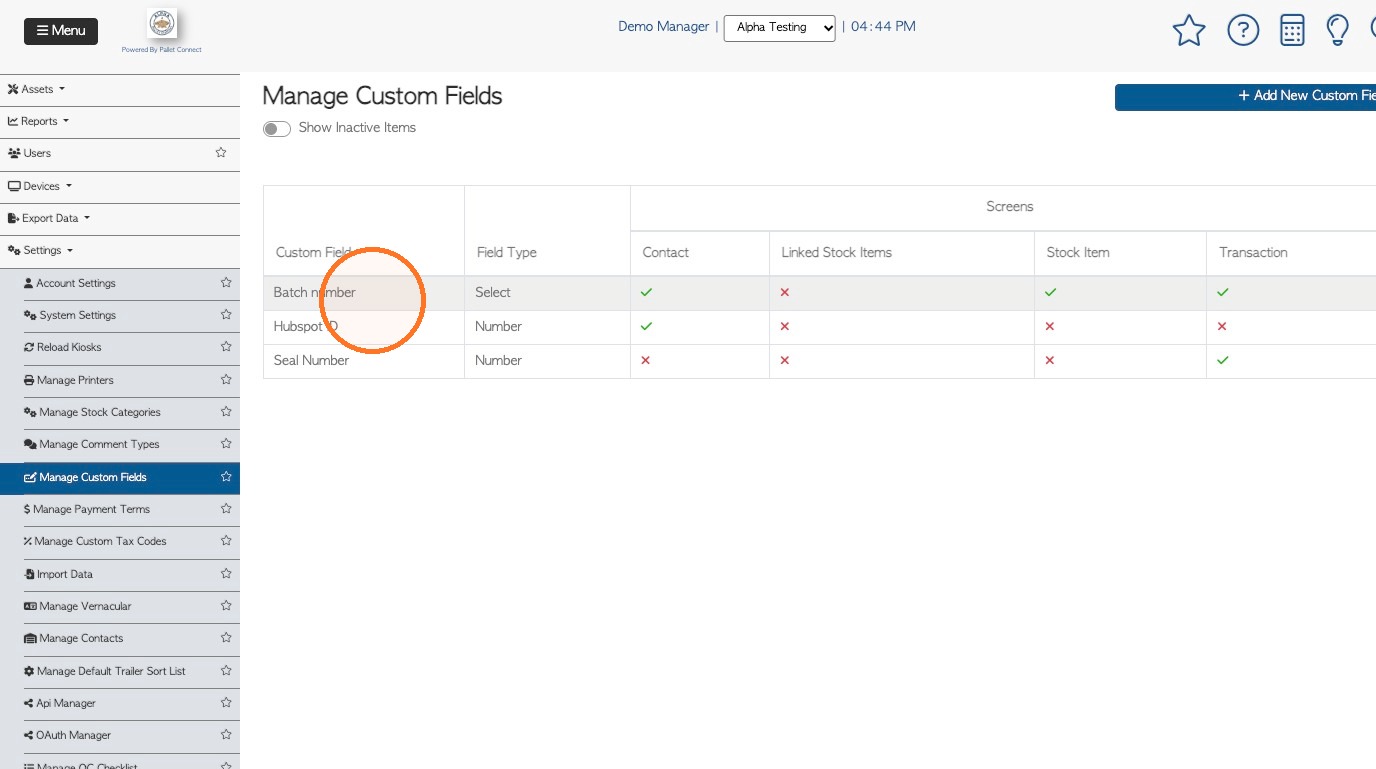
Custom Fields allow companies to capture additional information that is not included in the system's default fields. These fields can be created to suit specific business needs and help organize information within the system. This article explains how to create Custom Fields. For instructions on how to use them, refer to the related article, How to Assign Custom Fields.
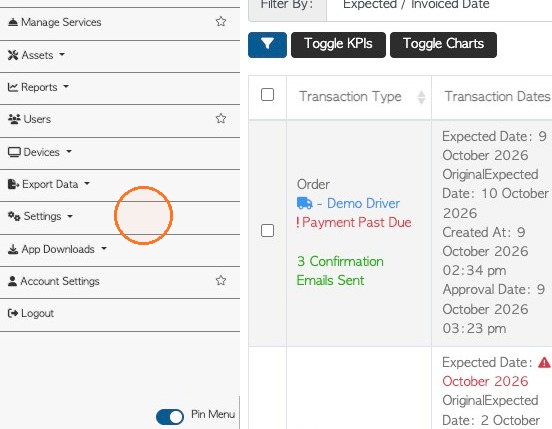
1. From the main menu, click "Settings"
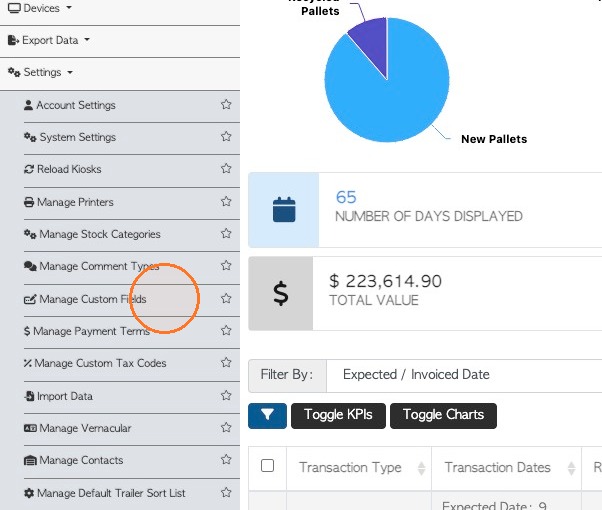
2. Click "Manage Custom Fields"
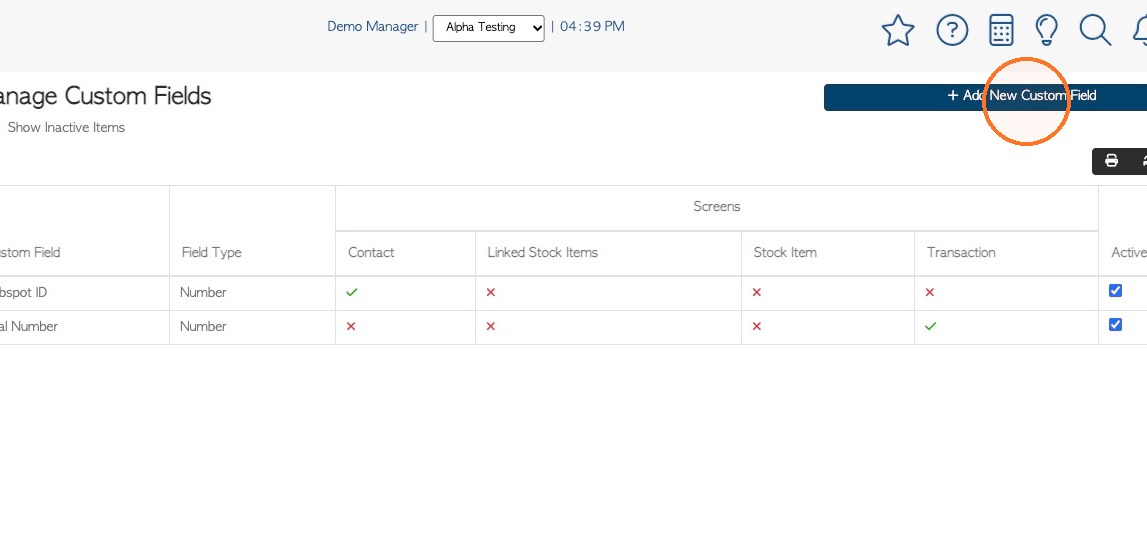
3. Existing Fields are listed on this page. To add a new field, click "Add New Custom Field"
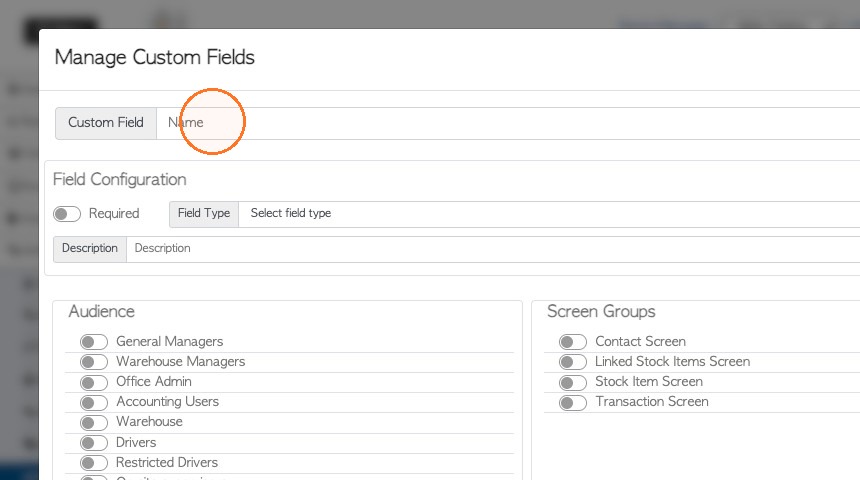
4. Click the "Name" field to label the field.
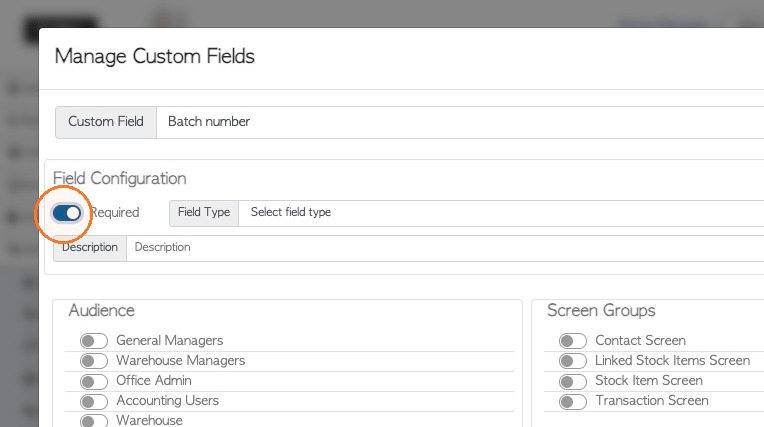
5. Click "Required" if the field must be filled out and is not optional.
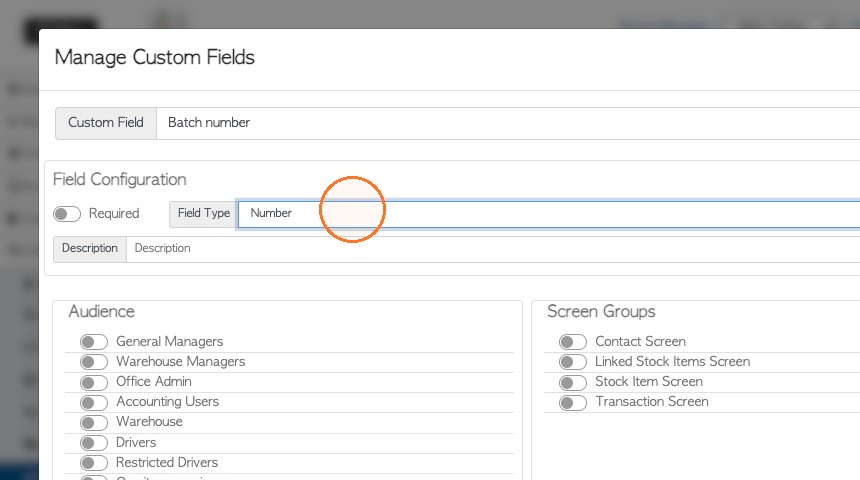
6. Choose the field type from the drop down menu.
Choices are: Checkbox, Number, Select, Text or Text Area.
7. SELECT step 1: If choosing the "Select" option, then the options to select must be added.
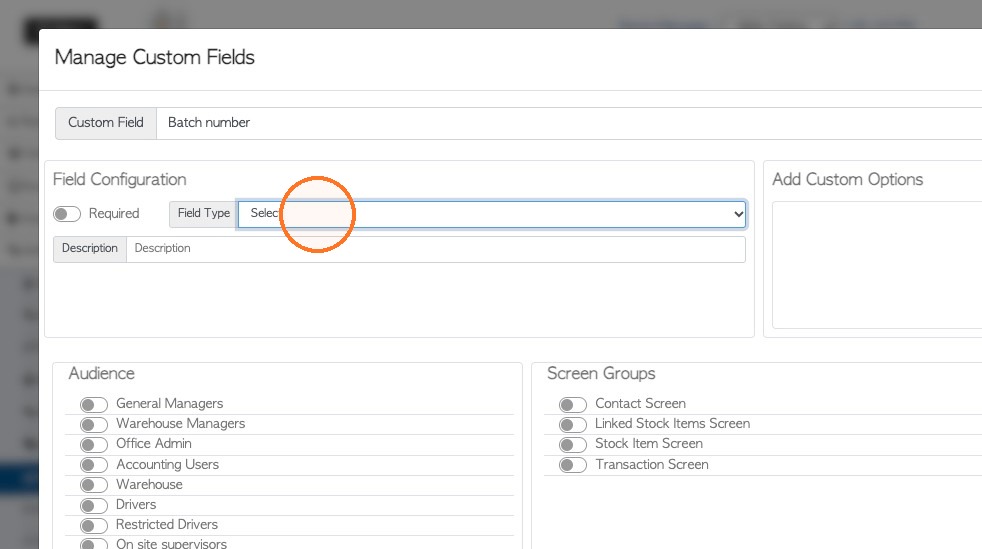
8. SELECT step 2: Click the "Option Text" field and type the first option.
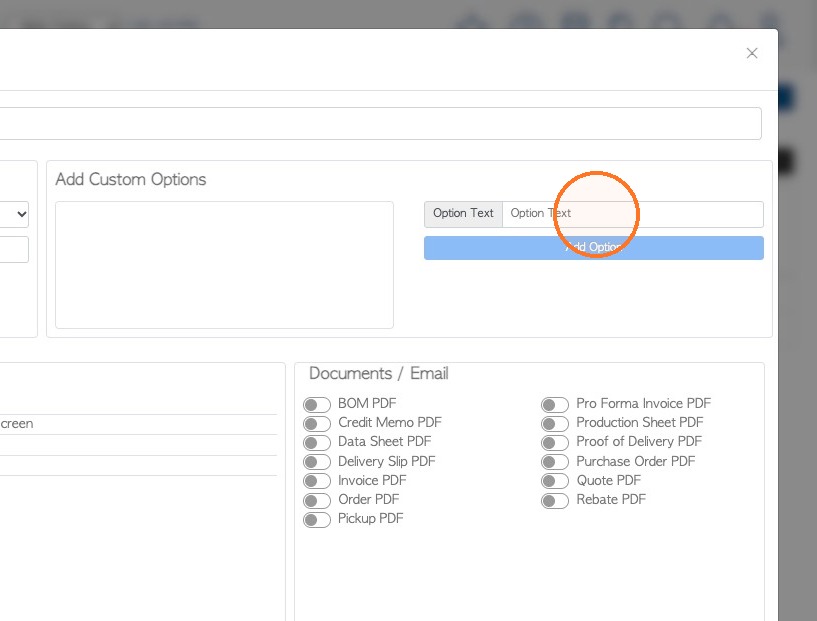
9. SELECT step 3: Click "Add Option"
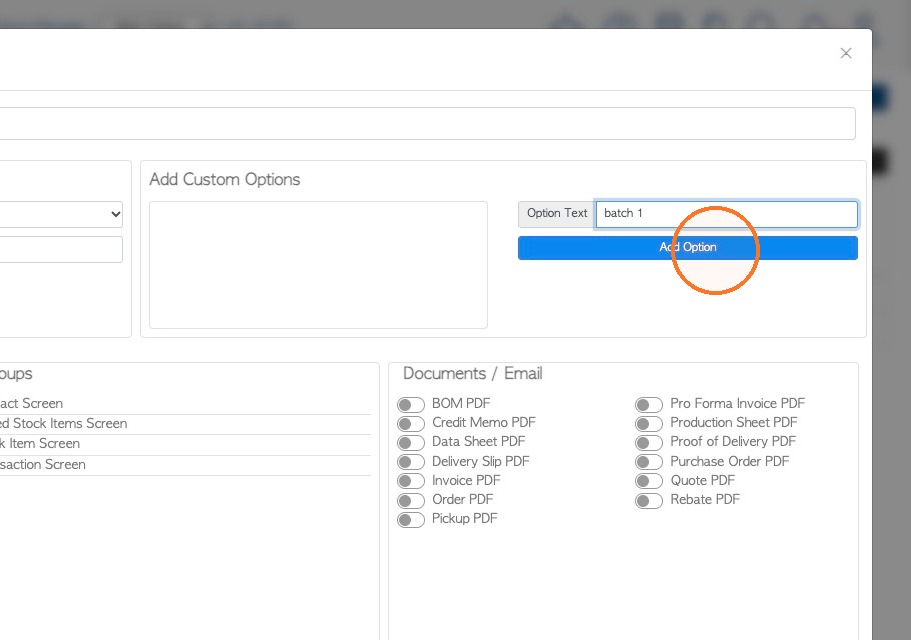
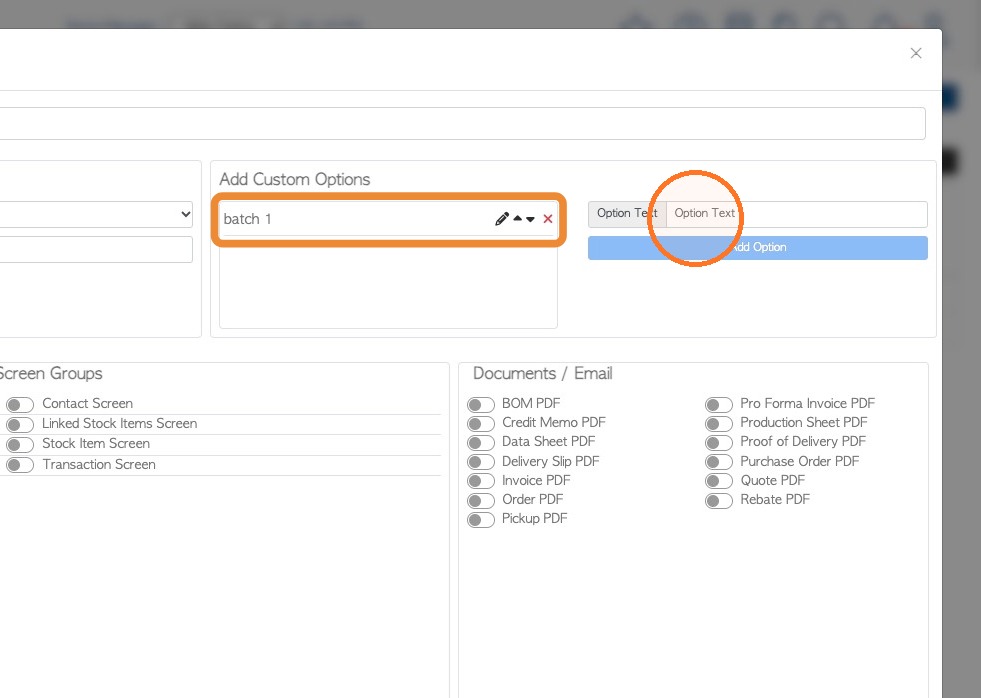
10. SELECT step 4: The first option will be added. Click the "Option Text" field again to add the next selection.
11. Click the "Description" field. This description will be available where the Custom field shows, by clicking the "i" icon.
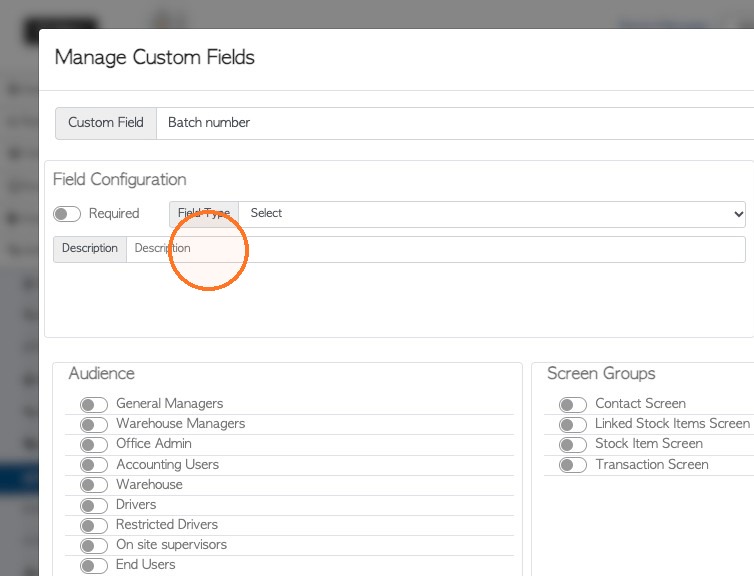
12. AUDIENCE: Click on user types that will be able to see and edit the custom field. There is an option for 'read only'.
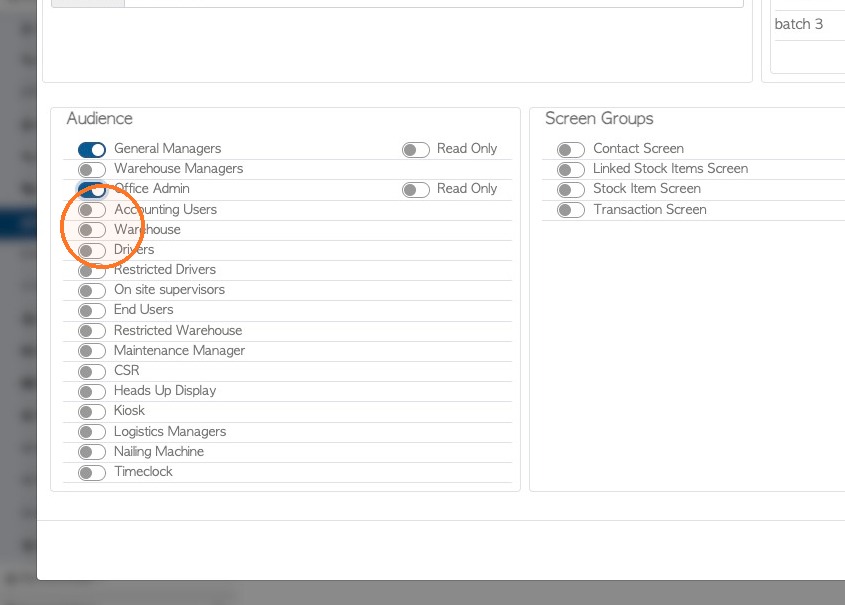
13. SCREEN GROUPS: Click on the screens where the field will be displayed and filled out. There is a read only option.
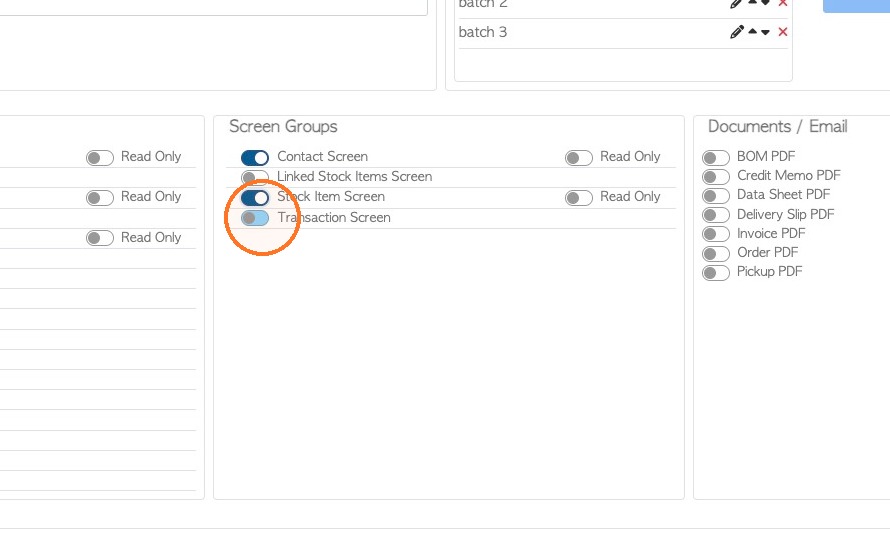
14. DOCUMENTS: Click on the documents where the custom field will be visible.
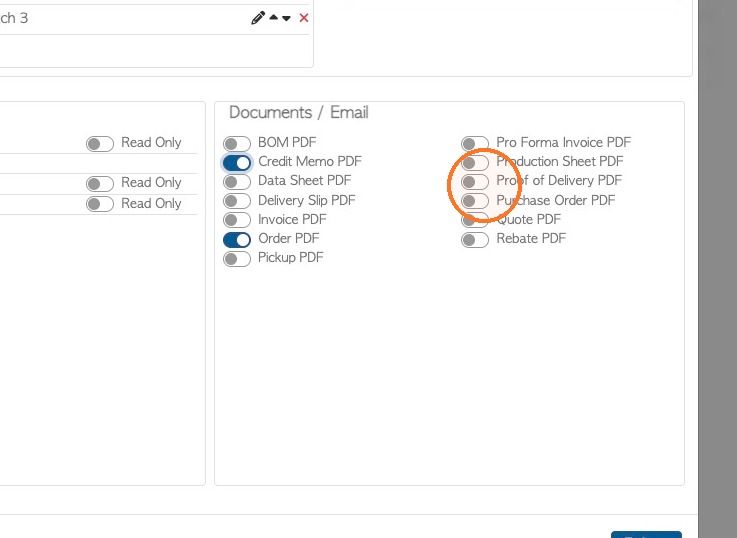
15. Click "Save" to complete changes.
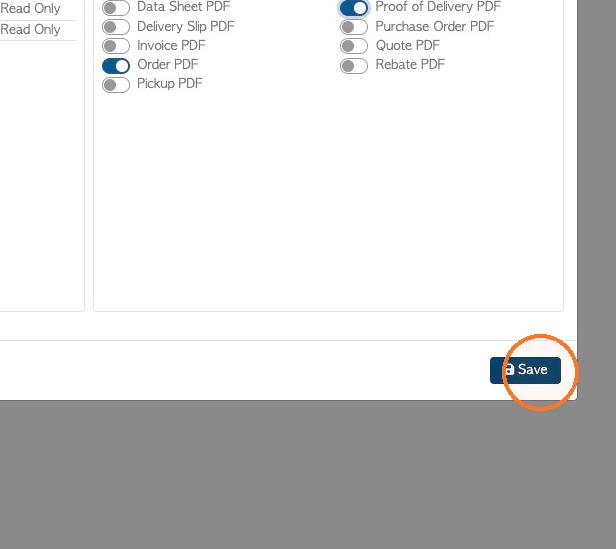
16. The new Custom Field will be listed on the Manage Custom Fields page.
Click on the name to open and edit the details, if needed.
To begin using the feature, see article 'How to Assign Custom Fields'.