1. In Pallet Connect, sometimes invoice details require updates even after a transaction has already been completed or posted. Whether due to a customer request, data entry error, or changes in billing requirements, users may need to correct the "invoice to" address while maintaining accurate financial records.
Even if unlocked, an "Invoice To" address cannot be changed in an completed Invoice. This article will explain how to carry out this process.
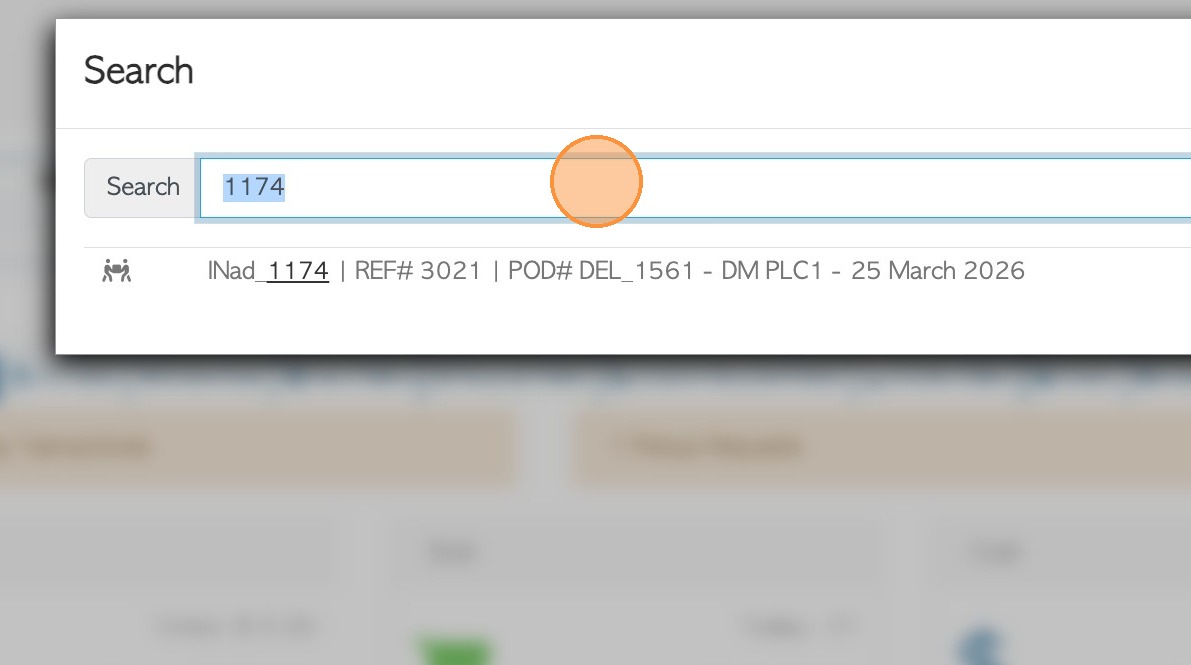
2. Use the Global Search tool to find the transaction or go to the Order History page. Enter the invoice number.
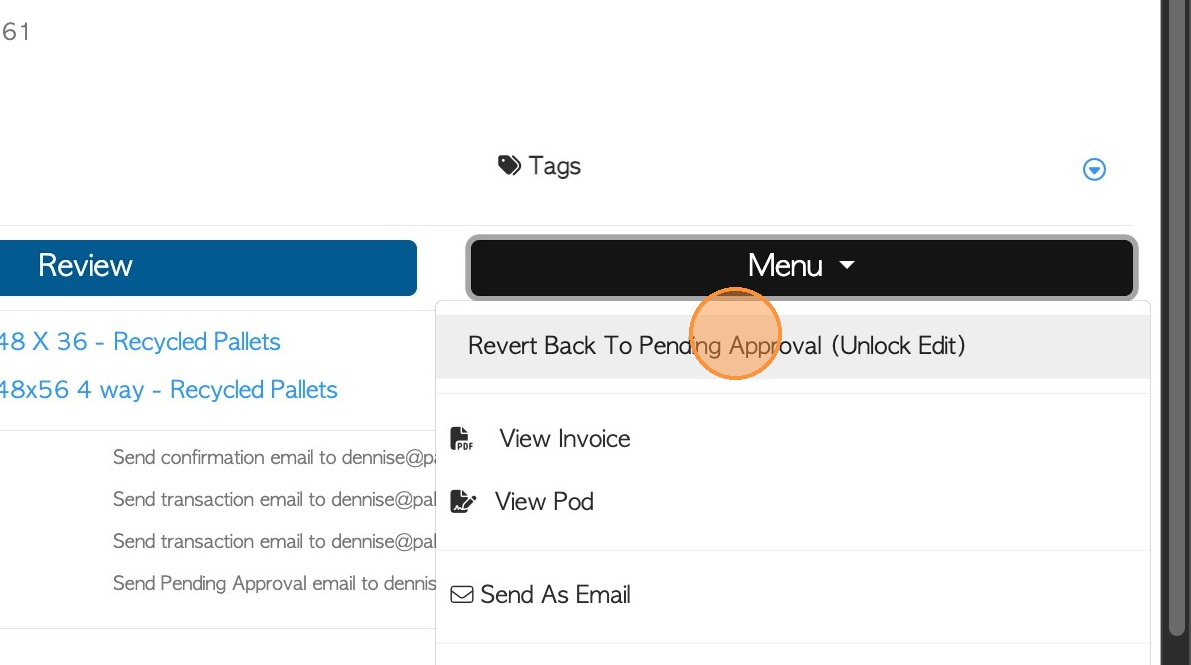
3. Once the transaction is open, click Menu. Then, select "Revert Back To Pending Approval (Unlock Edit)".
NOTE: This stage is needed if 'Approvals' are enabled in System Settings.
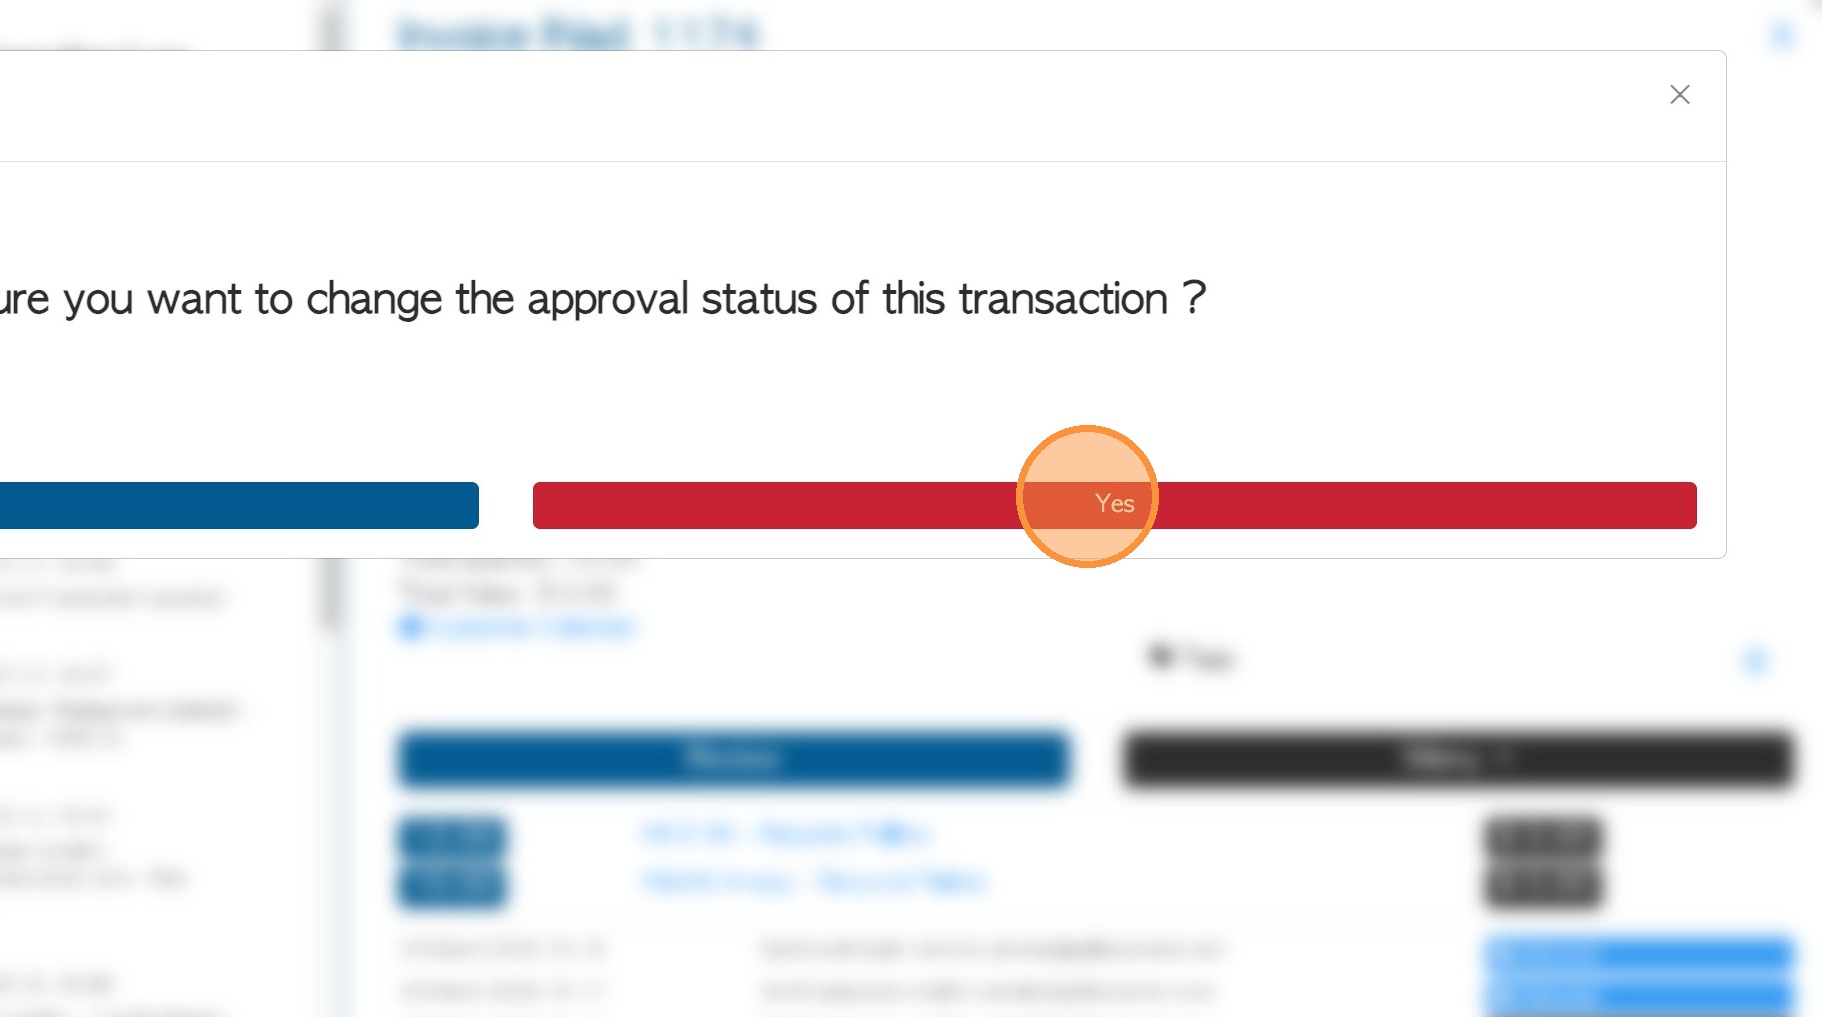
4. Click "Yes" to confirm.
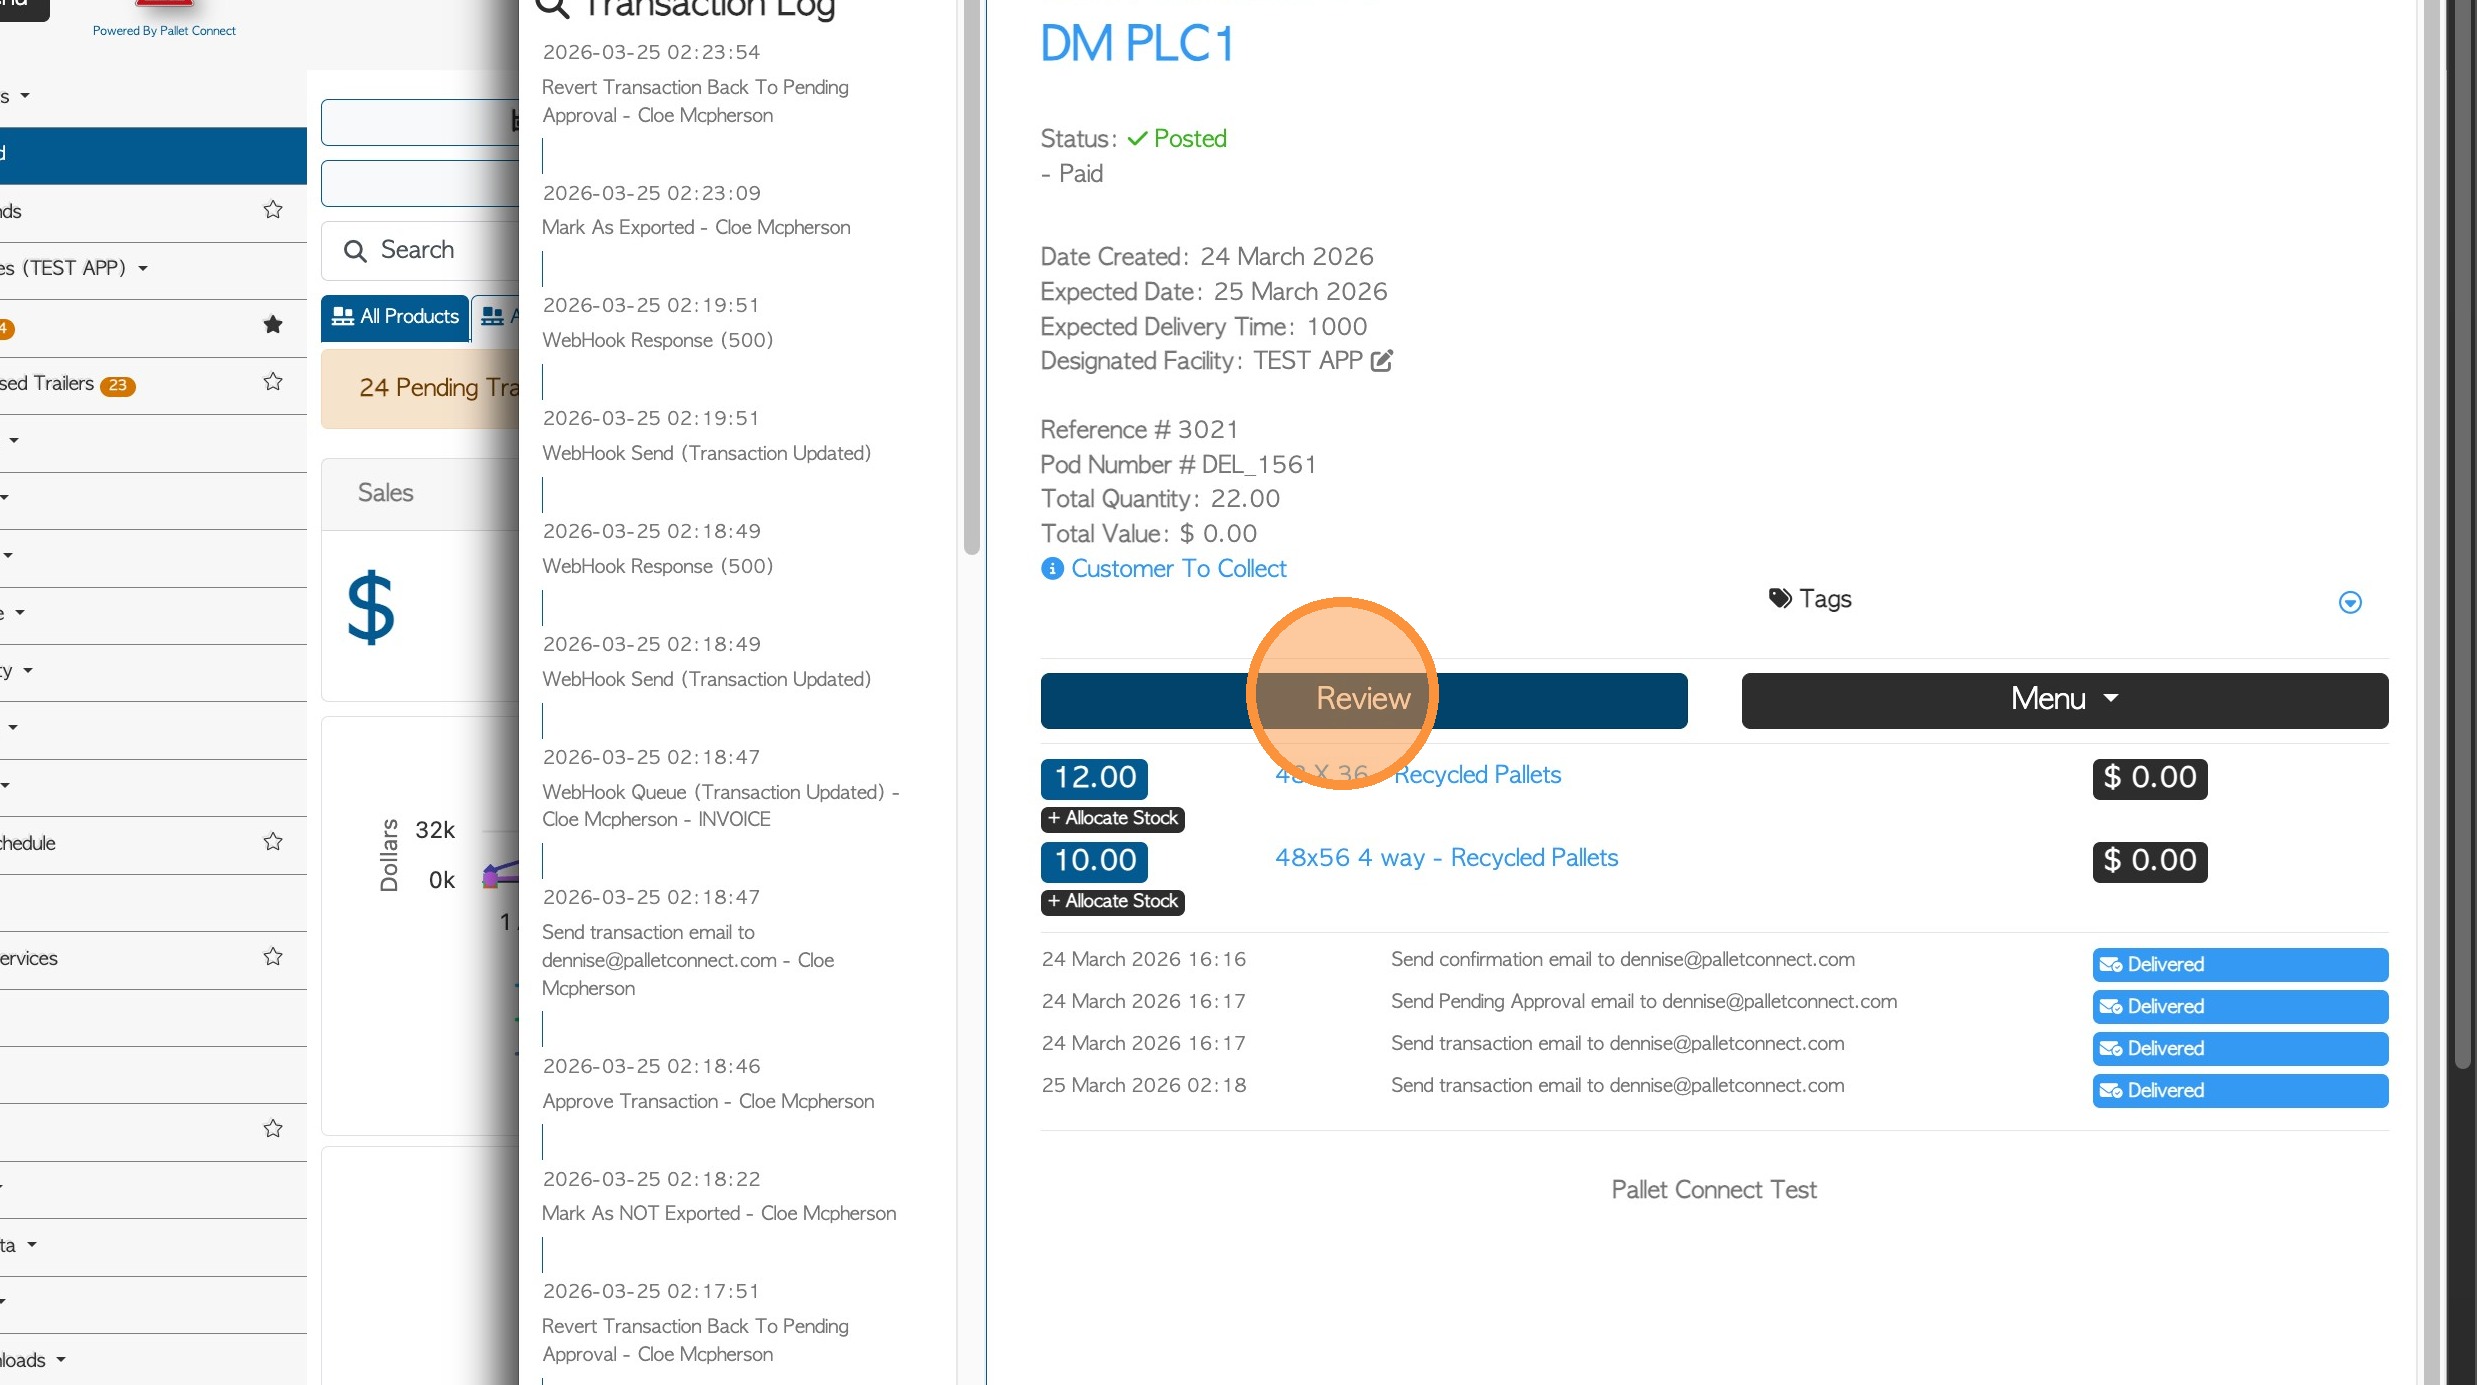
5. Now, switch the Invoice back to "Order" status.
Click "Review" to access the transaction menu.
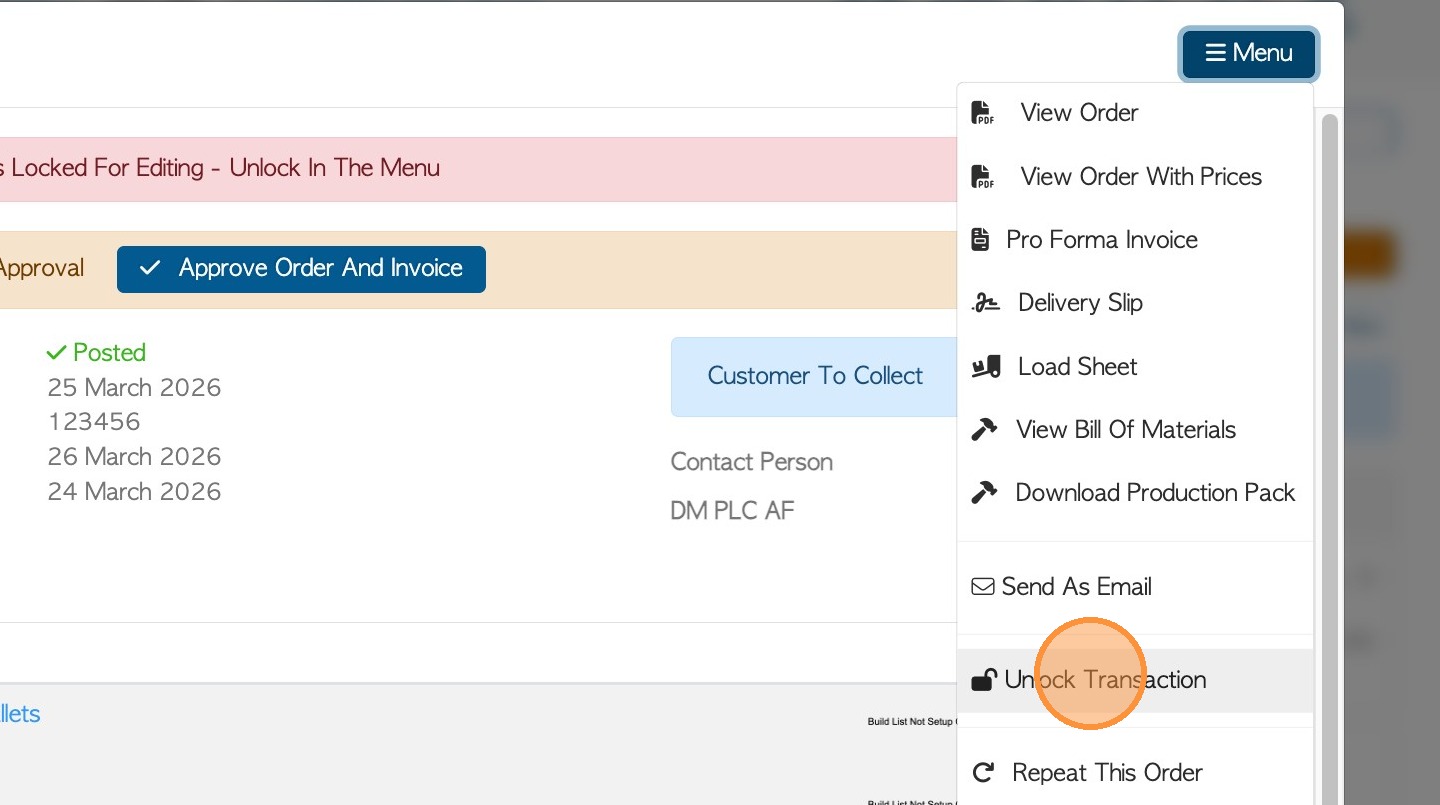
6. Choose Menu on the top right of the pop-up window. Click "Unlock Transaction", if the transaction has been locked.
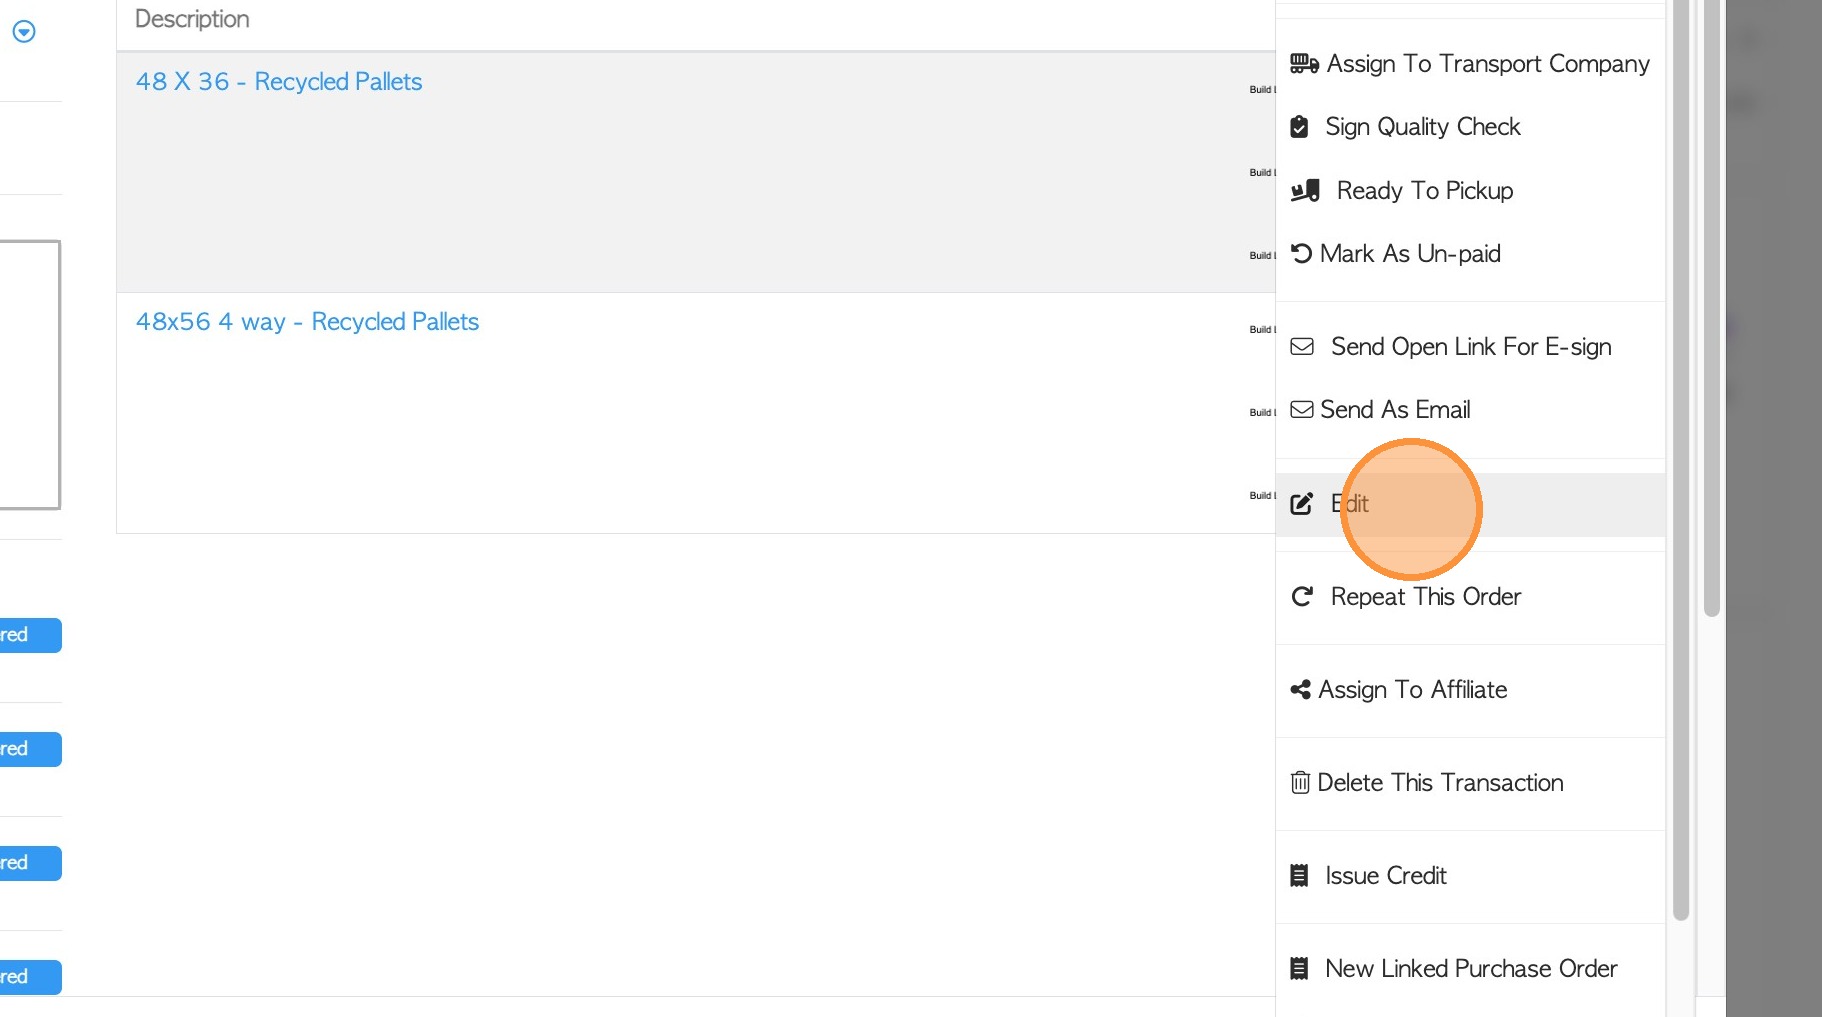
7. Once the transaction is unlocked, the "Edit" option will now be visible.
8. Look for the "Transaction Type" field. Using the drop down menu, change from "Invoice" to "Order".
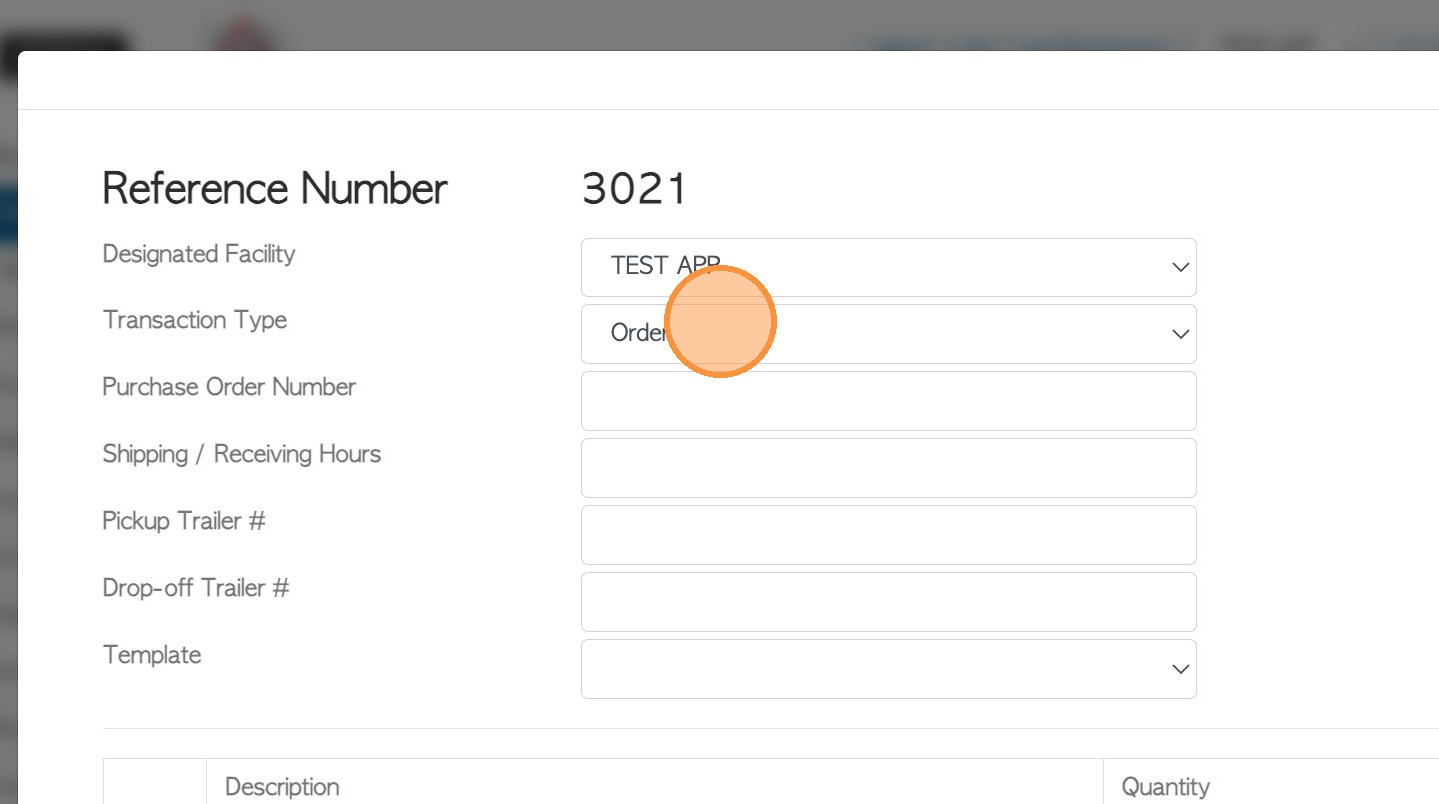
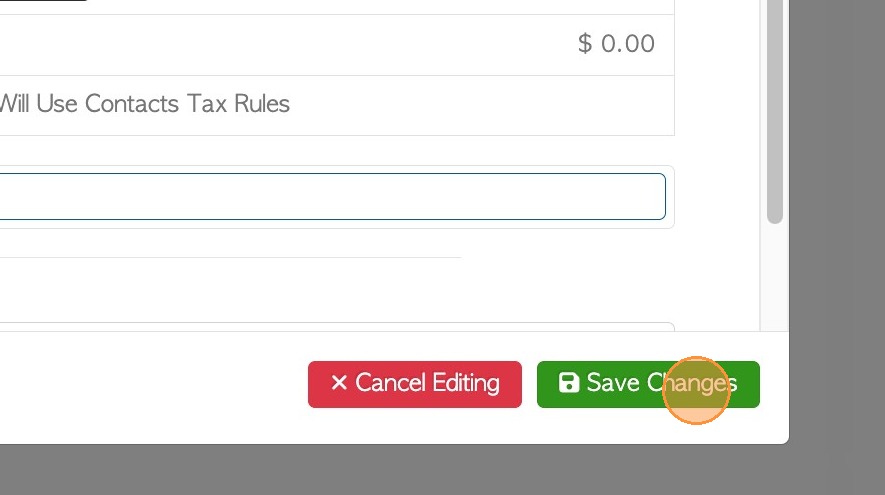
9. Click "Save Changes"
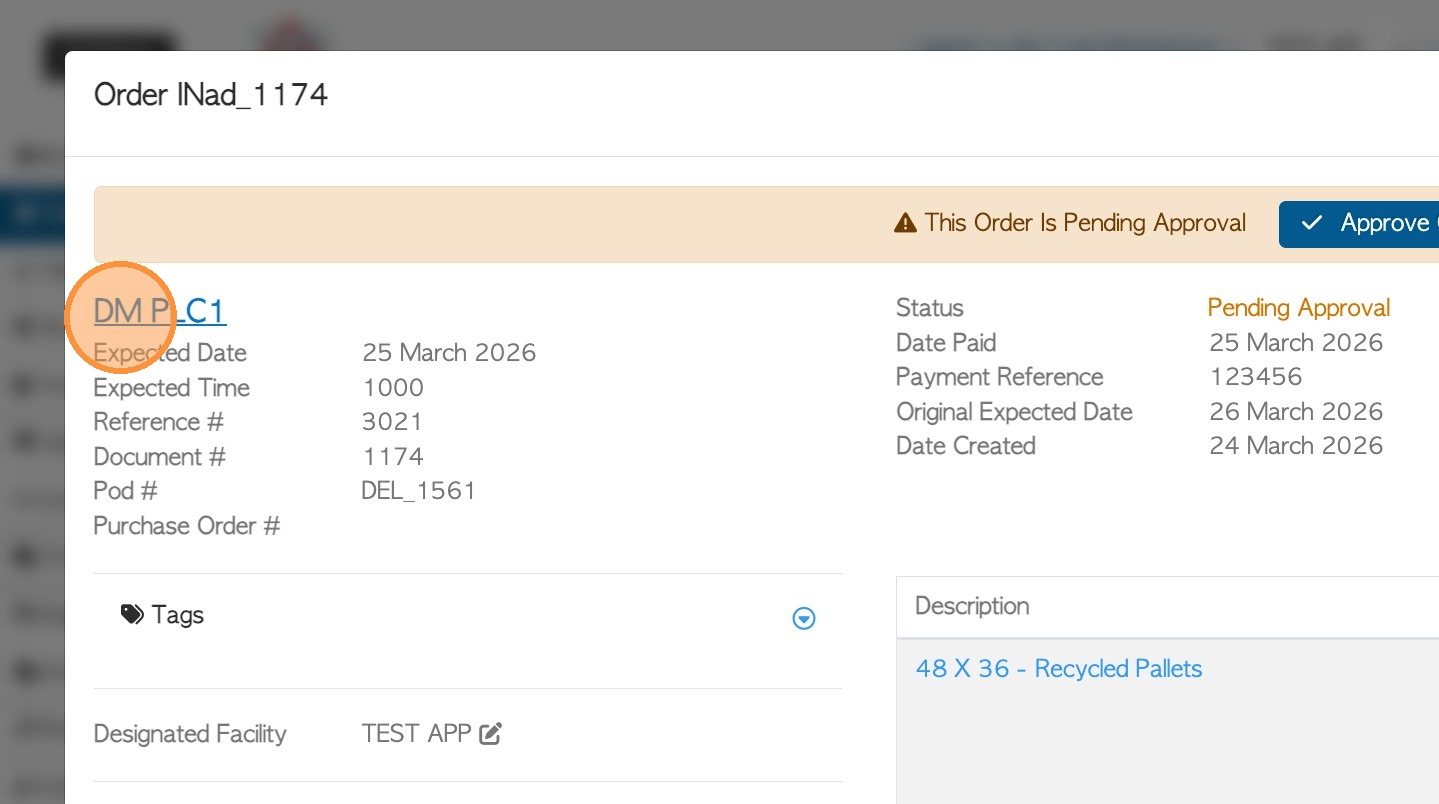
10. Next, update the address on the Customer's profile. From the same page, click on the name of the Customer to access their profile.
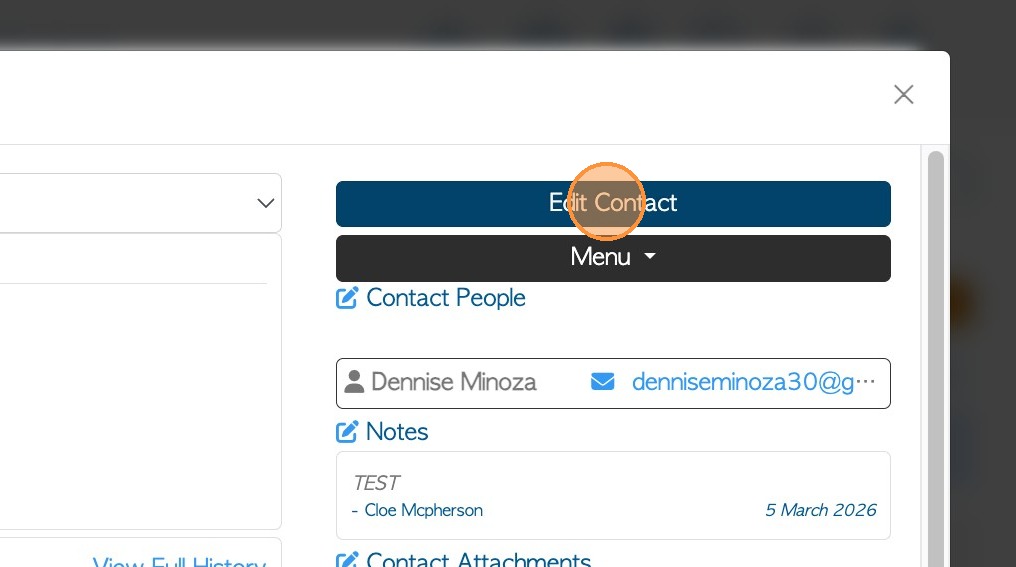
11. Click "Edit Contact" from the profile dashboard.
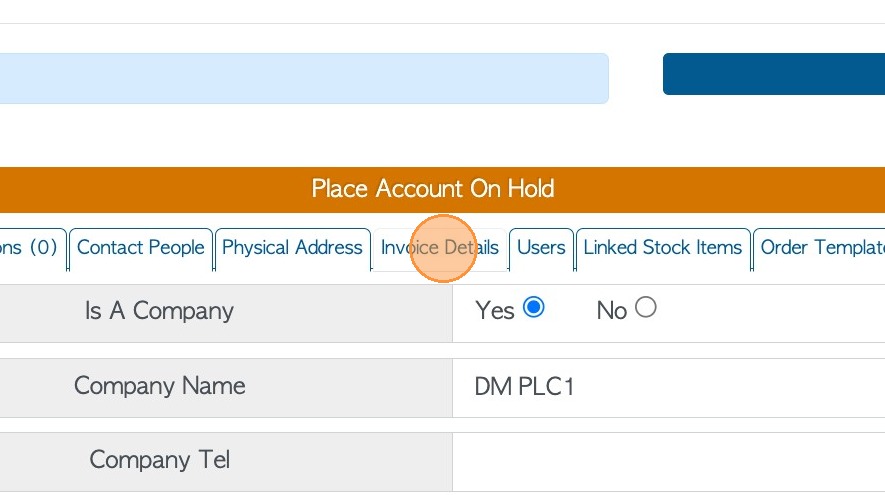
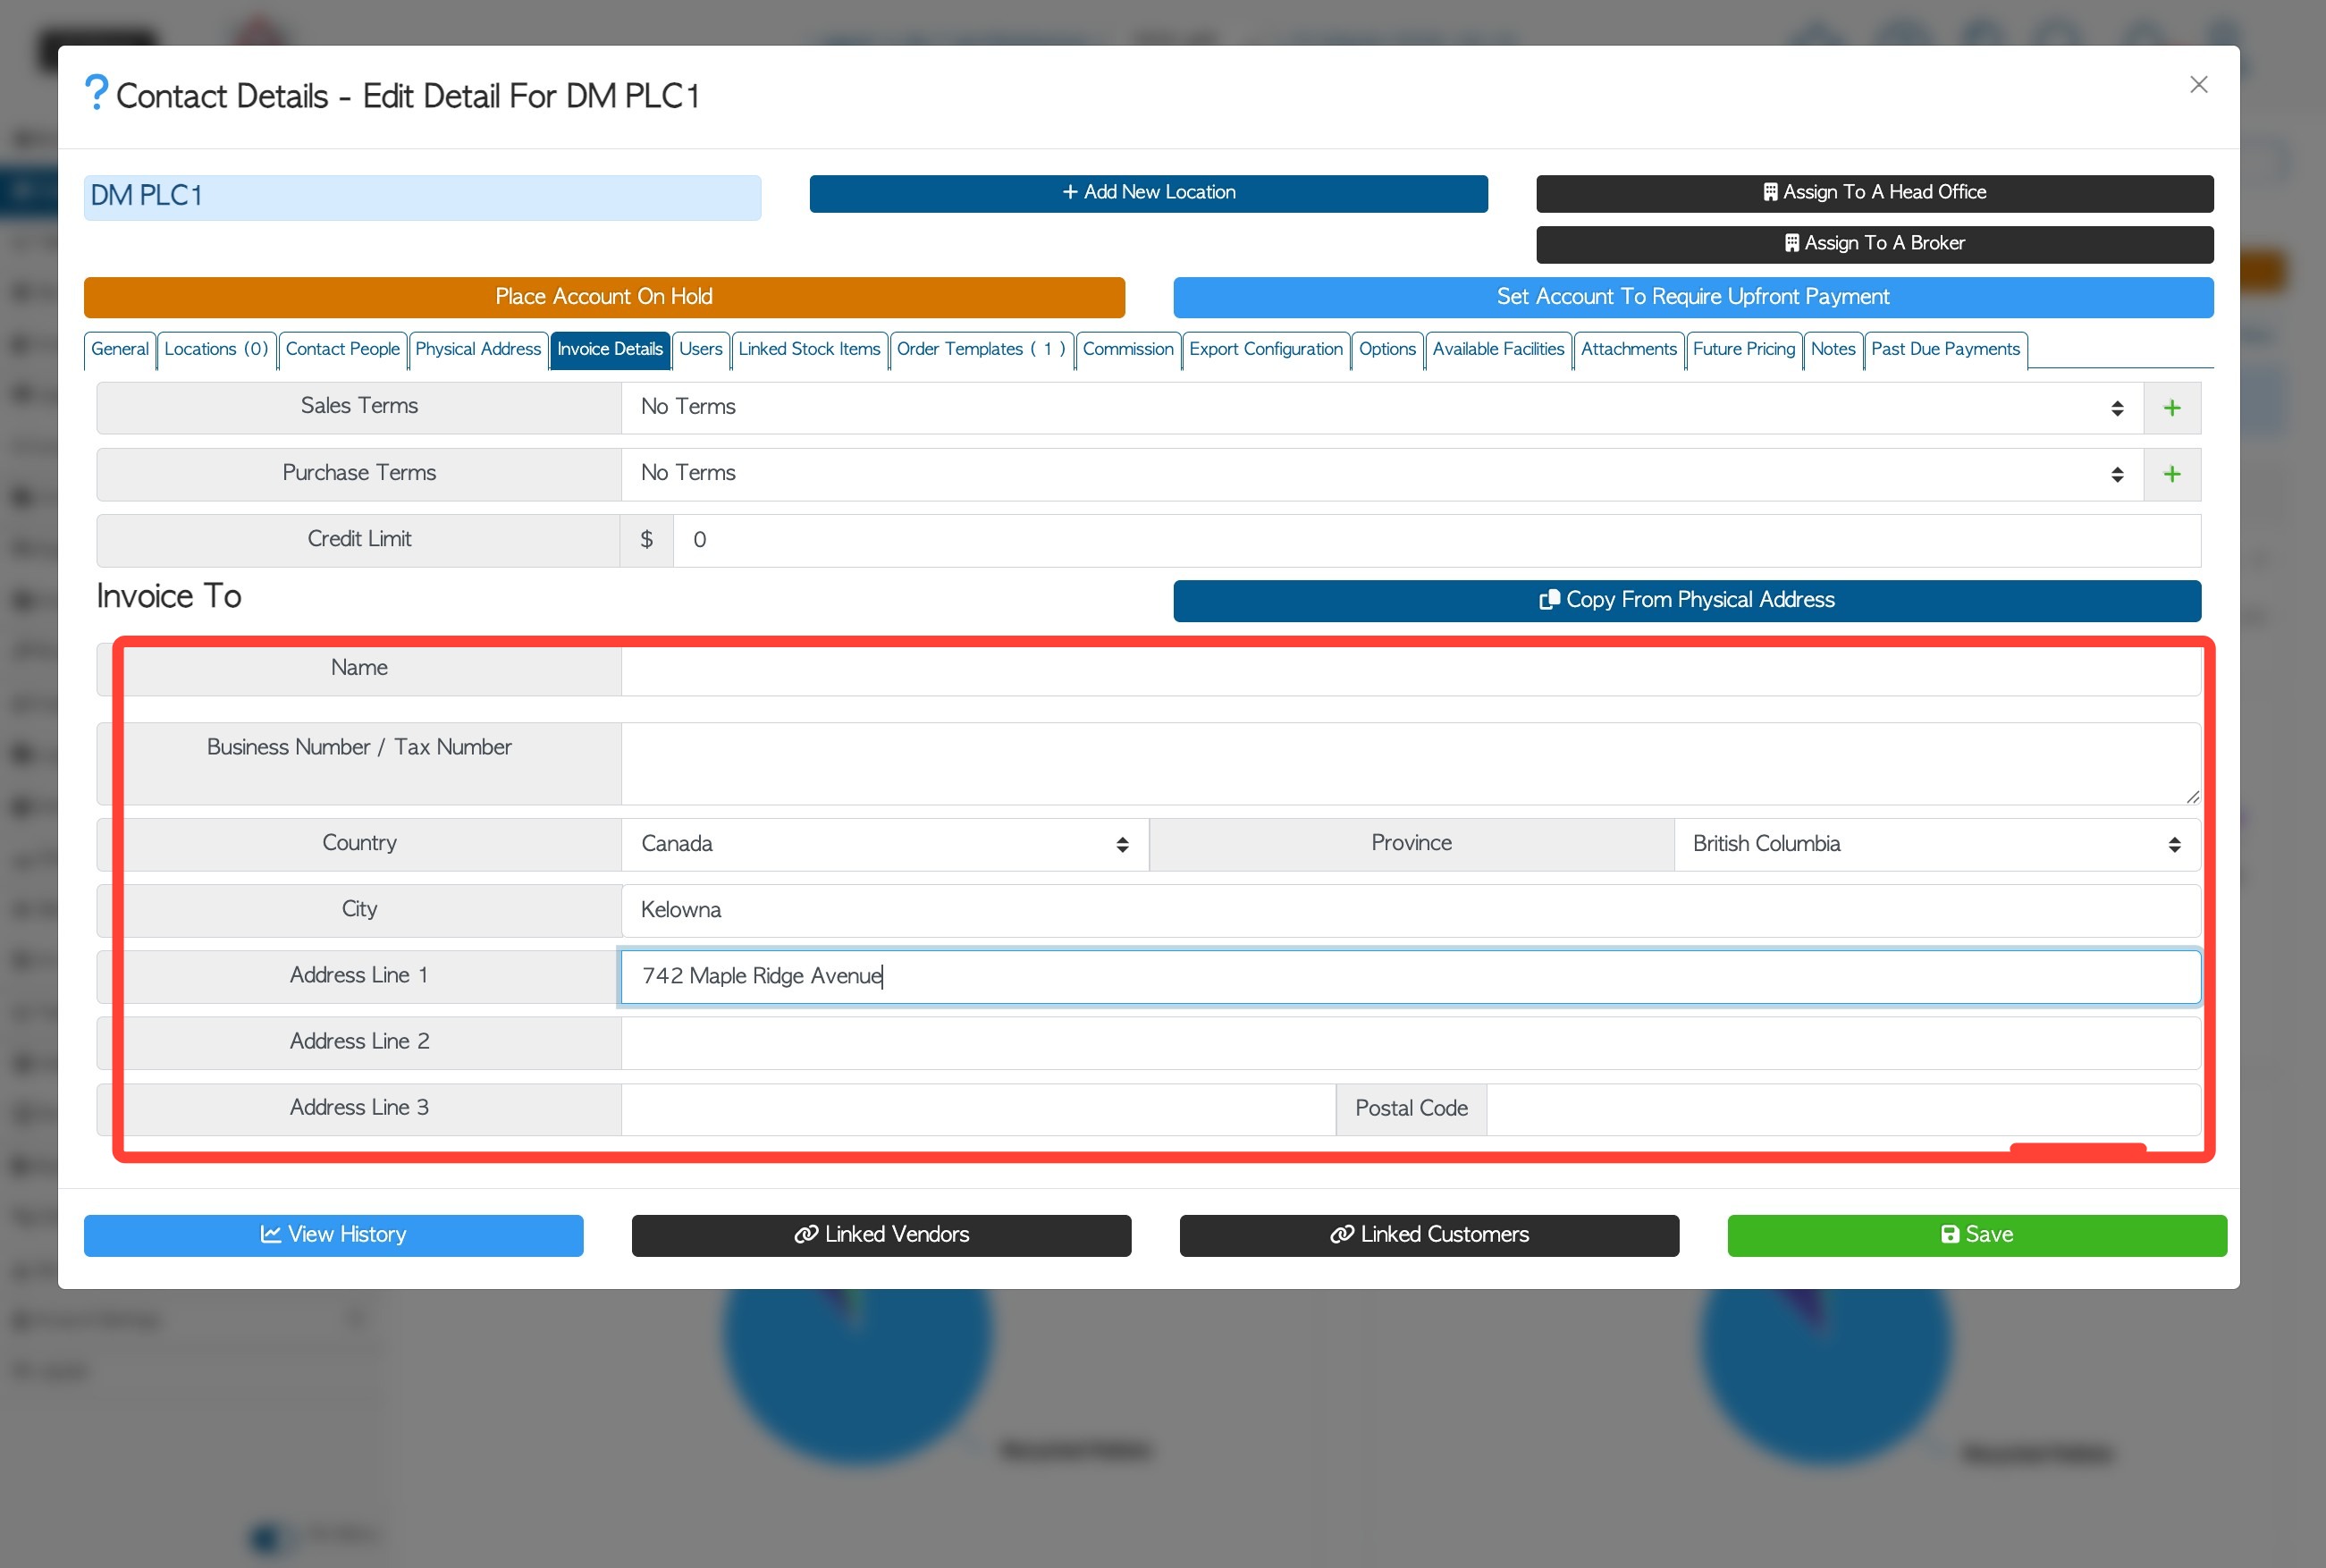
12. Click the "Invoice Details" tab
13. Enter the complete address. This information will be displayed as the “Invoice To” address on the invoice document.
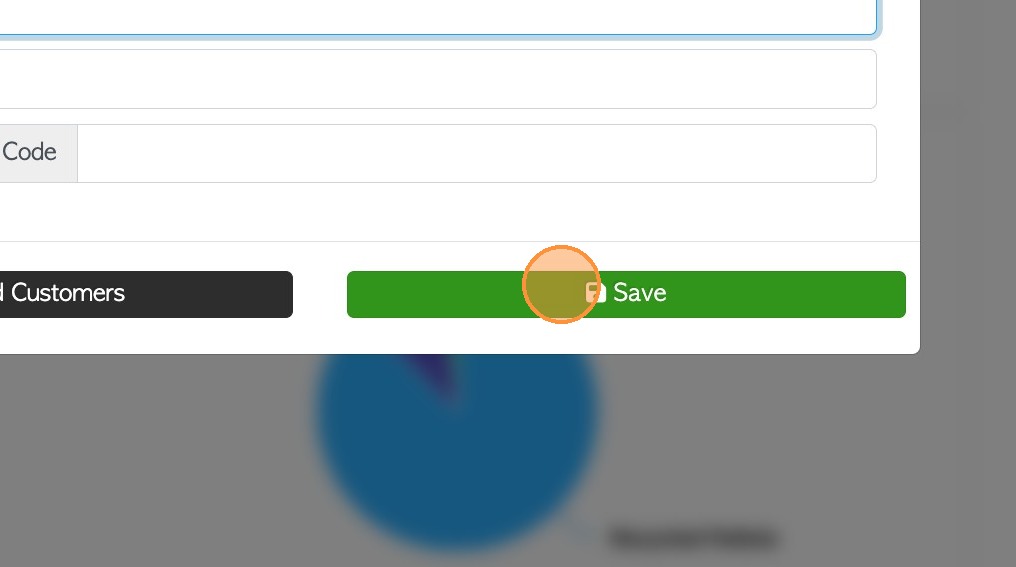
14. Click "Save"
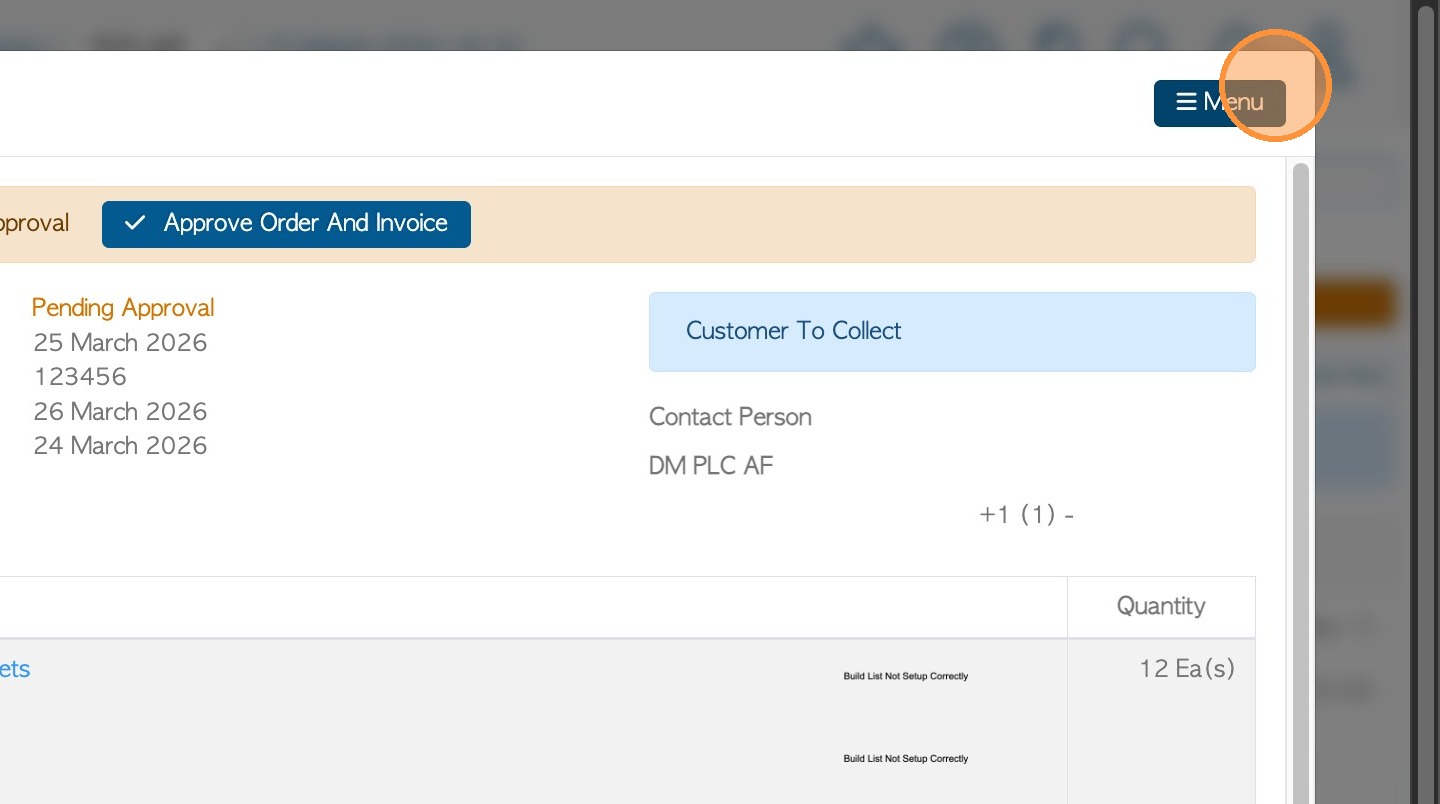
15. Return to the transaction and select Menu.
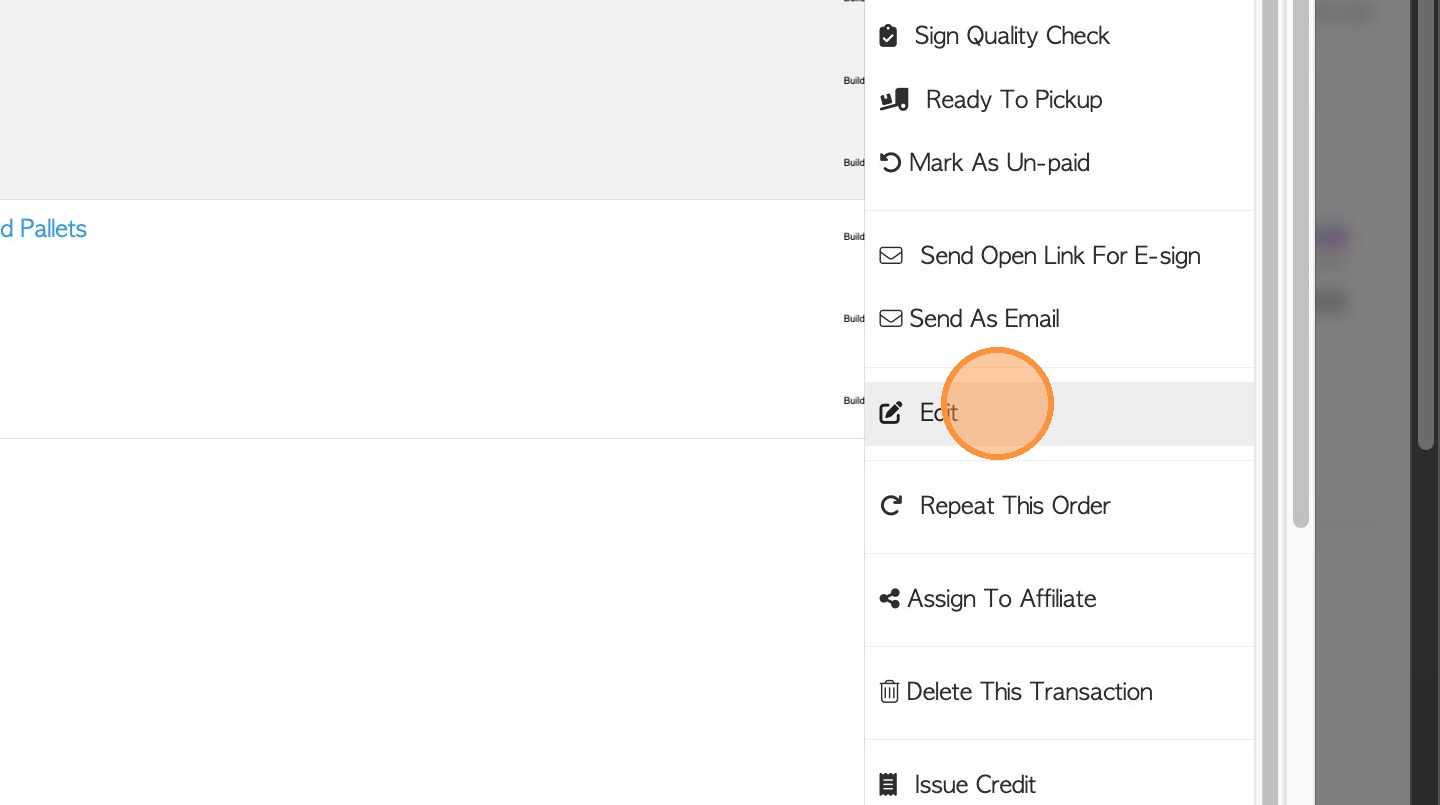
16. Click "Edit"
17. Switch the transaction back to "Invoice" status and remember to save changes.
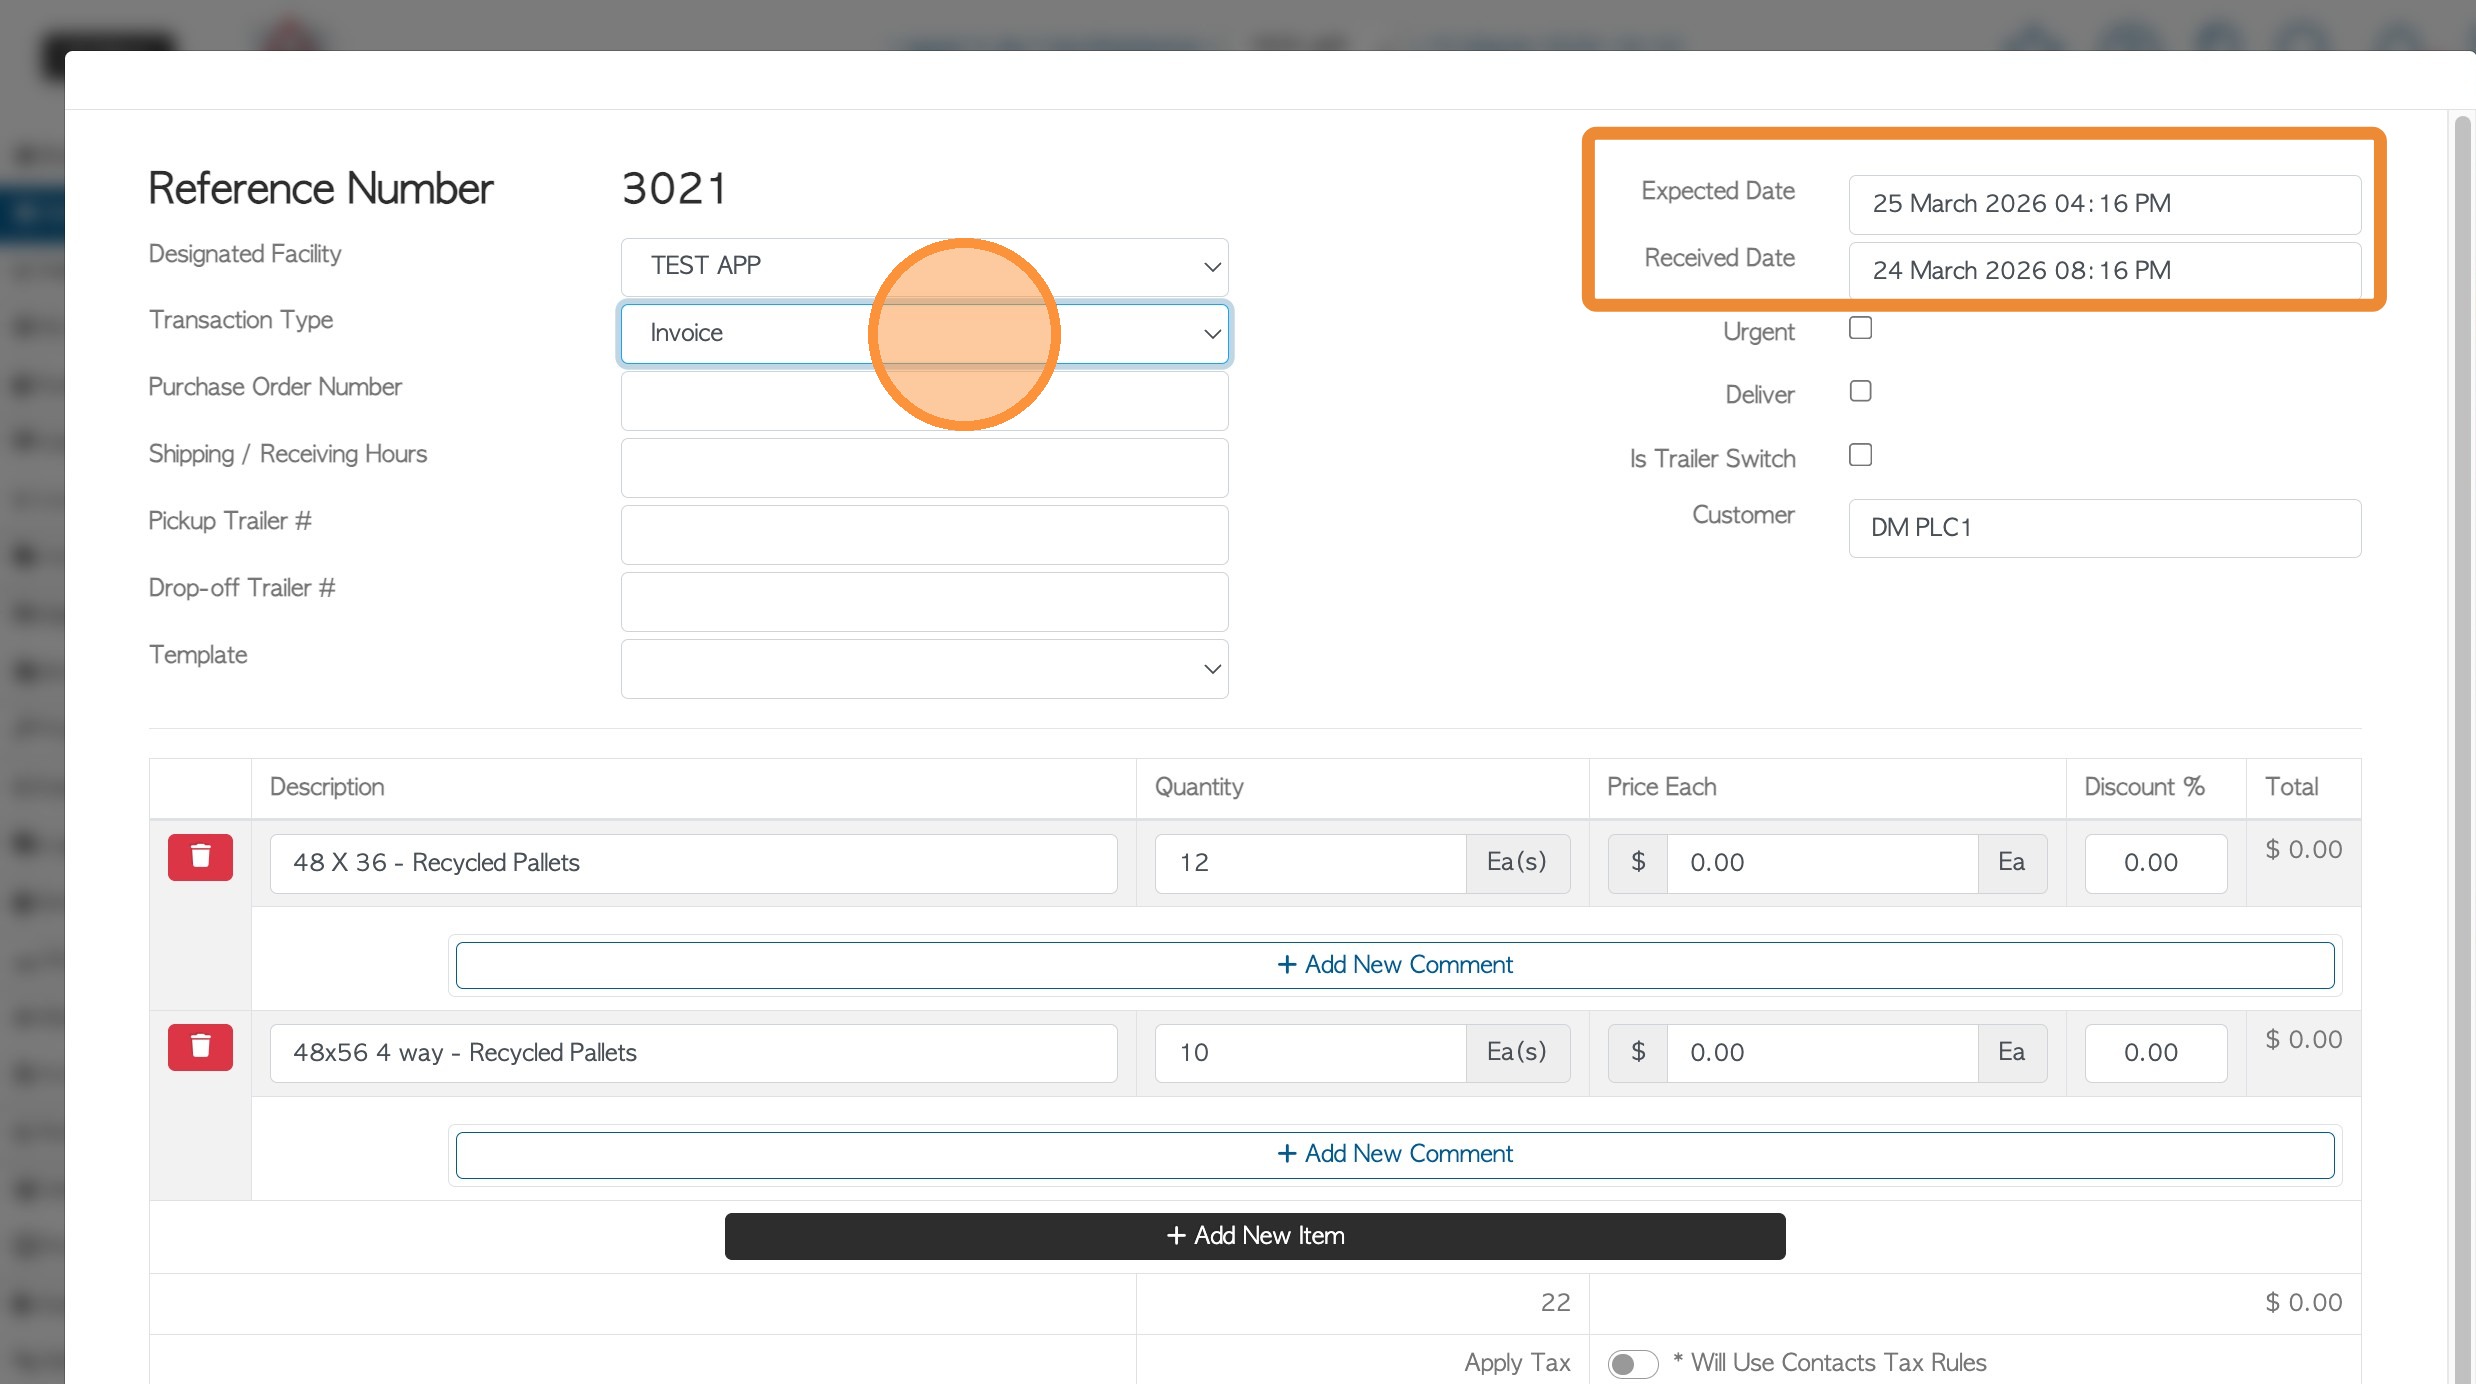
NOTE: The received/expected date will change to the date it is invoiced again. To use the original invoice date, change the dates in the relevant fields.
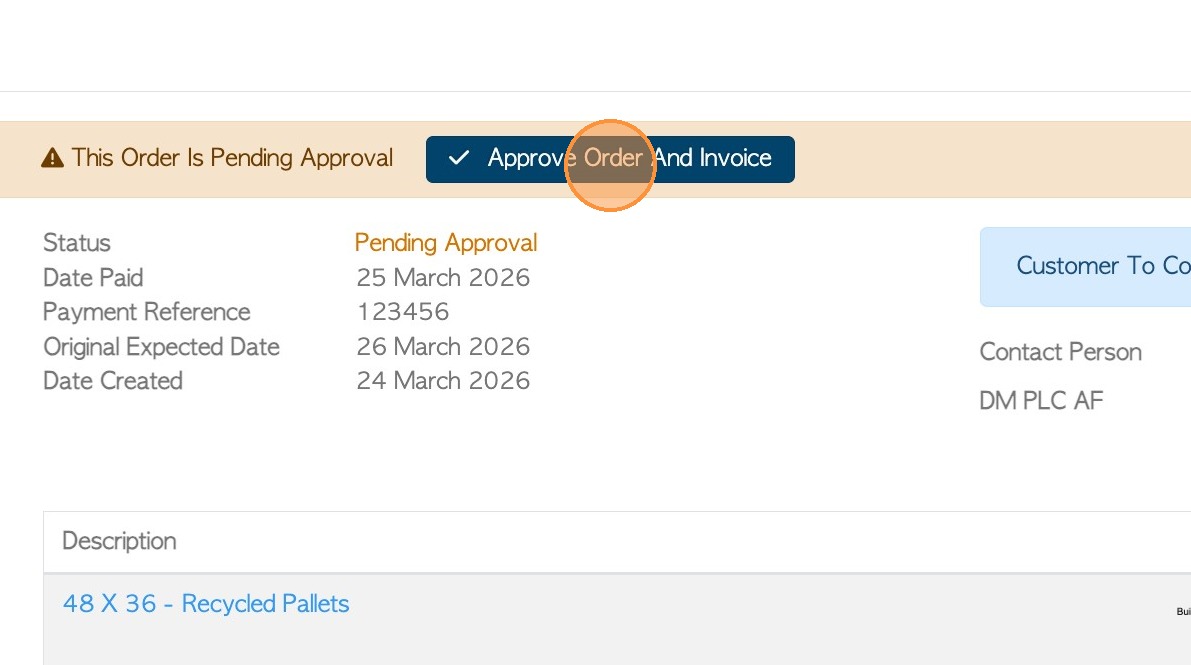
18. The invoice will revert back to pending status (if Approvals are enabled). A user who has permission will click "Approve Order And Invoice".
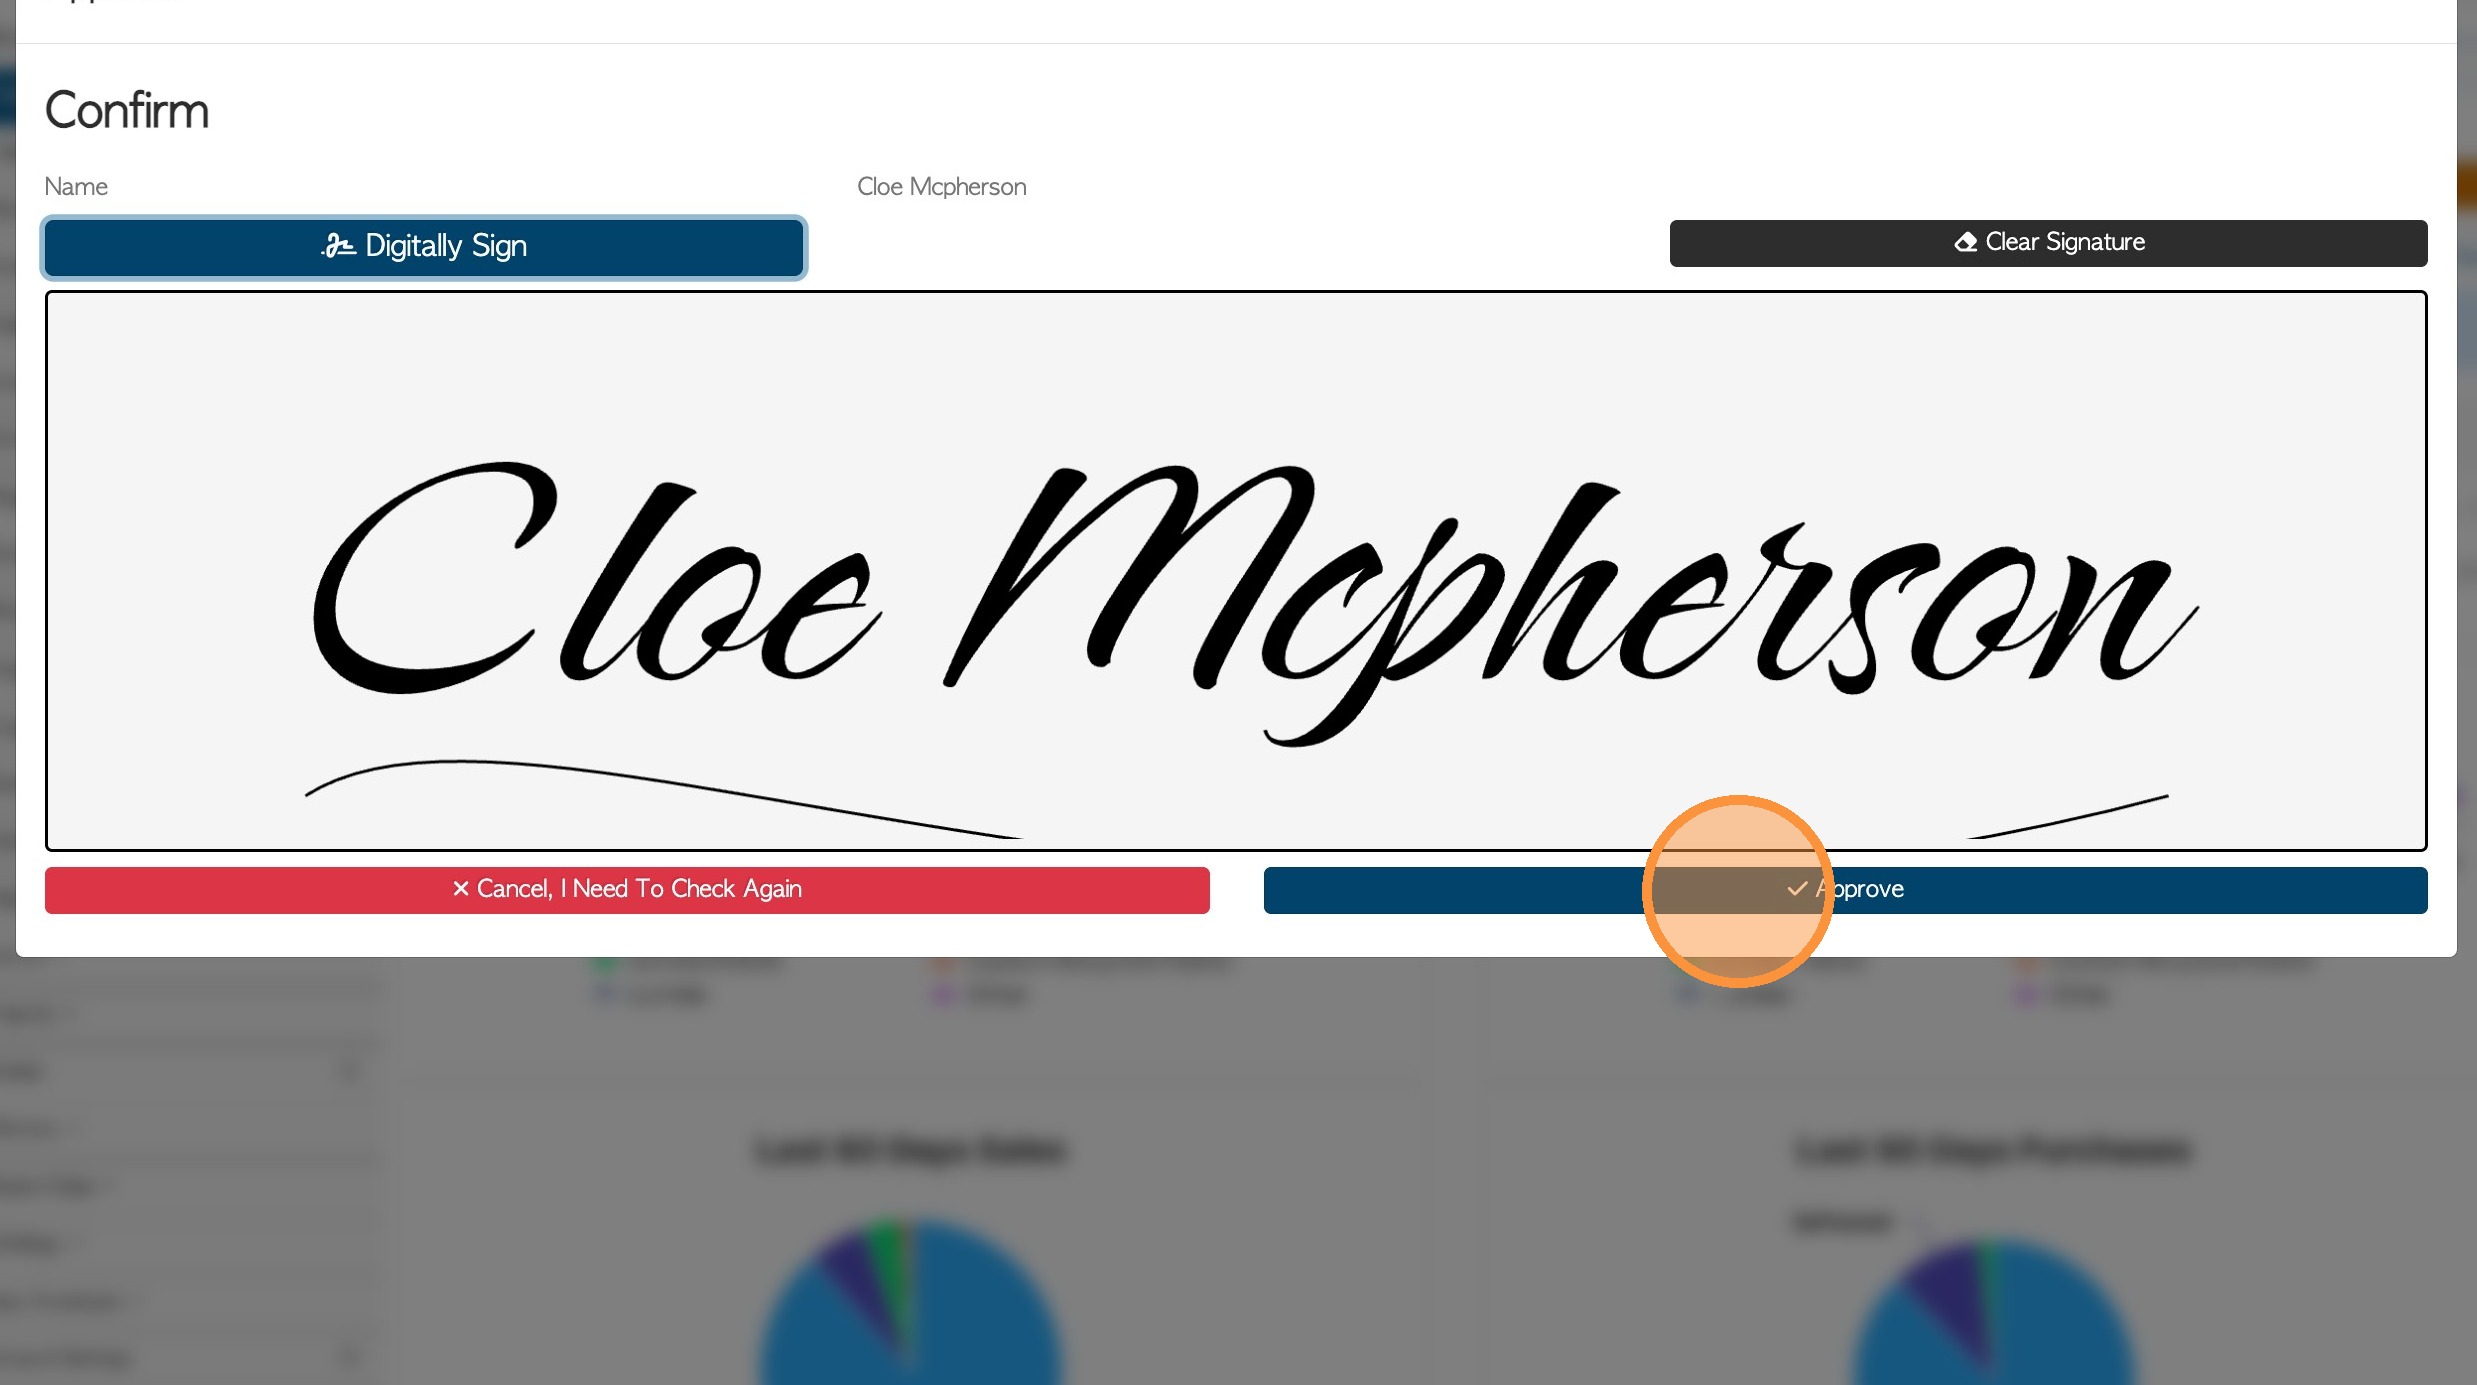
19. Input signature and click "Approve".
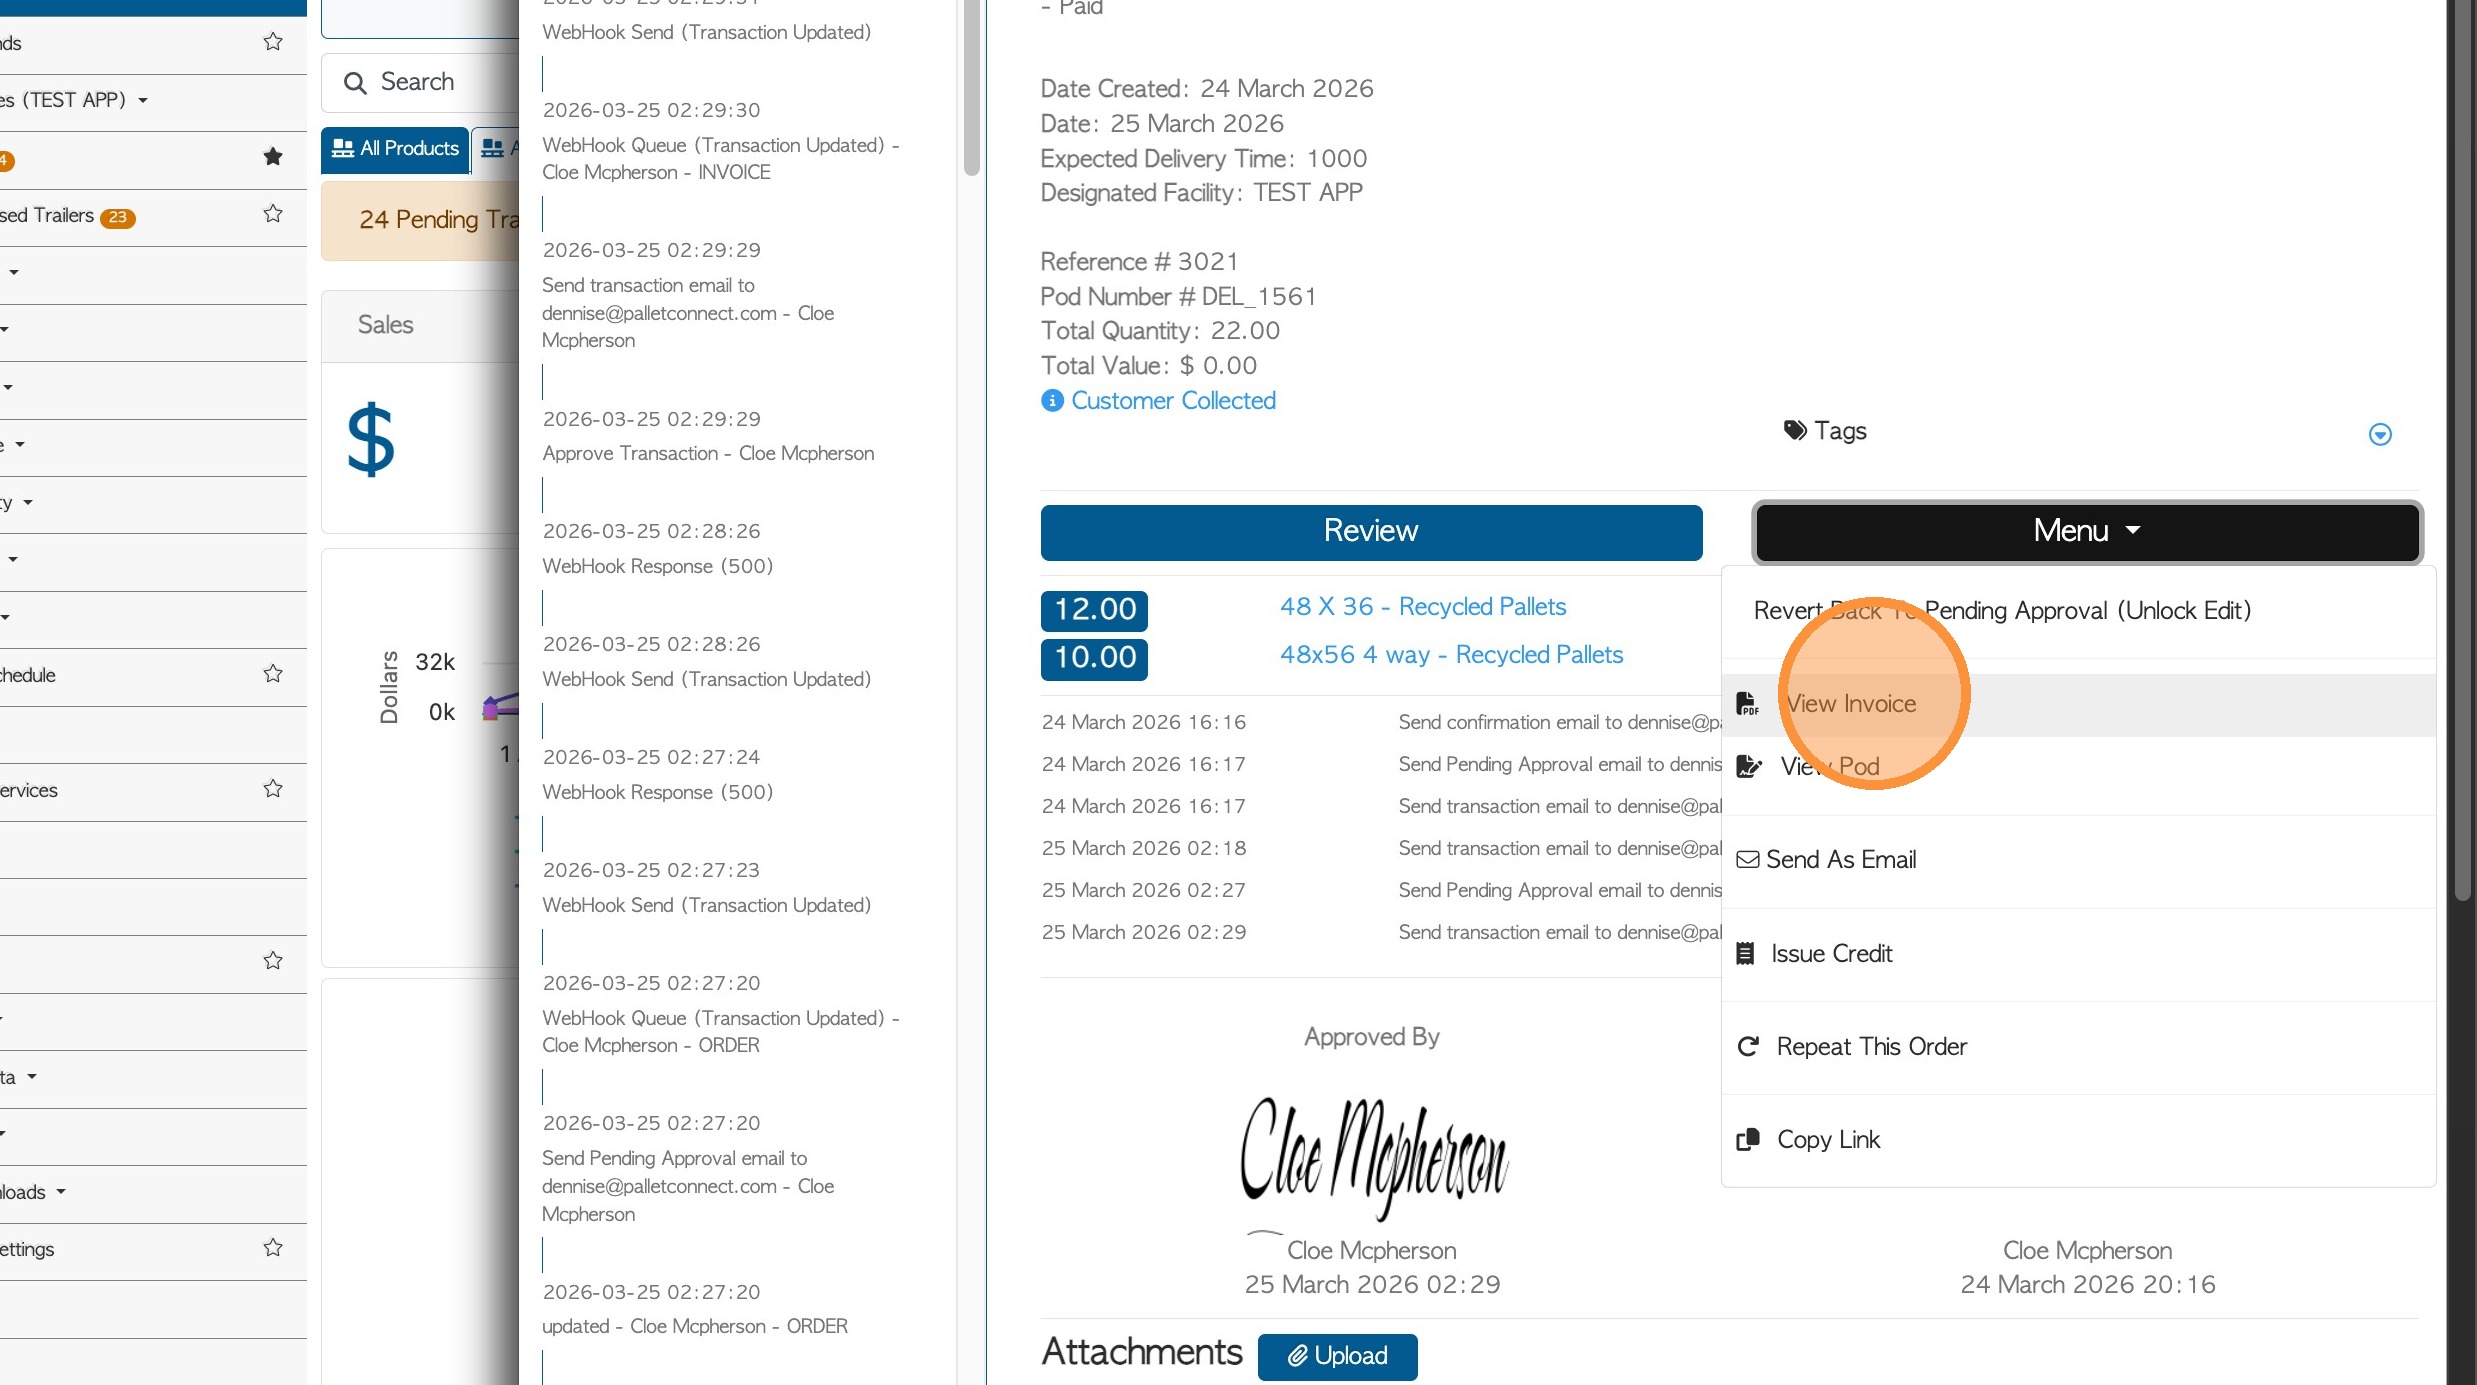
20. To review the address, use the menu on the slide out page and click "View Invoice"
21. The updated address is now reflected on the invoice.