1. Pallet Connect allows transaction emails to be sent to various contacts.
This can be completed manually or automatic emails can be set up. Automatic emails be beneficial to ensure consistency with notifications.
An associated feature is Email Tracking - see related article.
This article explains the steps to setting up automatic emails.
2. Firstly, the global email settings need to be configured. These settings apply to all the Pallet Connect contacts within the system.
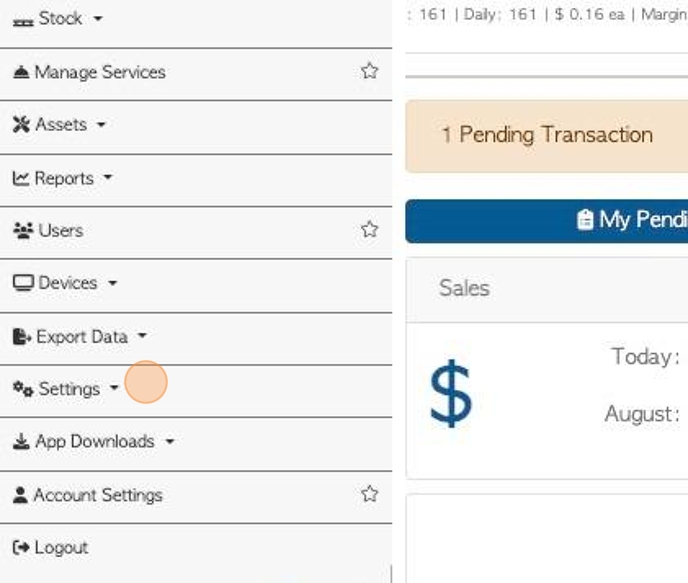
Navigate to the main menu. Click "Settings"
3. Click "System Settings"

4. Click "Email Settings"

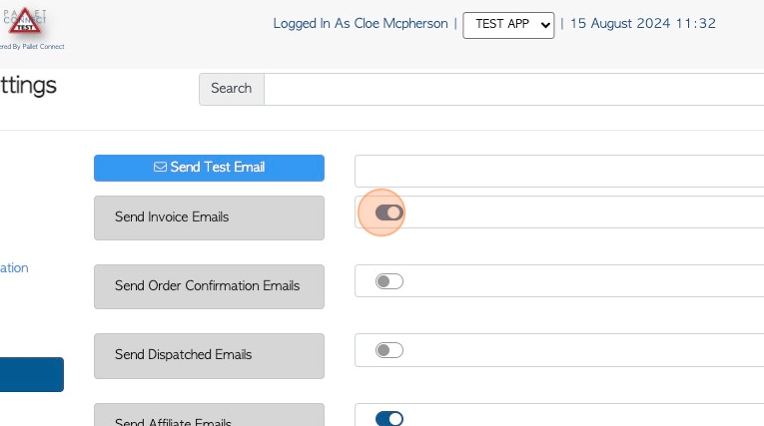
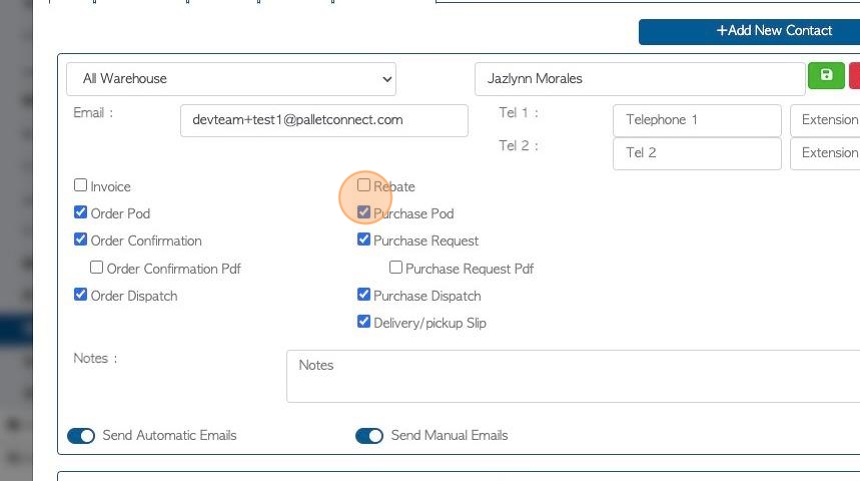
5. The email types are separated into categories, which allows the user to activate only the type of email they require.
"Invoice" emails are sent when an invoice is generated.
This setting will also send the POD in PDF form.
This setting will also allow rebates to be sent to Vendors.
6. "Confirmation emails" are sent when a pick-up or order is completed and shows as "open".
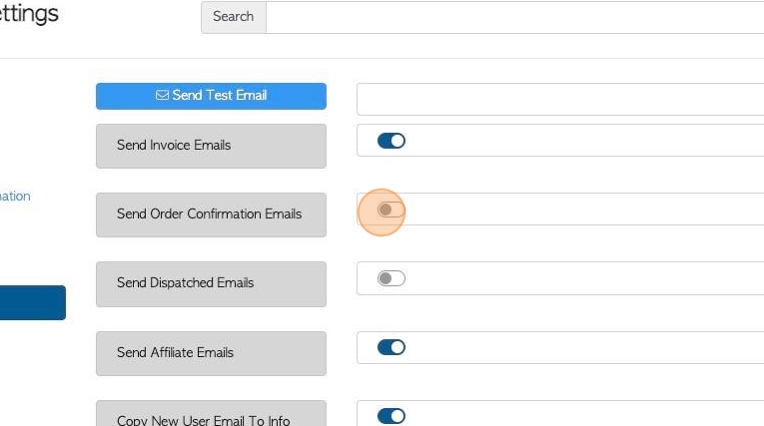
7. "Dispatched emails" are sent when the order or pick-up is set to dispatched and the transport is on its way.
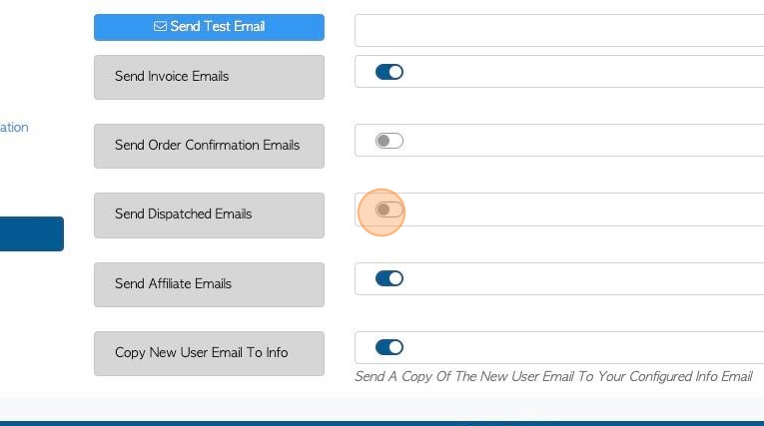
8. "Affiliate emails" are sent to the Affiliate during brokered transactions. Affiliate are companies that completes work on behalf of the user's organization.
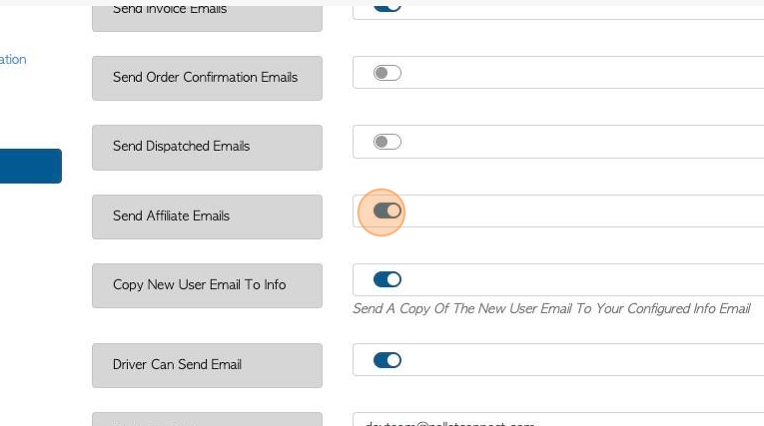
9. "Driver can send email" is used to allow drivers, who are set up as users, to send emails from their log in platform. For example, to notify of dispatch.
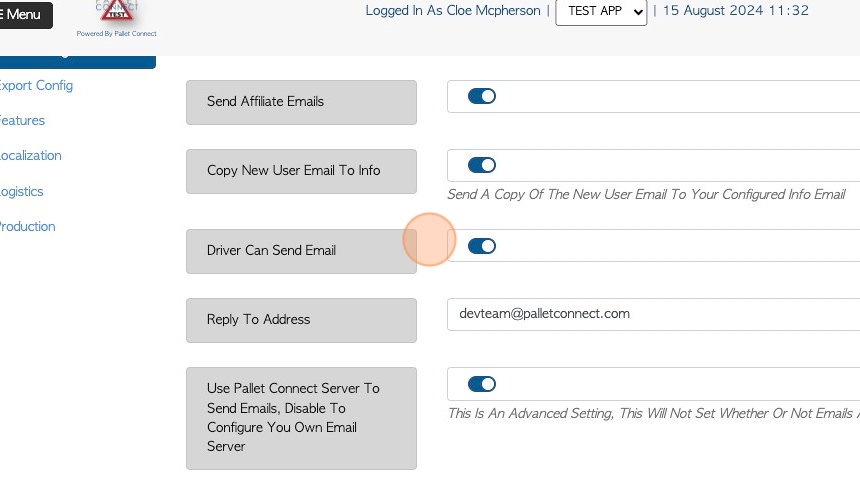
10. Click here to enter a "reply to email" address. This can be left blank
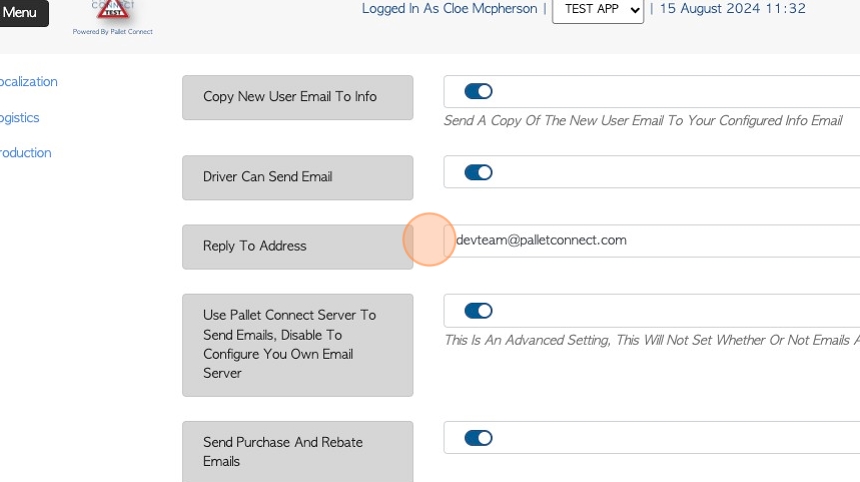
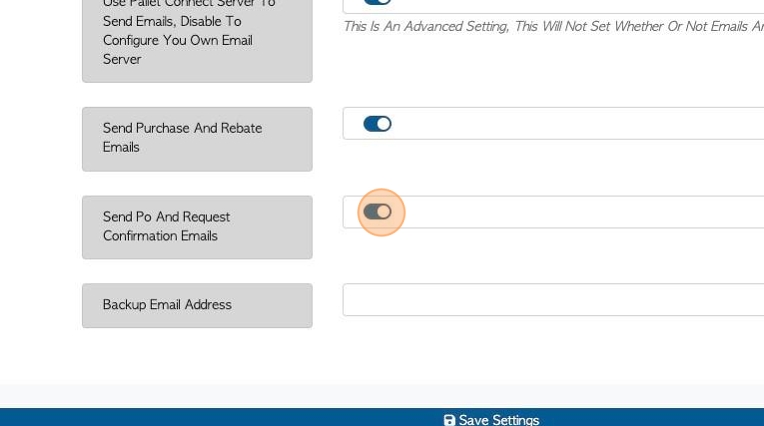
11. Click here to "use Pallet Connect as the server". Enabling this feature is recommended as the default. If not activated, the user would need to configure and use their own email server.
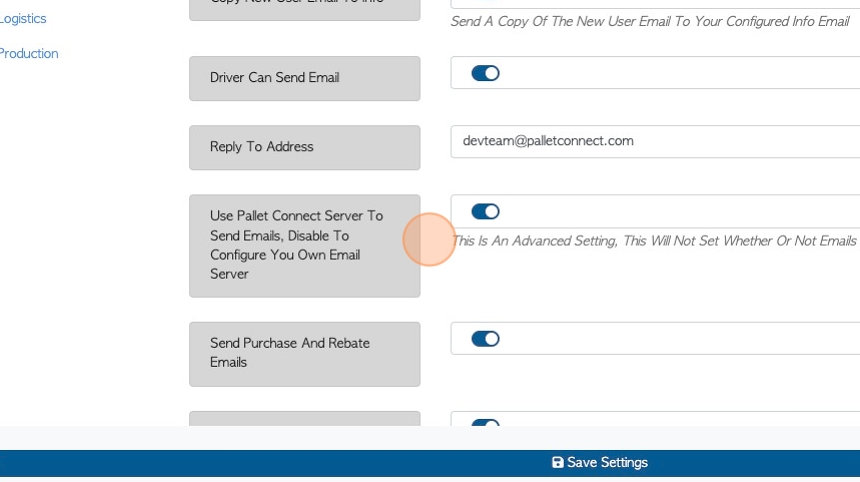
12. "Purchase emails" are sent to a Supplier when a purchase order is completed.
"Rebate emails" are sent to a Vendor when a rebate is generated.
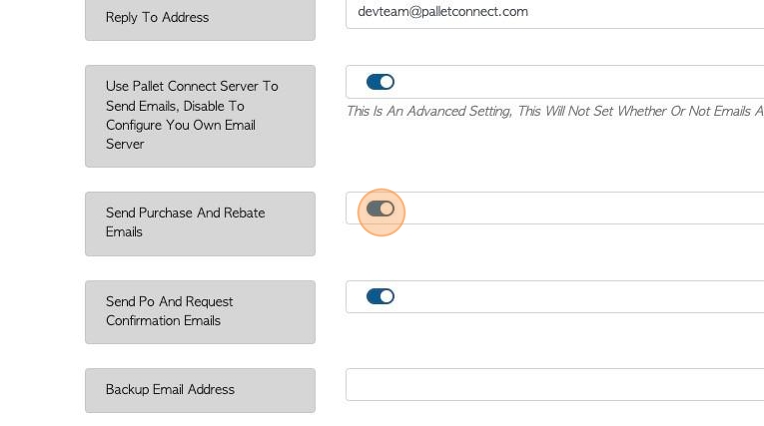
13. "PO emails" are sent to the supplier when a purchase order is opened in Pallet Connect.
"Request emails" are sent to a Vendor when a pick up or drop off request is processed.
A "back up email" address can be used as a second reply to email address.
14. Click "Save Settings" to complete.
15. Once the system settings are completed, conditions need to be set at the contact level.
Navigate to the contact profile, either through the main menu or search the contact name in the global search, located at the top right of each page.
In the contact profile, Click the "Options" tab.
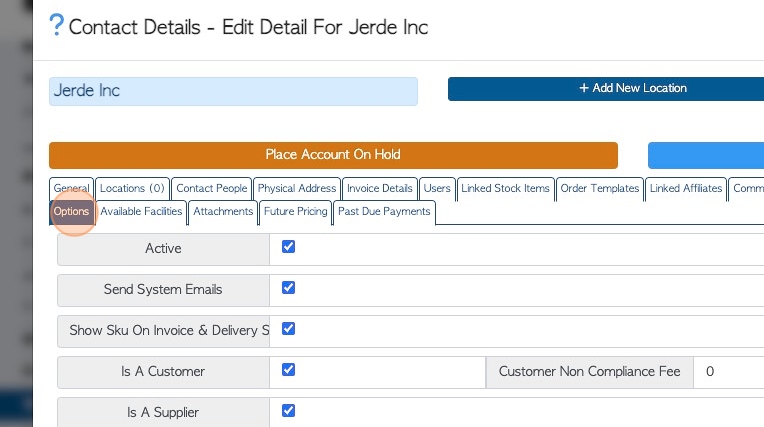
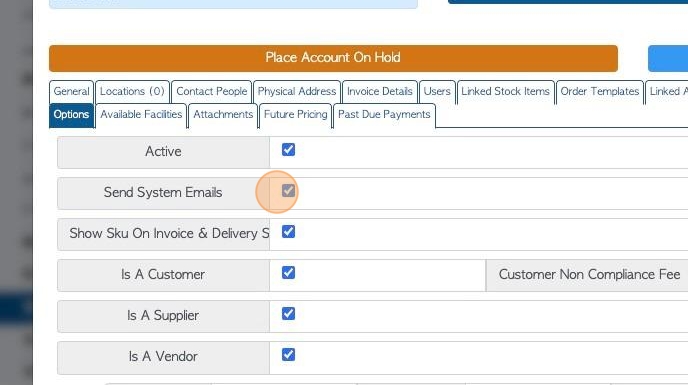
16. To send automatic emails to this contact/company make sure that "Send System Emails" is checked.
NOTE: This is usually enabled by default.
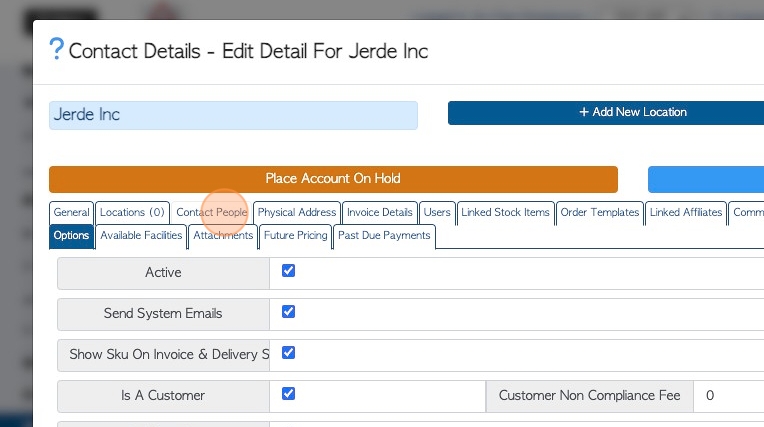
17. Once the contact has been enabled to receive emails, there needs to be an email address for the recipient.
In the contact profile, click the "Contact People" tab.
18. If there is no Contact person listed, click on the "Add New Contact" button to create a contact.
To review or edit an existing contact person, click on the pencil icon to display the details.
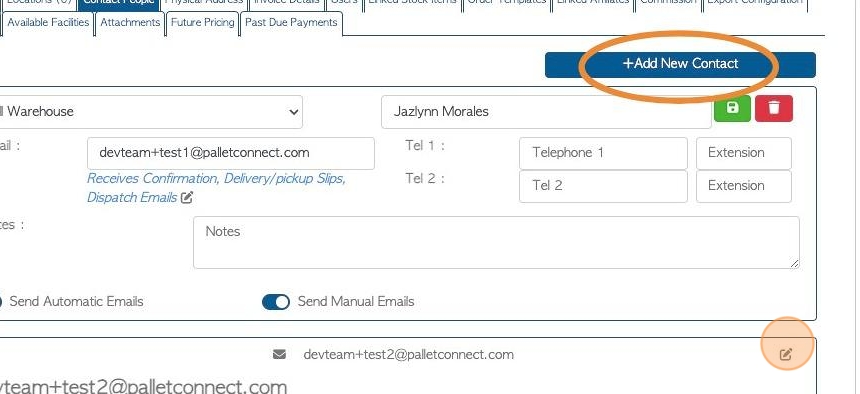
19. Ensure that there is a valid email address in the "email" field.
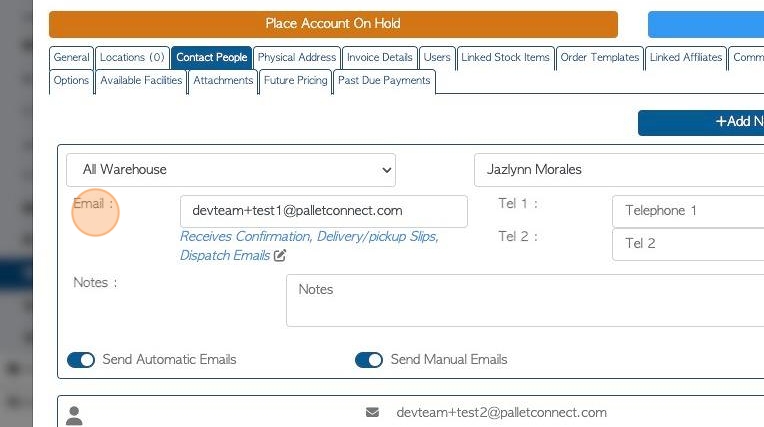
20. Ensure that "Send Automatic Emails" has been enabled.

21. Review or edit the types of email that this contact can receive.
This is a useful setting, as it allows different departments or people within a company to only receive relevant emails.
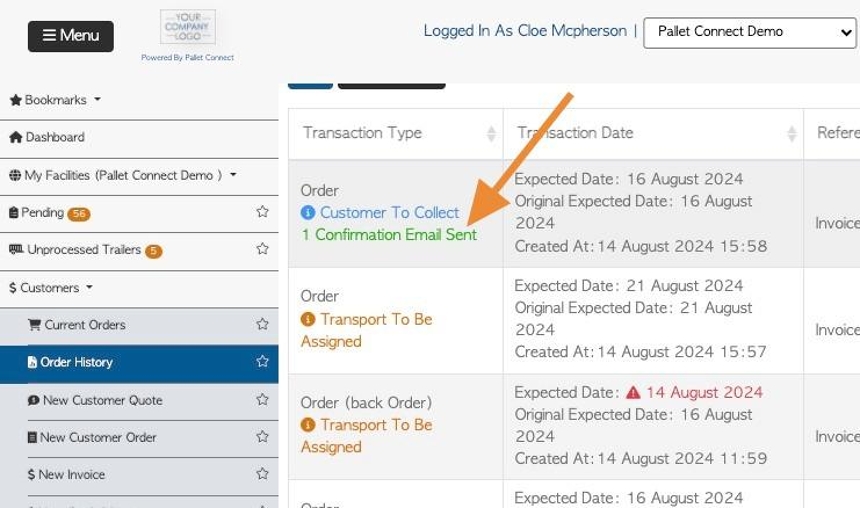
22. Emails notification will show up in order lists for example Current Orders or Pick Up History.
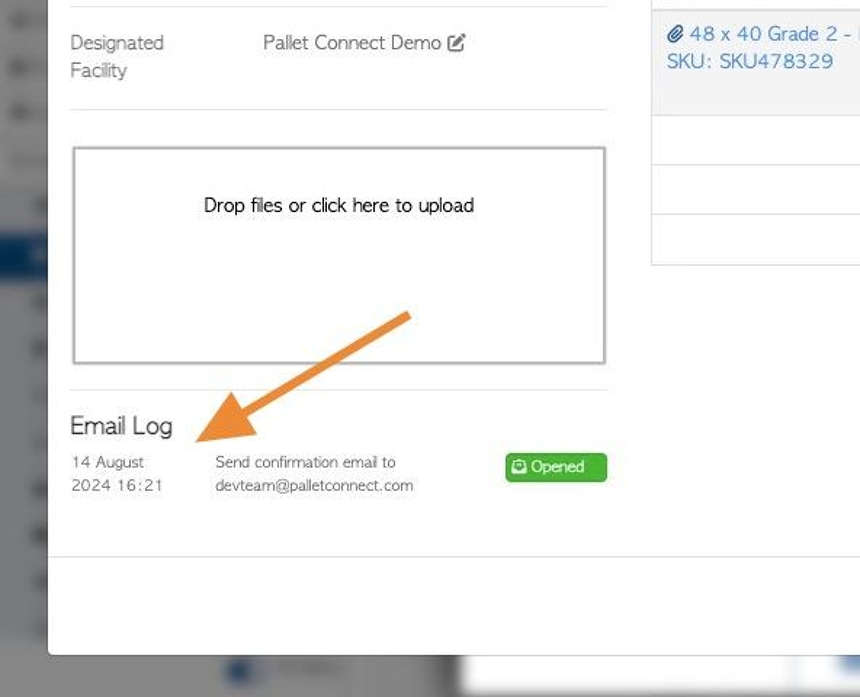
23. The Transaction log of each transaction will also show emails sent. The transaction log can be viewed in the pop up screen.

24. It can also be accessed through the action menu. Click "View Log"
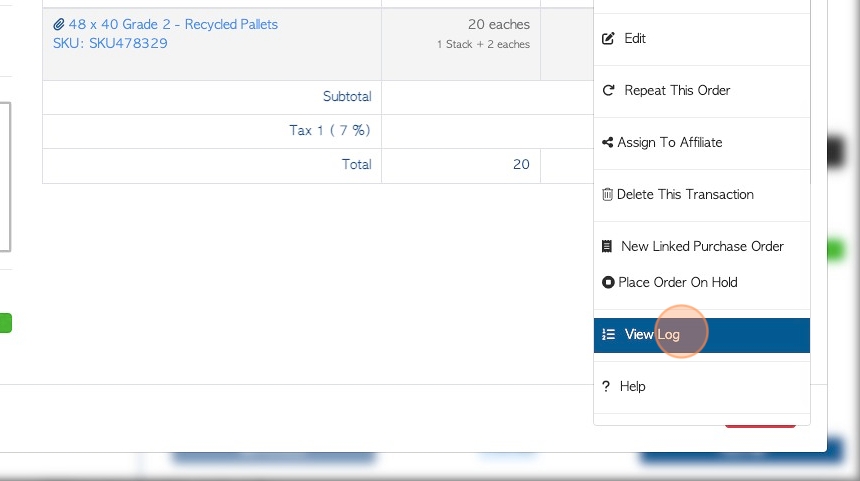
25. The transaction log will show that emails are enabled and will show any emails sent.
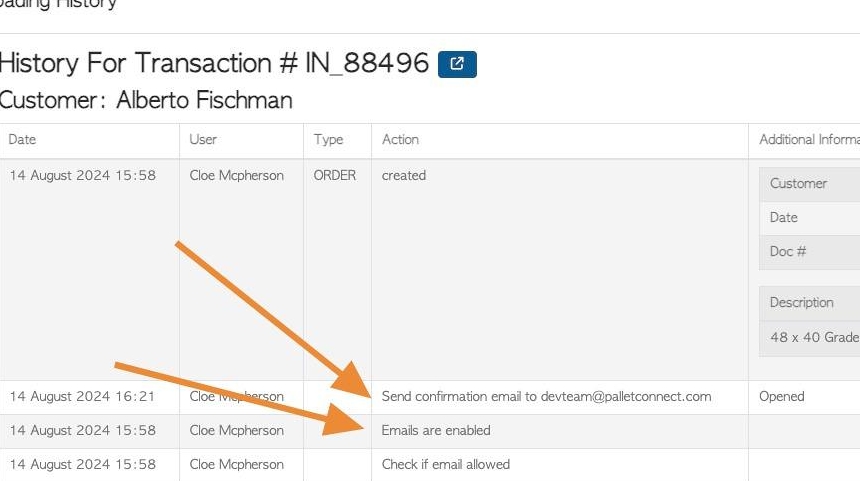
26. The email log is displayed on the transaction details screen.