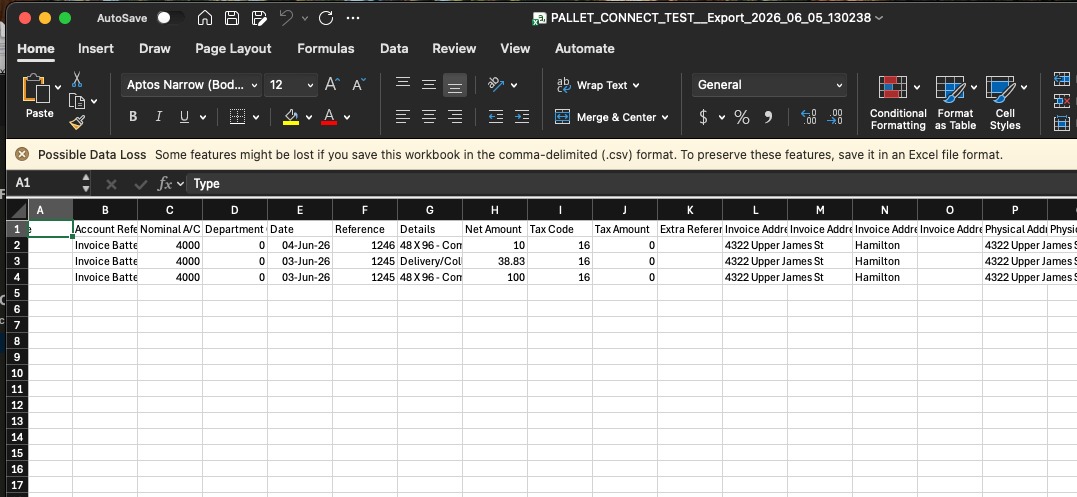
Pallet Connect does not export directly into any version of SAGE accounting systems. Therefore there is no direct mapping. Accounts are downloaded onto an Excel file, and this is uploaded into SAGE. This article explains the process.
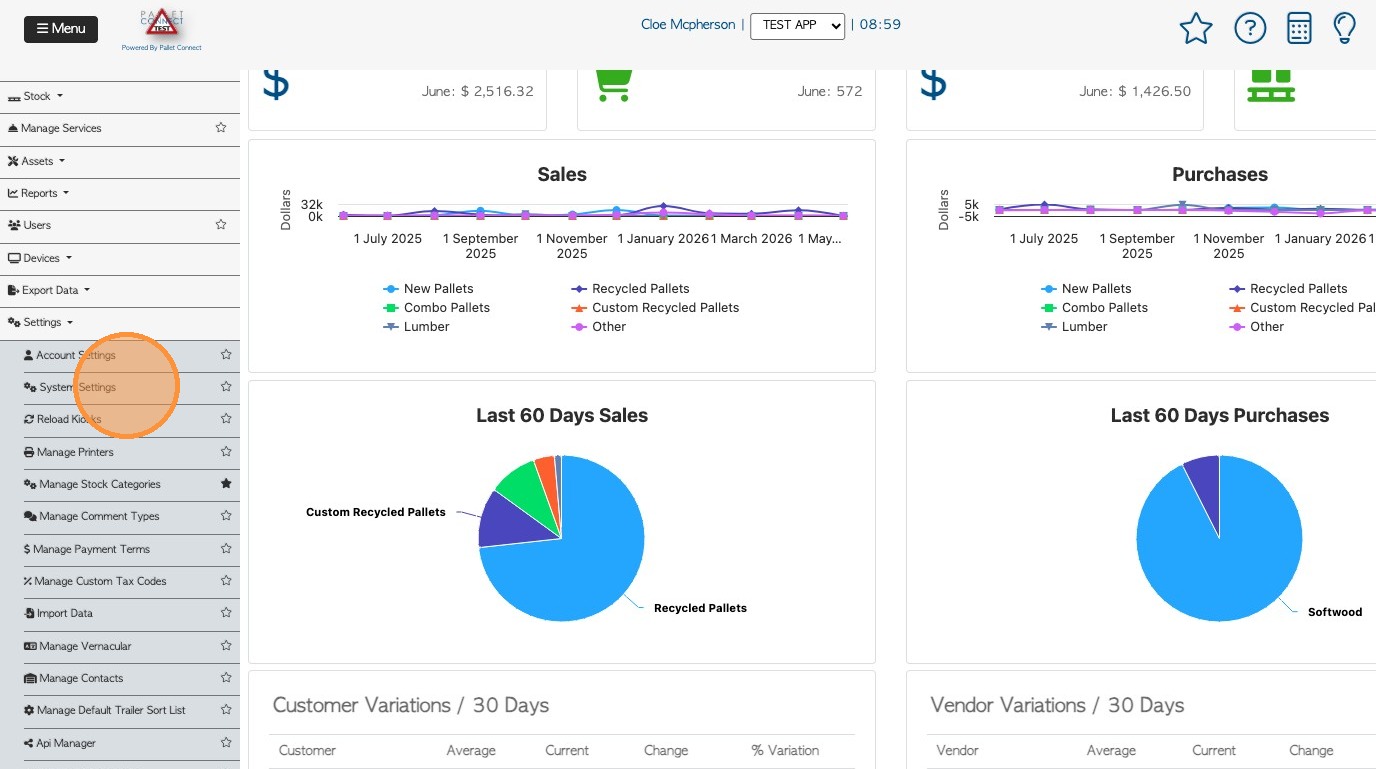
1. SETTING: To ensure SAGE exporting is enabled in the site, navigate to System Settings via the "Settings" in the main menu.
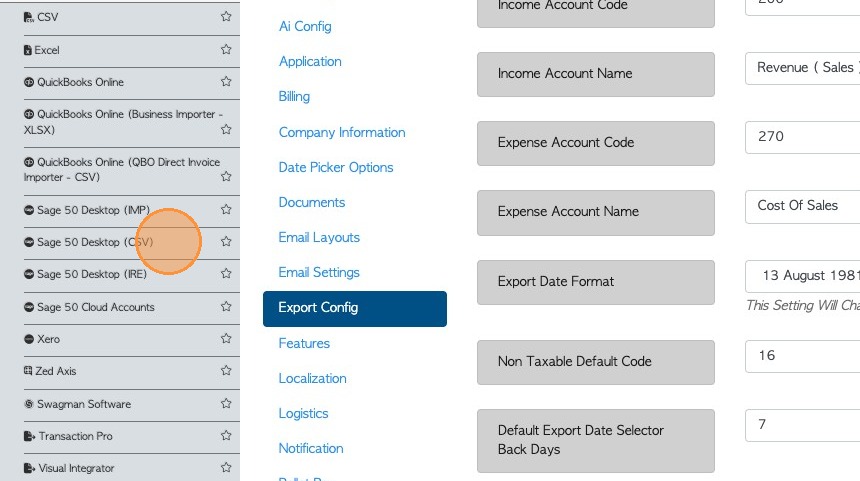
2. Select "Export Config" from the sidebar menu.
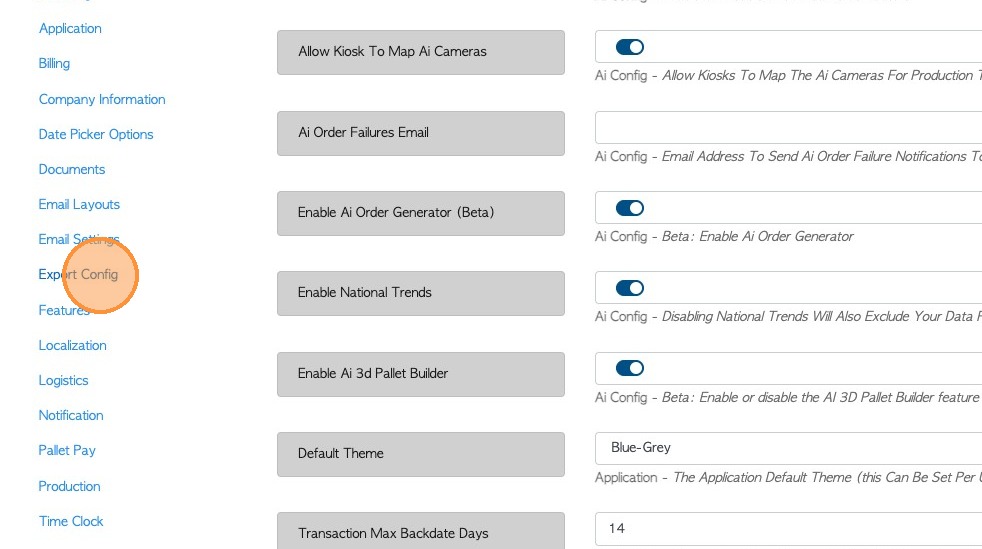
3. Toggle on the relevant programme from the list, to enable.
TIP! Deselect the other accounting options, so they do not show up on the main menu.
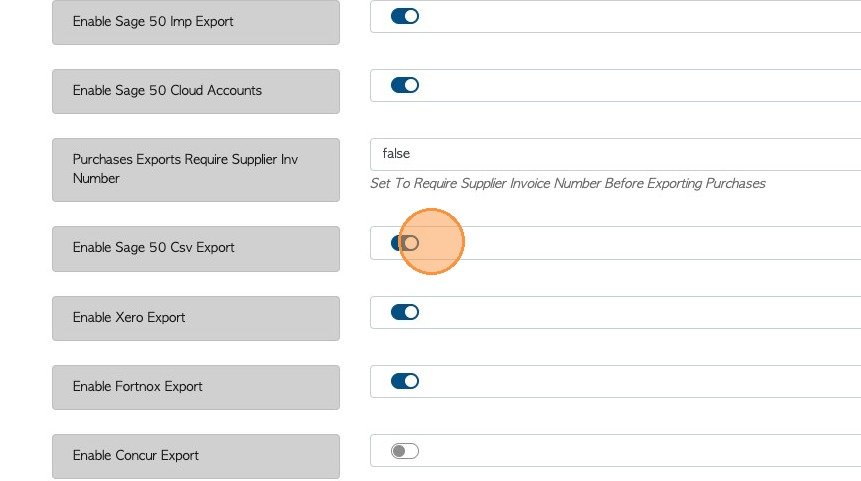
4. Click "Save Settings" to complete changes.

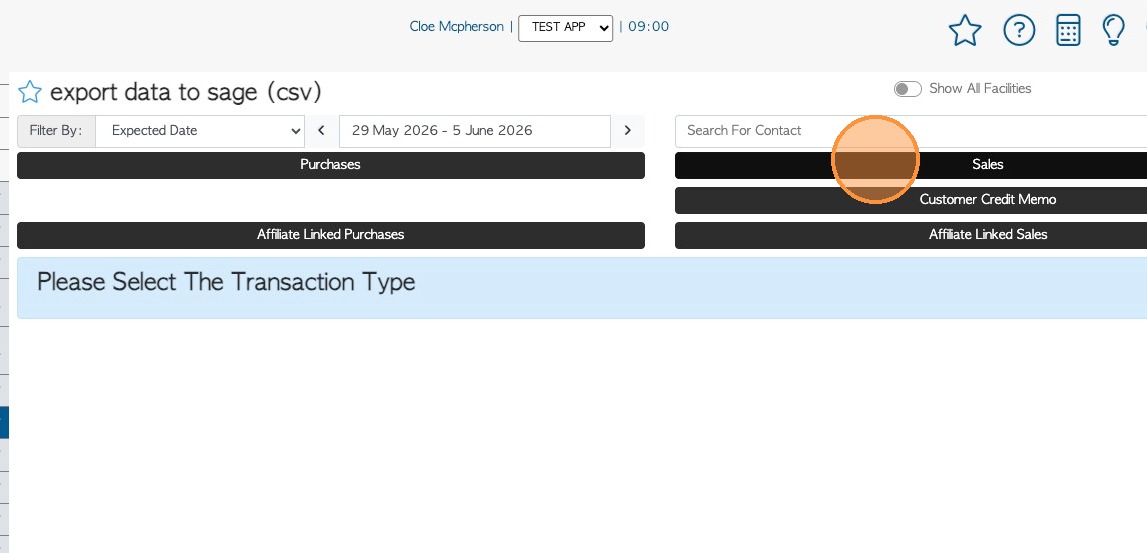
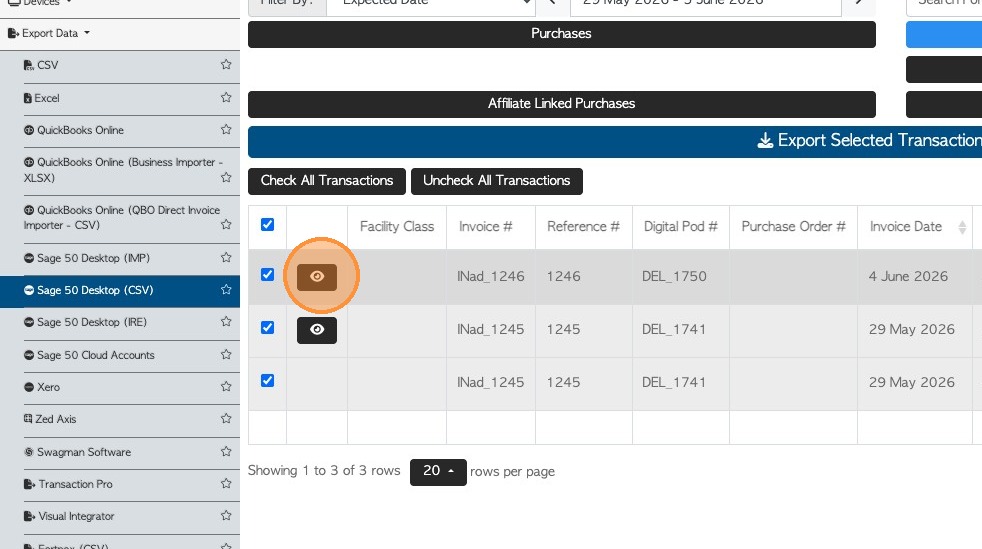
5. EXPORT: From the main menu, click "Export Data"

6. Click on the accounting software export page e.g. "Sage 50 Desktop (CSV)"
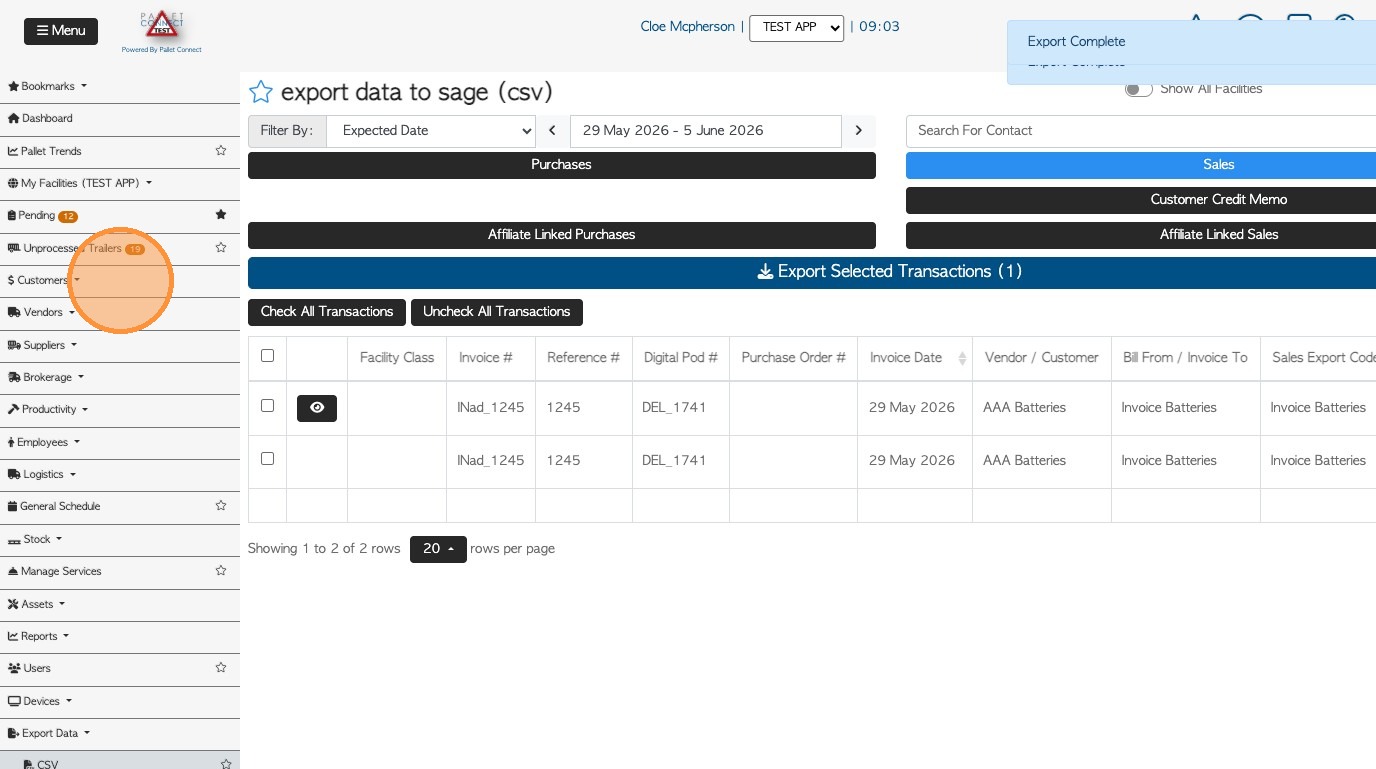
7. The Export page will show completed transactions, that have not been previously exported.
The transactions are divided up into:
Sales (Customer Invoices), Purchases (Vendor rebates, Supplier purchases, Transport payble fees), Affiliate transactions (Purchases and Sales) and Credit Memos.
Click on a section to see the list of related transactions e.g "Sales" to view Invoices.
8. The list can be filtered and the date range can be changed.
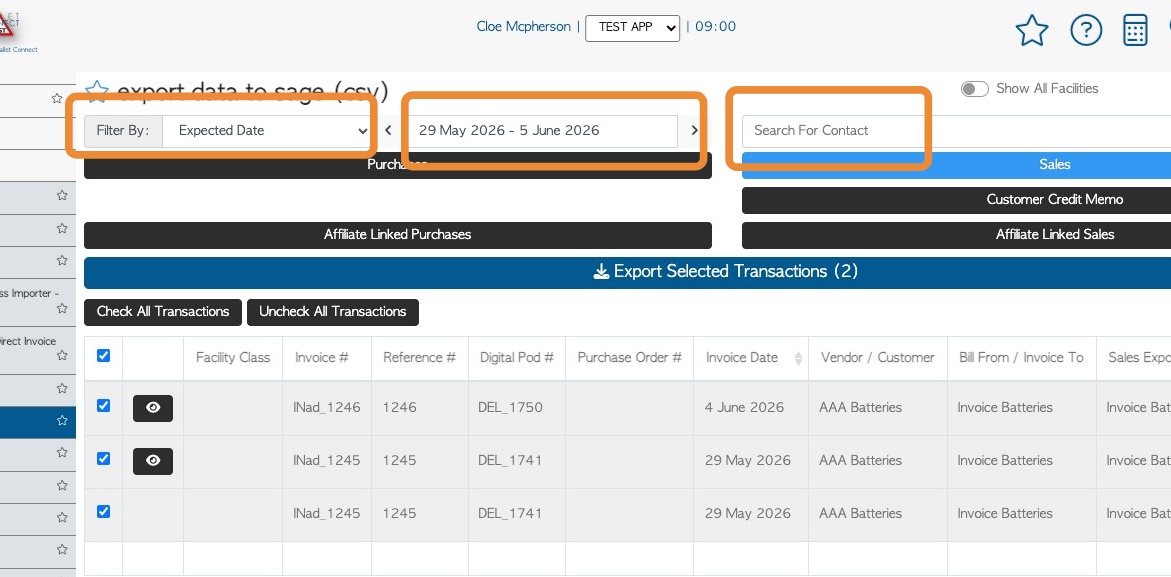
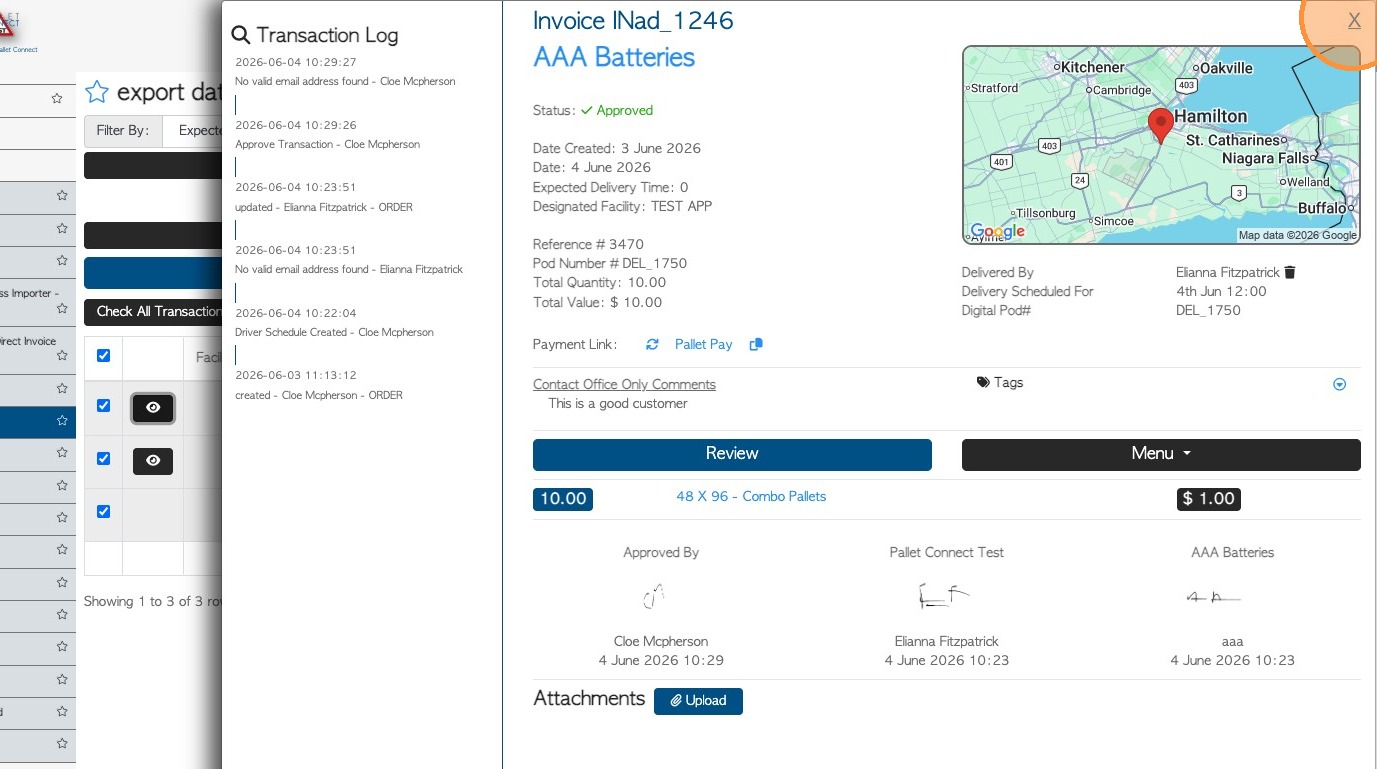
9. Click here to review a transaction prior to export.
10. The slide out transaction page can be reviewed. Click on the 'x' to return to the export.
11. All transactions on the list can be selected or individual transactions can be chosen.

12. The list can be printed, if needed.
Use the 'list' icon to edit the visible columns on the report.
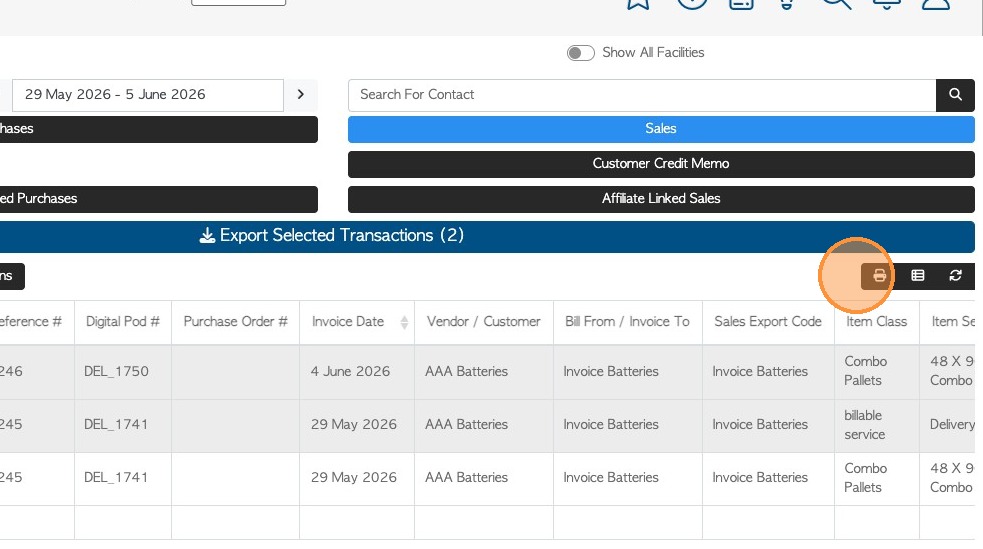
13. Click "Export Selected Transactions" to initiate the download.
TIP! The number of transactions selected will be shown in brackets e.g. (2)
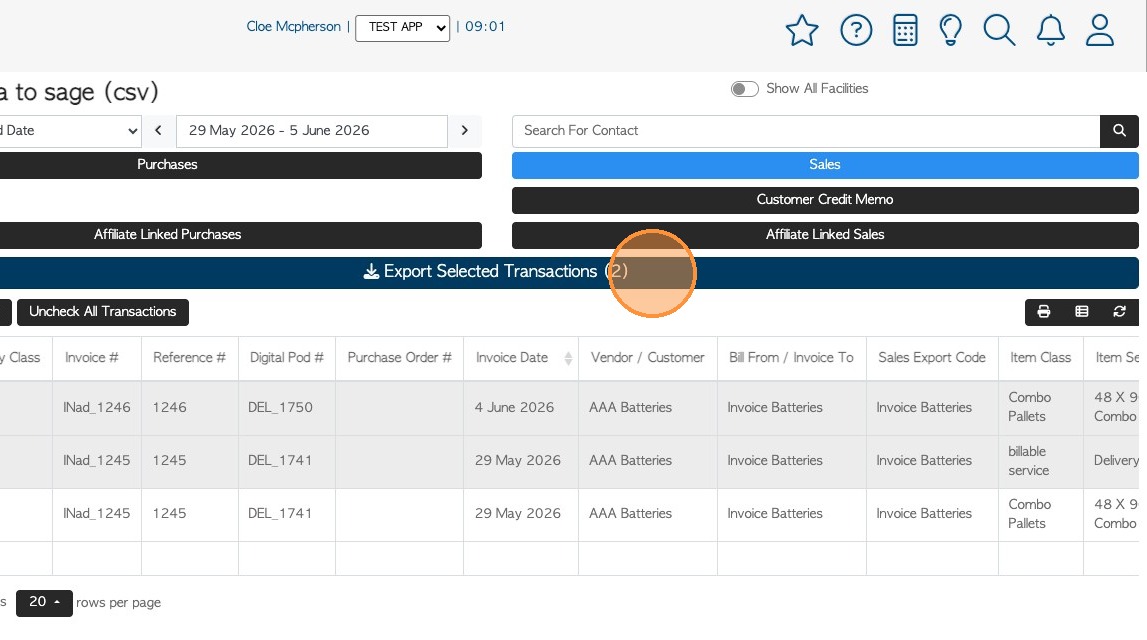
14. The list will be exported to the Excel file. This is now ready to upload into the SAGE system.
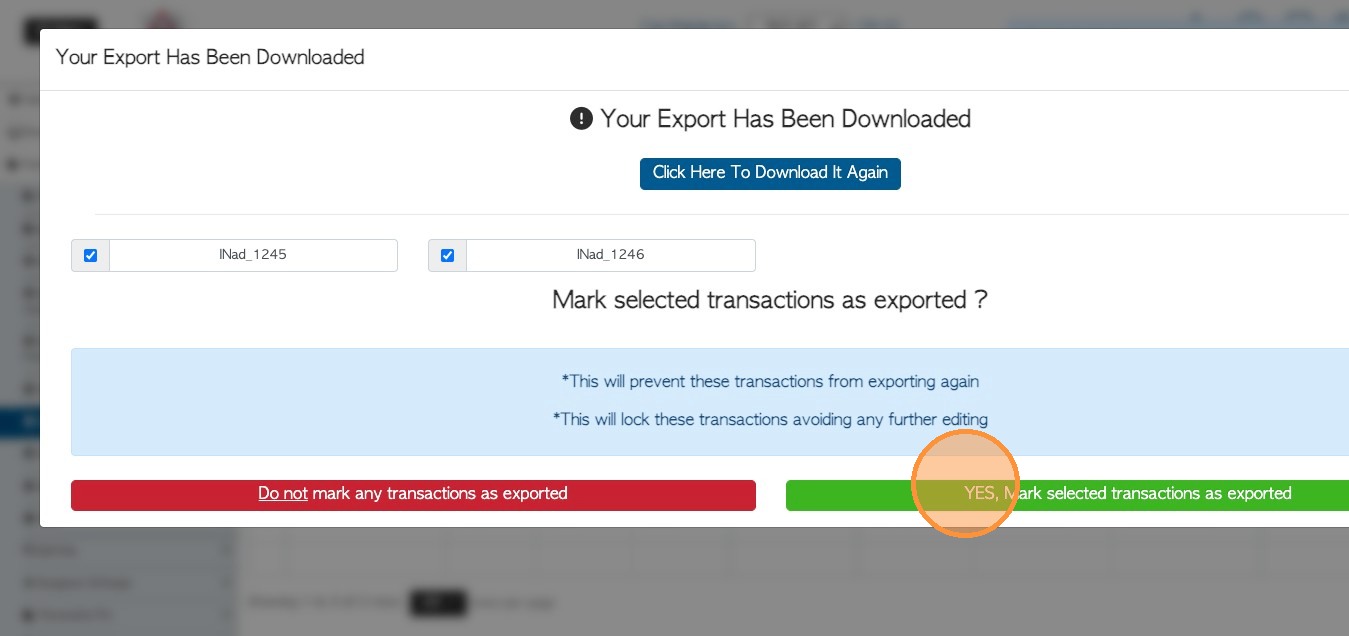
15. A pop up window will confirm the export is complete.
TIP! It is suggested that these transactions are "marked as exported". This reduces errors and duplicate downloads.
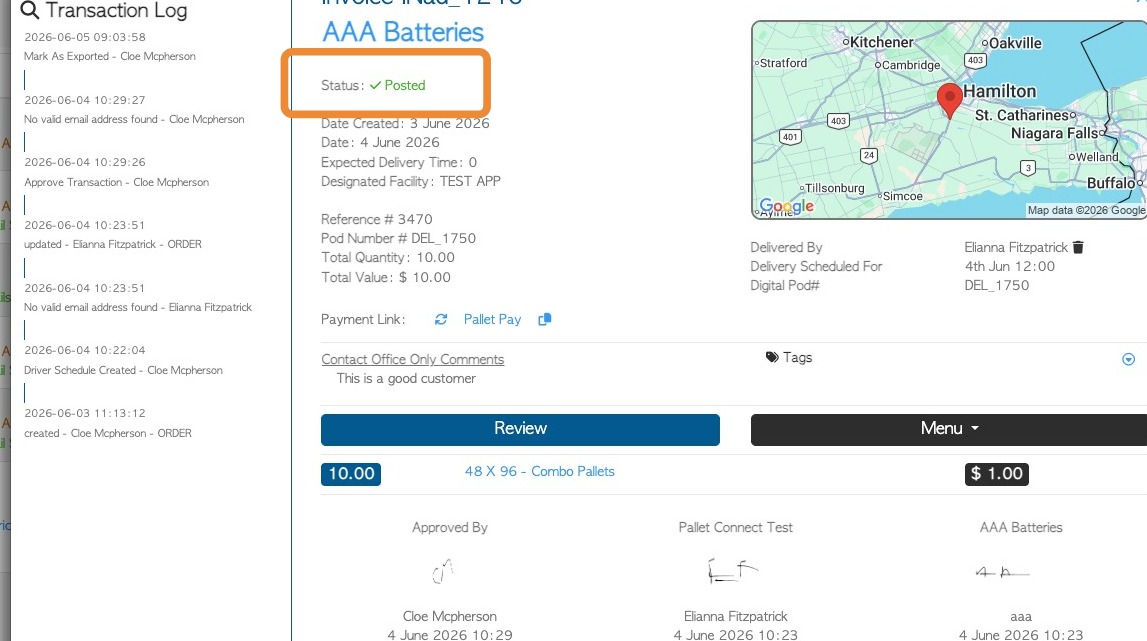
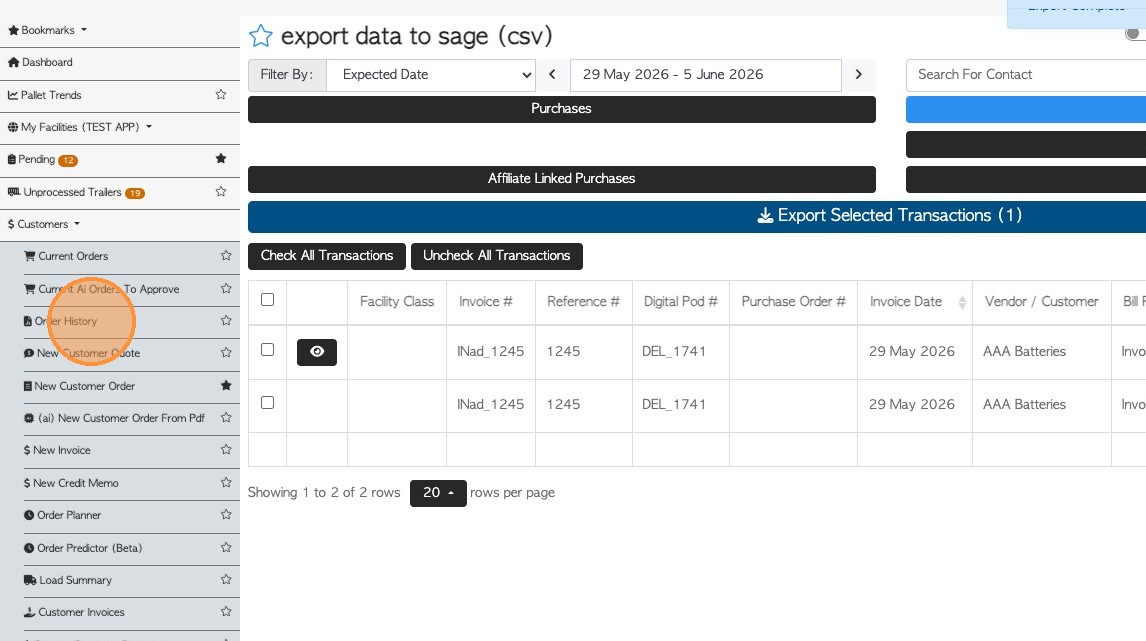
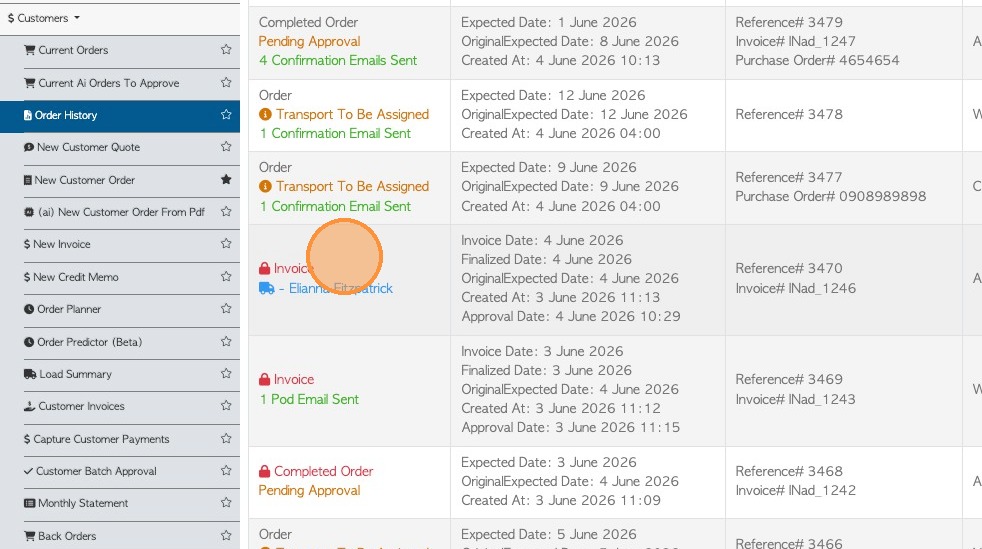
16. REVIEW LOCKED TRANSACTIONS: Navigate to the "Order History" within the Customers section of the menu.
17. Click on the specific invoice entry to select it.
NOTE: Exported transactions will show a locked symbol.
18. The transaction status will show as 'posted'
NOTE: The transaction cannot be edited in this status. This is to ensure that the transaction remains the same in both systems.
If edits need to be made, the transaction needs to be unlocked from the 'review' menu.