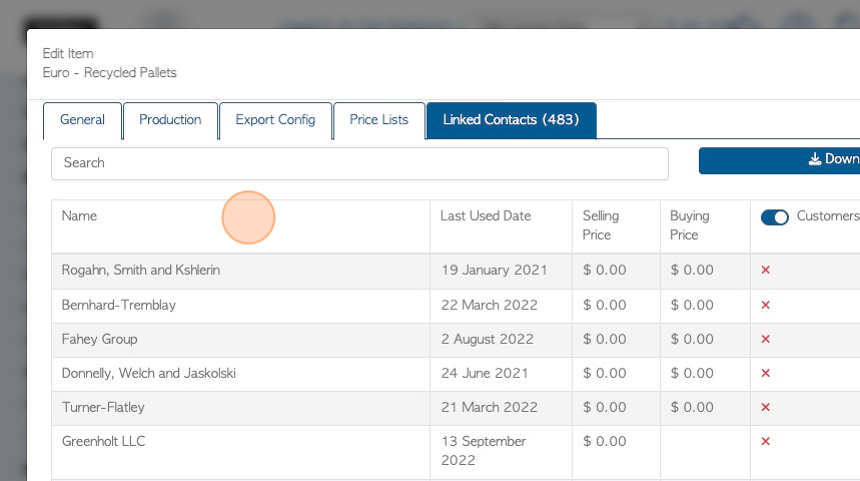
1. Once Stock Items and Vendors have been added to the system, a beneficial step can be to link items to the contact.
Stock items that are regularly associated with a Vendor can be linked to their profile so that they do not have to entered each time an order is placed. A custom price can also be added, that will override the regular price. This can streamline the order placement process, for admin staff and for the Vendor, through the Vendor Portal.
TIP! SHORTCUT: Type the Vendor name into the Global Search tool, located at the top right of each page. This will bypass steps 2 -4.
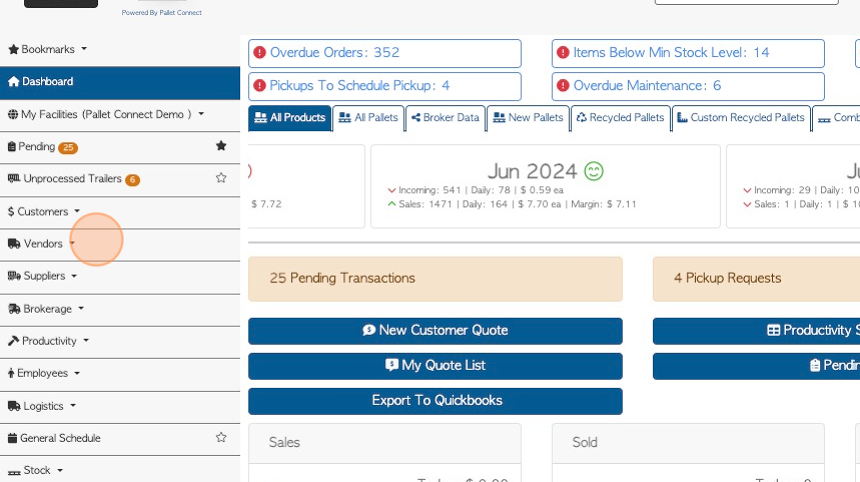
2. Navigate to the main menu. Click "Vendors"
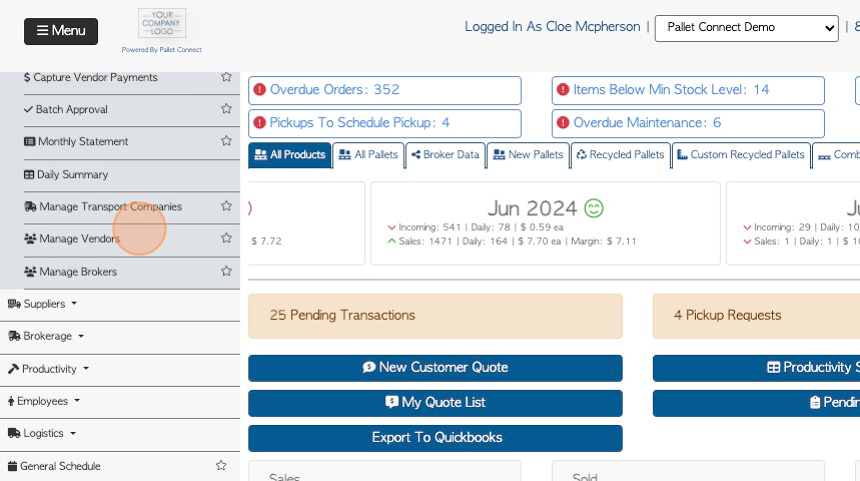
3. Click "Manage Vendors"
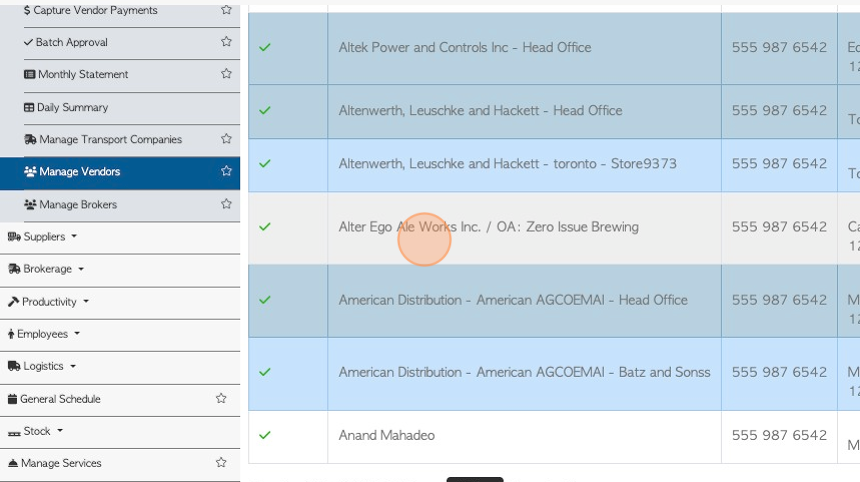
4. Click on the selected Vendor from the list.
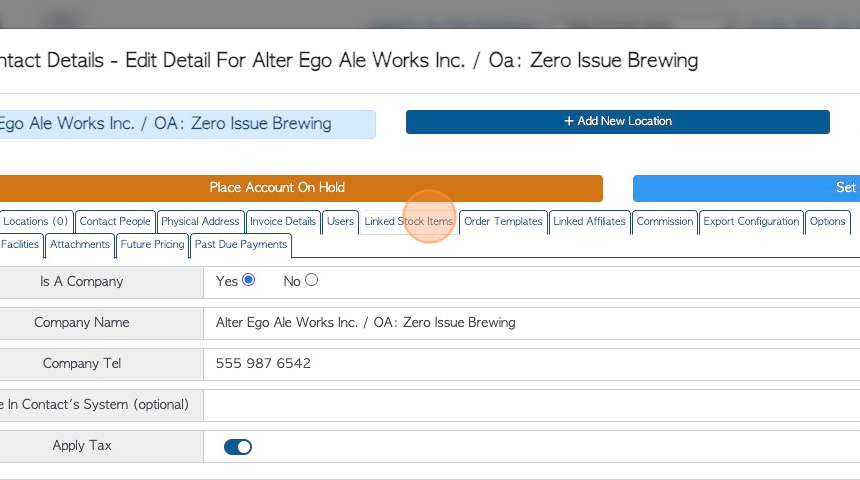
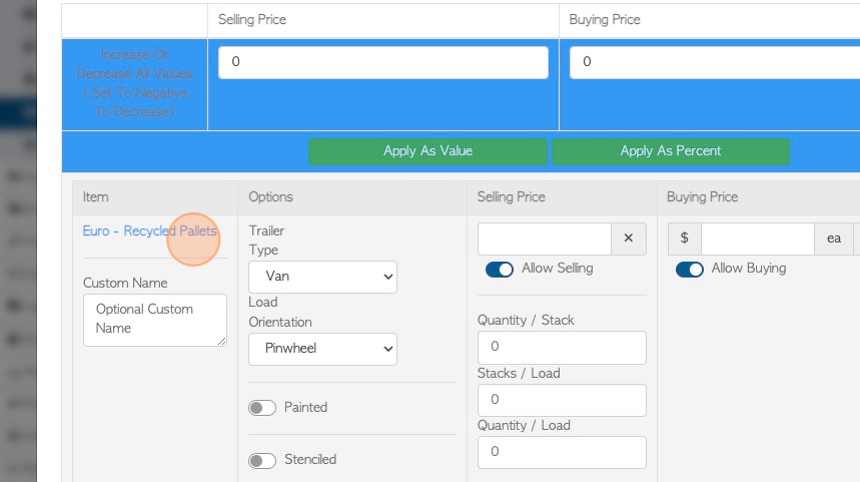
5. Click the "Linked Stock Items" tab.
6. NOTE: These text boxes allow for bulk changes to existing items.
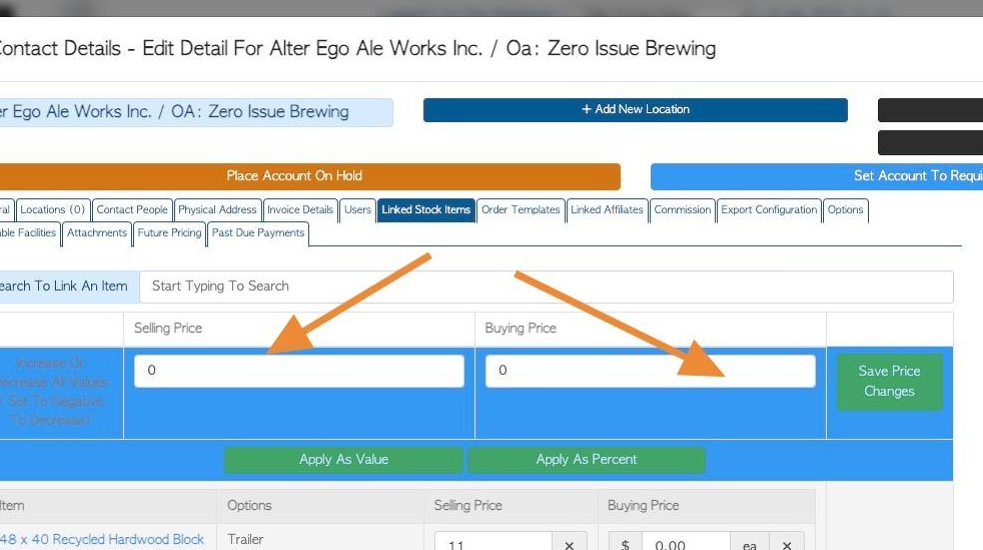
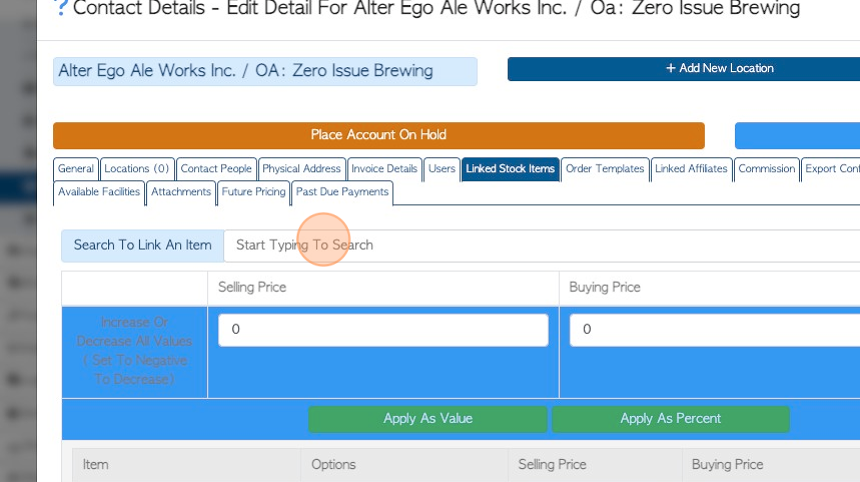
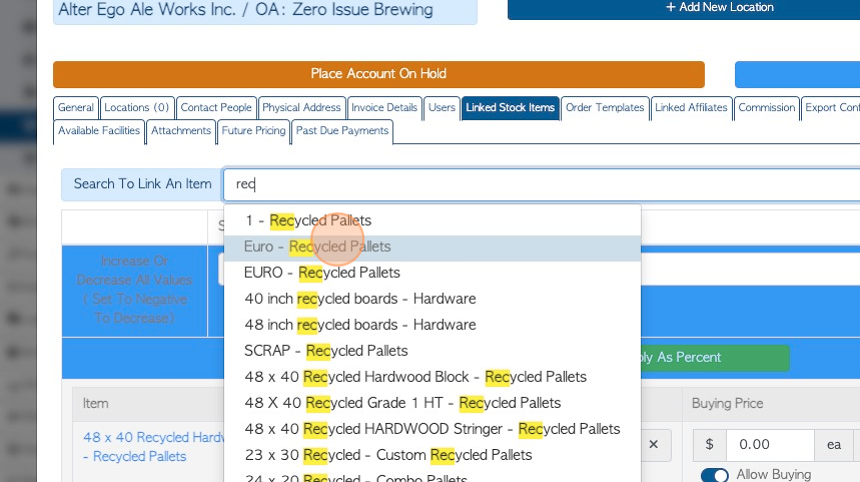
7. Click the "Start Typing To Search" field to "Search to Link an Item".
8. Select the item from the drop down menu.
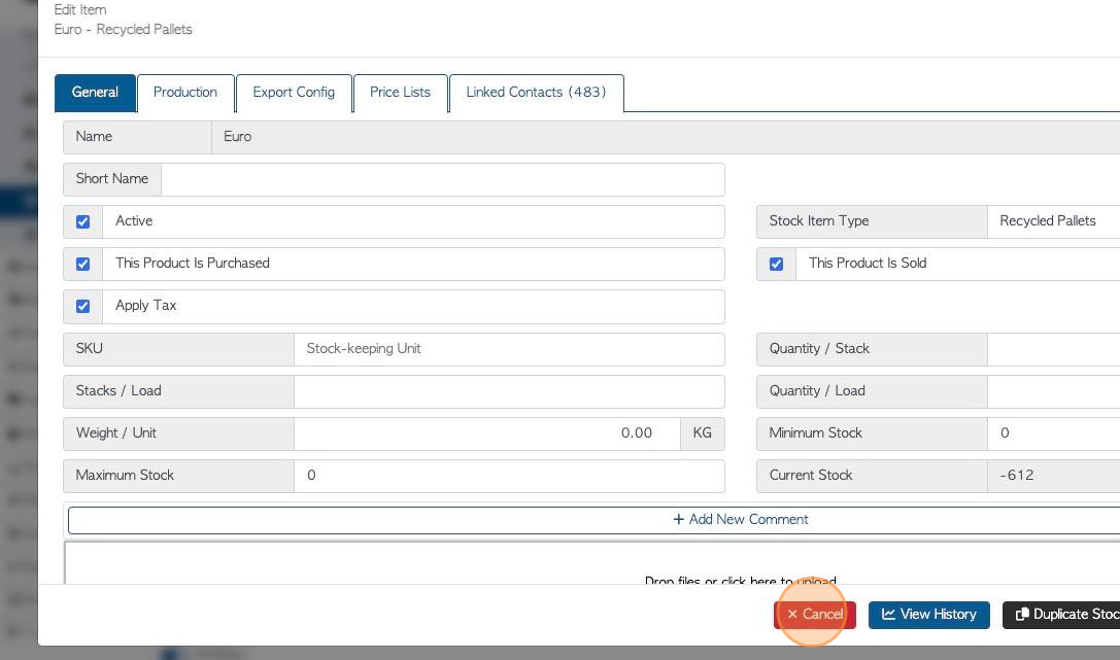
9. Click on the stock item name to be linked to the item profile.
10. Update to the stock item can be made, if needed. Click "cancel" or "update" to return to the Vendor profile.
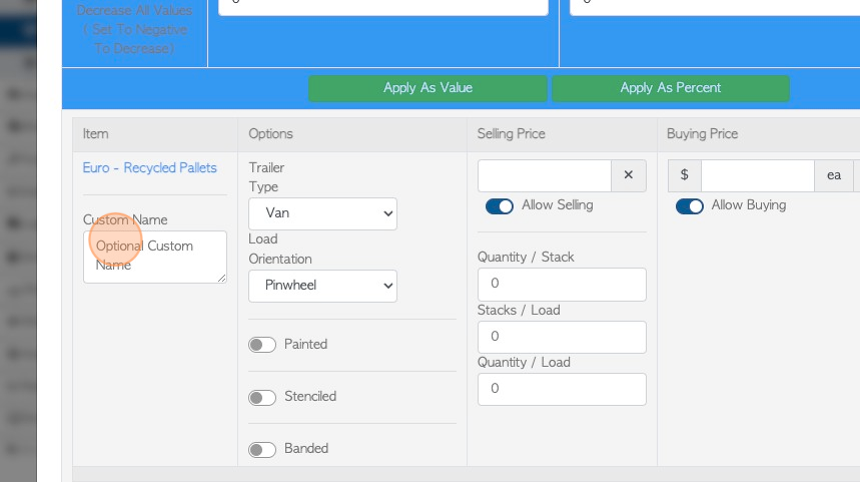
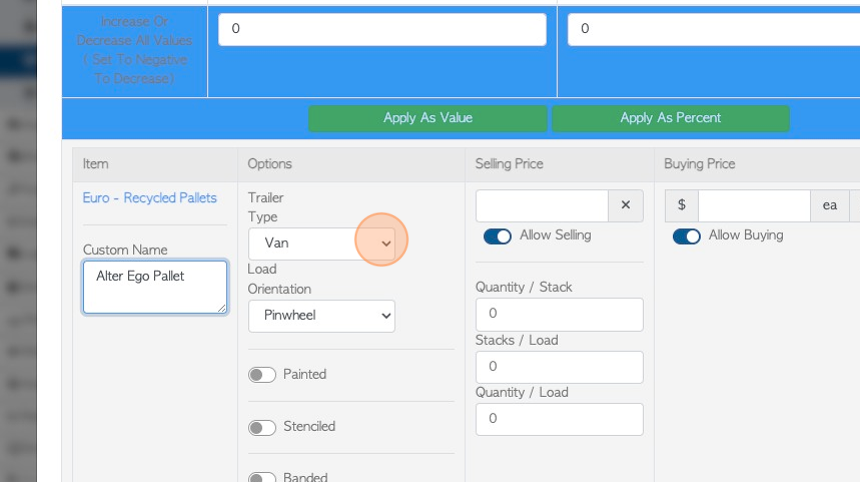
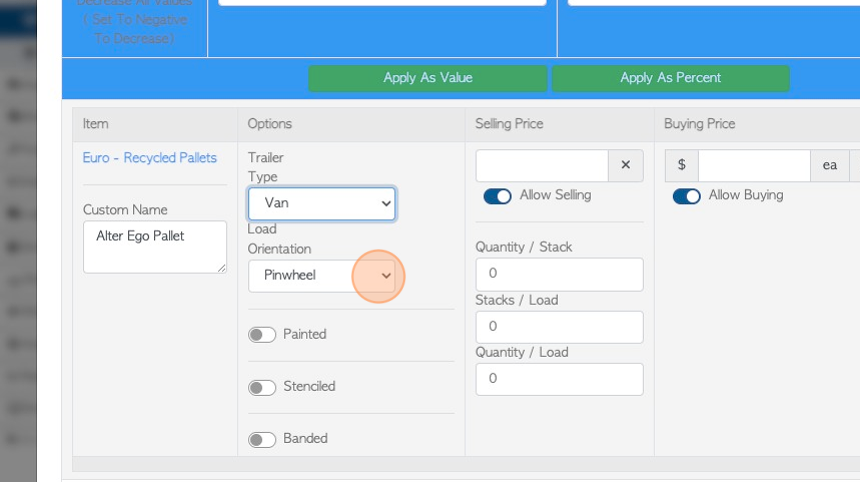
11. Click the "Optional Custom Name" field to add an additional name for the purpose of this Vendor only.
12. Click this dropdown to select transport type.
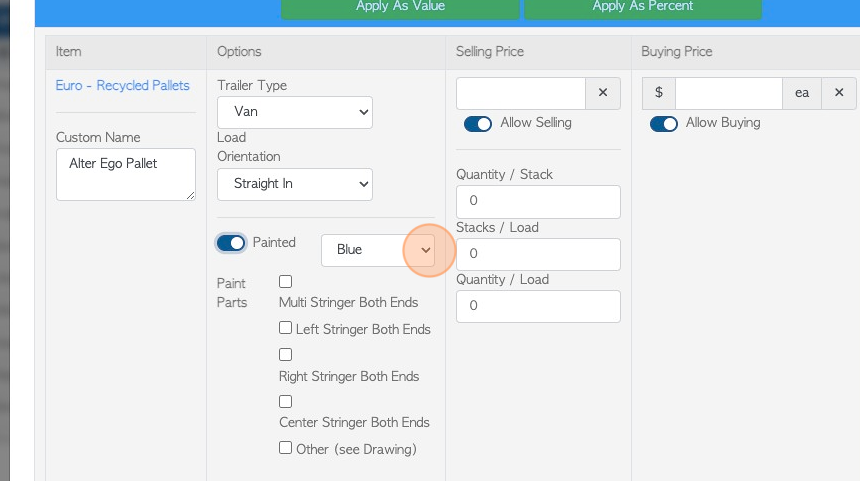
13. Click this dropdown to indicate loading type.
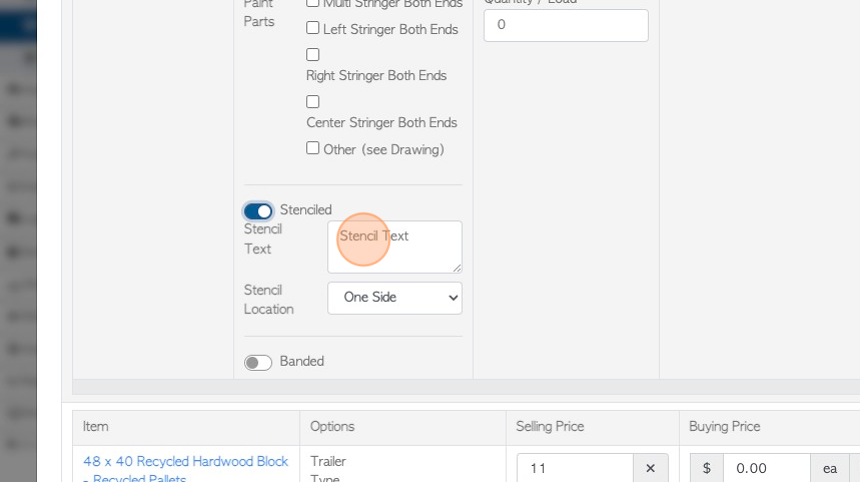
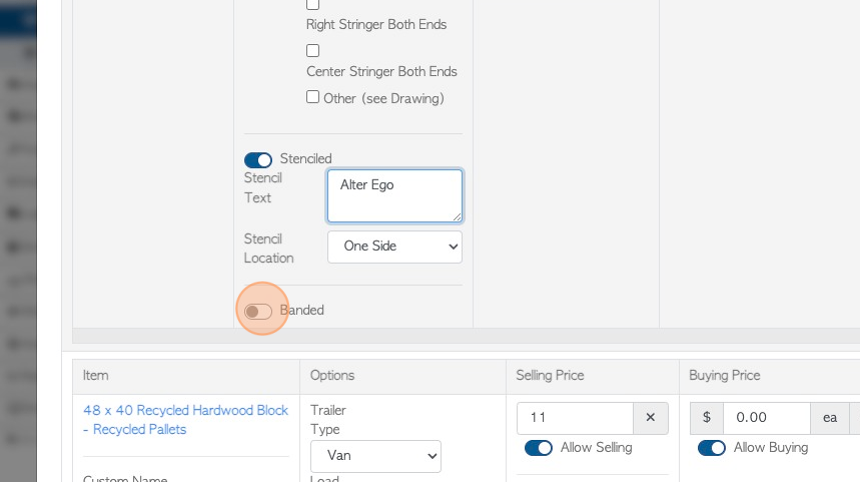
14. If "Painted" option is toggled on, there will be fields to add the colour and location of paint.
15. If the Stencilled option is toggled on there will be fields to add stencil text and location.
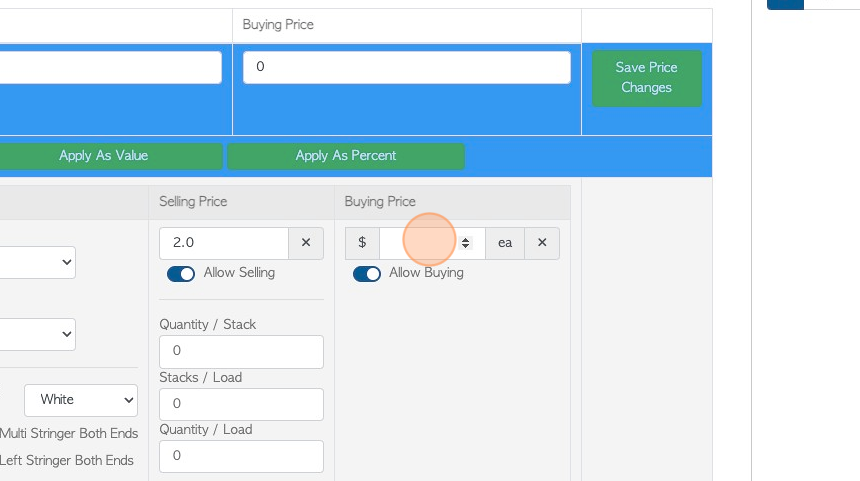
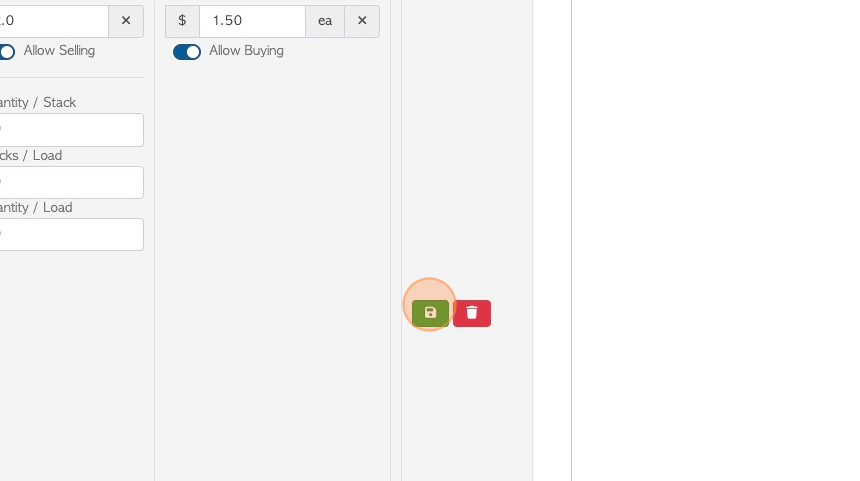
16. If the Banded option is toggled on, there are fields to add details.
17. Click this number field to add a selling price.
TIP!This will be the price for this customer only and will override the general selling price for the stock item. "Allow Selling" must be enabled to add price.
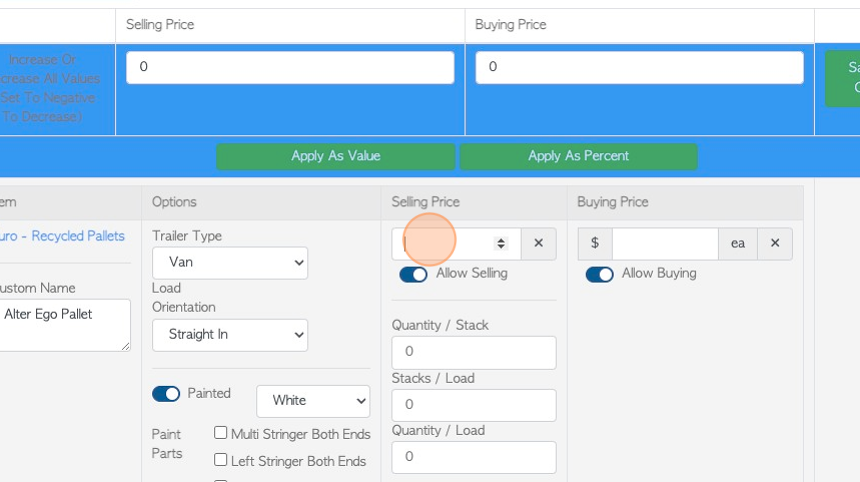
18. Click this number field to add buying price for this Vendor.
TIP! Allow buying must be enabled to add the buying price.
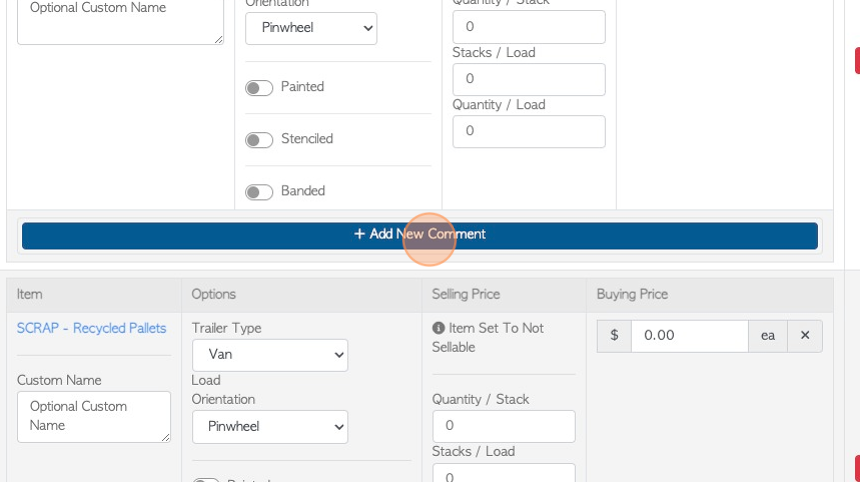
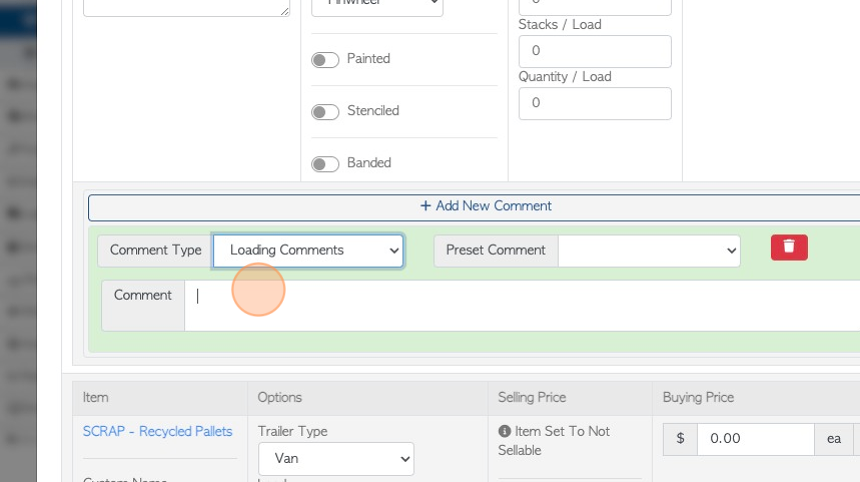
19. Click "Add New Comment" to attach a comment to the stock item.
20. Click this dropdown to select the Comment Type.
TIP! The Comment Type must be set up in the Settings tab from the main menu, prior to adding a Comment.
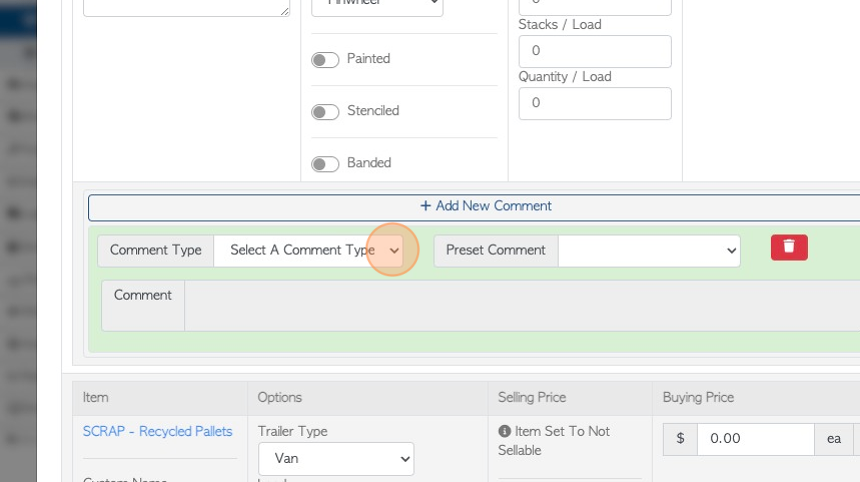
21. Click this field to add the actual Comment.
22. Click here to save.
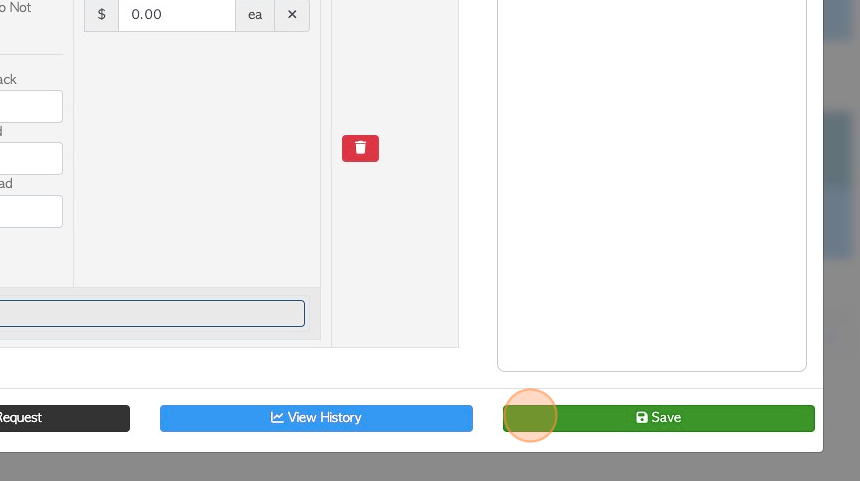
23. Click "Save" to complete.
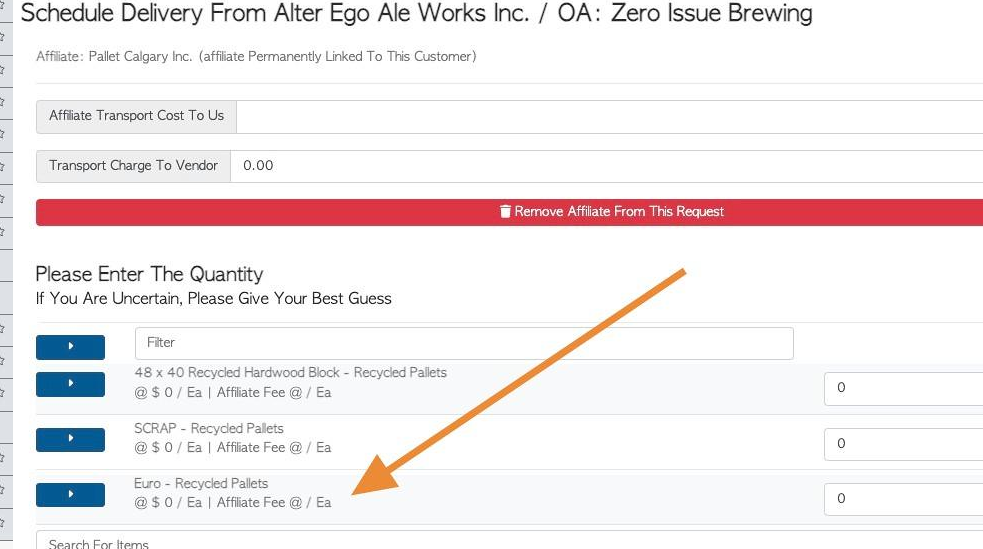
24. TIP! When a new order is placed for this Customer, the stock item will automatically appear on the list to be ordered. Click on the drop down to view the details of the item e.g stencilling.
25. TIP! The Vendor name will show up in the Stock Item Profile as a "Linked Contact".