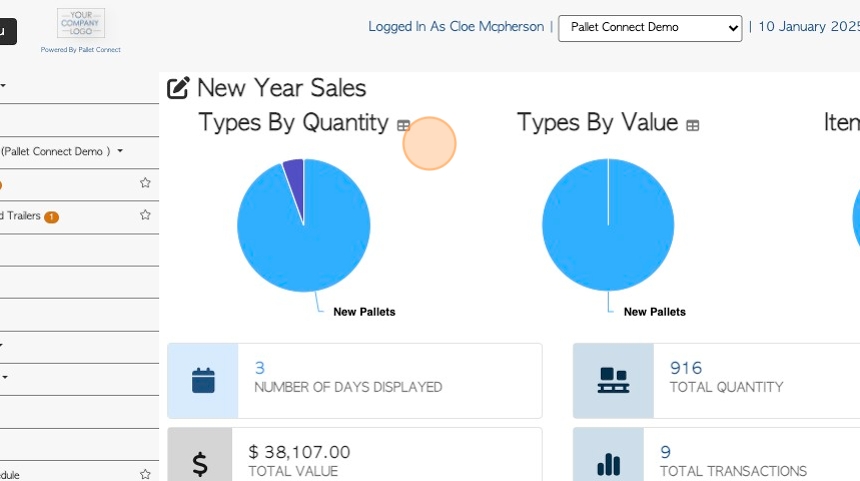
1. Pallet Connect has numerous generated reports that contain custom filters and settings.
The Report Builder feature however, allows the user to create a personalized bookmarked report. This article explains how to use the Report builder to save a customized transaction report.
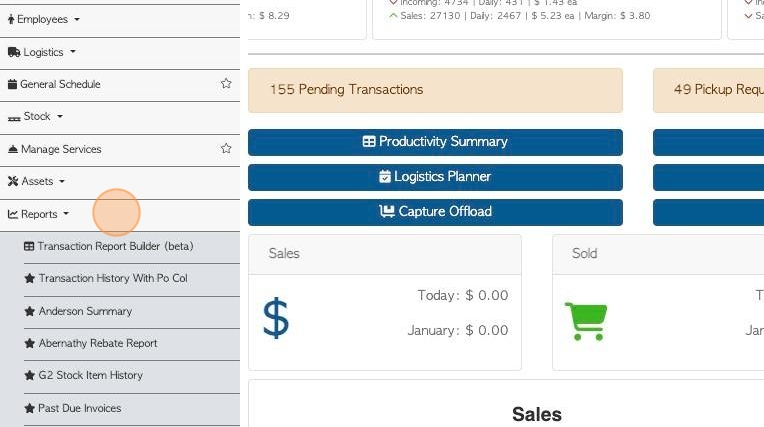
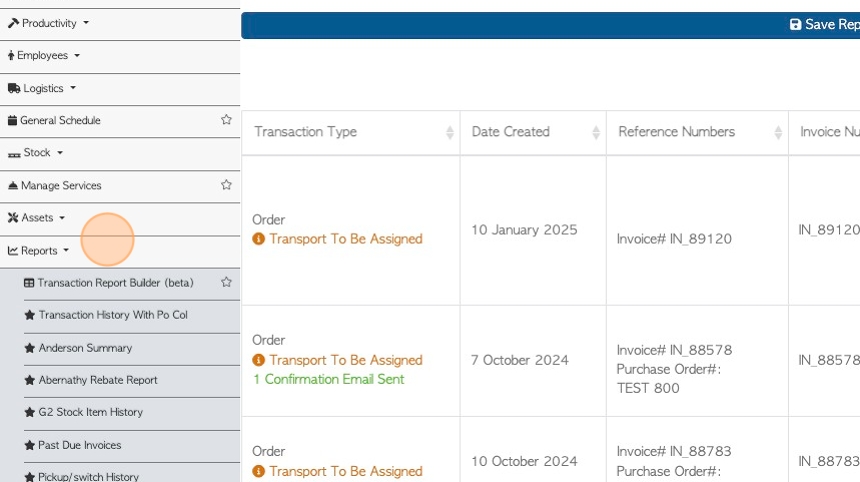
2. Navigate to the main menu and click "Reports".
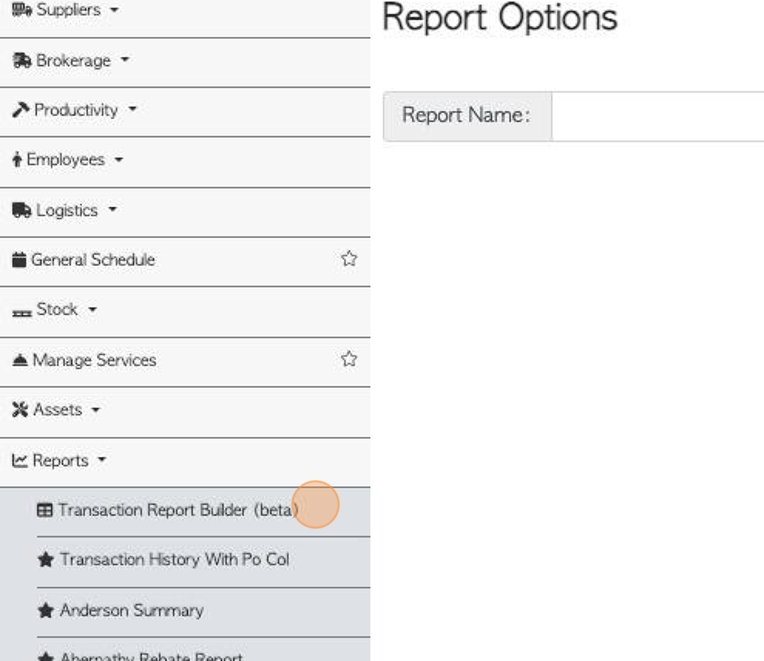
3. Click "Transaction Report Builder"
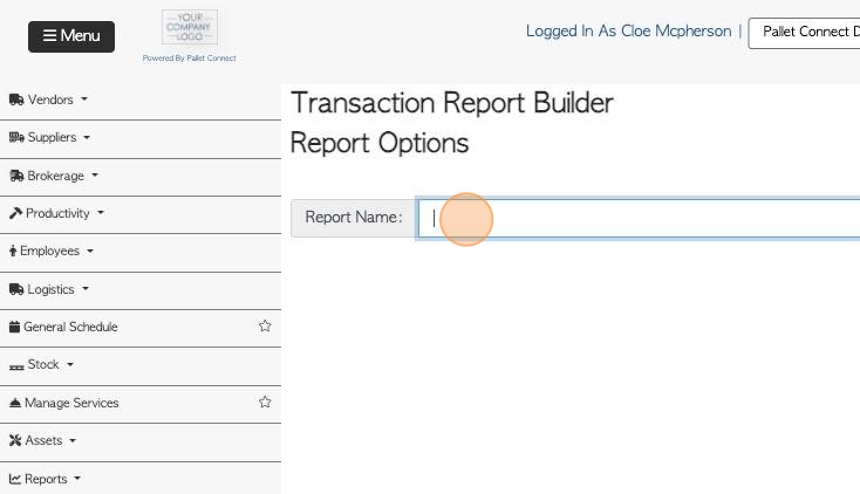
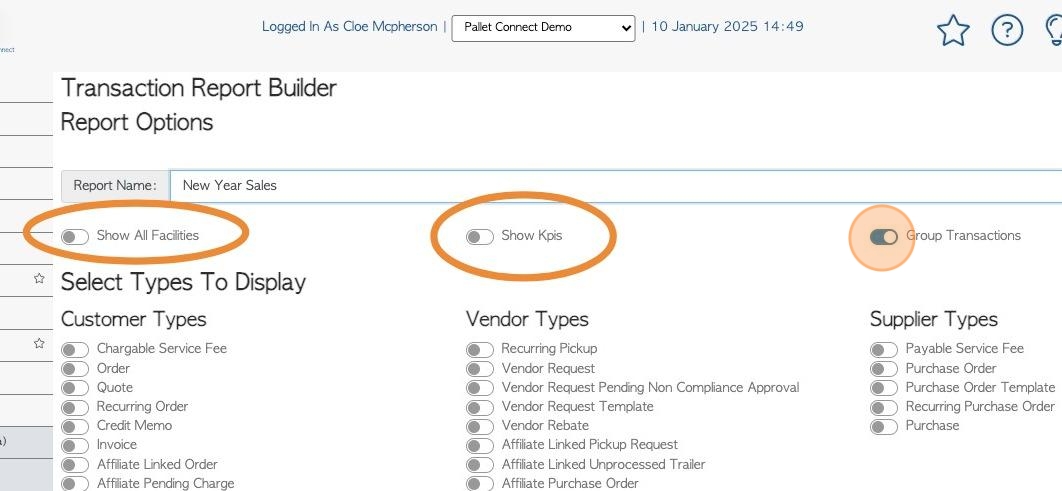
4. Click this text field to name the report.
5. Start building the report by selecting the various options.
Use the toggle buttons to decide if all facilities are shows, if KPIs (key performance indicators) are visible and if group transactions are included.
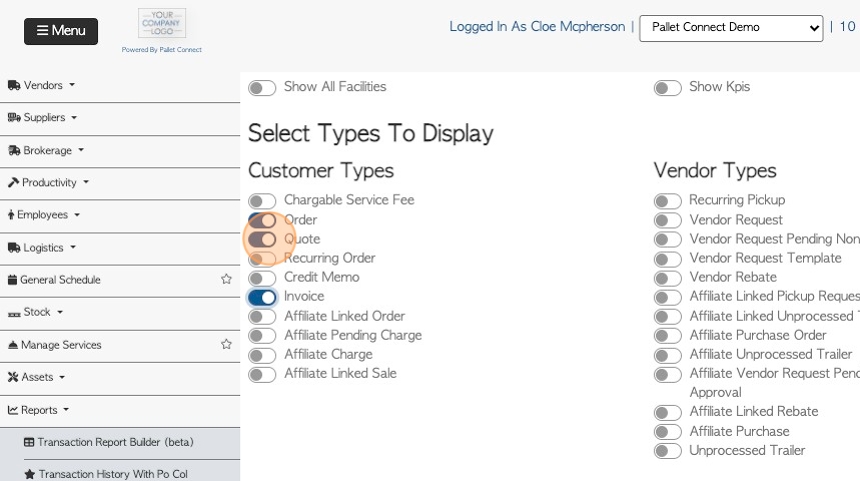
6. Click on the transaction types that will be included in the report. They are divided into Customer, Vendor and Supplier sections.
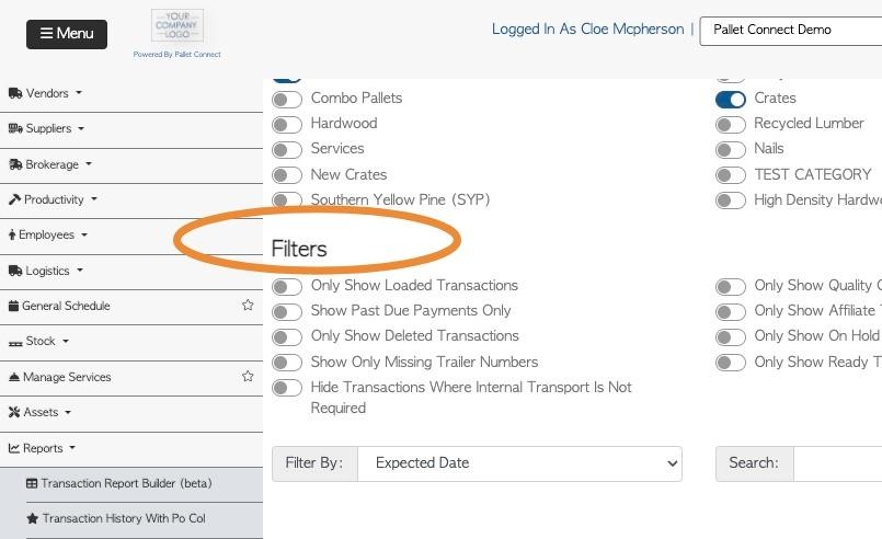
7. Select the Item Type or Services to be included, in this section.

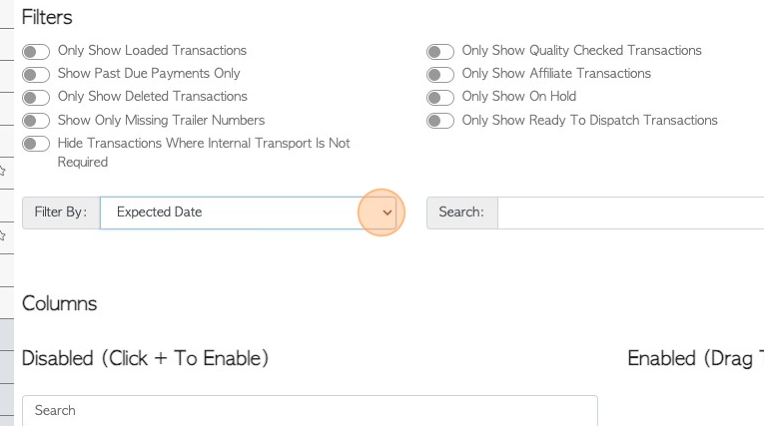
8. Select the filters that will be applied to the report.
9. Click this dropdown to choose the filter date type.
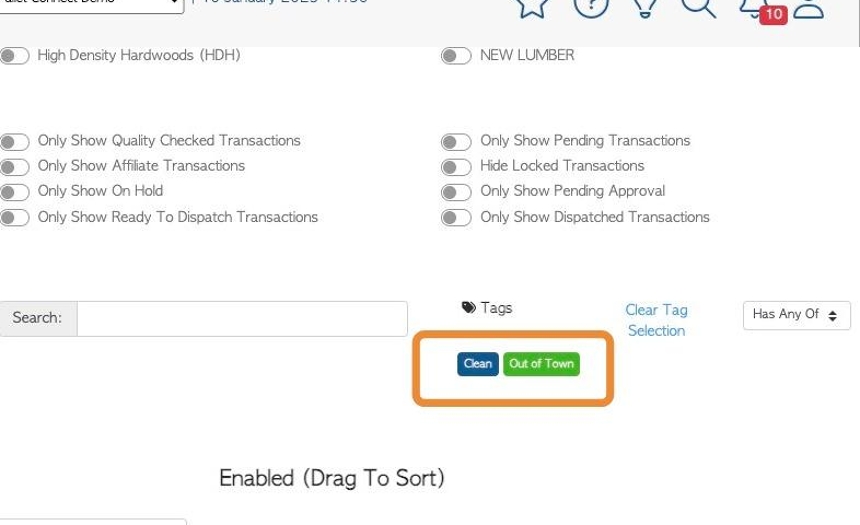
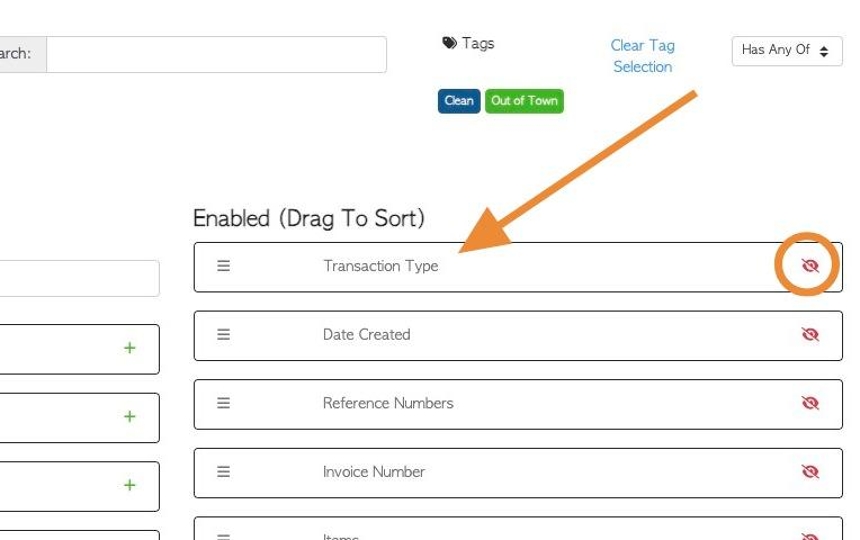
10. Click here to use Tags to filter the report.
Click on one or more displayed Tags and select the type of filter from the drop down menu. Click on "clear Tag selection" to unselect all Tags.
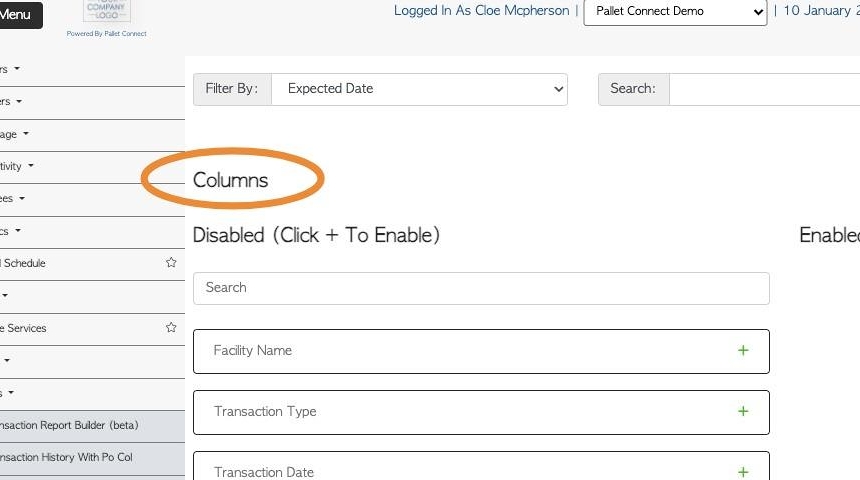
11. Next choose the columns that will be displayed on the report.
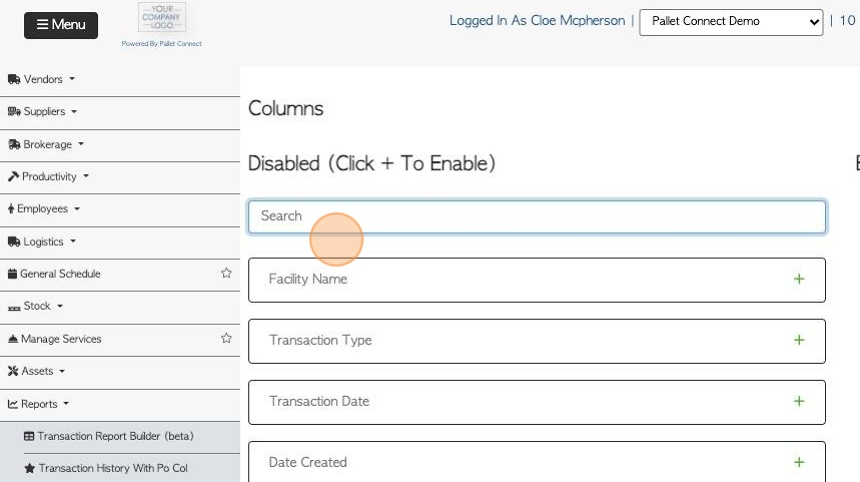
12. Click the "Search" field to search for a column name.
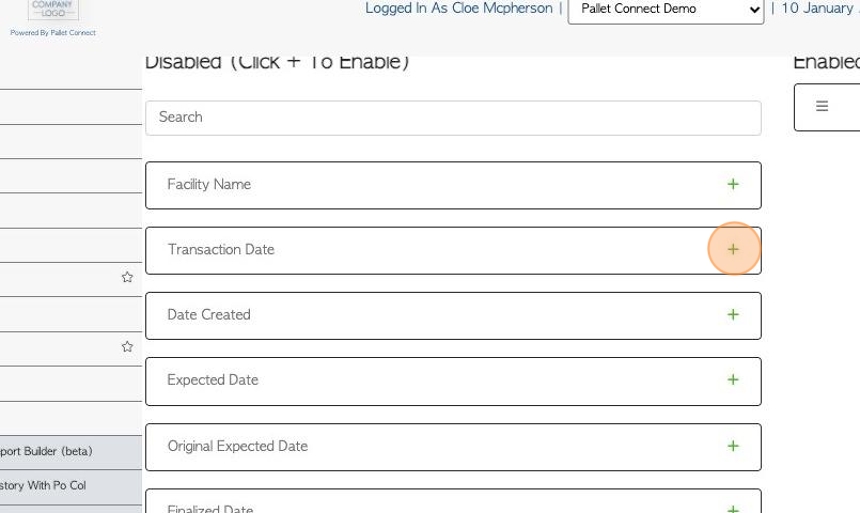
13. Click here, on the plus icon, to add a column to the report.
14. The selected columns will be displayed under the "enabled" column.
TIP! To change the order of the columns, drag the text box to sort them. To remove the columns from the report, click on the eye icon.
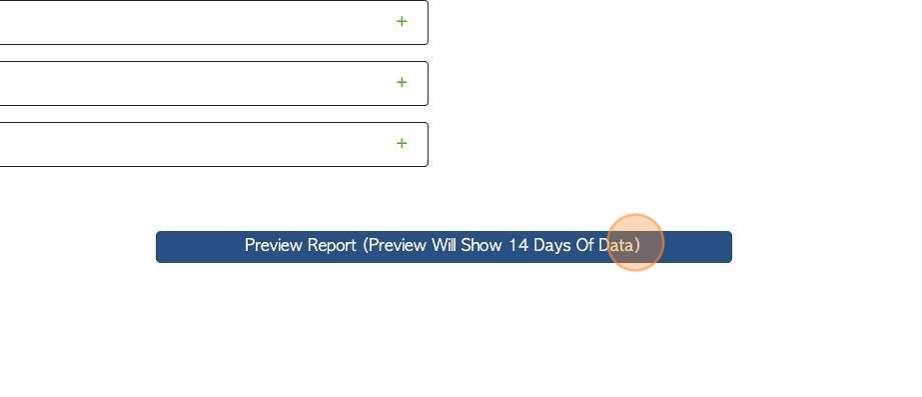
15. Click "Preview Report (Preview Will Show 14 Days Of Data)" to review the report.
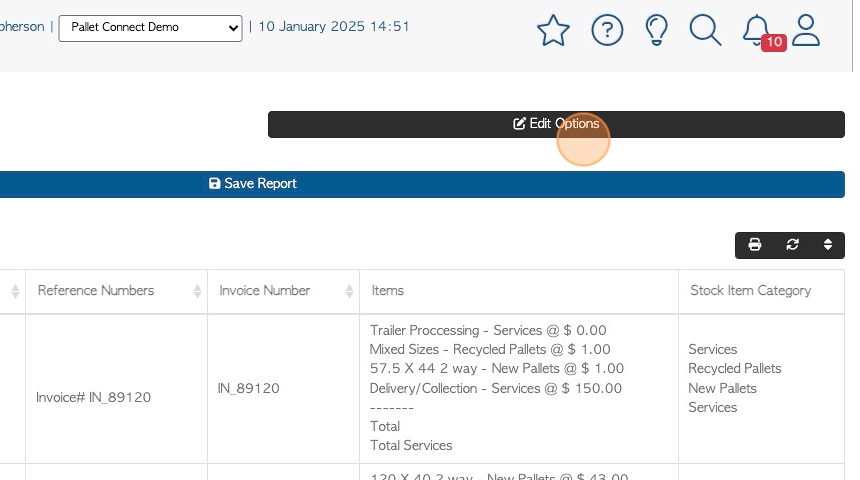
16. If further edits are needed, click the "edit options" to return to the builder screen.
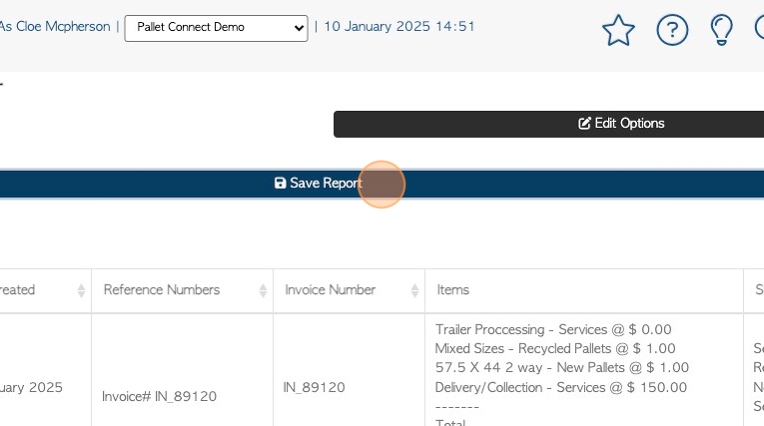
17. If the report is complete, click "Save Report"
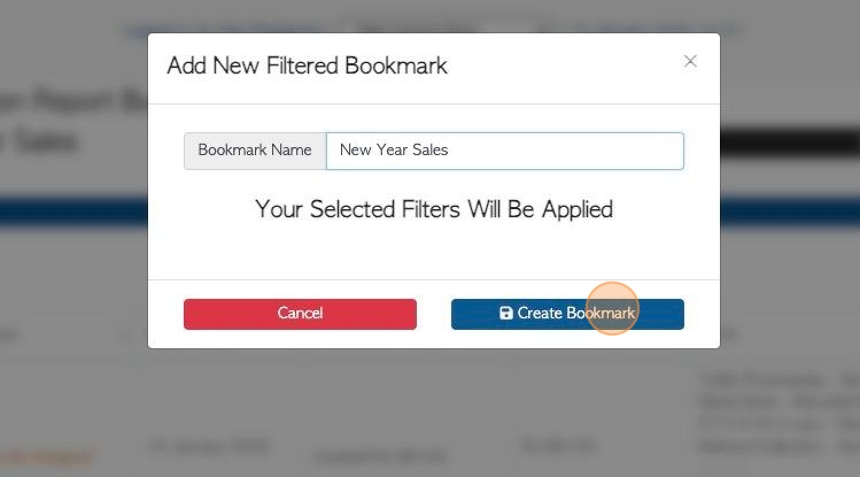
18. The report will now be created as a filtered bookmark. Click "Create Bookmark" to save.
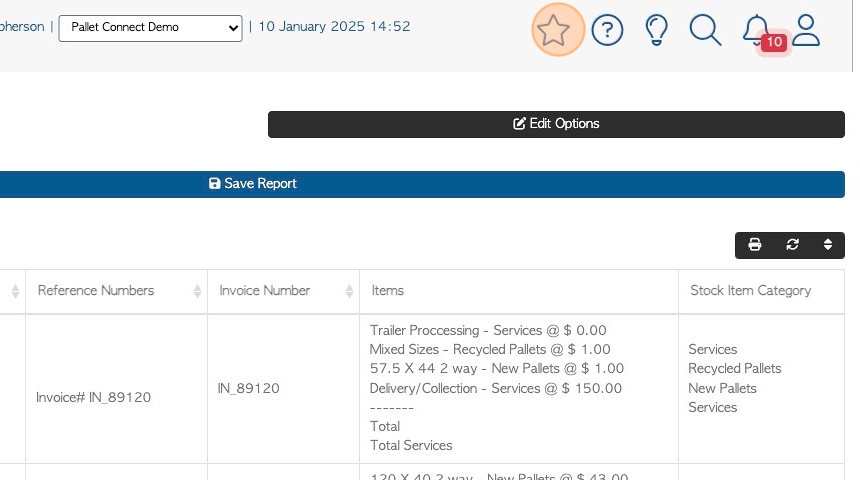
19. The report is now listed in the "Reports" subsection of the main menu.
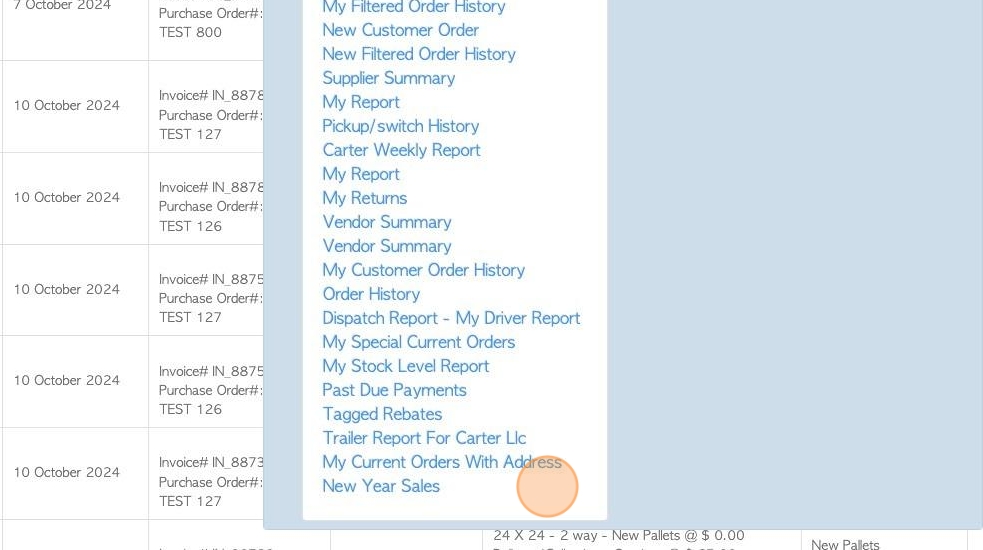
20. The report is also now saved as a filtered bookmark.
Click here, on the star icon to access bookmarks.
21. Click on the report name from the list.
22. The user will be redirected to the report page.
TIP! Filters can still be applied whilst viewing the saved report, for example the date range can be changed.