Learn how to efficiently manage driver assignments by utilizing the automated scheduling tool within the PalletConnect logistics dashboard. This guide walks through configuring settings and running the AI driven scheduler, to streamline daily operations.
The auto scheduler uses certain logic to schedule the deliveries. For example, it looks at delivering the furthest task from the site first, and then choosing a route that gets closer back to the warehouse. One of the goals is to avoid driving an empty truck. It will also schedule around existing tasks.
The Auto Schedule is found in the Driver Schedule page.
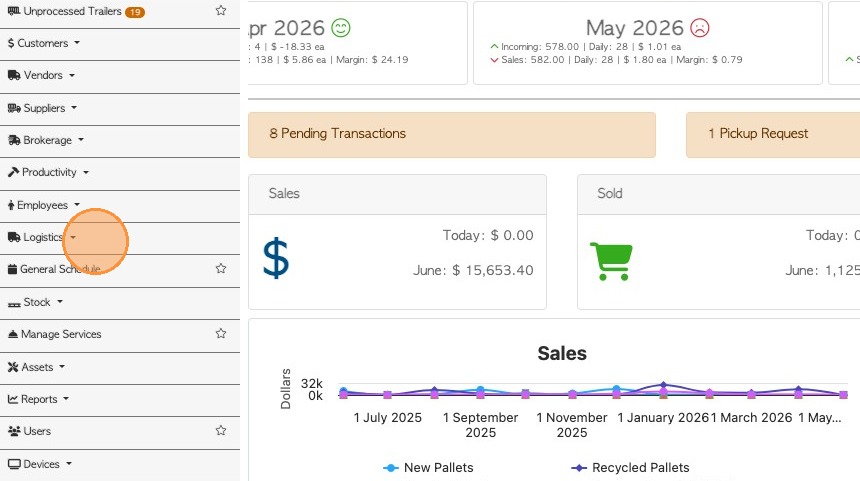
1. To navigate to the Driver Schedule, select "Logistics" from the main menu.
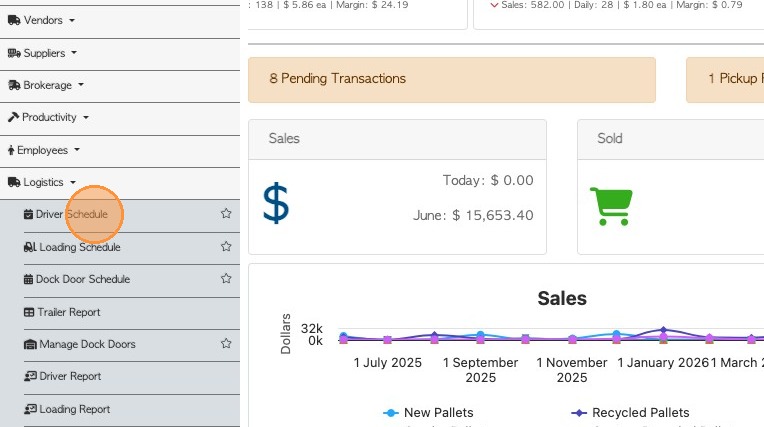
2. Click "Driver Schedule"
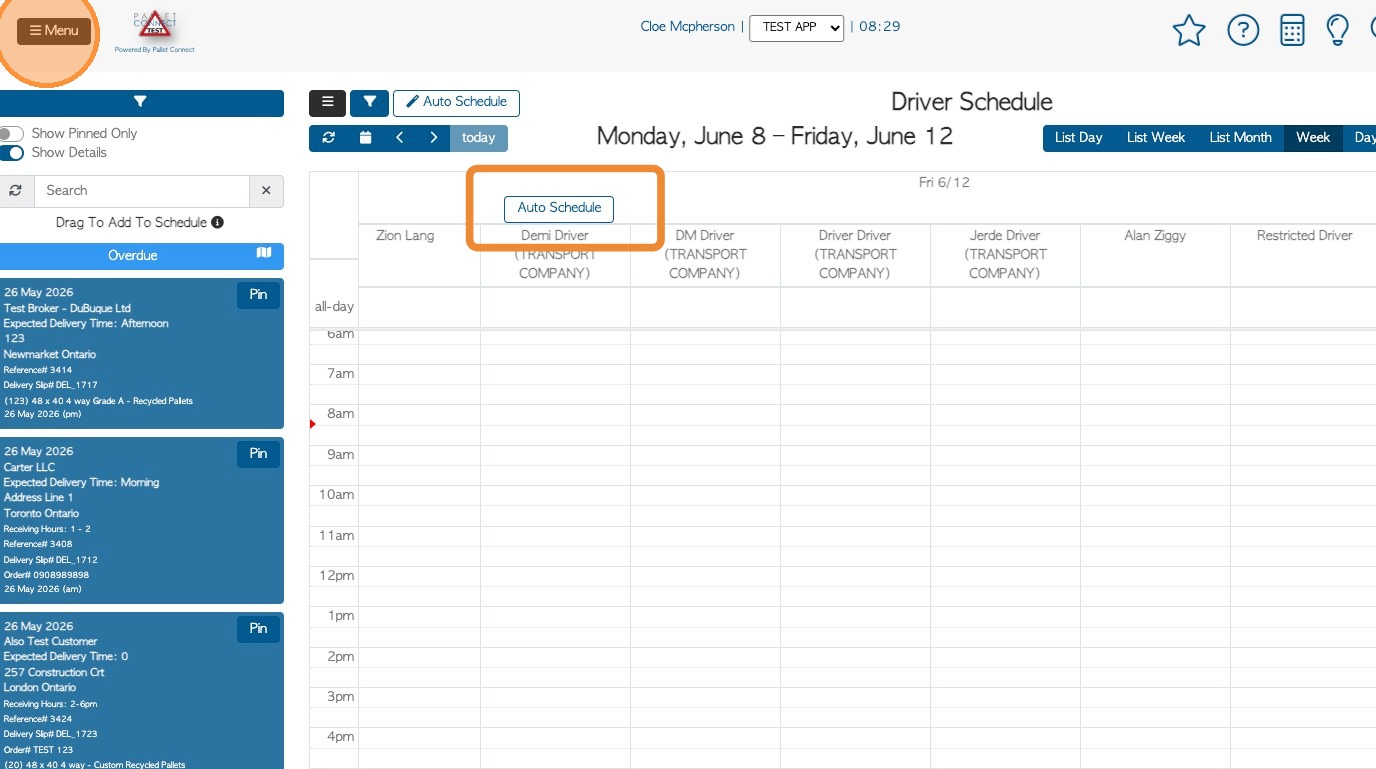
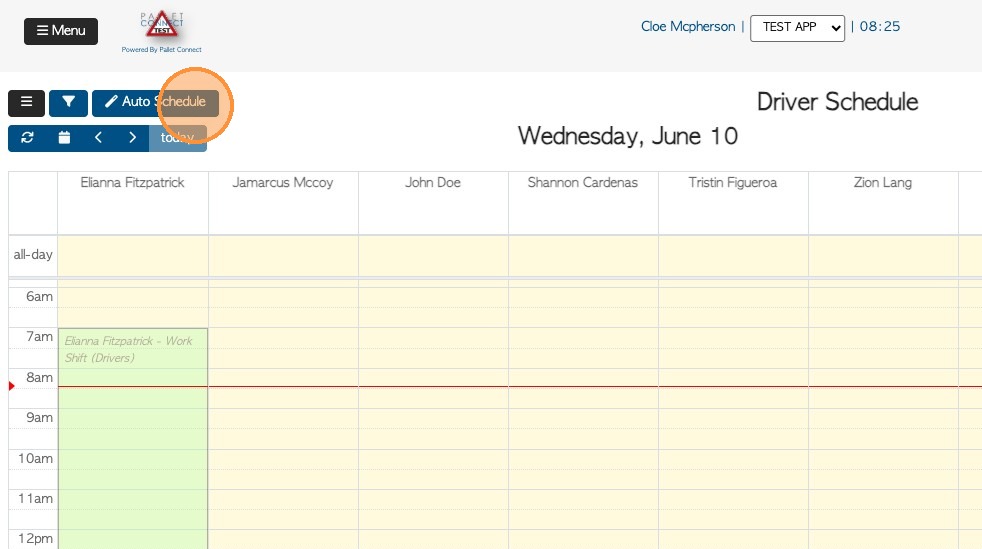
3. Click "Auto Schedule" to initiate the scheduling process
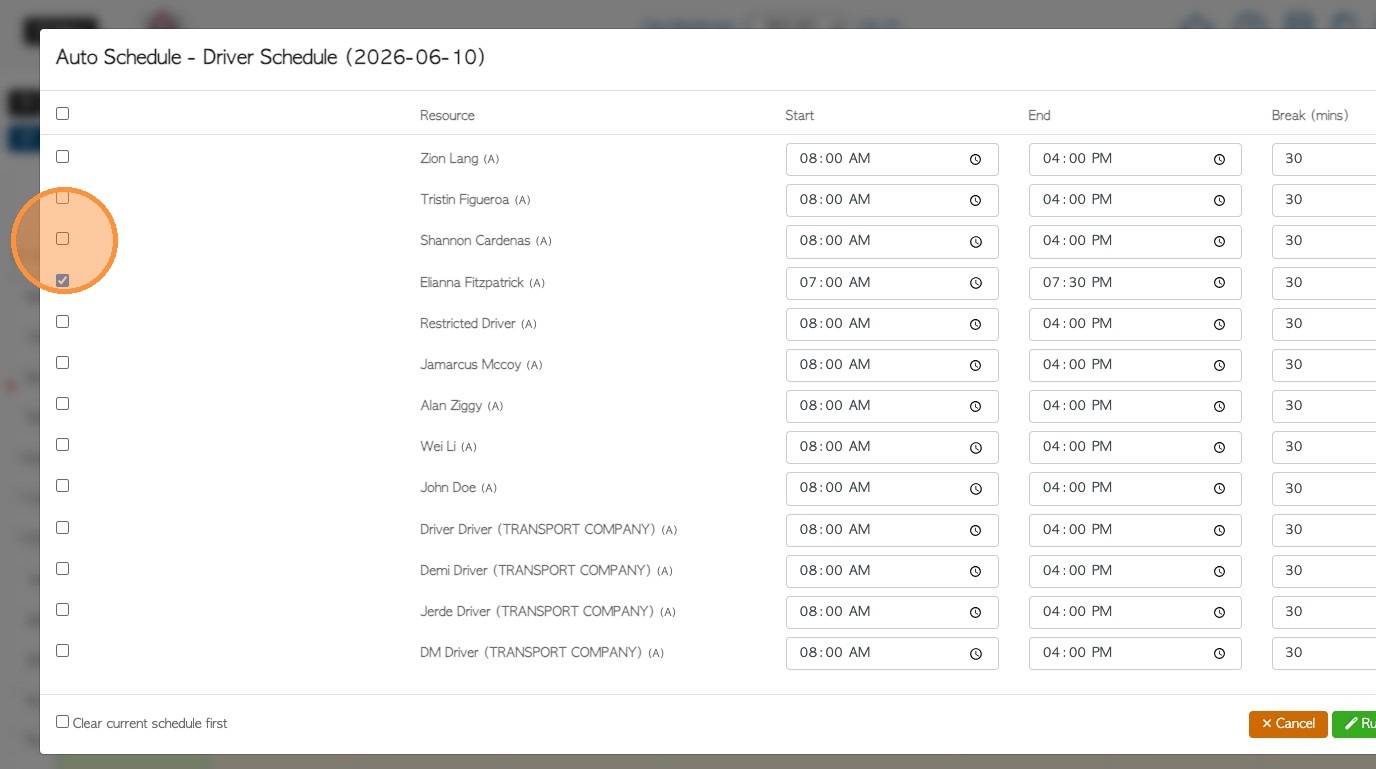
4. The pop up screen shows a list of all active drivers on the schedule. It also shows the start and end time of their shift and any breaks.
Select the drivers to be included in scheduling.

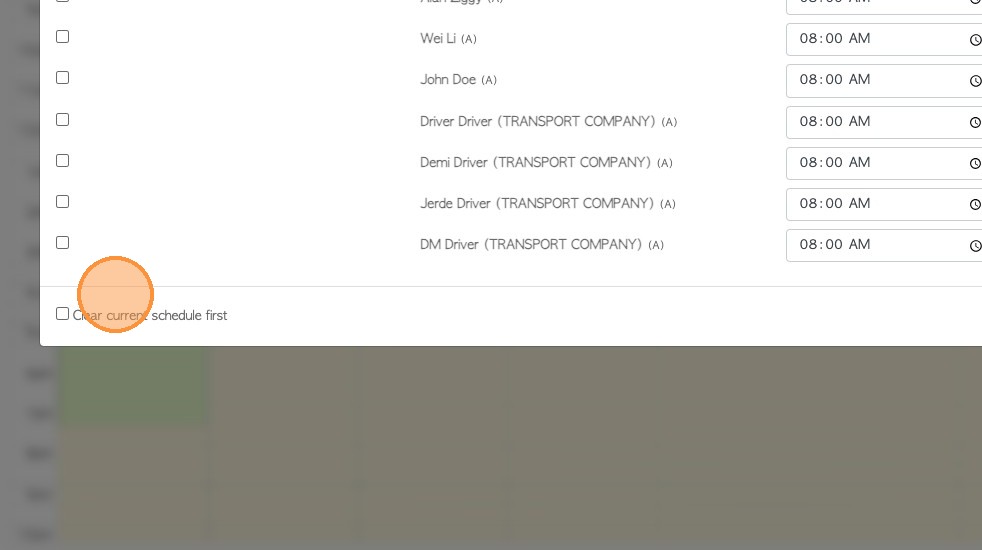
5. Enable "Clear current schedule first" to clear any existing data.
TIP! This can be used after scheduling to clear data, if changes need to be made. This will clear ALL scheduled events from the calendar within the selected time frame.
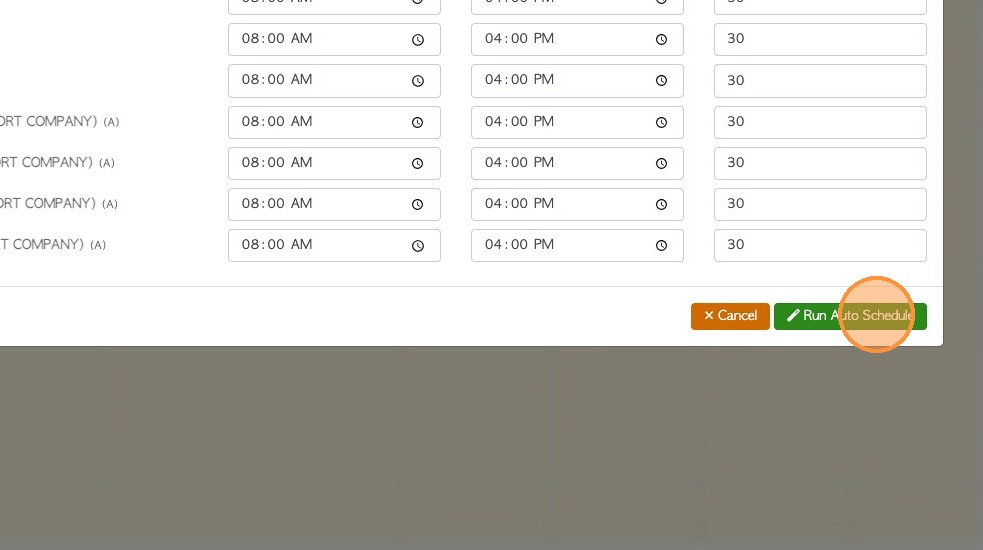
6. Click "Run Auto Schedule" to start.
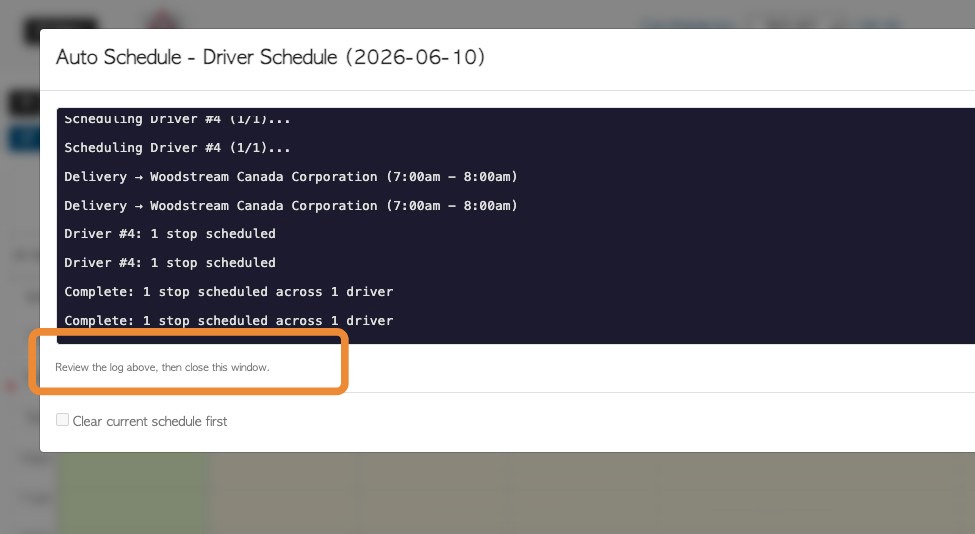
7. The pop up window shows the progress during scheduling.
Instructions suggest to review the information before saving.
8. Close the scheduling log to return to the calendar

9. The transactions with a matching expected date have been scheduled into the system, using the selected drivers.
TIP! The transactions can still be removed from the schedule and edited, as normal.

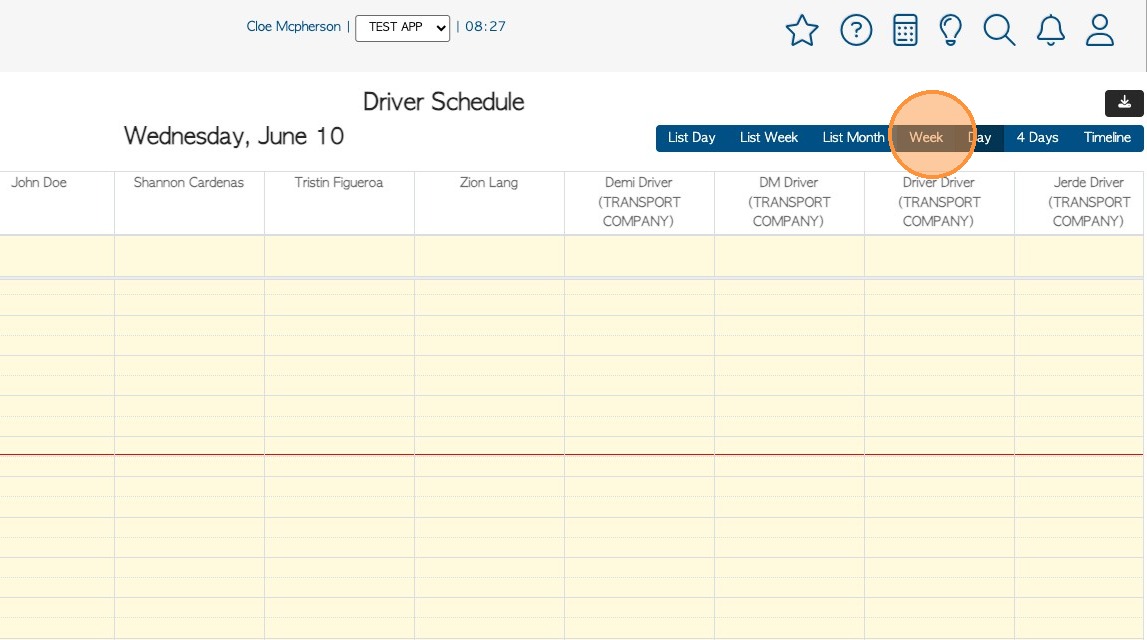
10. TIP! The feature uses the calendar view to schedule. For example, select "Week" view to schedule a week of transactions instead of 1 day.
11. TIP! The auto schedule can also be accessed from the button directly above the calendar.