Personalization plays an important role in making scheduling tools easier to use and faster to understand at a glance. The Driver Schedule page now supports custom colours, giving dispatchers and managers greater control over how schedules are displayed. These colours will differ from the default colours assigned in the schedule.
By assigning specific colours to drivers, shifts, or schedule types, users can quickly distinguish assignments, reduce visual clutter, and spot potential conflicts more efficiently. This feature transforms the schedule from a simple list of entries into a clear, intuitive visual overview that supports better planning and day-to-day operations.
NOTE: If the same task on the Driver Schedule is shown on the Pick Up or Order Planner screen, it will not display as a custom colour.
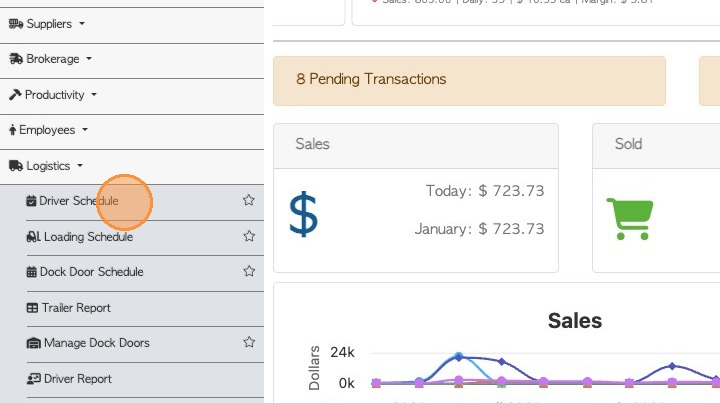
- Navigate to the Main Menu > Logistics > Driver Schedule.
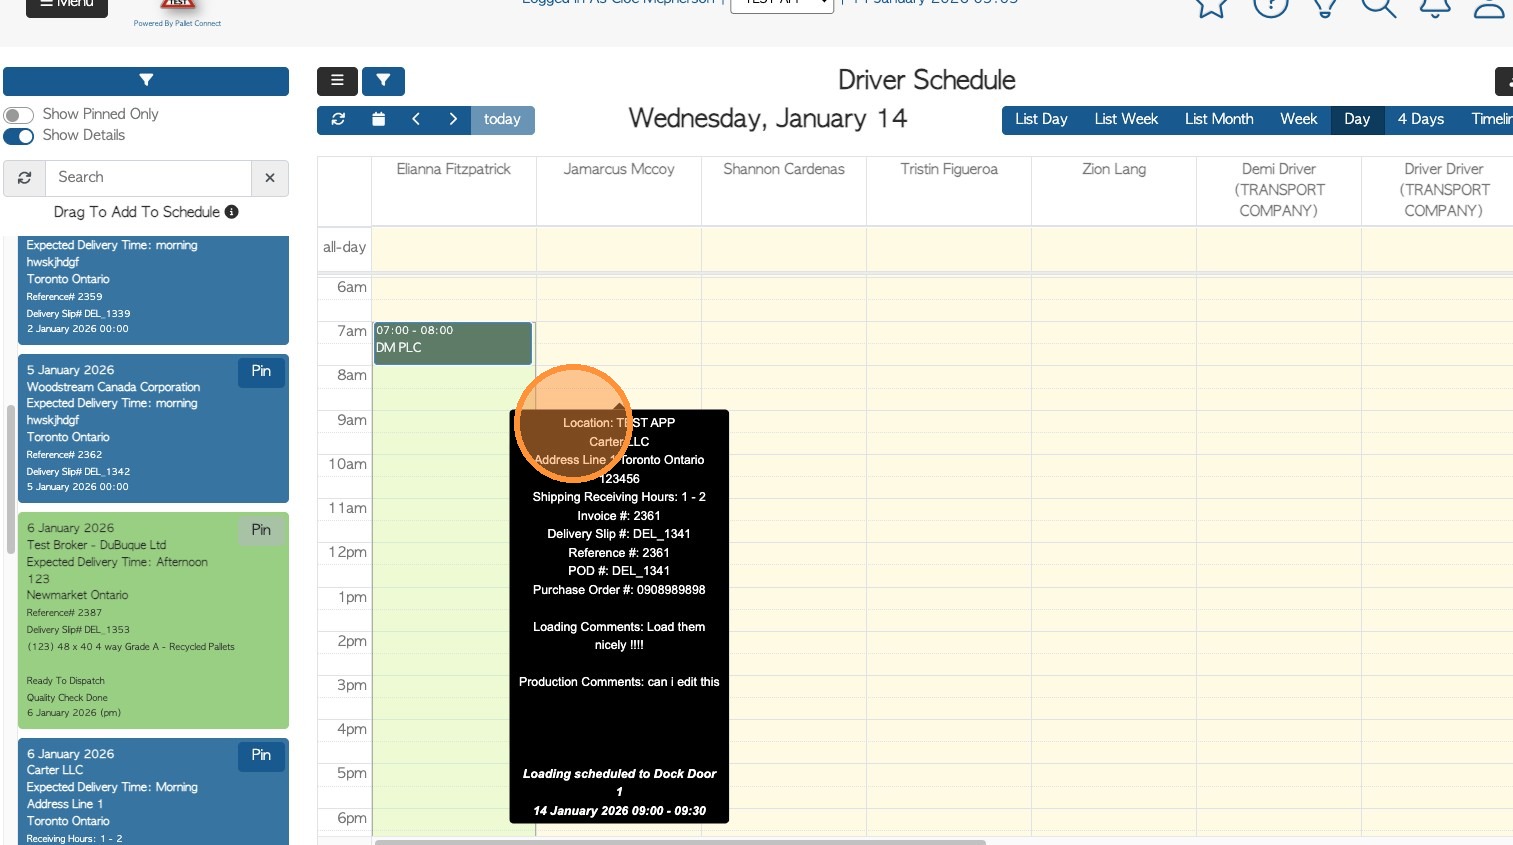
2. User will have the list of orders/requests that are ready for dispatch where they can assign a driver to pick-up/deliver.
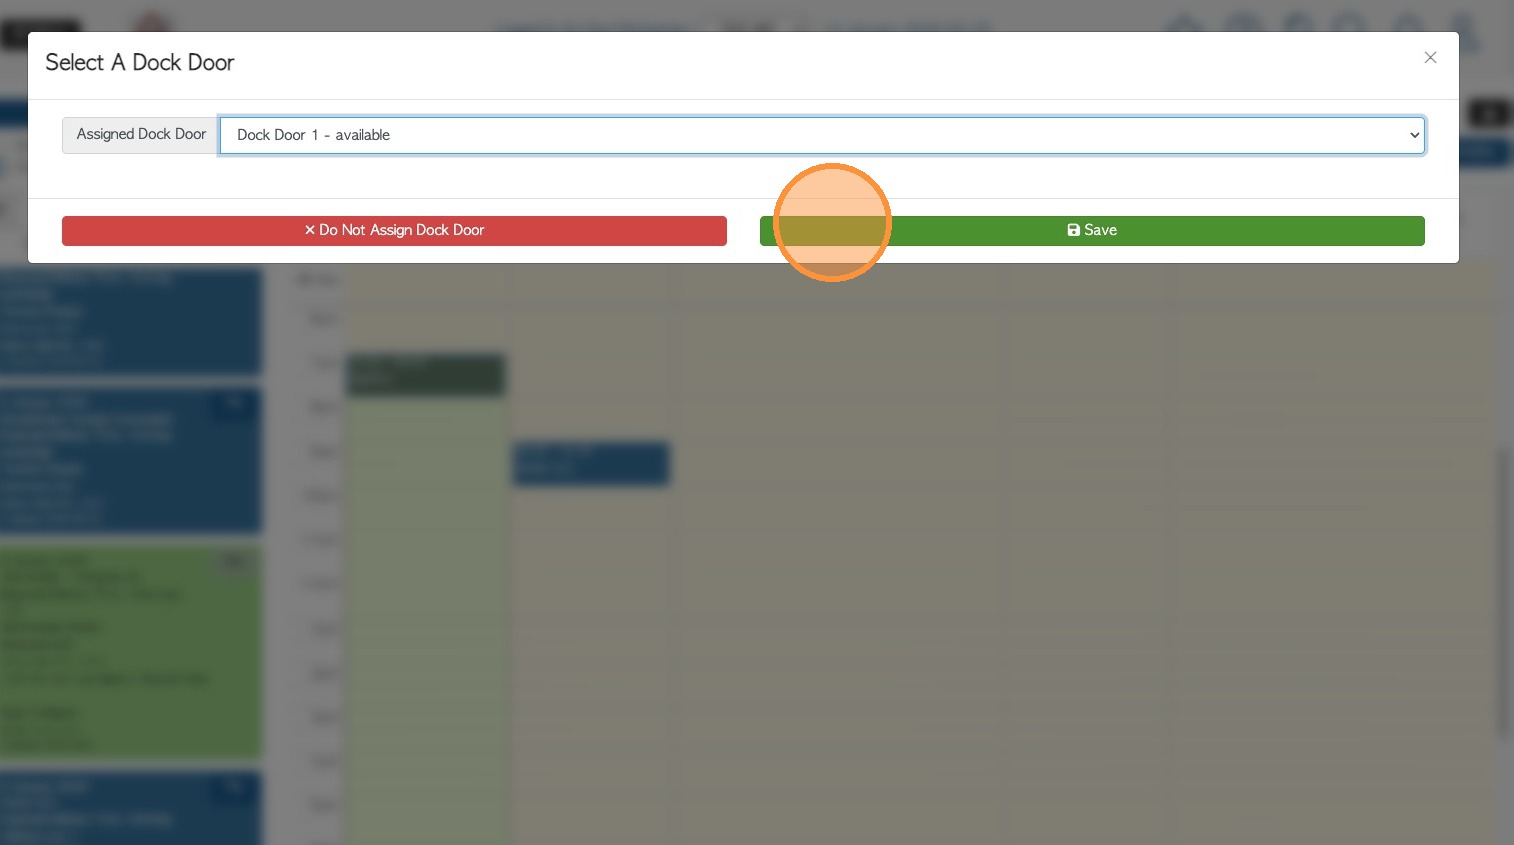
Tip! This page allows you to drag and drop. Follow the rest of the workflow by selecting transport time and dock assignment if needed.
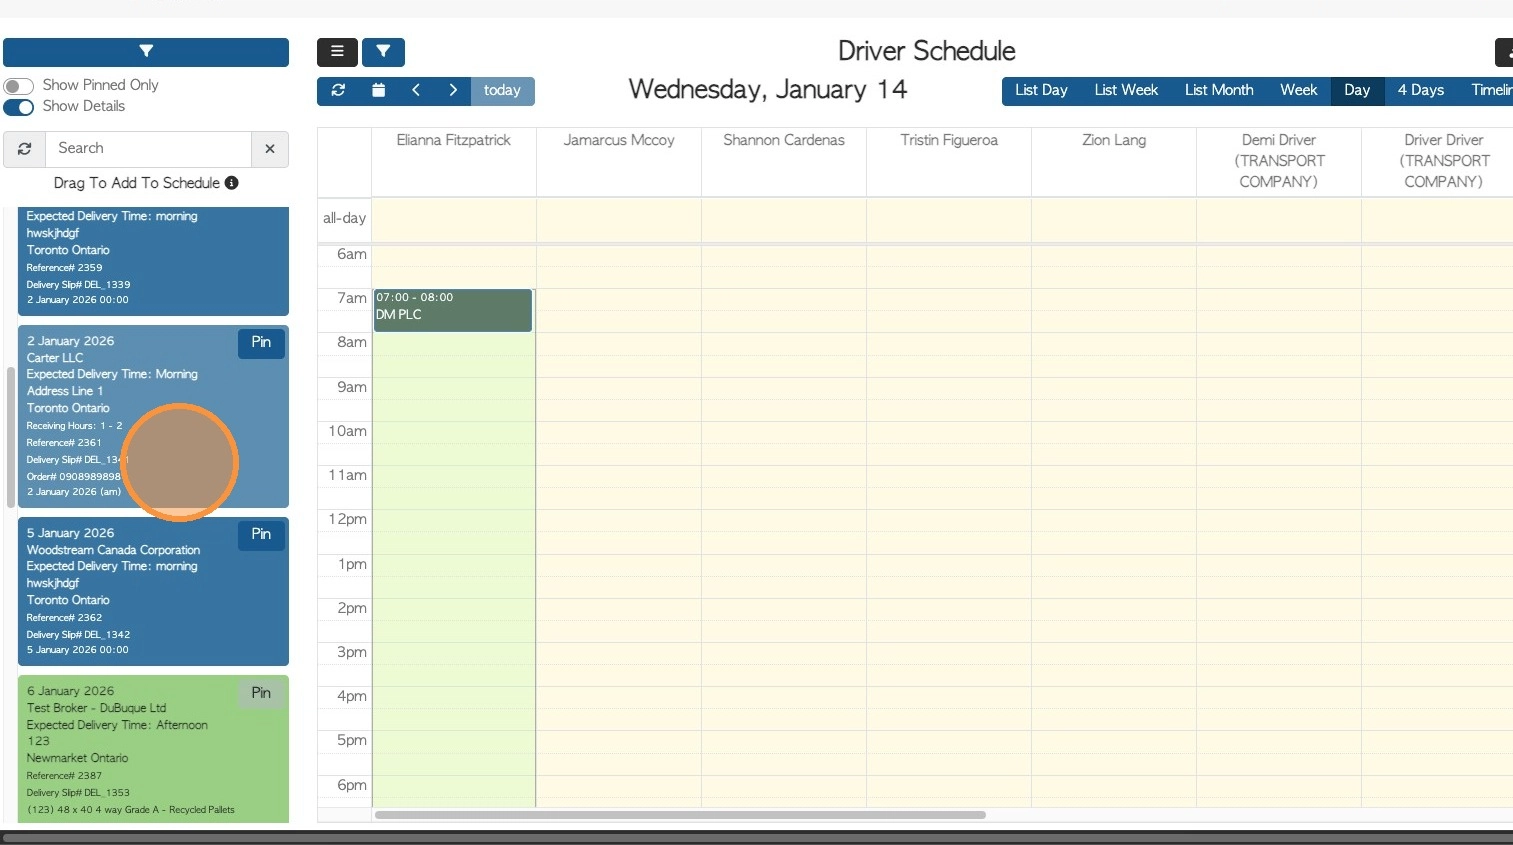
3. Click 'Save' to complete the changes.
4. The order will now appear as Scheduled in the calendar. To assign a custom color, the user must select the order directly from the calendar. Once selected, a pop-up window will appear, allowing the color to be assigned.
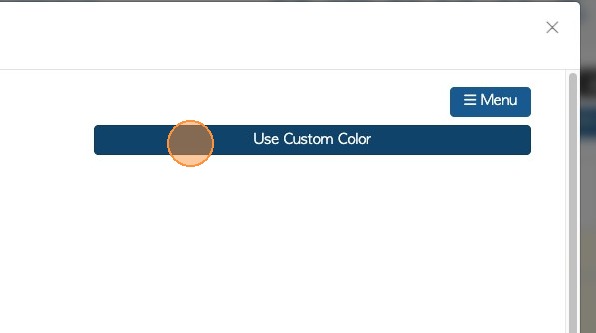
5. Click 'Use Custom Color' to open the color picker.
6.The colour picker lets users choose a colour visually instead of entering colour codes manually.
NOTE: To change the activity back to the original colour, click on the "use Default colour" button.
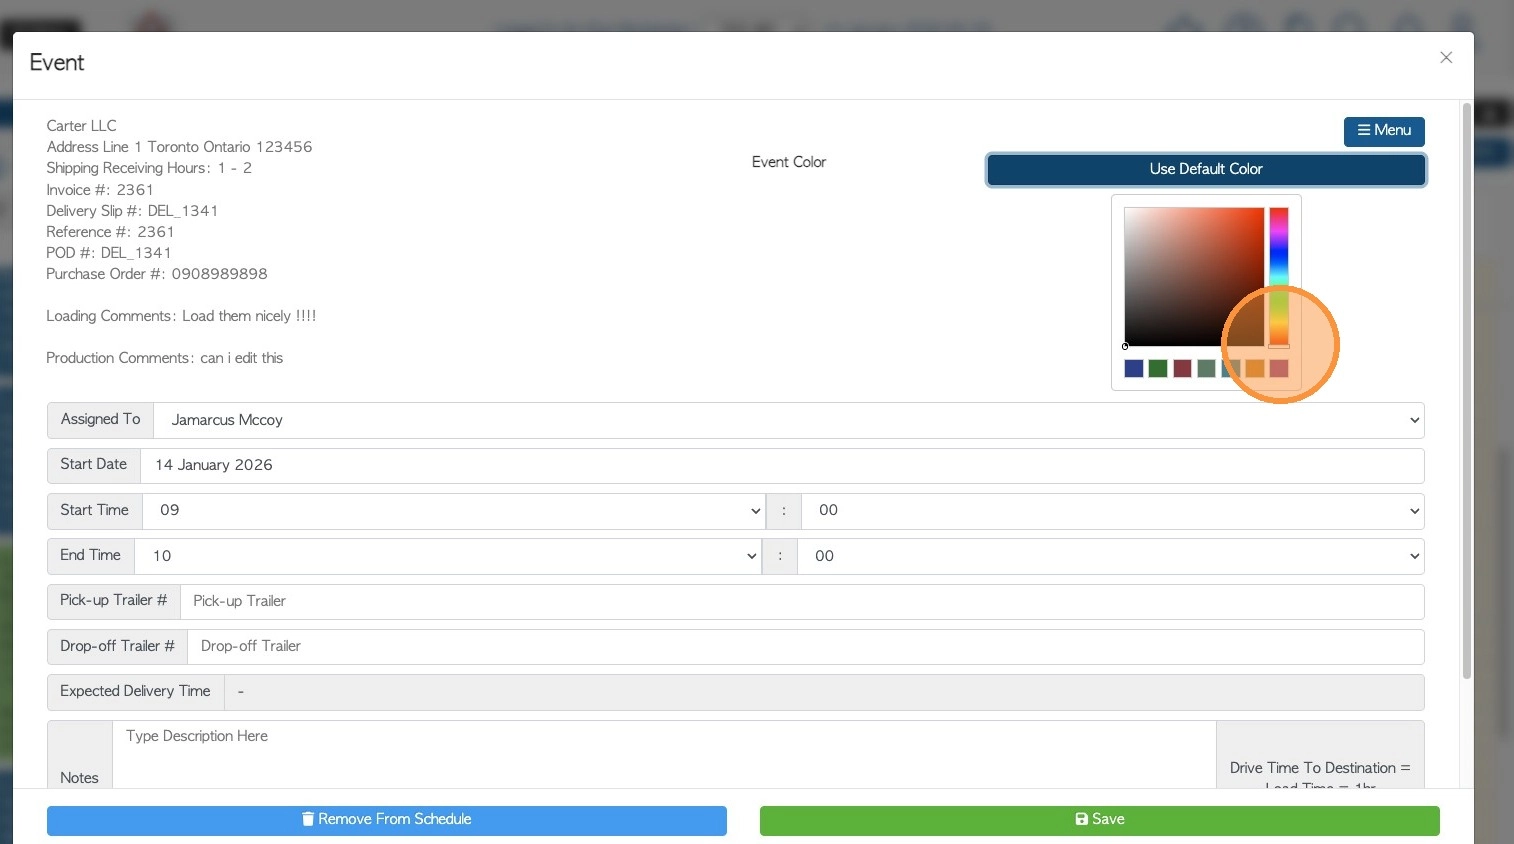
7. Click 'Save' to complete changes.

8. The assigned colour can now be seen in the calendar.
NOTE: This process needs to be carried out each time, to assign a custom colour to a task on the schedule.
