1. The Tag feature in Pallet Connect is customizable, so it can be used to categorize transactions in a variety of ways.
The Tags are colour coded and named and currently can be assigned to a transaction. They are a beneficial visual aid and can be utilized to further filter reports.
This article explains how to edit Tags and how to use them in reports.
2. TO EDIT TAGS: Navigate to the transaction.
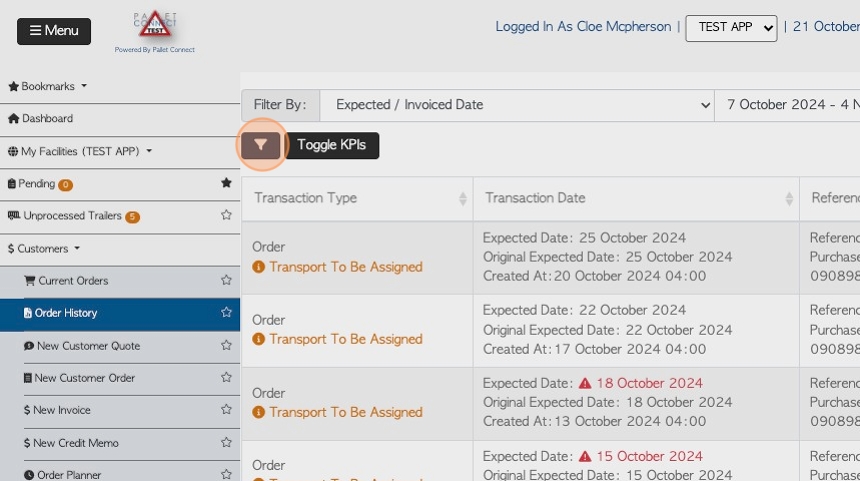
Find a transaction through the main menu, by typing the reference number into the global search or from the contact's profile.
This article uses a selected Customer Order.

3. Click here to access the Tags or click "Review" to view the transaction details.
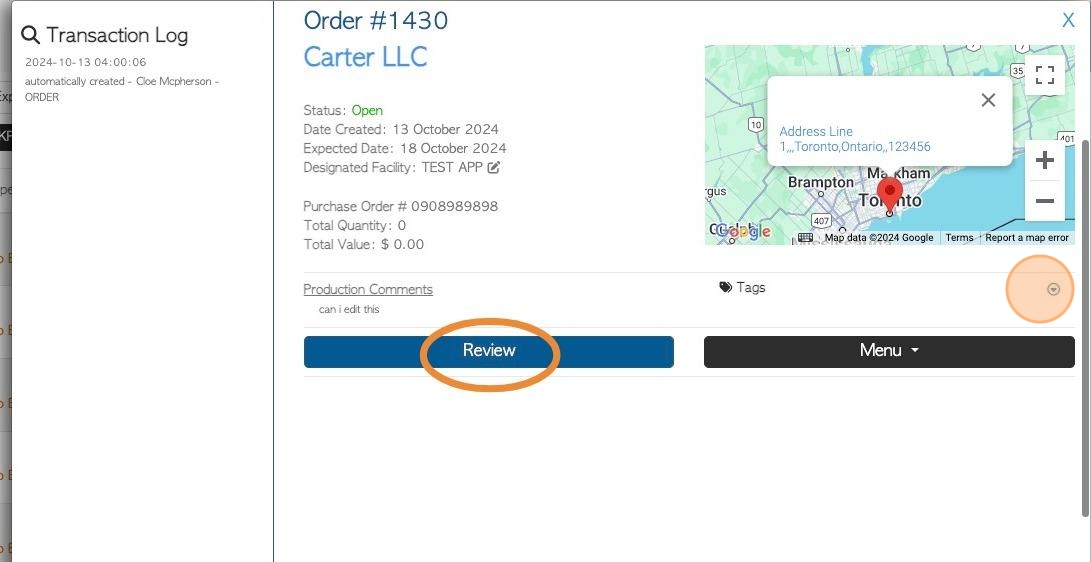
4. Click here to access Tag from transaction details page.
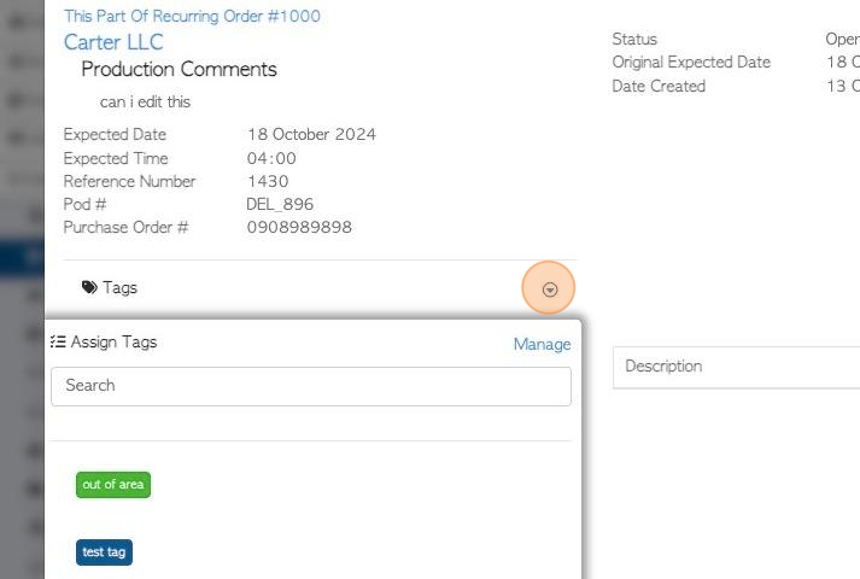
5. Click the "Manage" button.
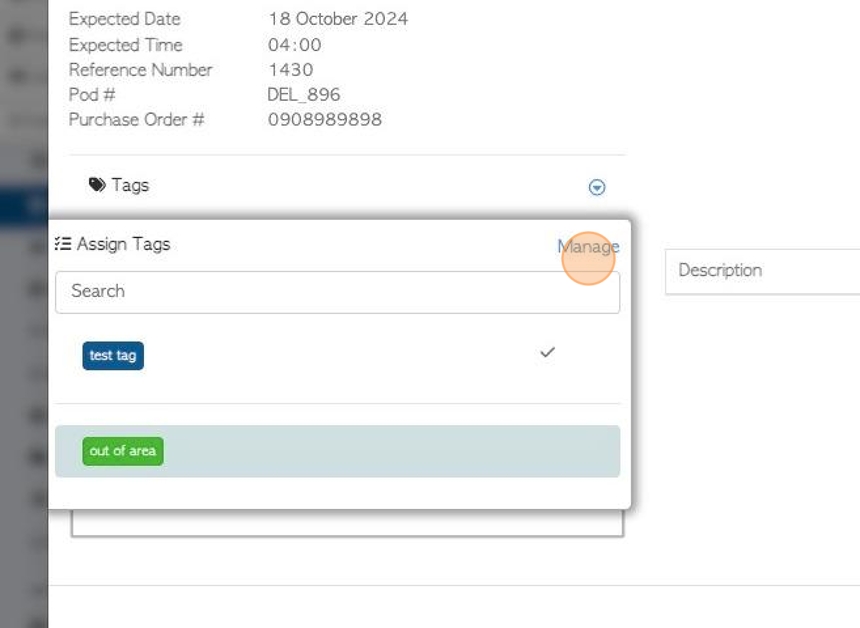
6. This will display the current Tags.
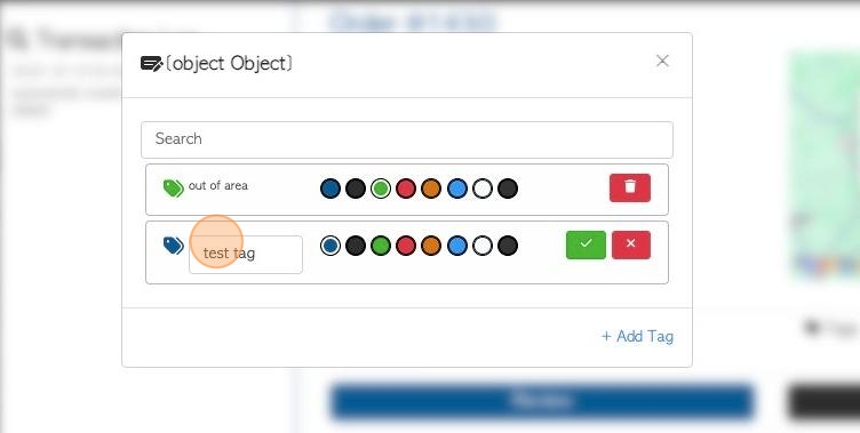
7. Click this text field to change the name of the Tag.
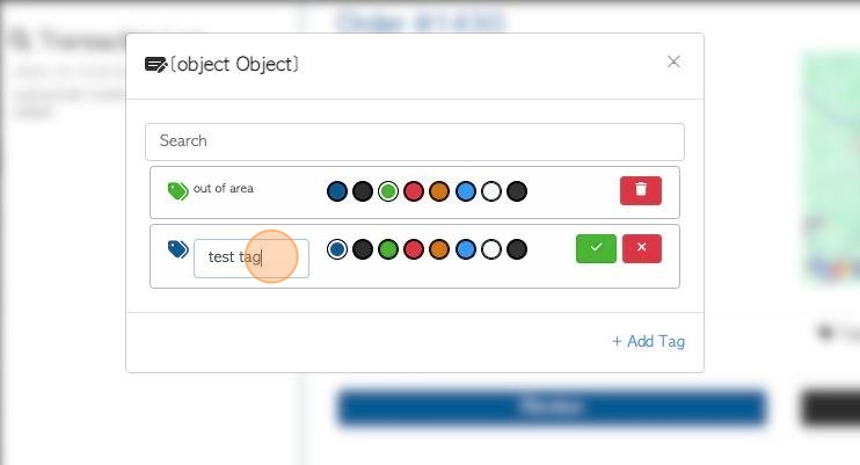
8. Click here to change the colour of the Tag.

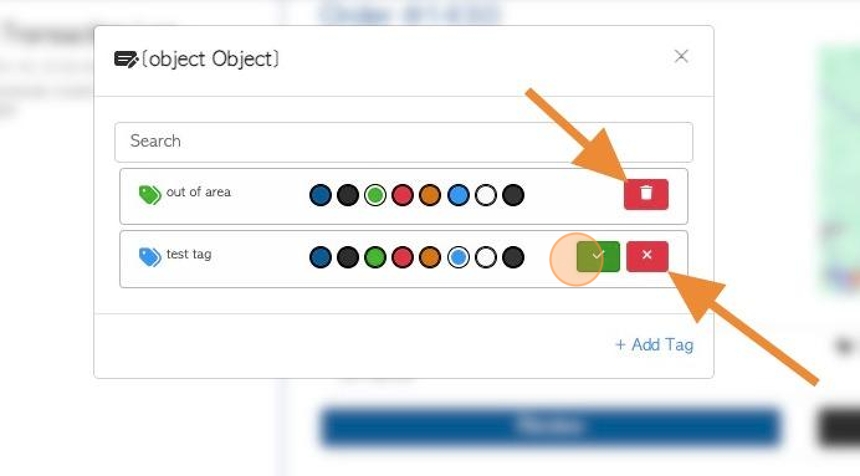
9. Click here to save the changes or "x" to exit from editing this tag.
Click on the garbage can icon to delete a Tag.
10. Click "×" to return to the transaction.
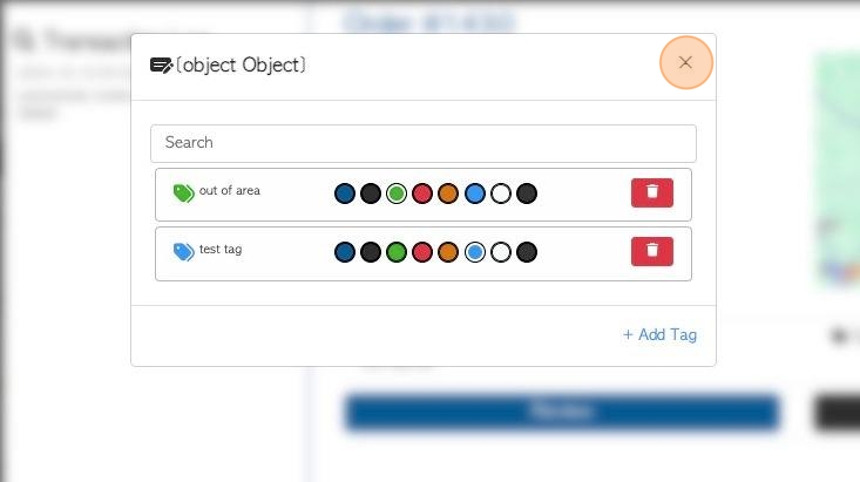
11. Changes will be seen in the transaction details and slide out screens.
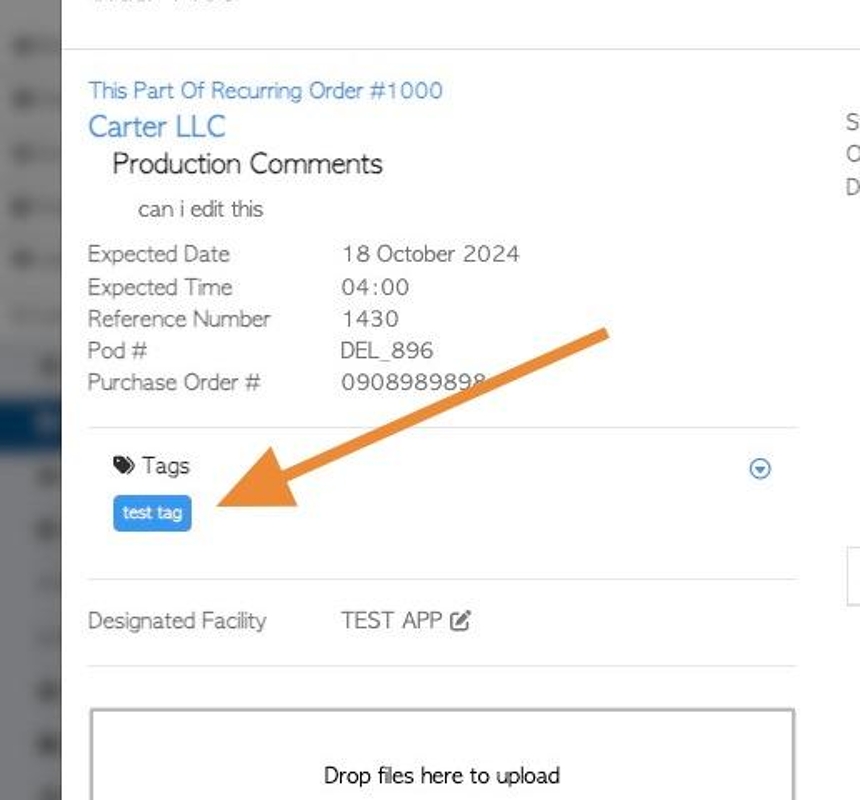
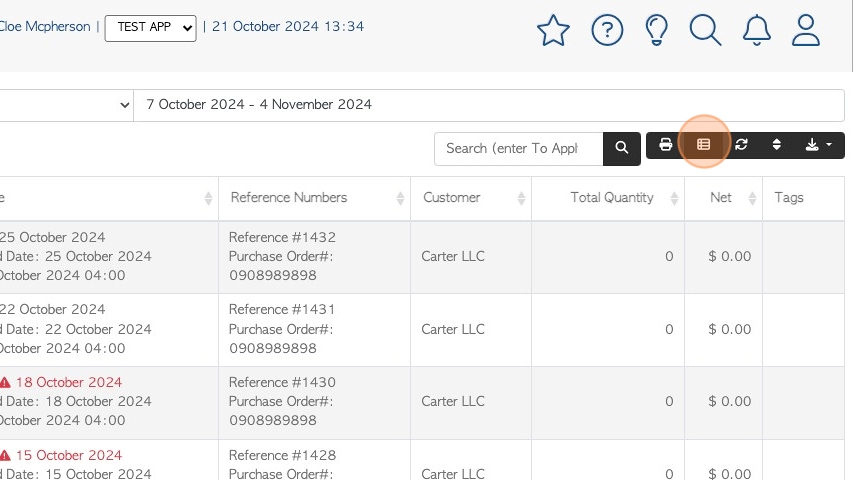
12. TAGS IN REPORTS: Tags are shown in reports and can be used to filter information. The Tags will be displayed as shown.

13. Firstly, ensure that the Tags column is available and is displayed on the chosen report, click here.
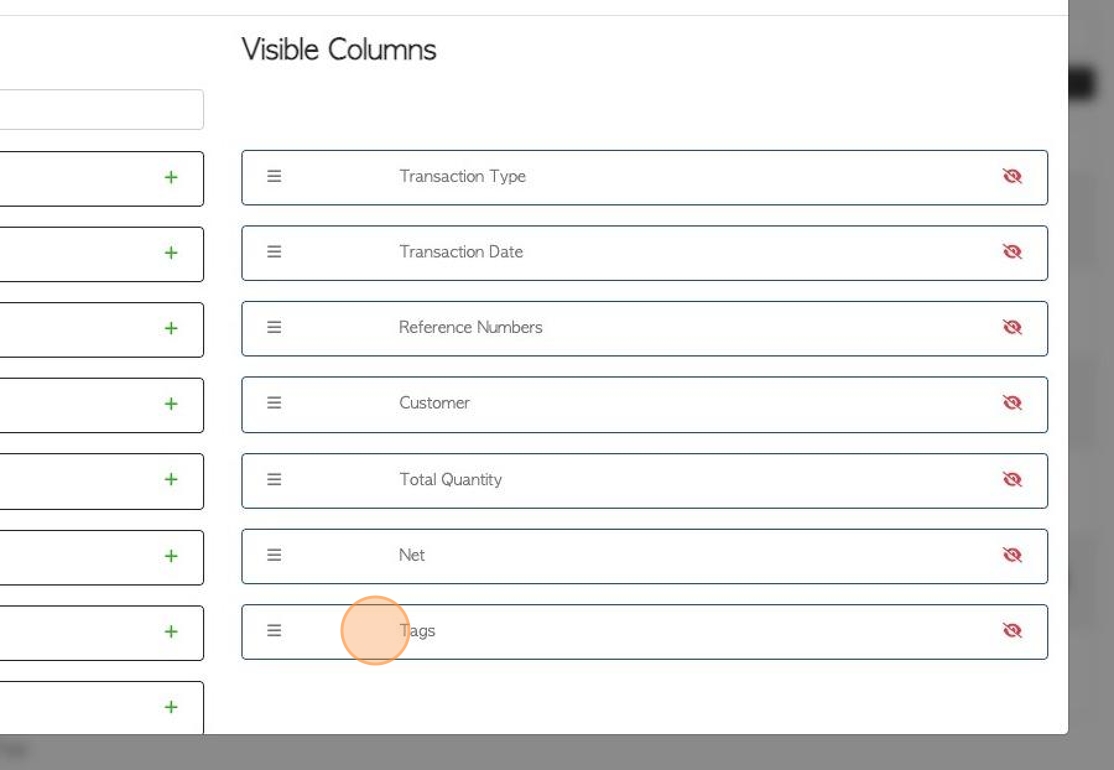
14. Ensure the column is selected as a "Visible column".
If not, then ensure it can be added from the "Available columns"
15. Once the columns are set, apply the filters.
Click here, on the funnel icon.
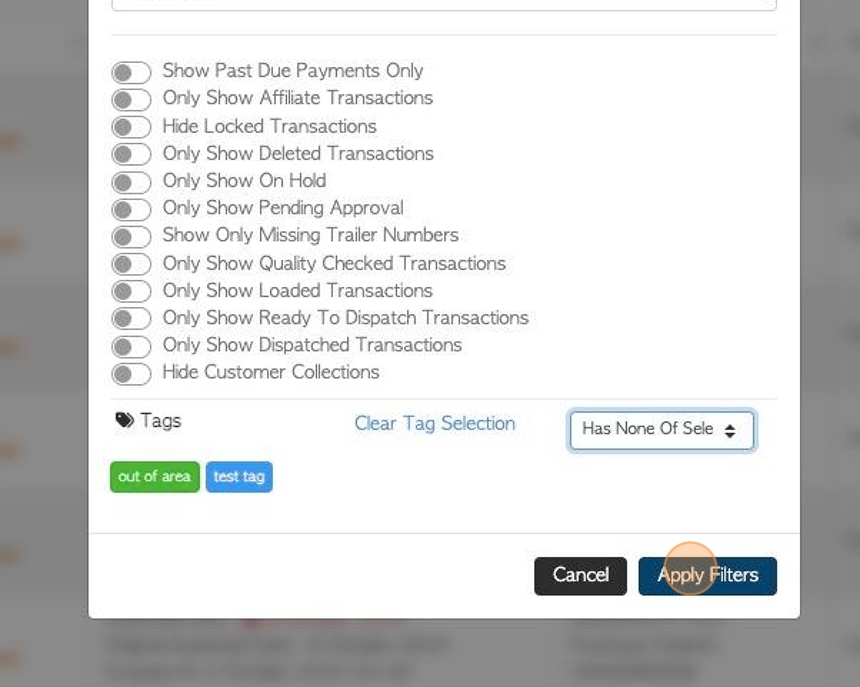
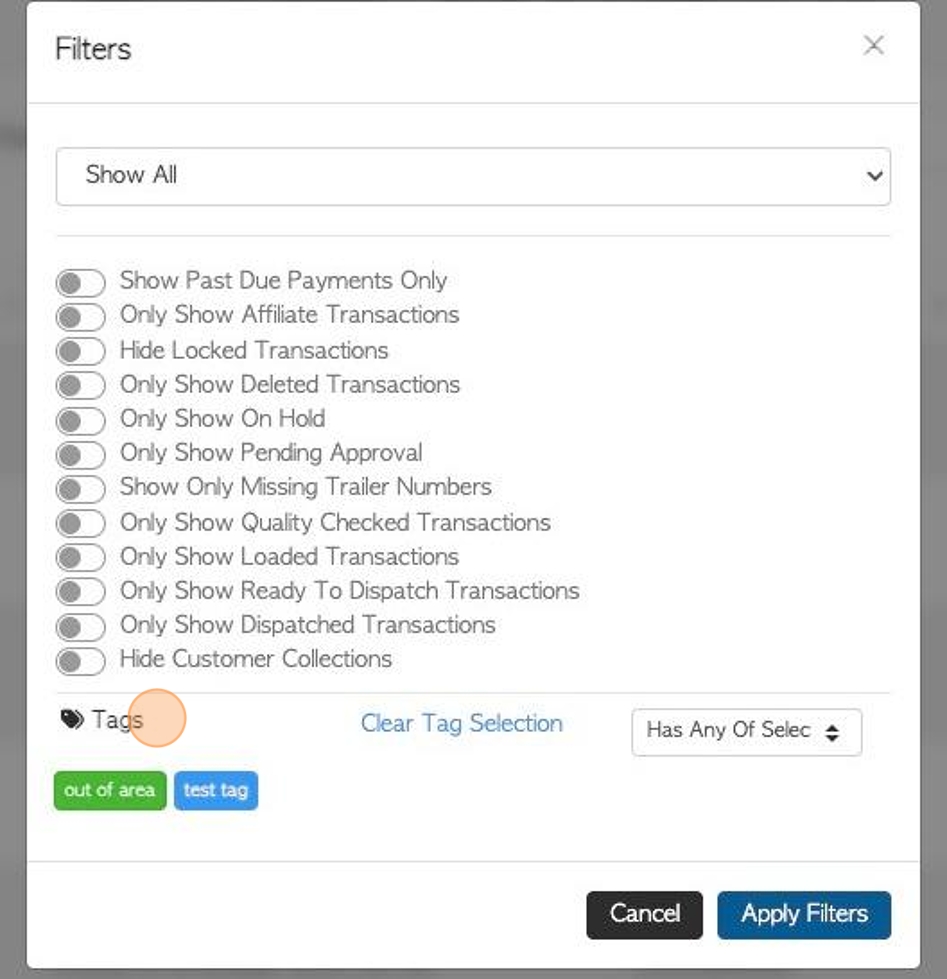
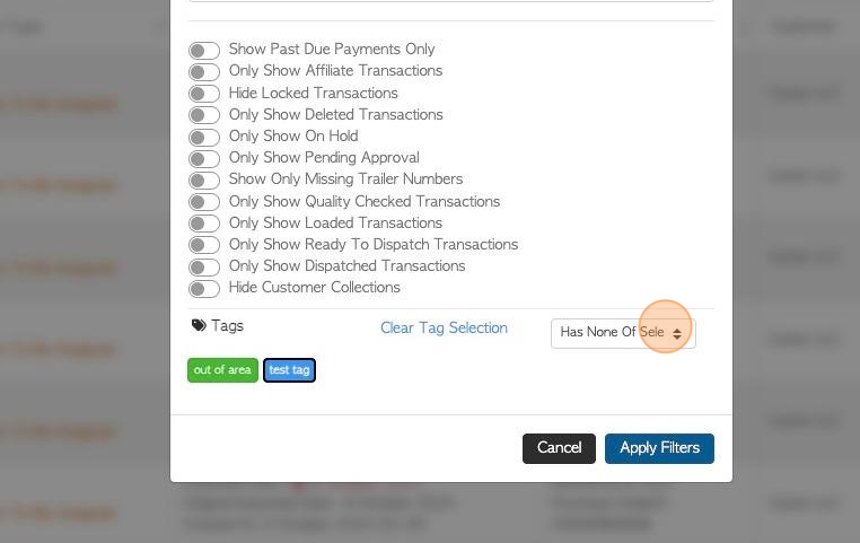
16. The other filters can be checked off as usual, from the list and the drop down menu.
The Tags will be displayed at the bottom.
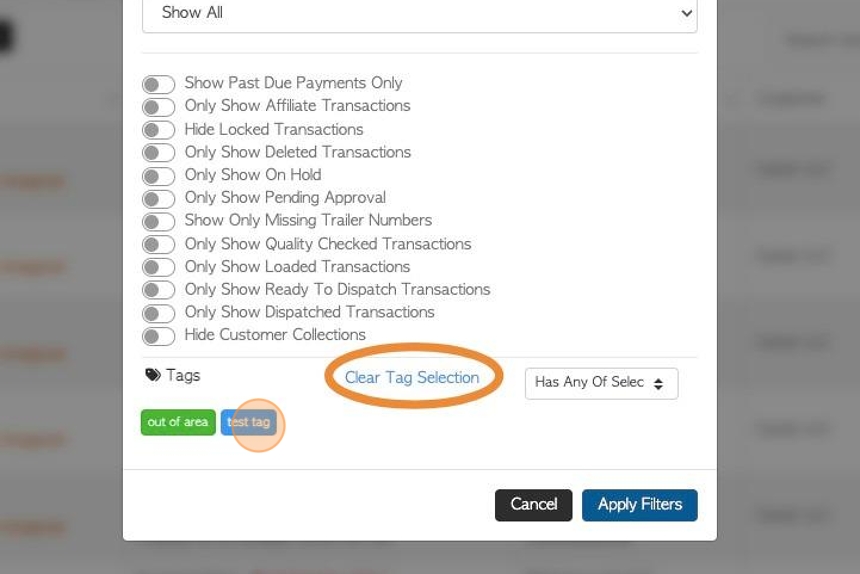
17. Click on the selected Tag. The Tag will now be highlighted with a border.
TIP! More than one Tag can be selected as a filter.
TIP! Click "Clear Tag Selection" to clear all selections.
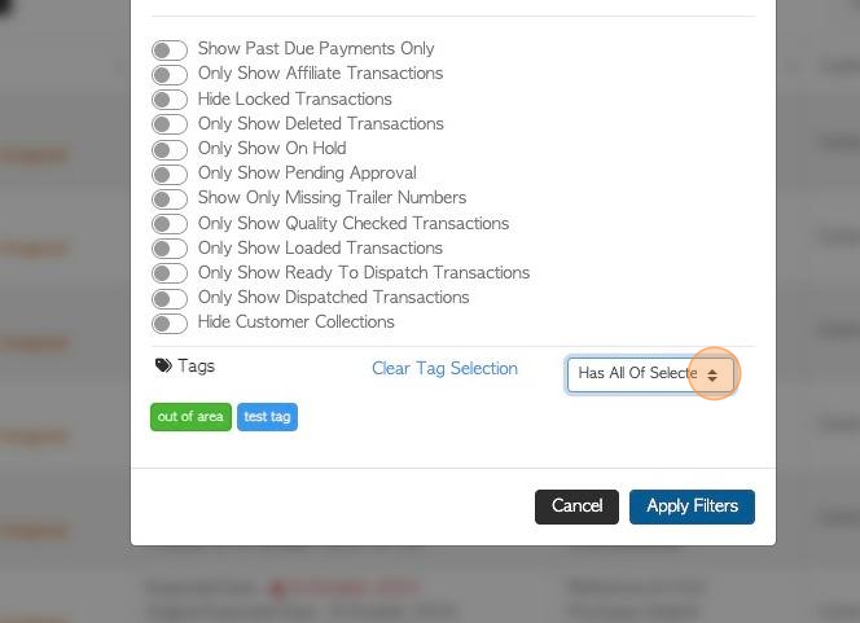
18. Now choose a filter for the selected Tag, from the drop down menu.
#1: Select the "all" option. The report will now display all of the transactions with ALL the selected Tags attached.
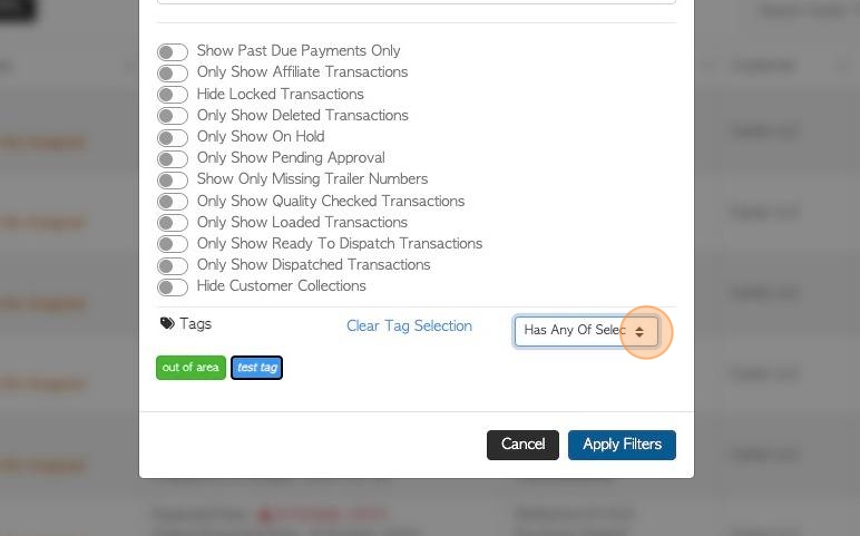
19. #2: Select the "any" option. The report will now show transactions that have ANY of the selected Tags. For example, only one out of two Tags highlighted.
20. #3: Select the "none" option. The report will now show transactions that do NOT have the selected Tags attached.
21. Click "Apply Filters" to save and view the report.