Pallet Connect provides the opportunity to create custom Quality control checklists. Any task can be added to a checklist and these lists can be created at different levels within the system. This article outlines how to set up and use lists at system, stock category and stock item levels.
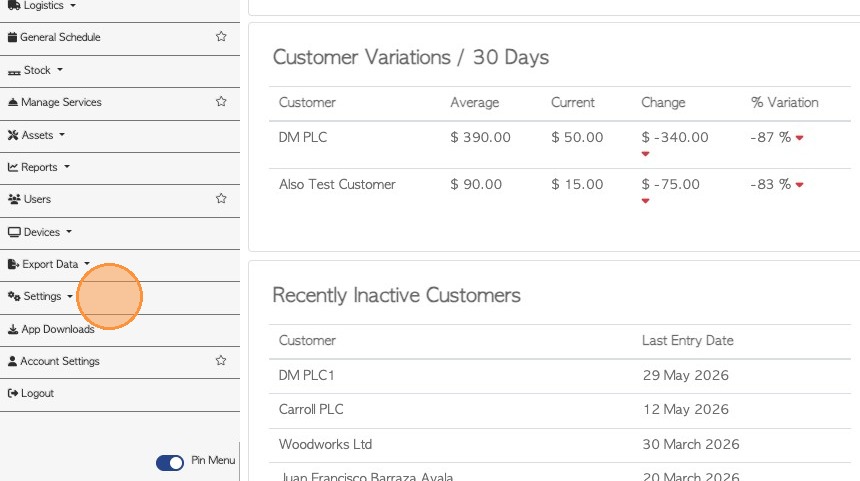
1. 1)SYSTEM CHECKLIST SET UP: From the main menu, click "Settings"
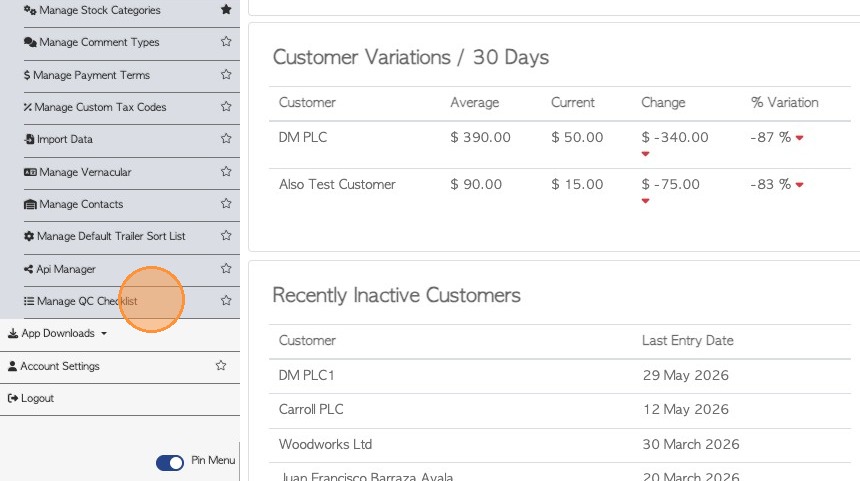
2. Click "Manage QC Checklist"
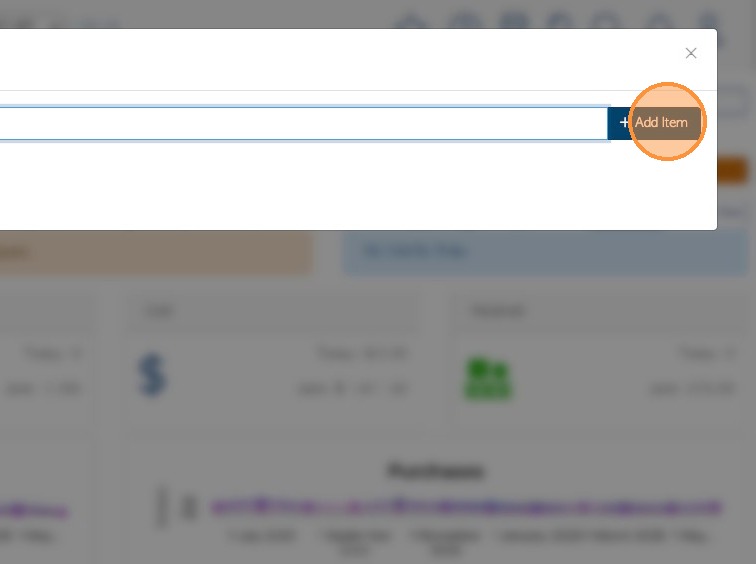
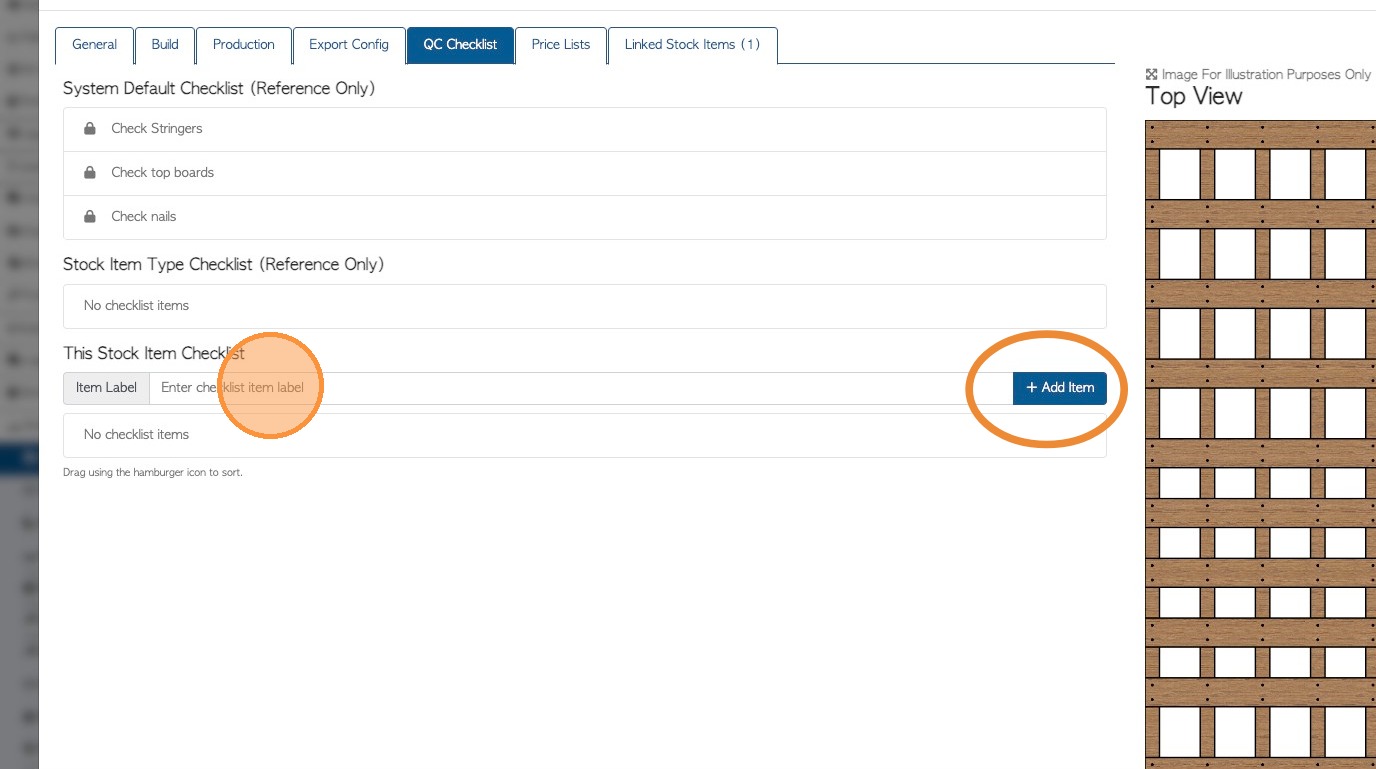
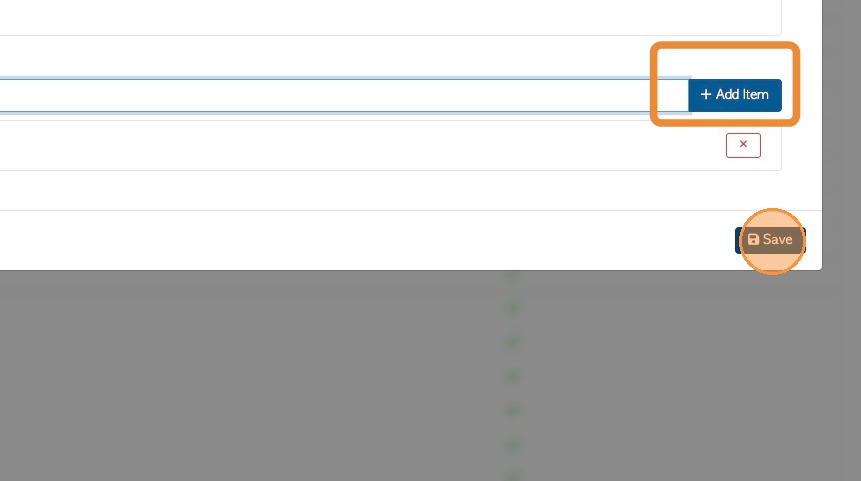
3. To start entering tasks for the list, click the "Item Label" field and type in the checklist item.
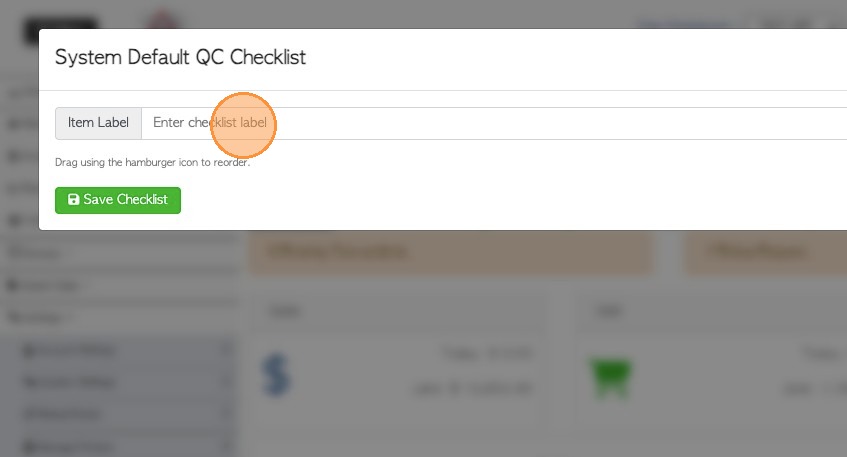
4. Click "Add Item"
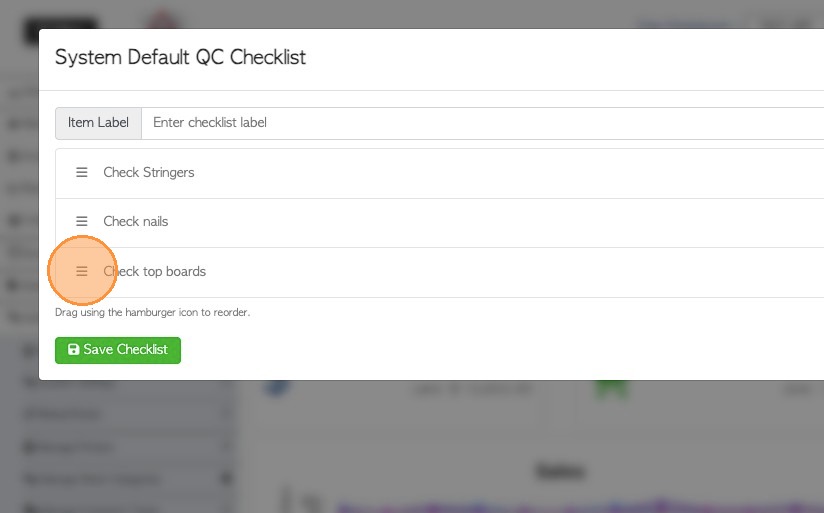
5. Continue to add in all the items. Use the 3 lines icon to change the order of the list, if needed.
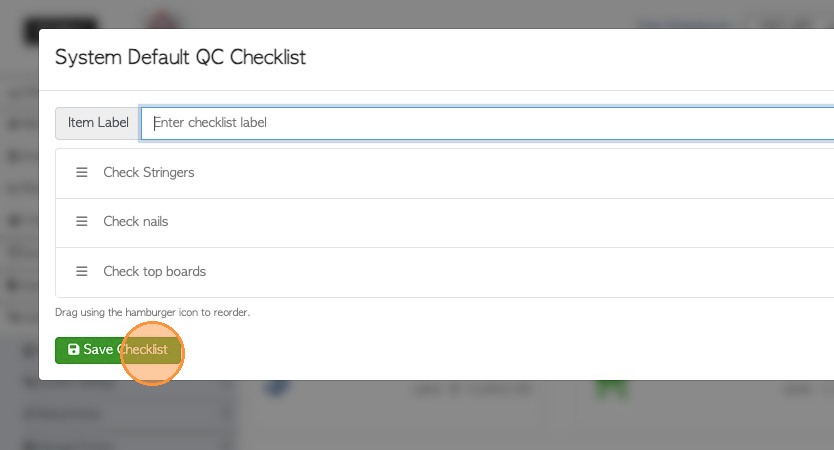
6. Click "Save Checklist" to complete.
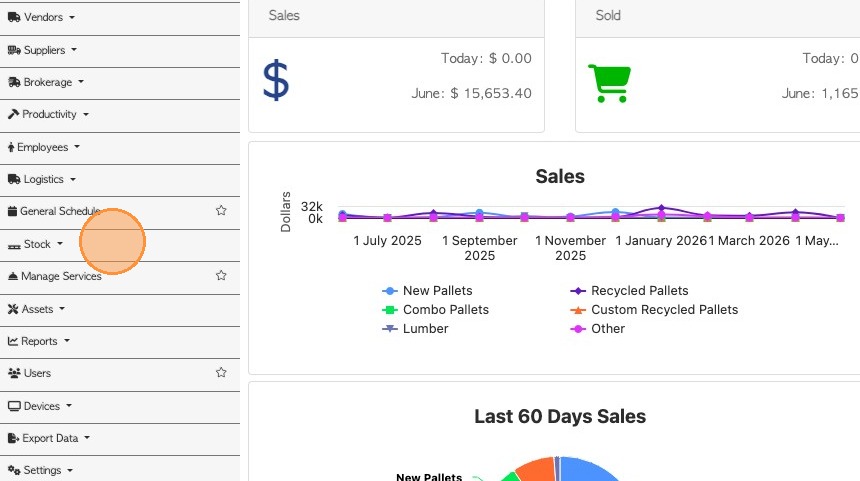
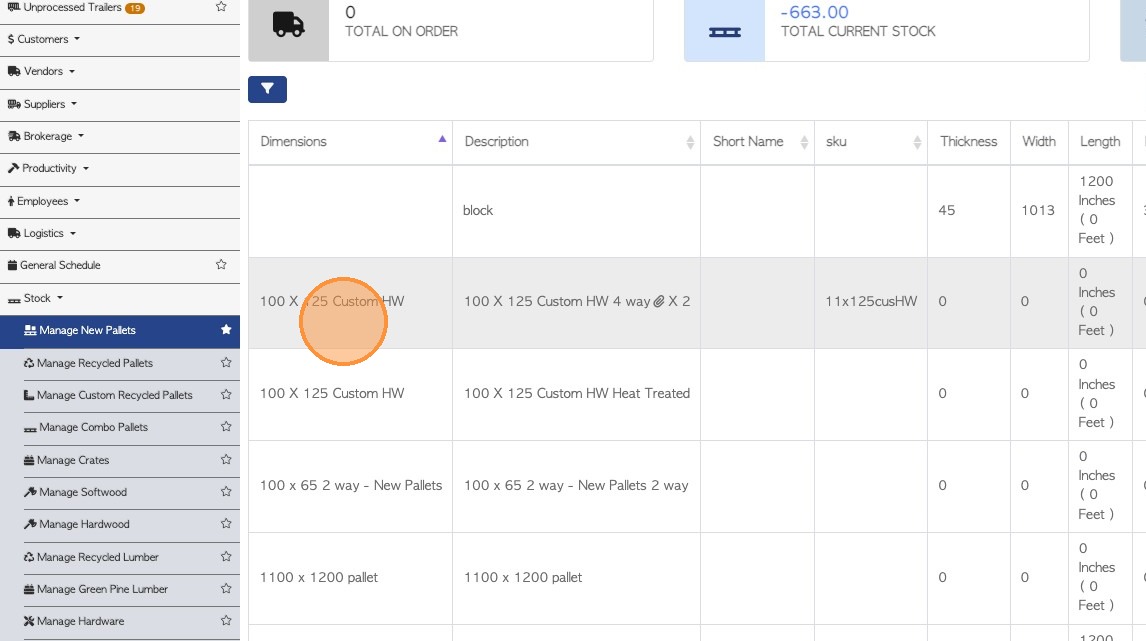
7. 2)SETTING UP CHECKLIST AT STOCK ITEM LEVEL: Click "Stock" from the main menu.
TIP! Alternatively look up the stock item using the global search, to reach the stock item profile.
8. Click on the relevant stock category e.g. "Manage New Pallets"

9. Select the specific item from the list
10. From the item profile, select "QC Checklist" tab
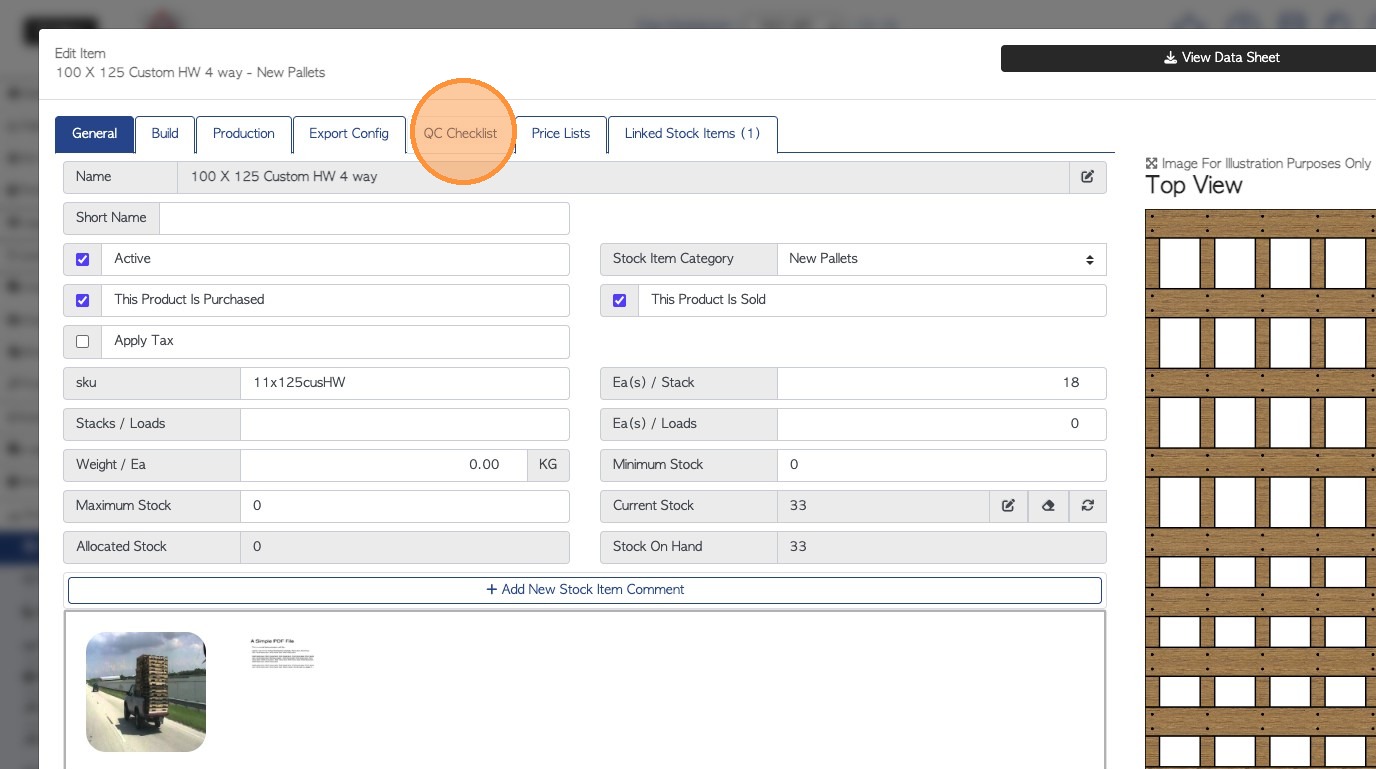
11. NOTE: The system checklist will be visible.
To start a checklist, specific for this stock item, click on "Item Label" field and start adding items.
Click "Add Item" to save each task.
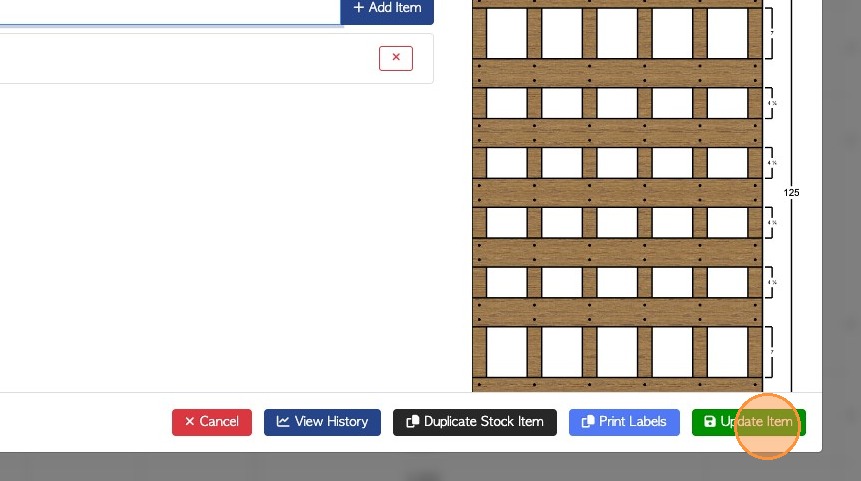
12. Click "Update Item" to save changes.
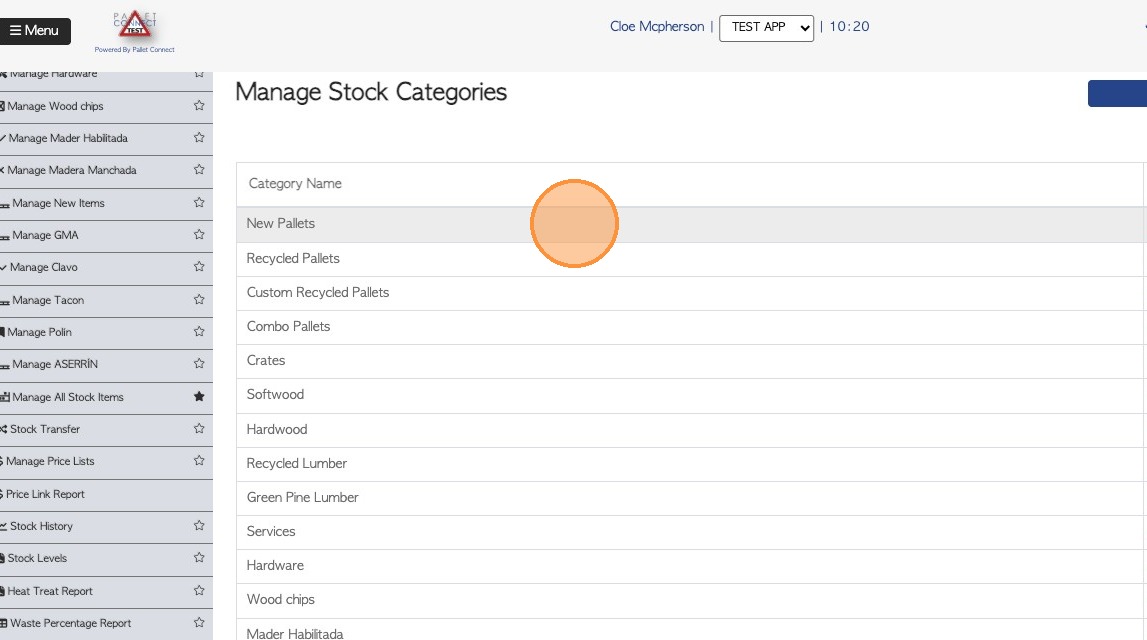
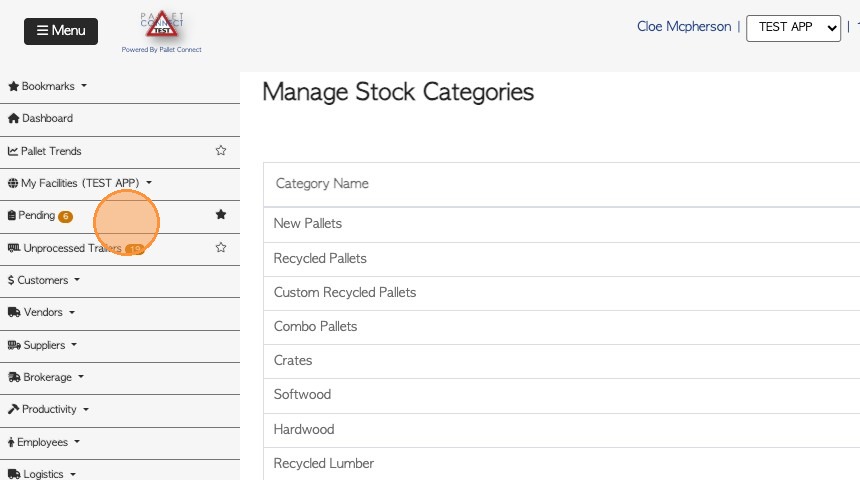
13. 3) SETTING UP CHECKLIST AT STOCK CATEGORY LEVEL: Click "Manage Stock Categories" from the Stock section of the main menu.
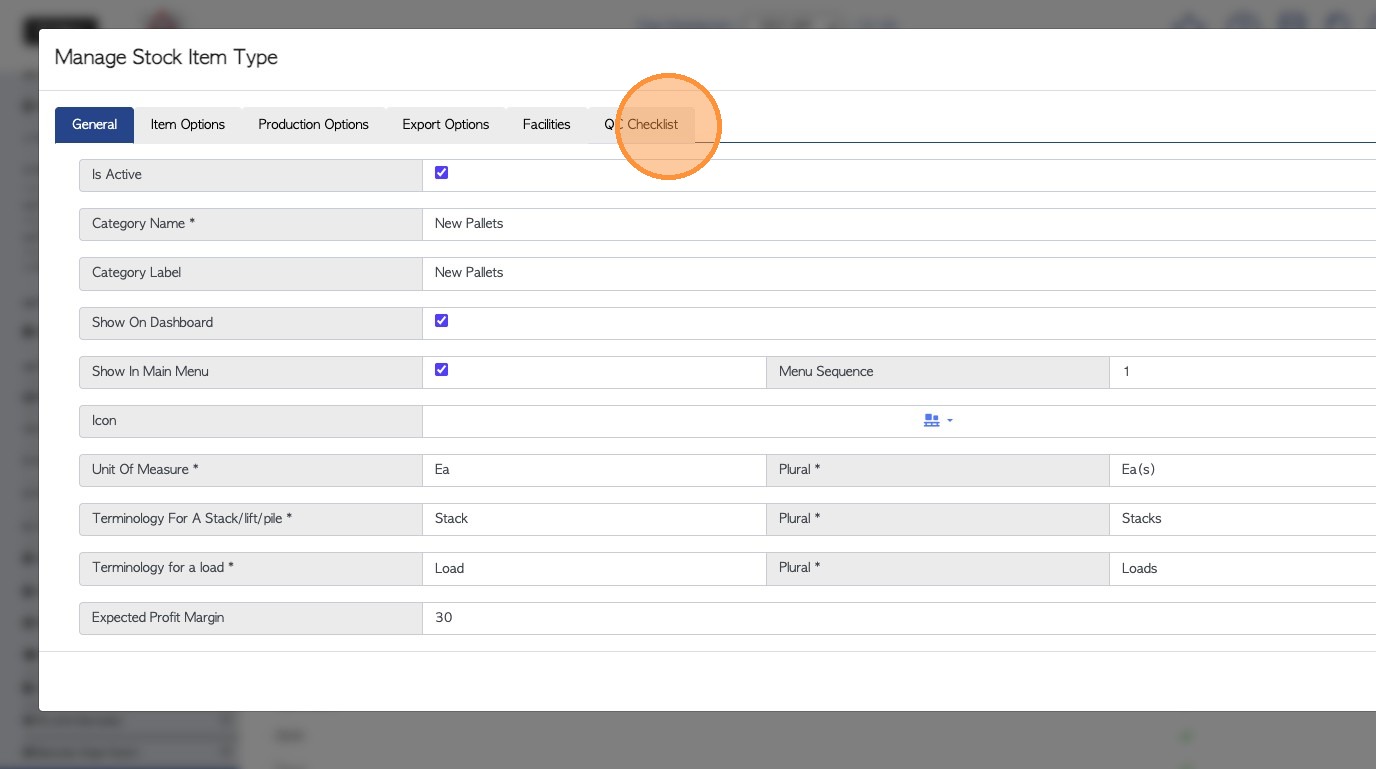
14. Click on the selected category e.g. "New Pallets"
15. Click the "QC Checklist" tab.
16. NOTE: The system checklist will be visible.
To add a checklist specifically for all items in this category, start typing the tasks into the "item label" field.
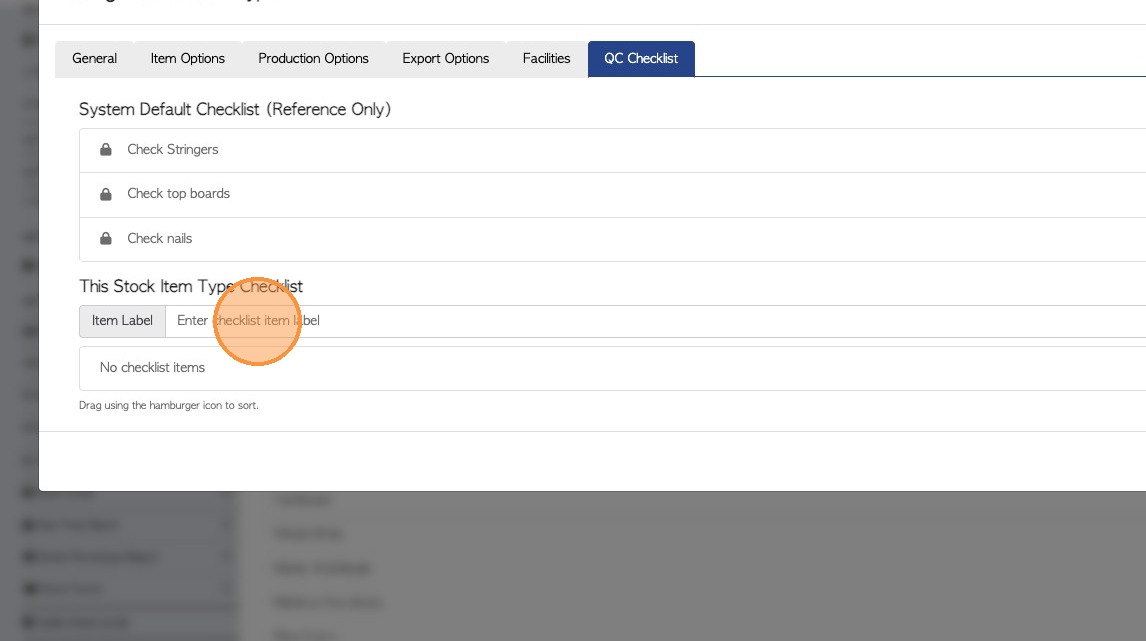
17. Click "Add item" to save. Once all tasks are entered, click "Save" to complete the changes.
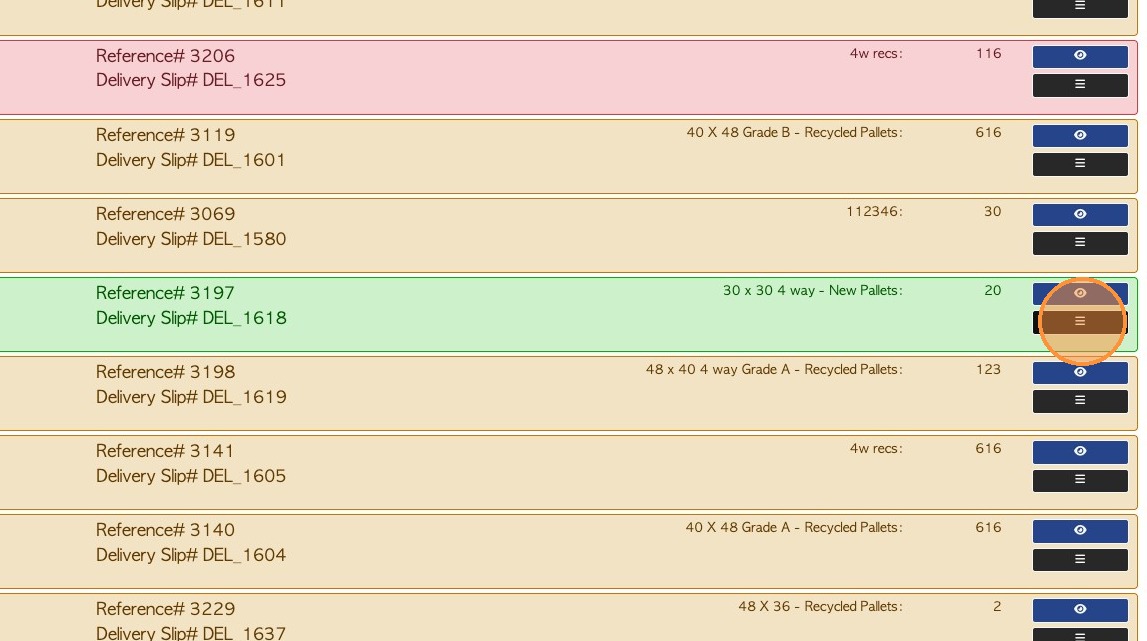
18. 4)UTILIZING CHECKLISTS: Navigate to the Pending List by clicking "Pending " from the main menu.
TIP! The checklist can be completed from the "Review" menu of the transaction page also.
19. Select the order for quality check and click on the 3 lines icon.
20. Click "Sign Quality Check" from the drop down menu.
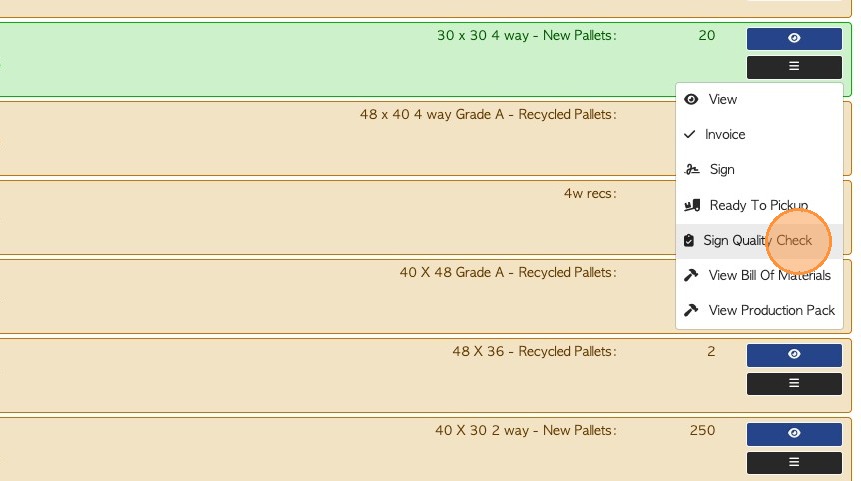
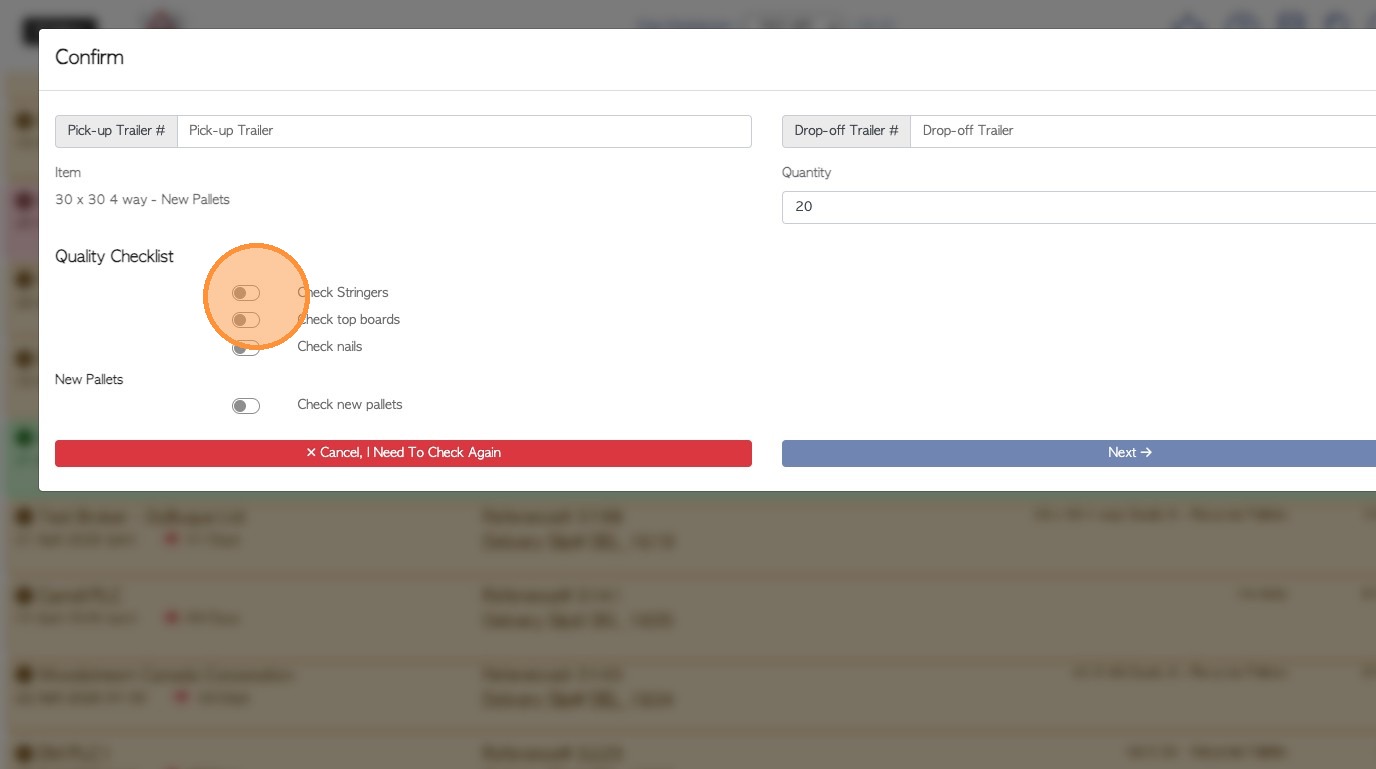
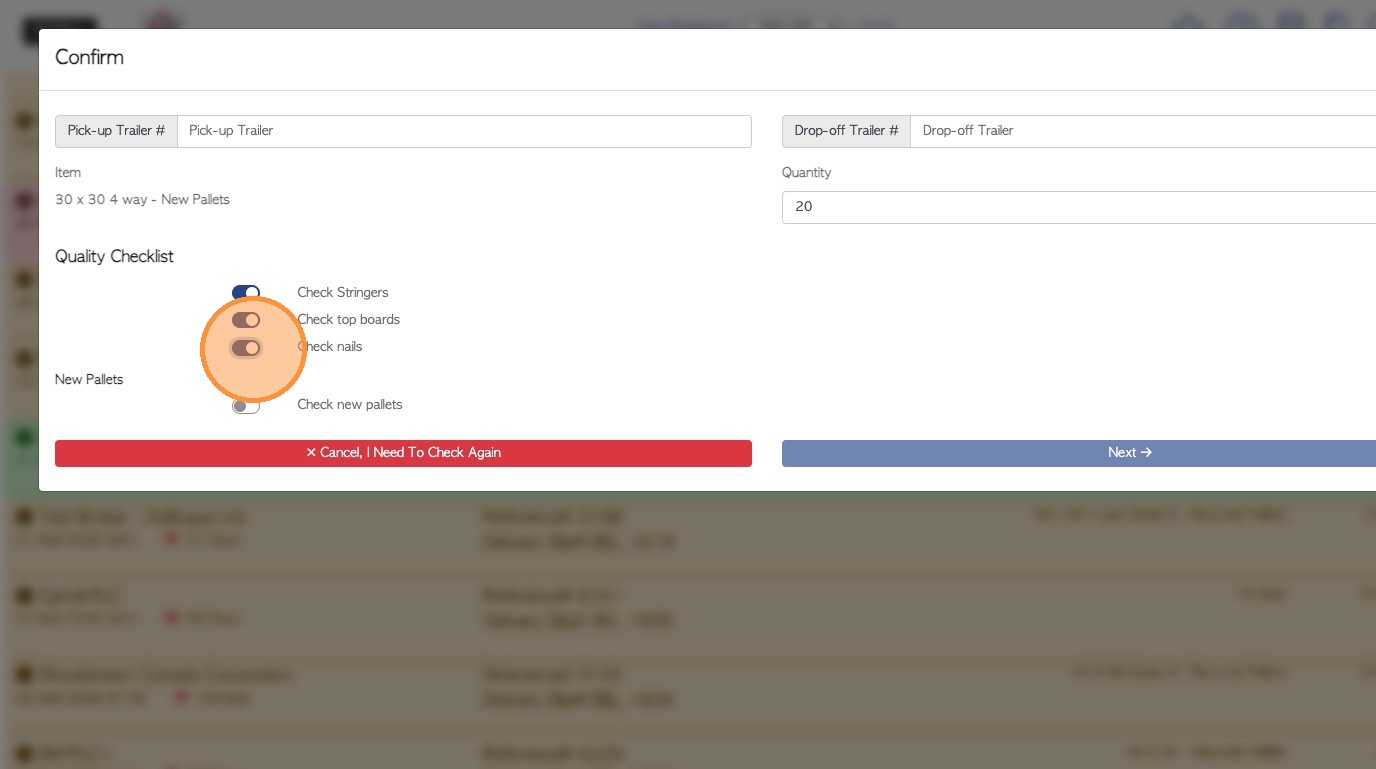
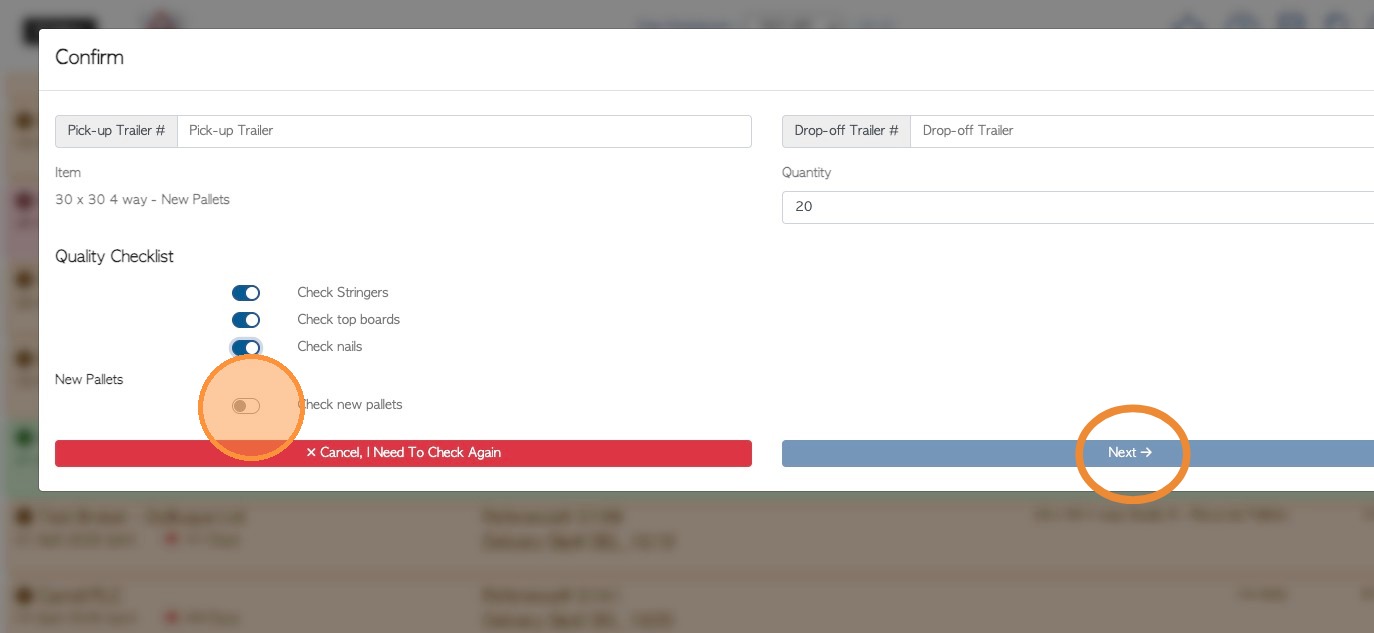
21. Toggle all Quality Checklist items to complete. Click "Next"
TIP! ALL items must be completed to move onto the next screen.

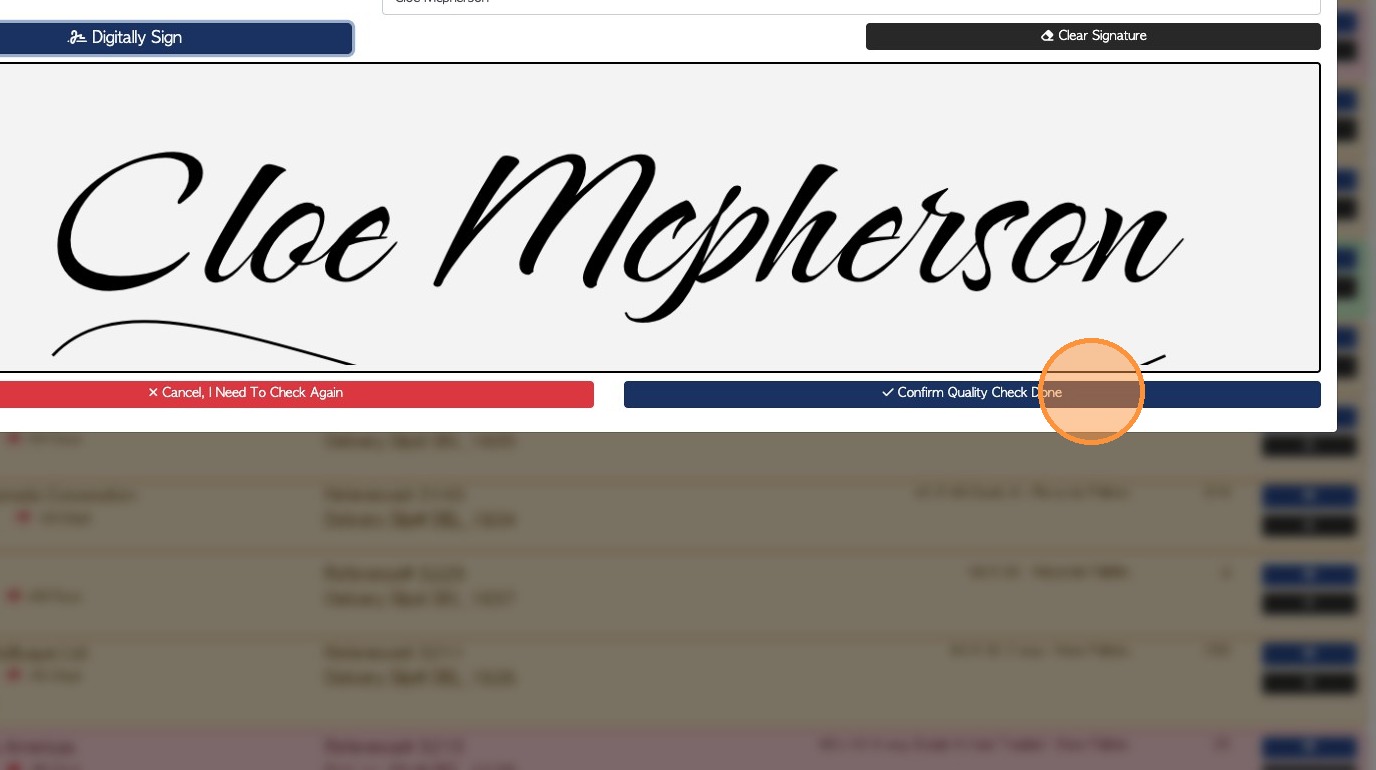
22. Click "Digitally Sign" or use the signature pad to sign.
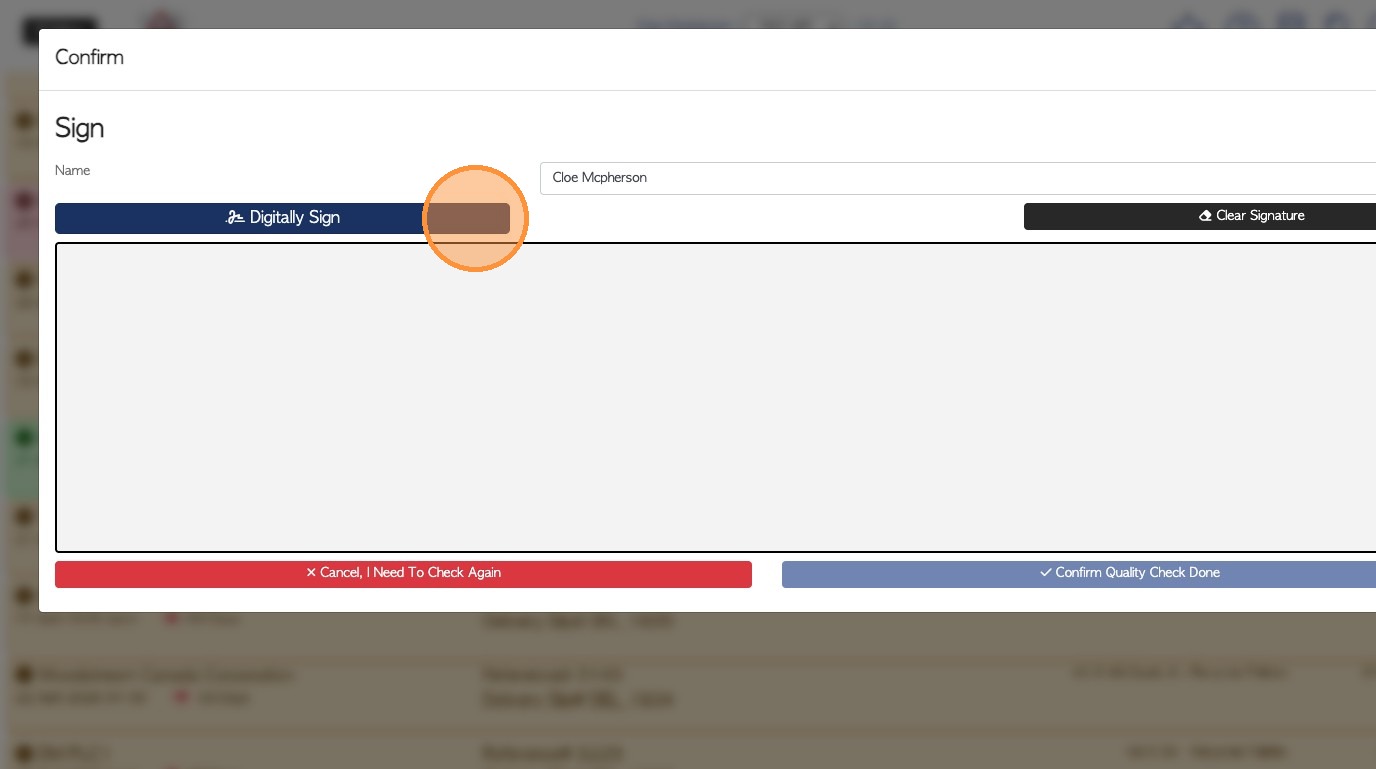
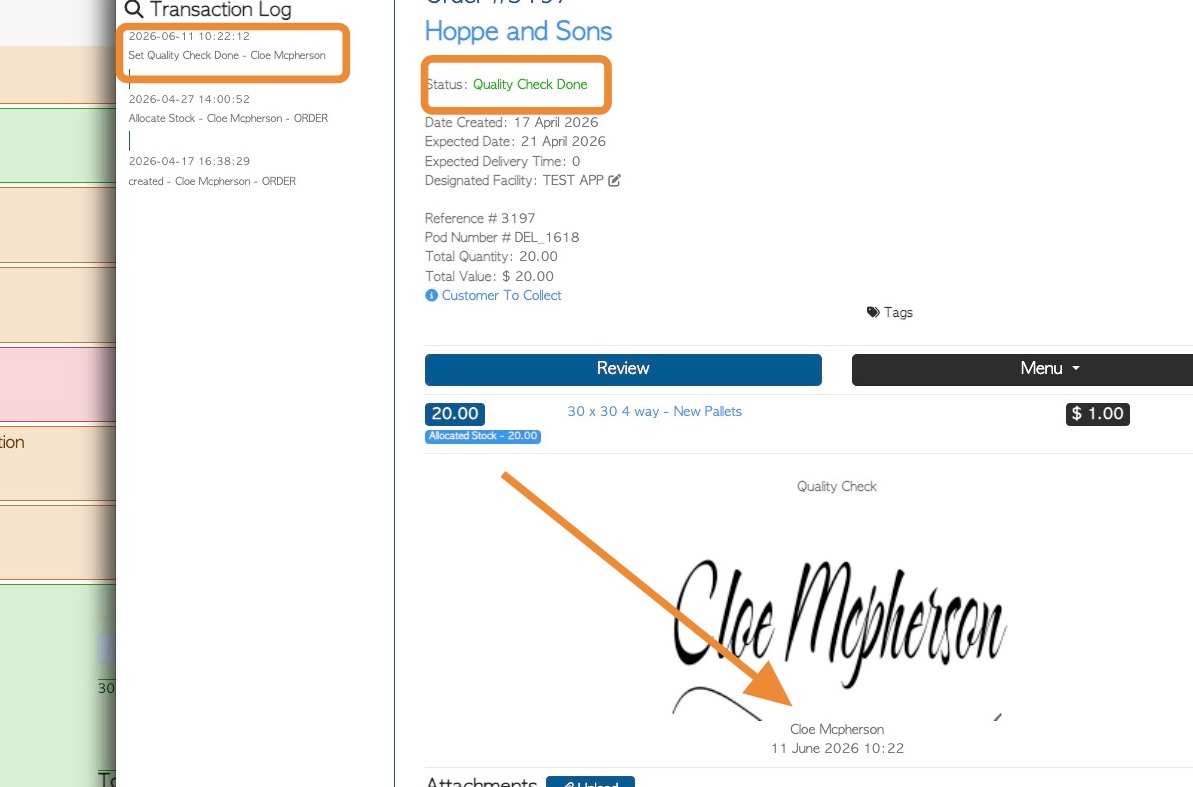
23. Click "Confirm Quality Check Done" to save.
24. "Quality check done" will now show on the Pending List.
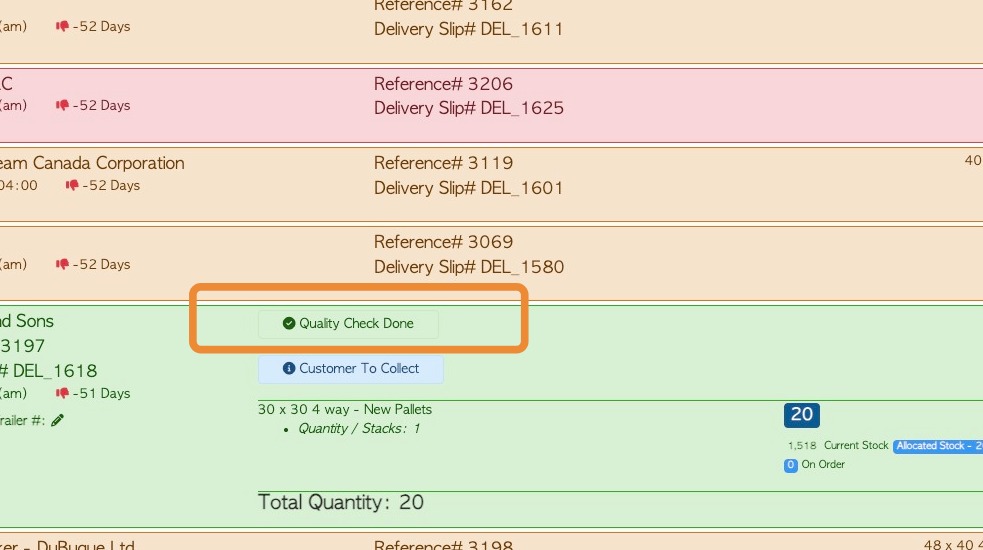
25. "Quality Check Done" will show on the transaction page and the transaction log.
The signature will also be visible on the transaction page.