Learn how to efficiently navigate the driver schedule. This guide provides step-by-step instructions for filtering pending orders, viewing delivery details, and updating dispatch settings to streamline your logistics workflow.
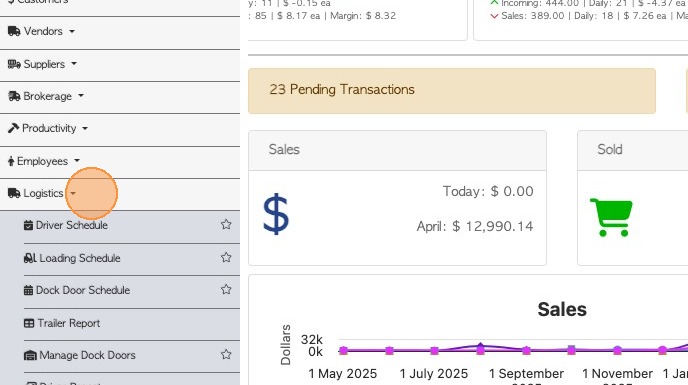
1. Click "Logistics" in the main menu.
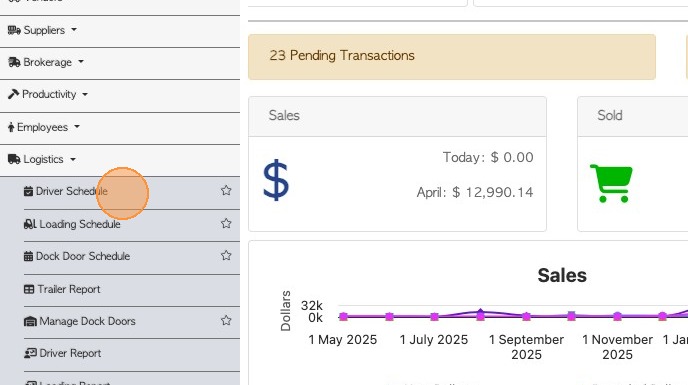
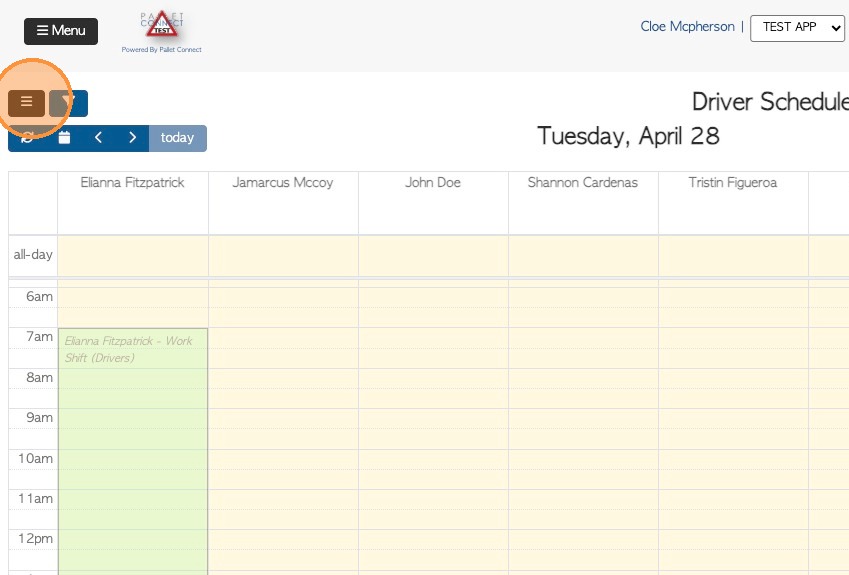
2. Select "Driver Schedule".
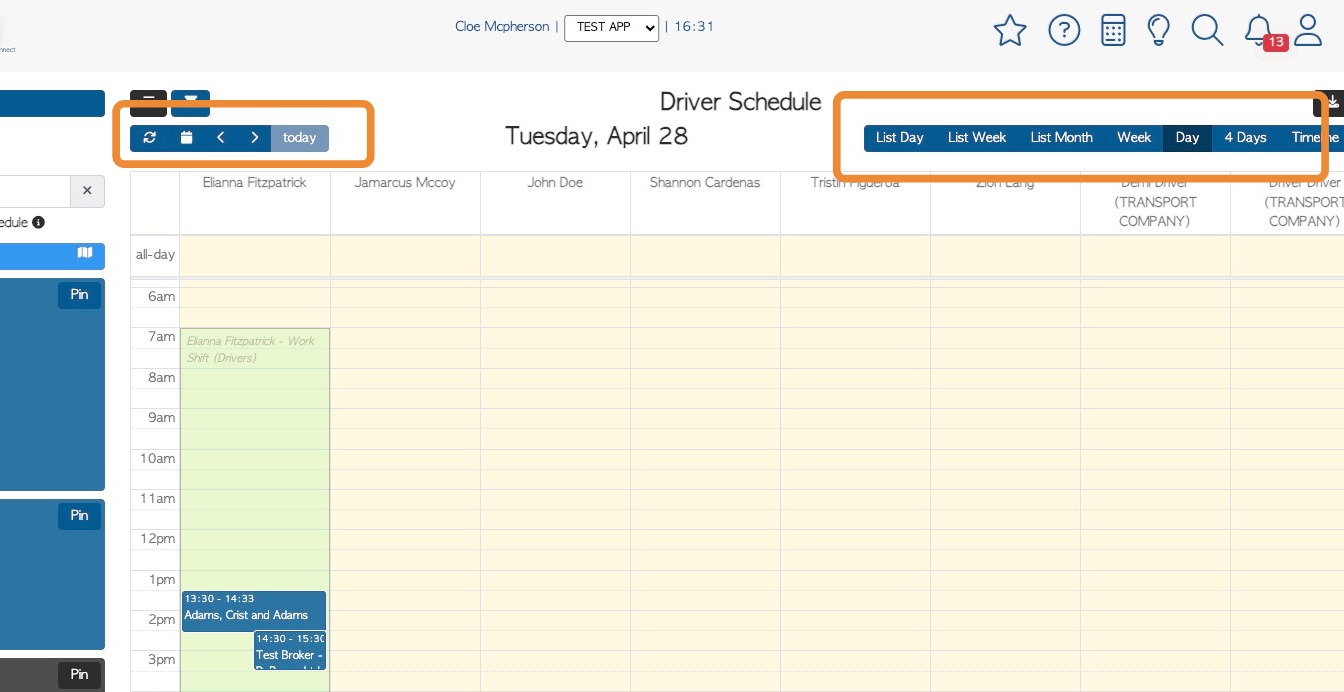
3. Adjust the calendar display or navigate to a specific date, using the tool bars.
4. Apply a filtered view by selecting specific drivers.
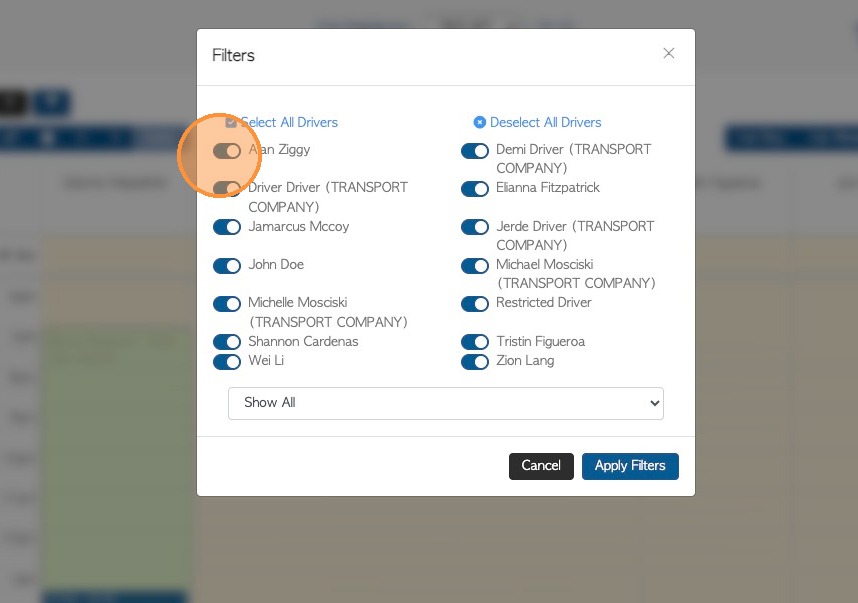
5. All transactions can be viewed on the schedule or a filter can be applied.
Choose from: Show/hide orders ready for dispatch or pickup OR show/hide dispatched transactions.
Click on 'Apply Filters' to save.

6. Clicking on the menu button, hides or reveals unscheduled tasks.
Next to this there is also a filter button related to unscheduled tasks.
7. Show All or enable the "Show Pending Orders", "Show Pending Pick Ups" "Ready to Dispatch or "Dispatched" filters.
Click on "Apply Filters" to save changes.

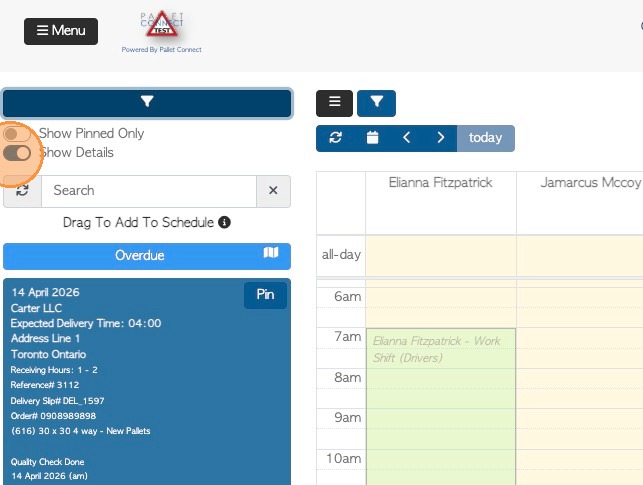
8. Toggle on "Show Details" to show expanded view of unscheduled tasks.
9. Toggle off "Show Details" for a compact list for the unscheduled tasks. .
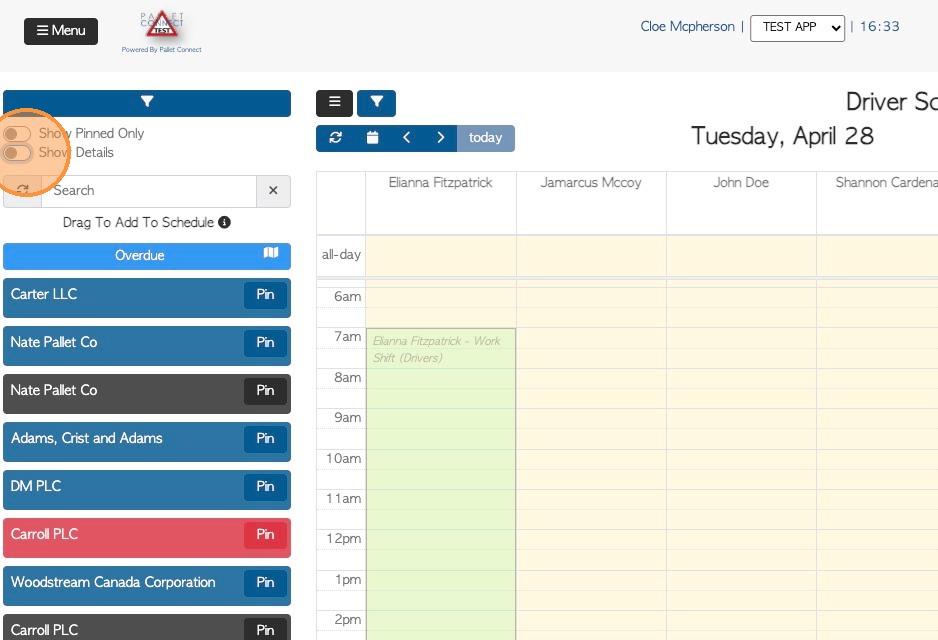
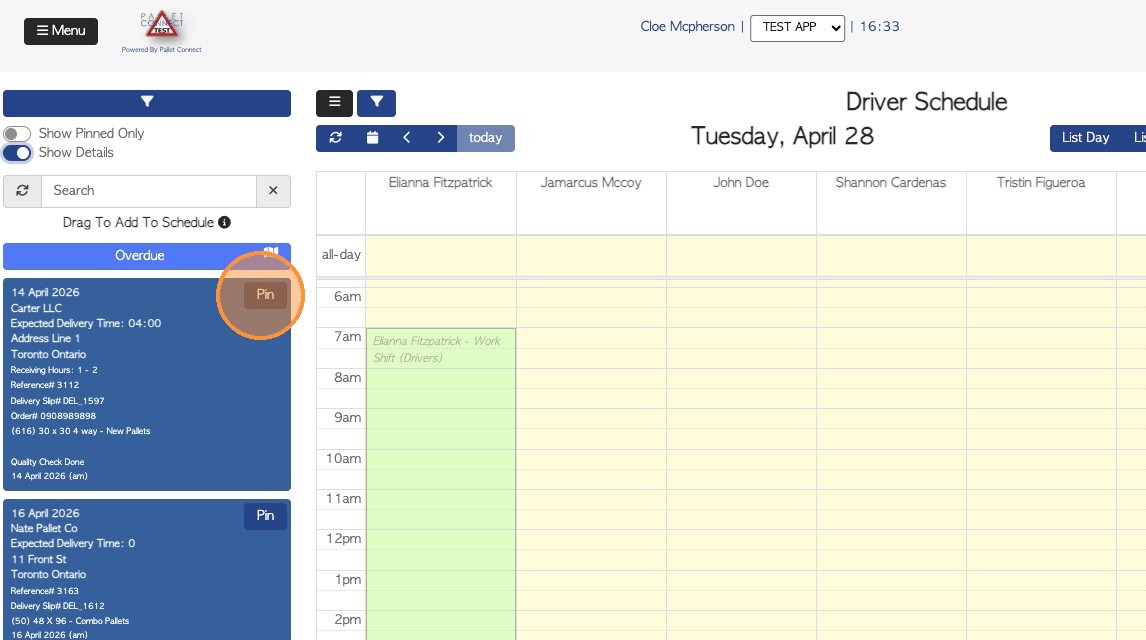
10. Pin an order to the sidebar for easy access. This feature allows for filtering and helps to organize the list of unscheduled jobs.
11. Filter the view to display only pinned orders.

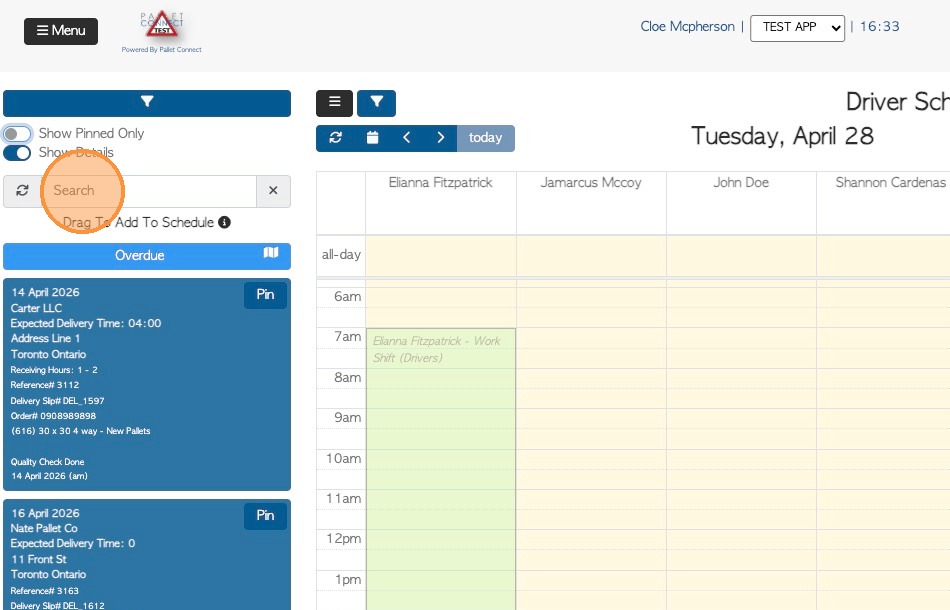
12. Click the "Search" field to locate specific unscheduled pickups/ orders by company name or reference number.
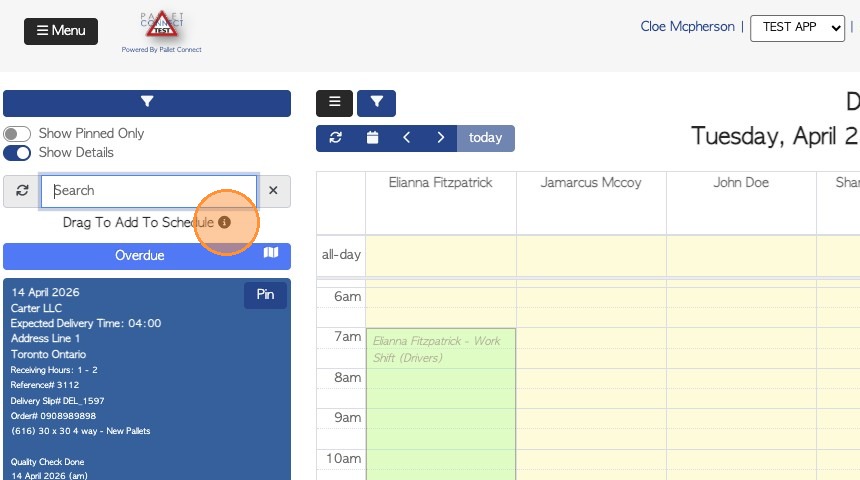
13. Click here to view the legend.
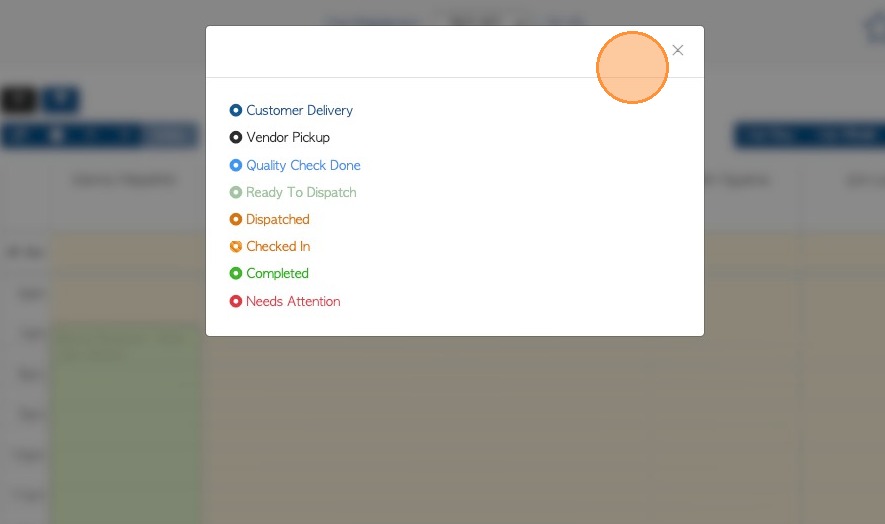
14. Review the status colour legend for the schedule. Scheduled tasks change colour as their status changes within the system.
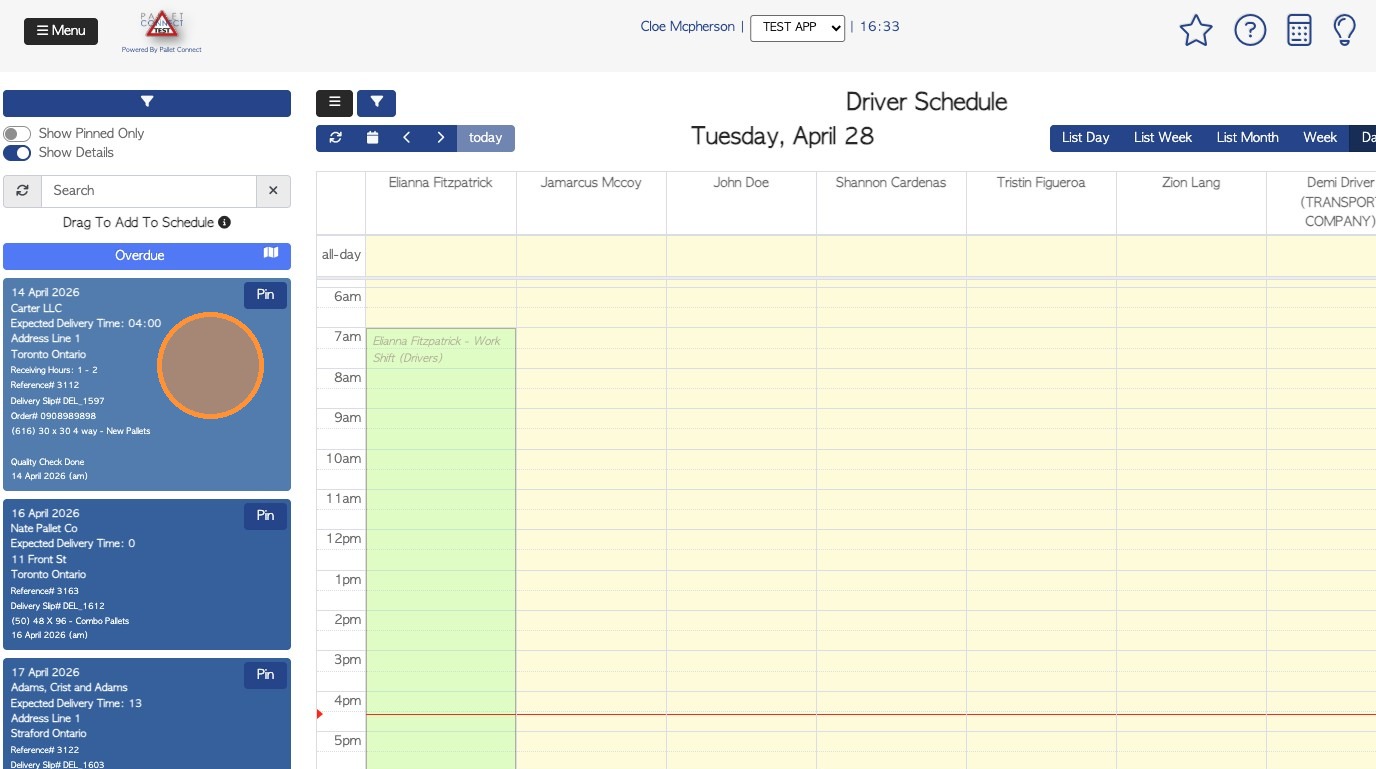
15. To schedule a pick up or delivery, select one from the list and drag and drop onto the calendar, under the appropriate driver's name, at the relevant time.
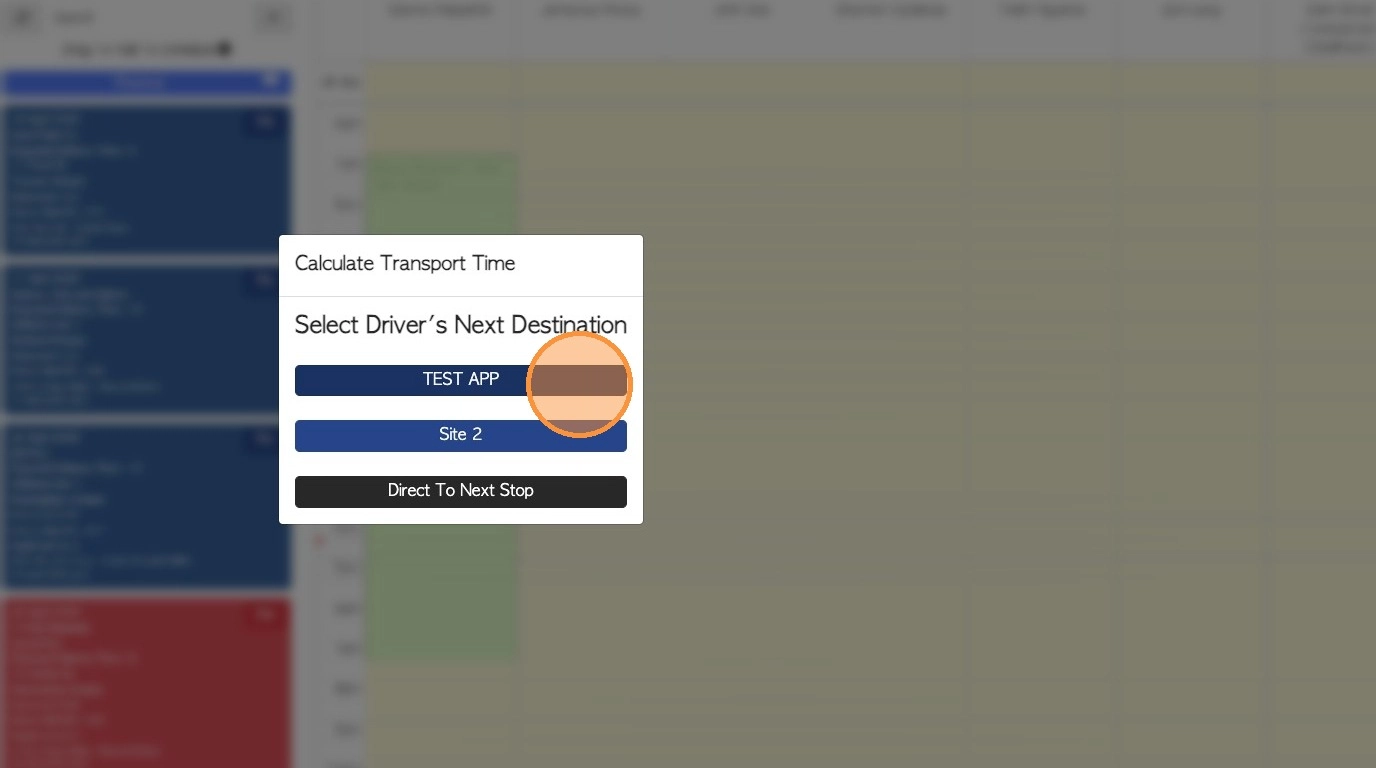
16. Select the driver's next destination and proceed assign a dock door, if applicable.
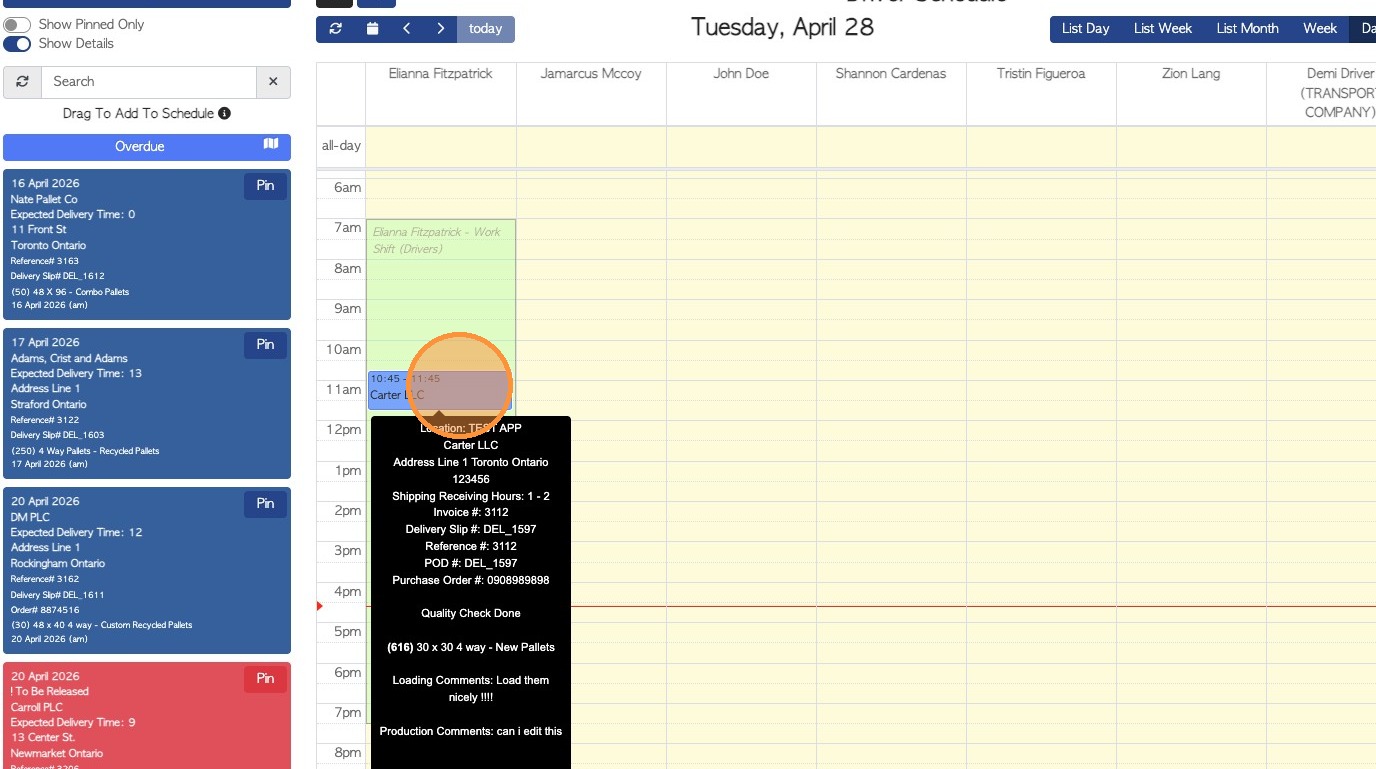
17. Hover over an assigned task to view basic information, without needing to click into the details page.
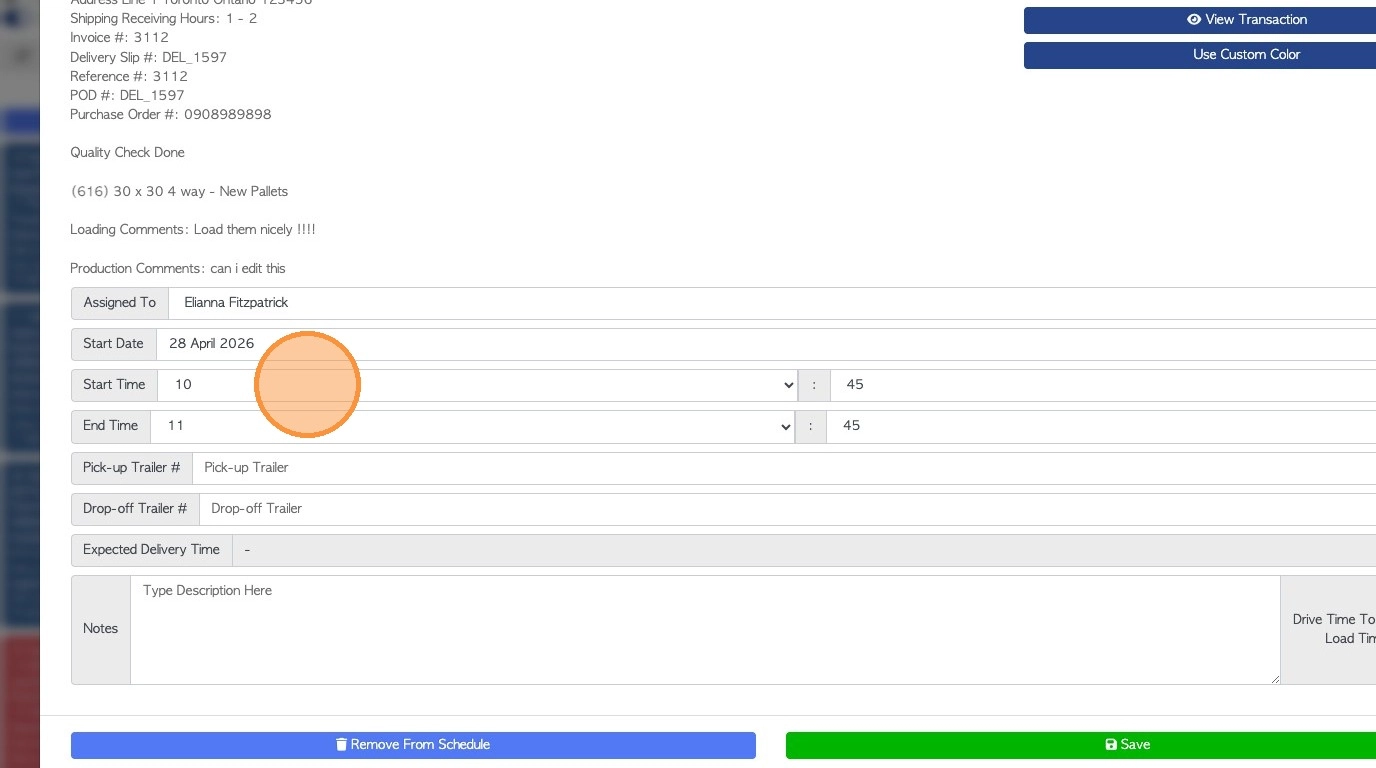
18. Click on the task to open the event and see more details. The menu allows access to transaction details, delivery slips, and invoice options.

19. Details such as the start time and trailer numbers can be edited here. Click "Save" to finalize the entry.
The event can be taken off the schedule by clicking "Remove From Schedule".