1. The Stock Item Profile is organized into various tabs. This article provides an overview of the General tab.
TIP! SHORTCUT: Type the stock item name into the global search tool, located at the top right of each page. This will by pass steps 2-4.
2. Navigate to the main menu. Click "Stock"
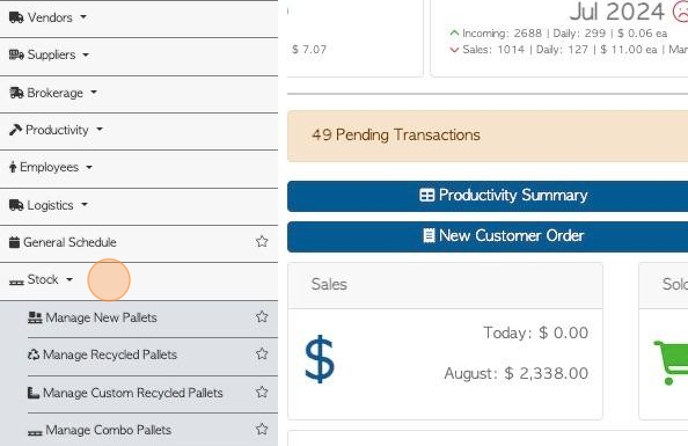
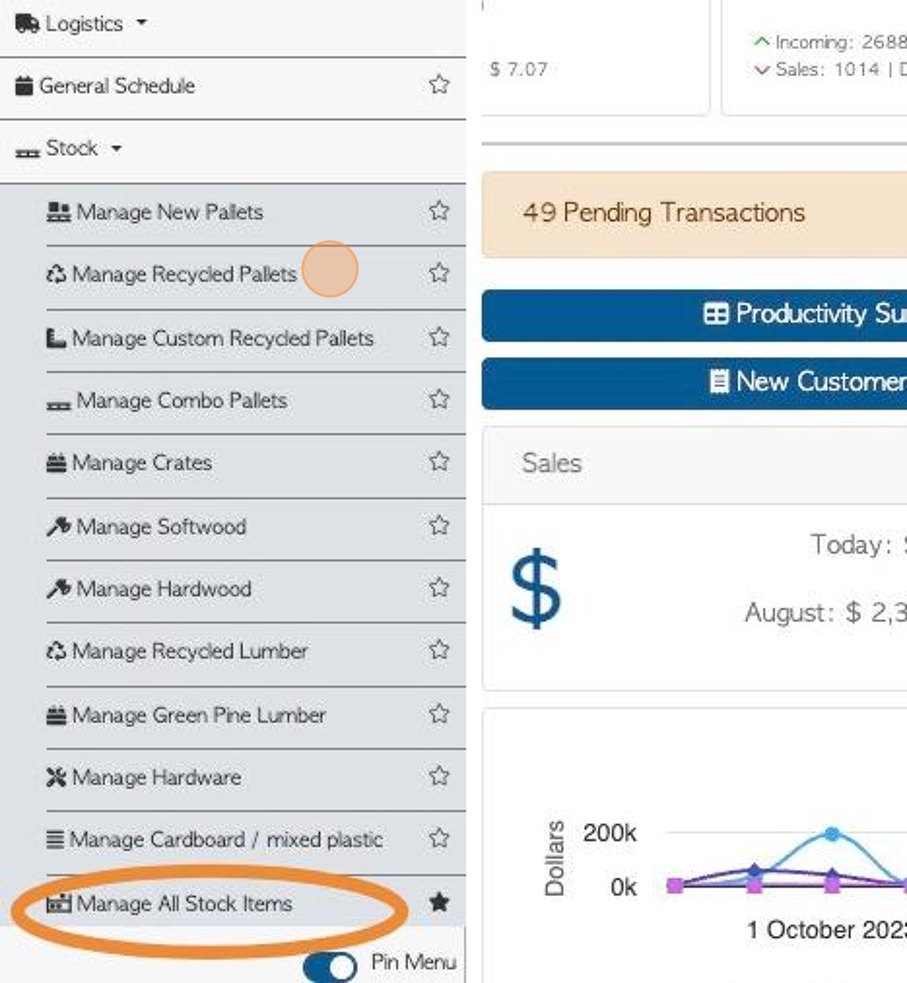
3. Click on the relevant stock category e.g "Manage Recycled Pallets" or click "All stock items".
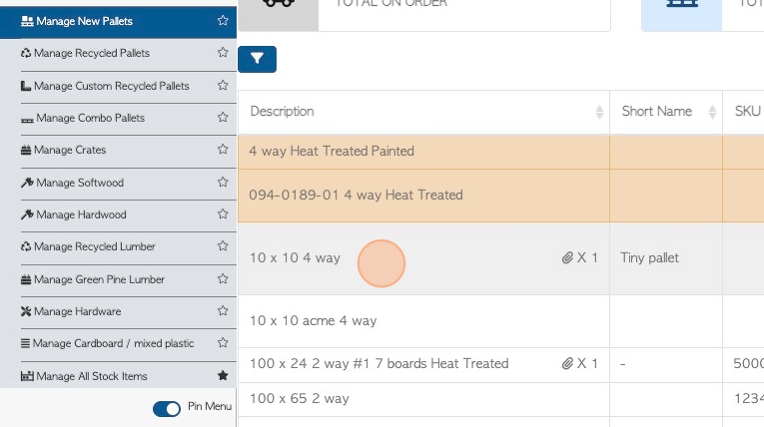
4. Click on the selected stock item from the list to reach the profile.
5. The "General" tab is always displayed first.
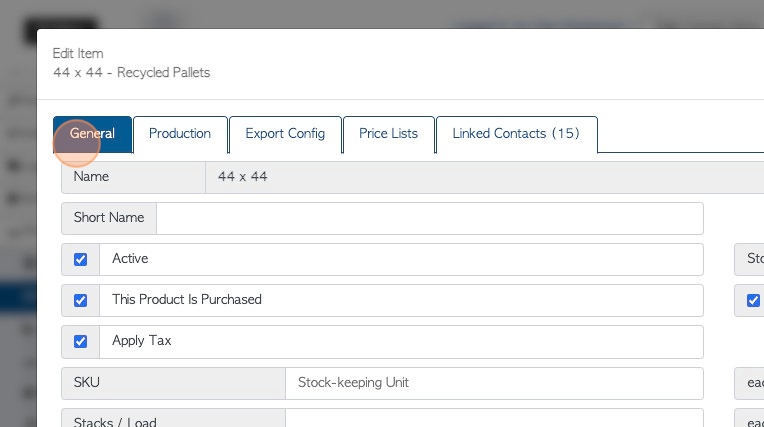
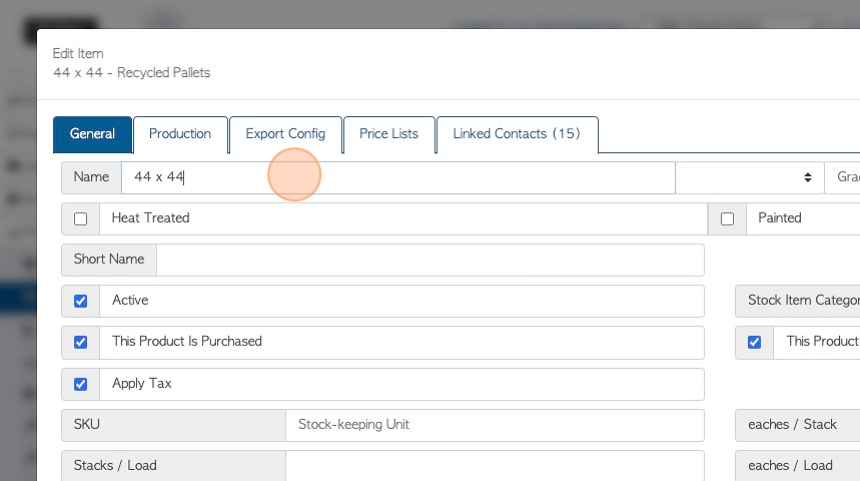
6. The item name is displayed at the top. To edit the name click on the pencil icon.
TIP! The properties added in this section automatically become part of the name. For example, if a pallet is 2 Way and Heat Treated, only the dimensions are typed as the name and then 'heat treat' and '2 Way' are checked in the properties.
7. Click the "Item Name" field to change the actual item name.
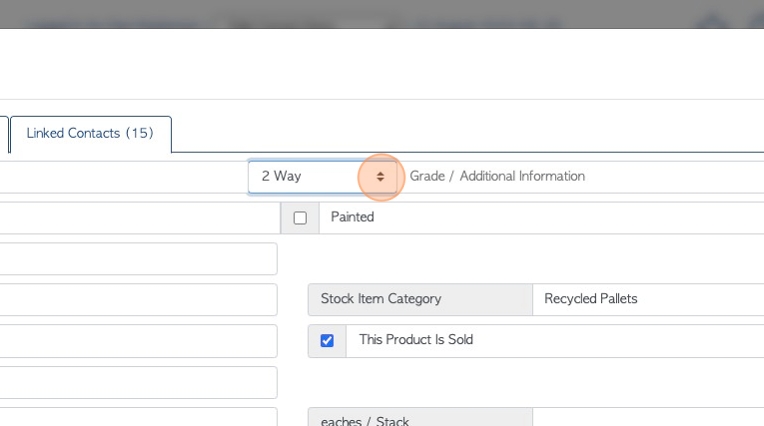
8. Click this dropdown to add the item type. For example, for a pallet, 2 Way or 4 Way can be selected from the drop down.
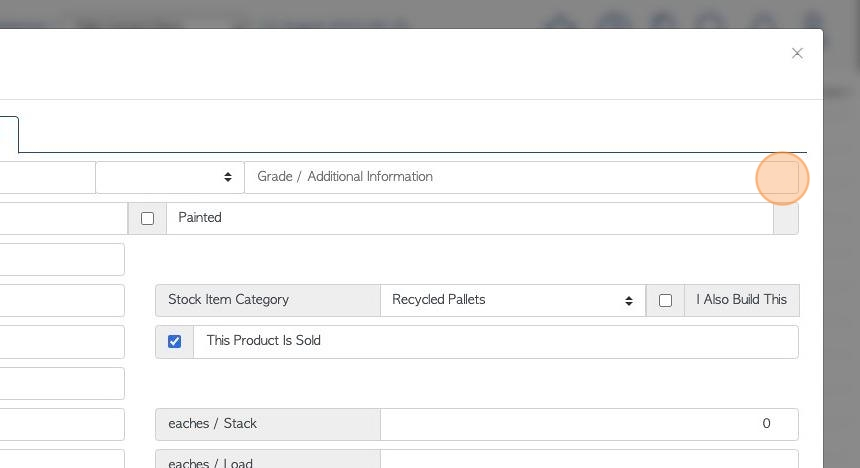
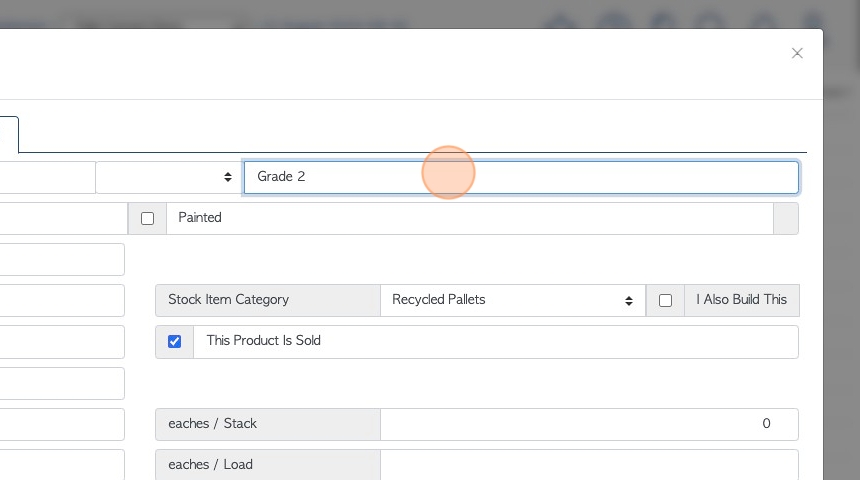
9. Click the "Grade / Additional Information" field to type in the information.
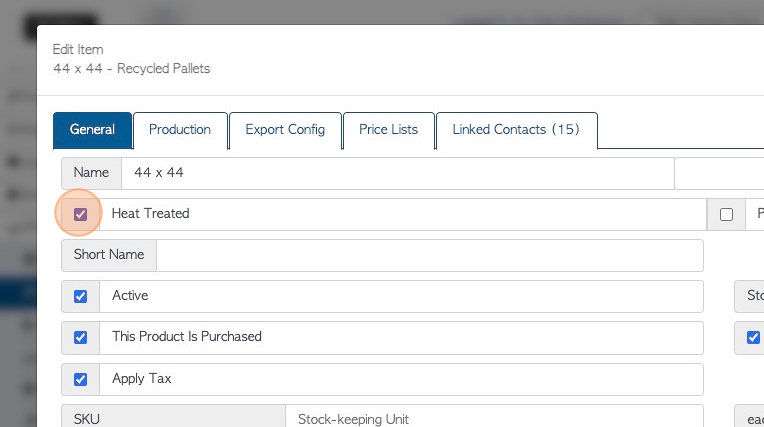
10. Click the "Heat Treated" field, if this item is heat treated.
11. Click the "Painted" field, if the pallet is painted.

12. For painted pallets, a colour can be chosen from the drop down menu.

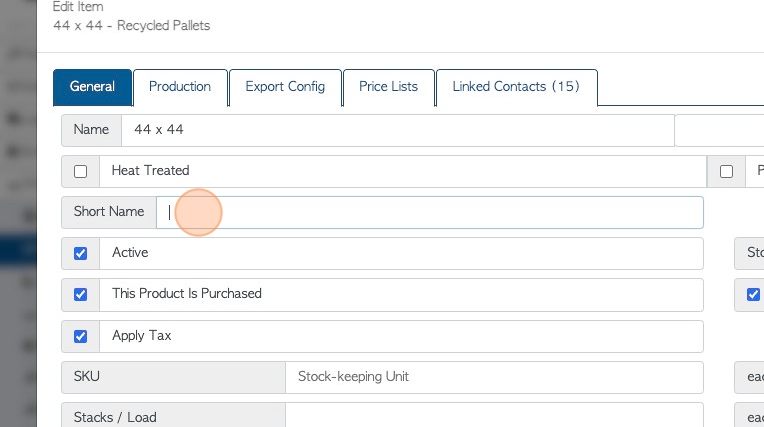
13. Click this text field to add a "short name" to the pallet.
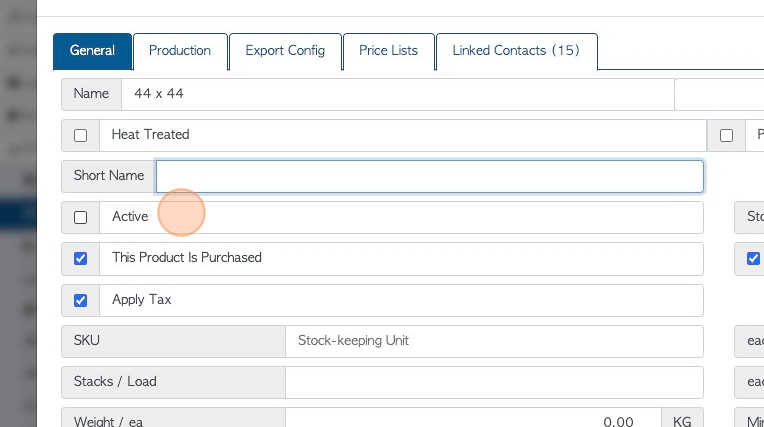
14. Click "Active" for the item to be active and deselect "Active" to delete the item. Deleted items can still be searched and can be re-activated.
If an item is not "Active" in the system, it will not appear in reports and it cannot be used for ordering, purchasing or production.
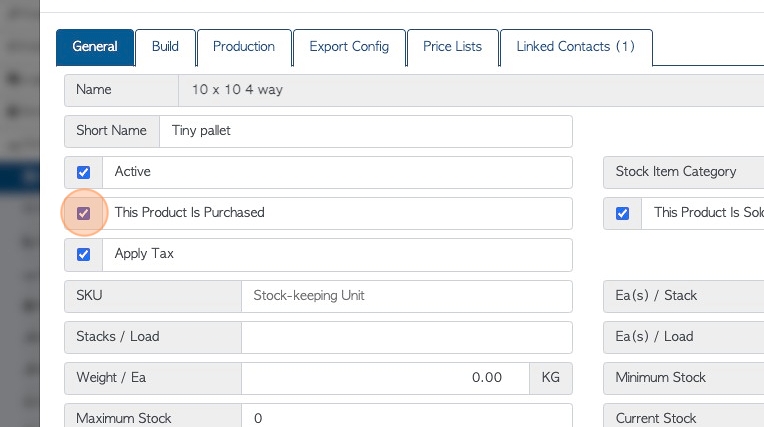
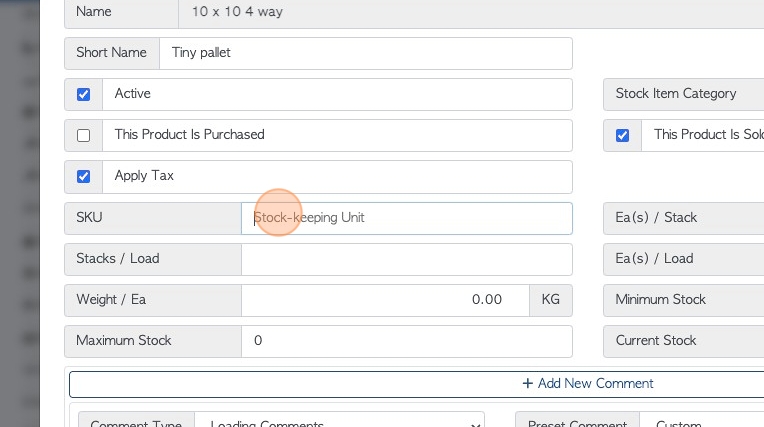
15. Click the "This Product Is Purchased" field, if this item is bought from a Supplier or Vendor.
This needs to be selected to appear in purchasing transactions.
NOTE: A item can be selected for both purchasing and selling.
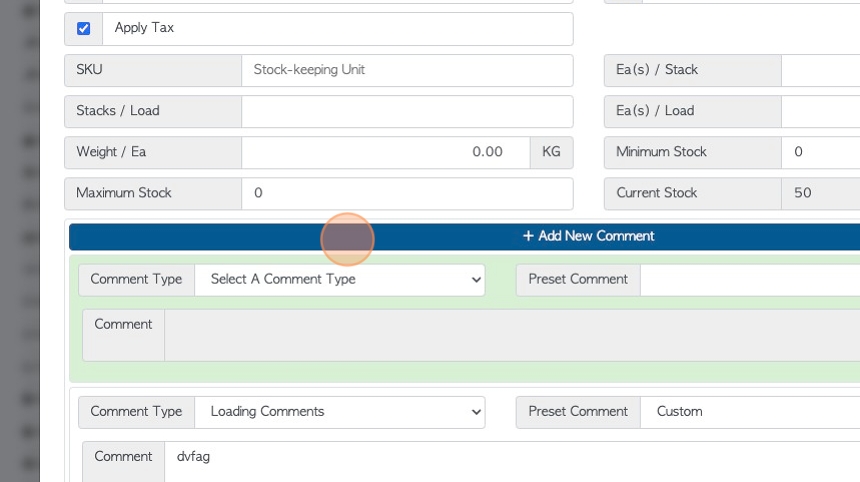
16. Click the "Apply Tax" field if tax is to be applied to this item during transaction. If the item is tax exempt the field can be deselected.

17. Click the "Stock-keeping Unit" field to add a SKU number to this item.
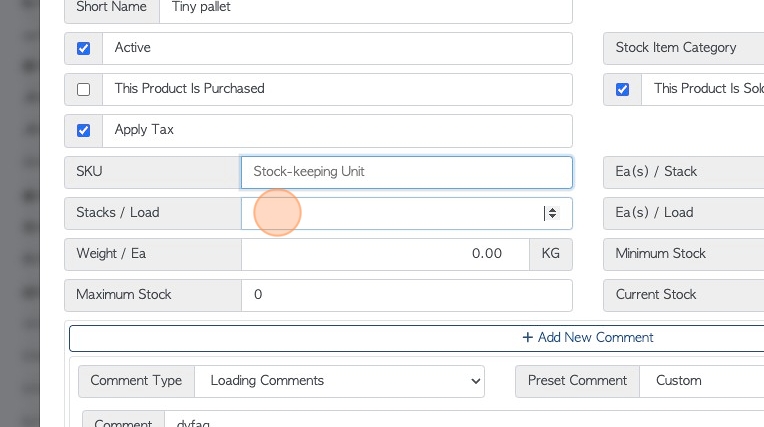
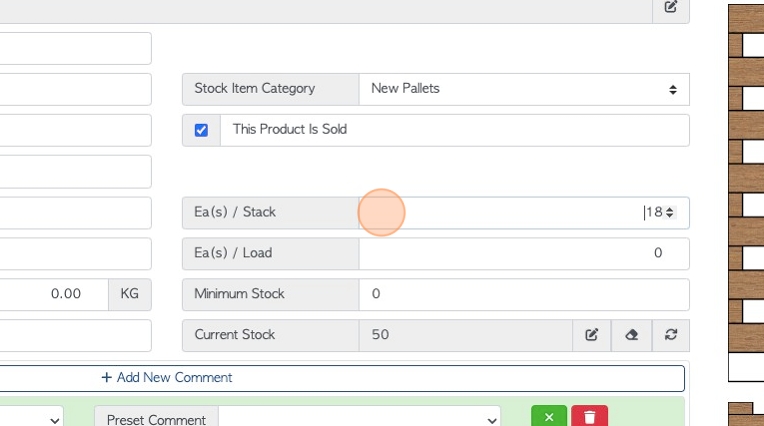
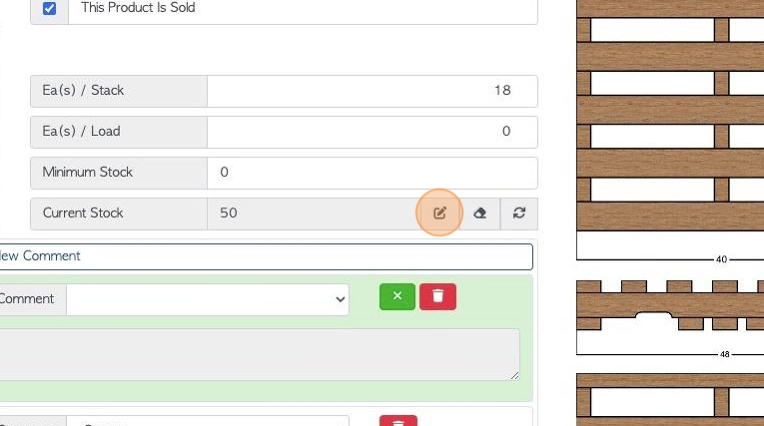
18. Click this number field to enter how many stacks per load.
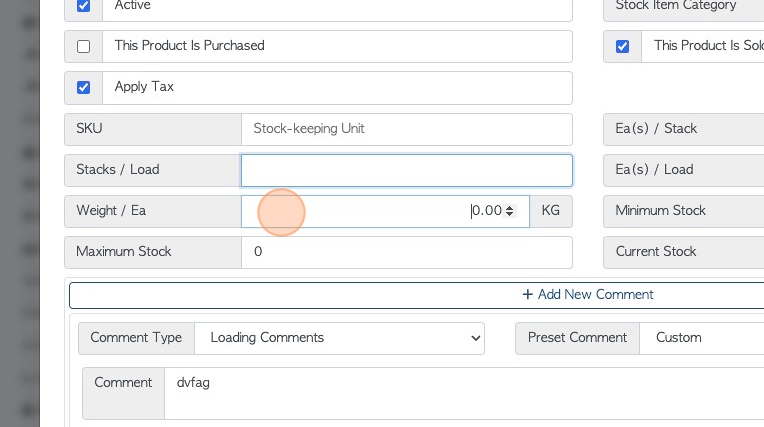
19. Click the "Weight" field to add a weight to the item. The measurement unit can be set up in System Settings.
20. Click this number field to add a maximum stock limit. This is useful when ordering or purchasing.
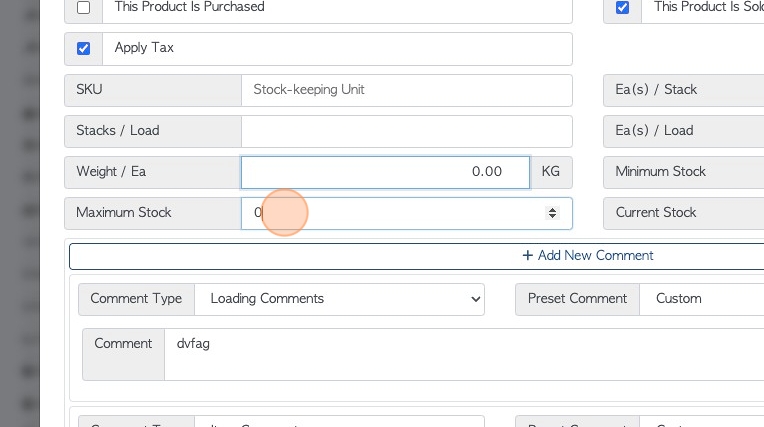
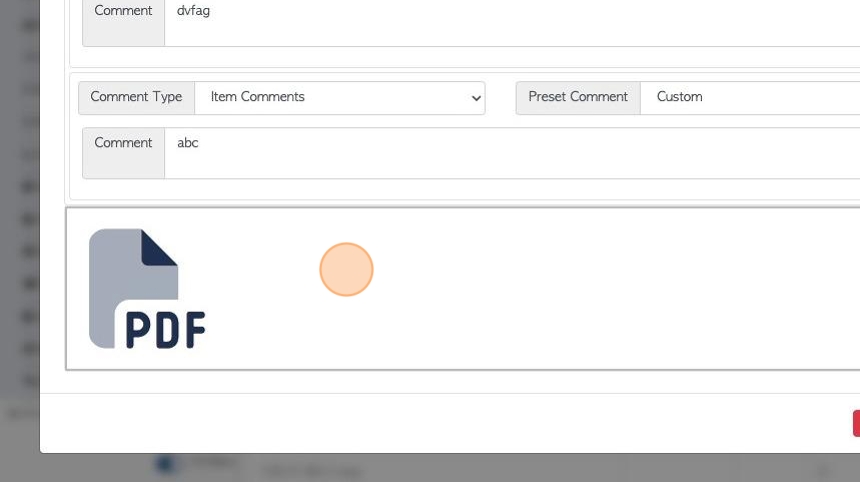
21. Click "Add New Comment" to add a comment to the stock item. This comment will be used for the item during each transaction. See related article on How to Set Up Comments and Comment Types.
Existing comments can be deleted and edited in the General tab.
22. Click here to add images or files to the profile.
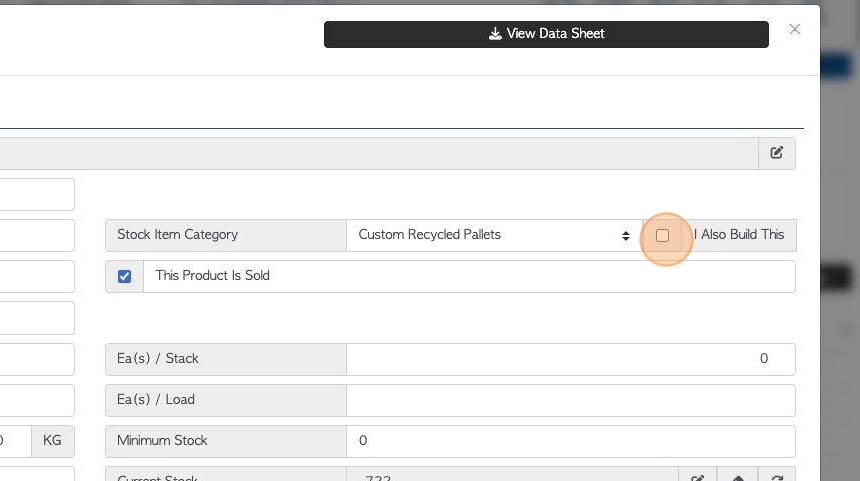
23. Click this dropdown to change the Stock Item Category. See related articles on managing stock item categories.

24. Click the "This Product Is Sold" field, if this item is sold to a Customer.
This needs to be selected to appear in order transactions.
NOTE: A item can be selected for both purchasing and selling.
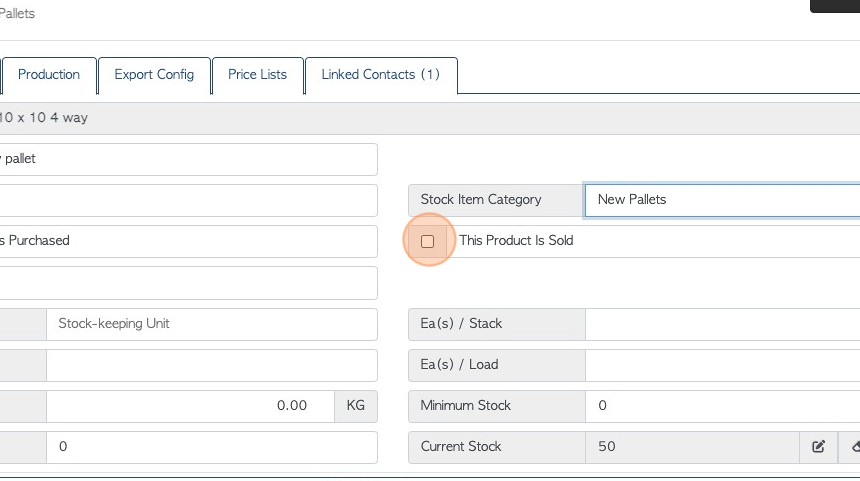
25. Click this number field to add a quantity per stack.
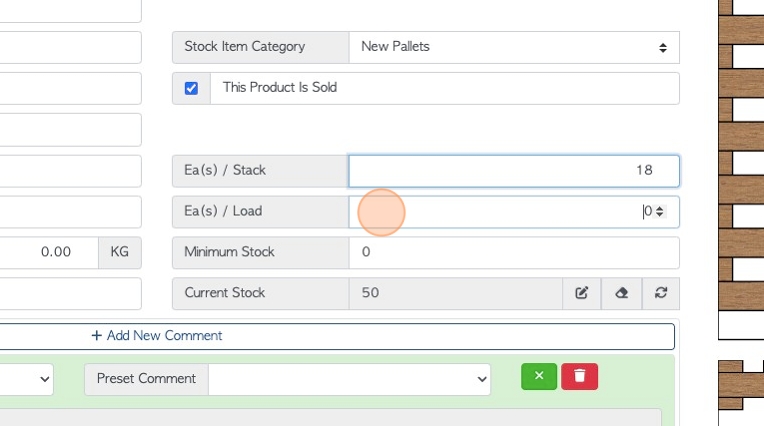
26. Click this number field to add a quantity per load.
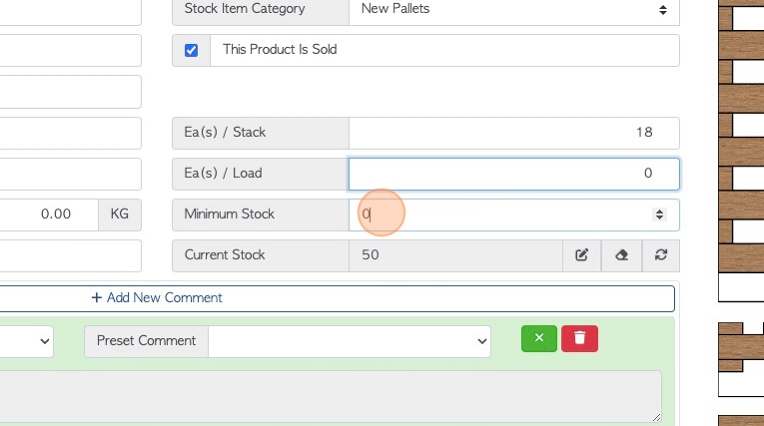
27. Click this number field to set a minimum stock level. This assists with ordering and purchasing.
28. "Current Stock" shows the current stock level. This level is auto generated from the system and cannot be directly changed from this tab.
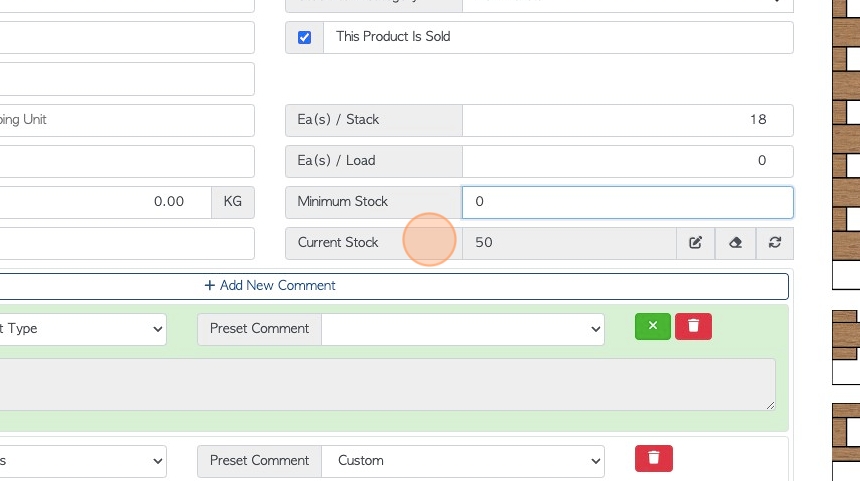
29. Stock adjustments can be made here. See related article.
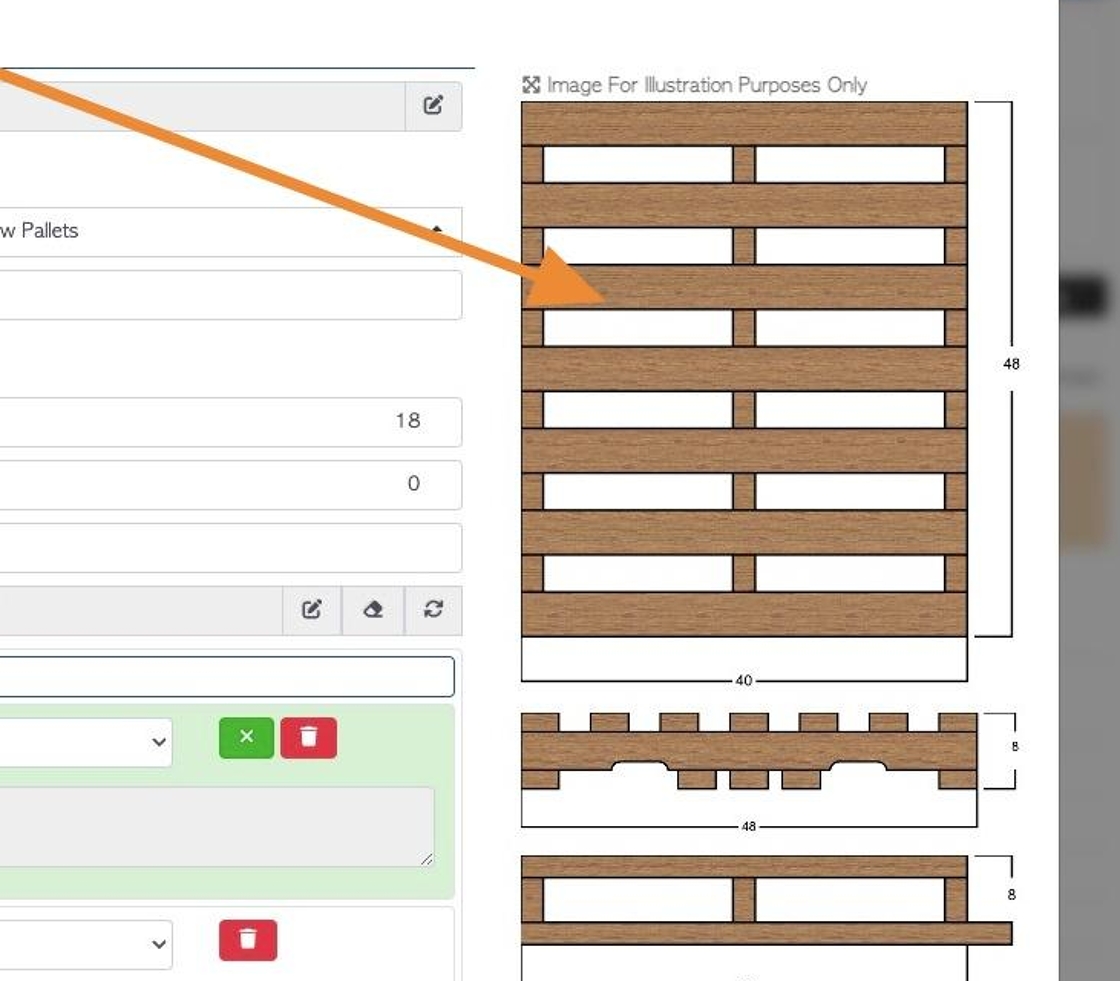
30. If "use generated image" is checked off in the 'build' tab then an illustration of the item is generated from the build list.
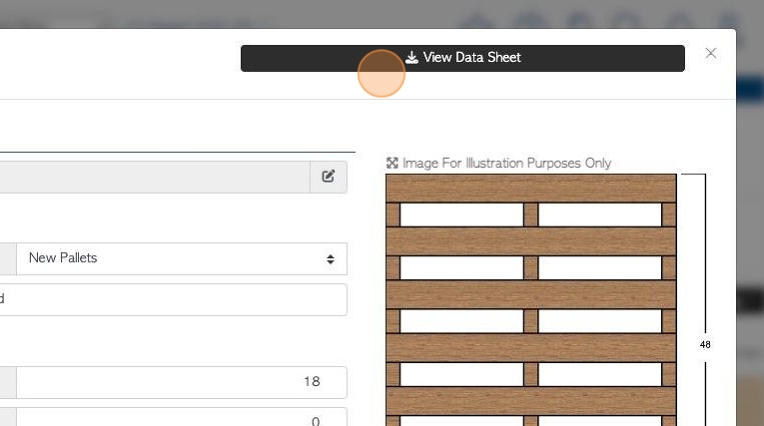
31. If a build list has been entered in the 'build' tab then a data sheet will be available by clicking here.
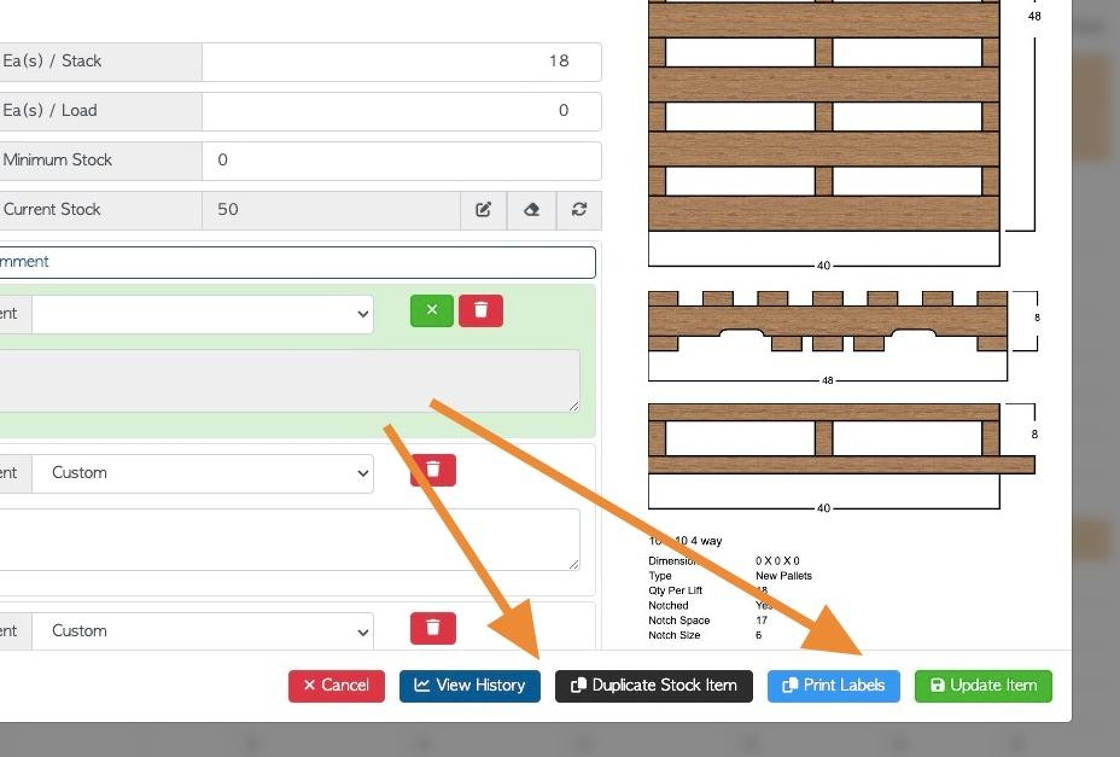
32. Each tab will show these buttons, to view history of the item, print labels and duplicate the stock item.
Use the "Update Item" button to save any changes made within the profile.
33. NOTE: For recycled pallets, the 'build' tab will not be displayed and the default for production is "repair".
If a recycled pallet needs to be built, click on "I also build this". This will allow access to a build tab. A build list must be entered to save this option.