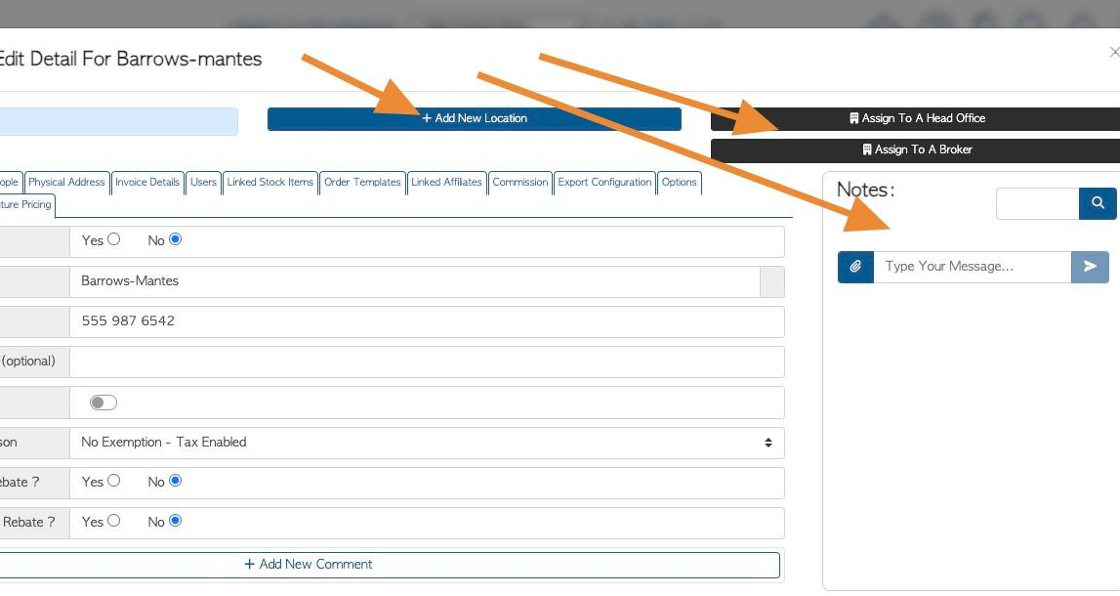
1. The Broker profile is organized into various tabs. This articles provides an overview of the information in the General tab.
TIP! SHORTCUT: Type the Broker name into the global search tool, located at the top right corner of each page. This will bypass steps 2-4.
2. Navigate to the main menu and click "Brokerage"
3. Click "Manage Brokers"
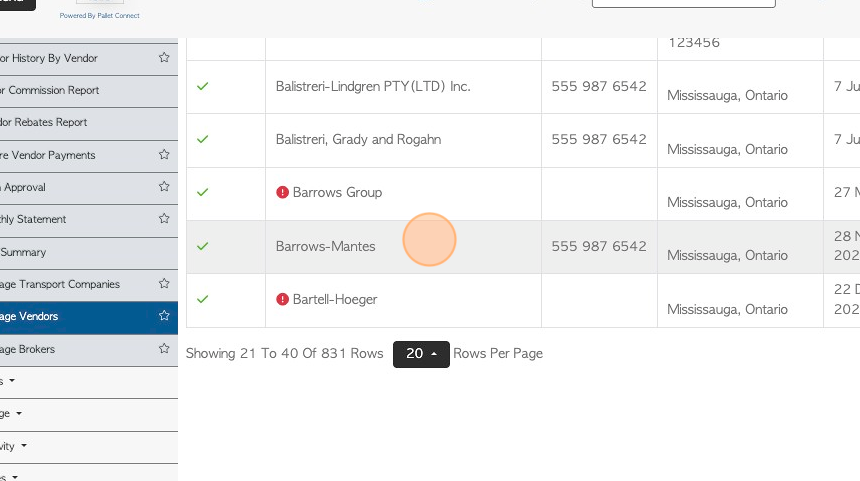
4. Click the selected Broker from the list.
5. The General tab is always displayed first.
TIP! The action buttons at the top of the profile can be accessed from all tabs. The Notes section can be accessed from all tabs also.
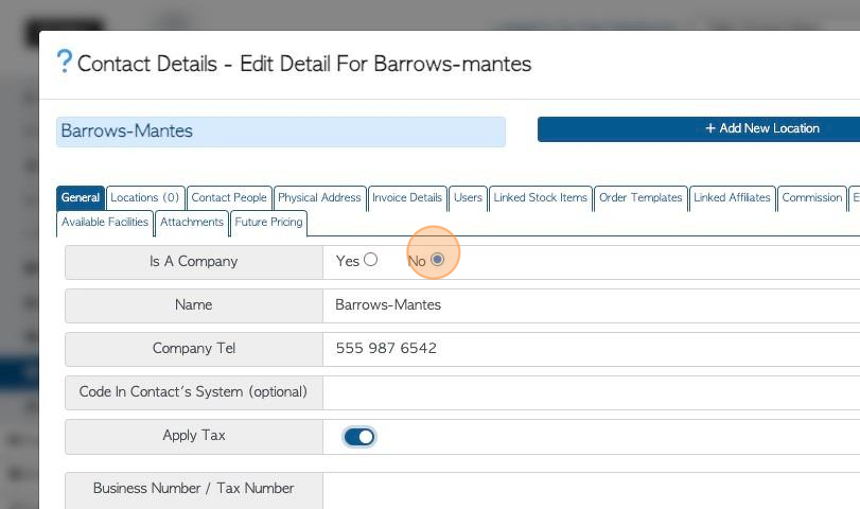
6. Click "Is this a company"
TIP! This will not affect any settings regarding the Broker. It is used by admin to determine if the Broker is a company or an independent operator.
Company information can be edited in this tab. For example, company name or telephone number.
TIP! Company email addresses are found in the Contacts tab.
7. Click here on the toggle button to determine if tax is applied to the Broker transactions. If tax is applied then the Broker's business number can be added.
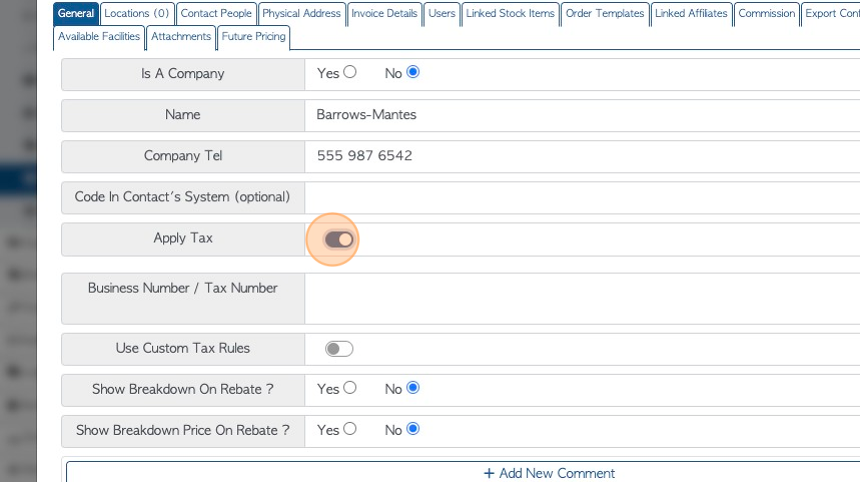
8. Click here to add custom tax rules. See related article.
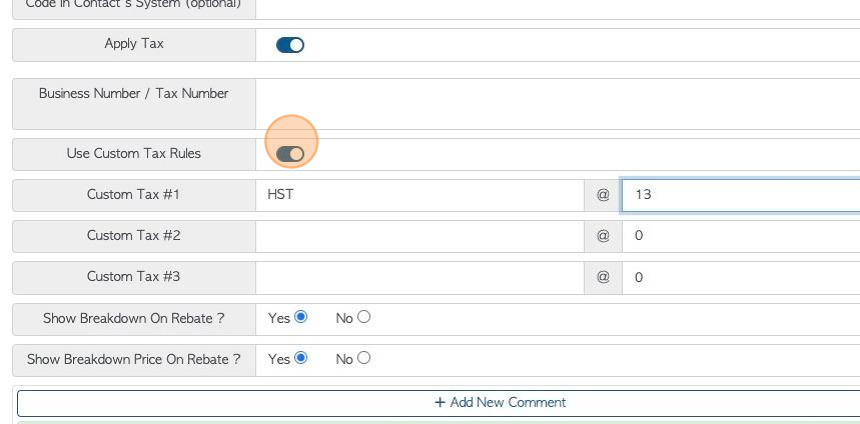
9. If tax is not applied to a Broker, then a "Tax Exemption Reason" can be added.
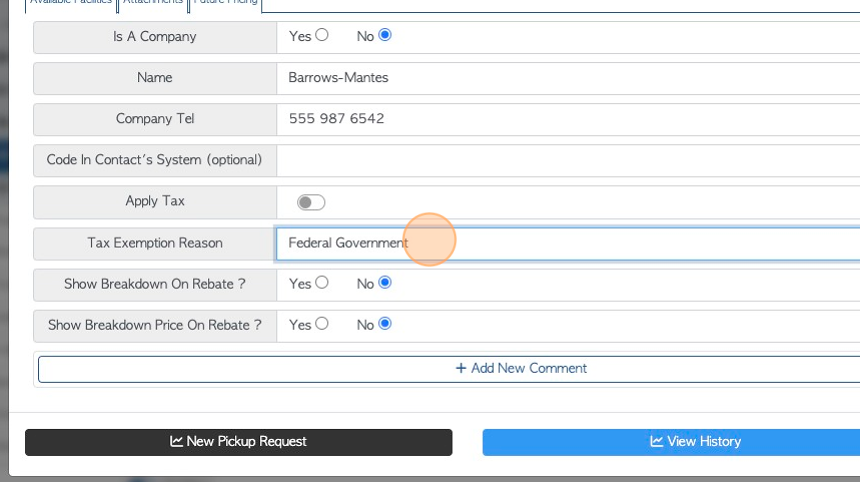
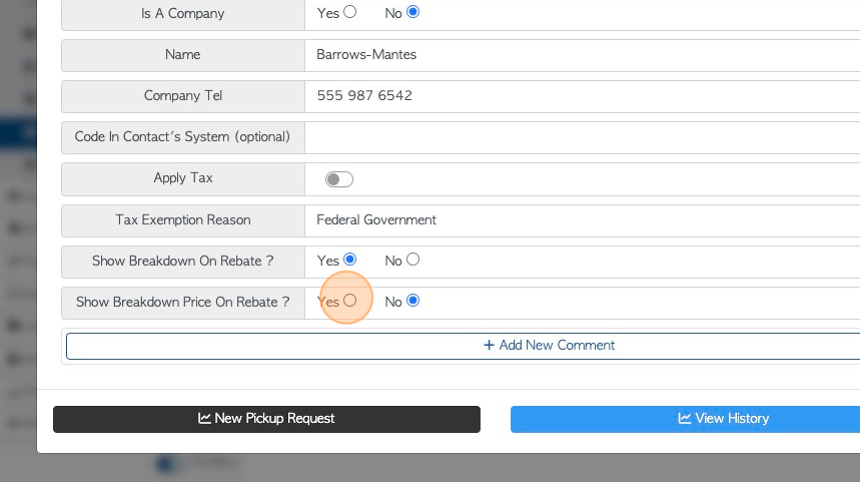
10. Click these fields to determine if pricing and/or details will be shown on rebates for this Broker.
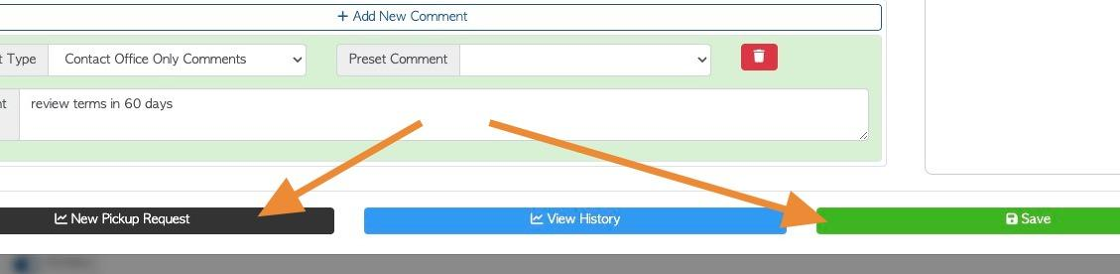
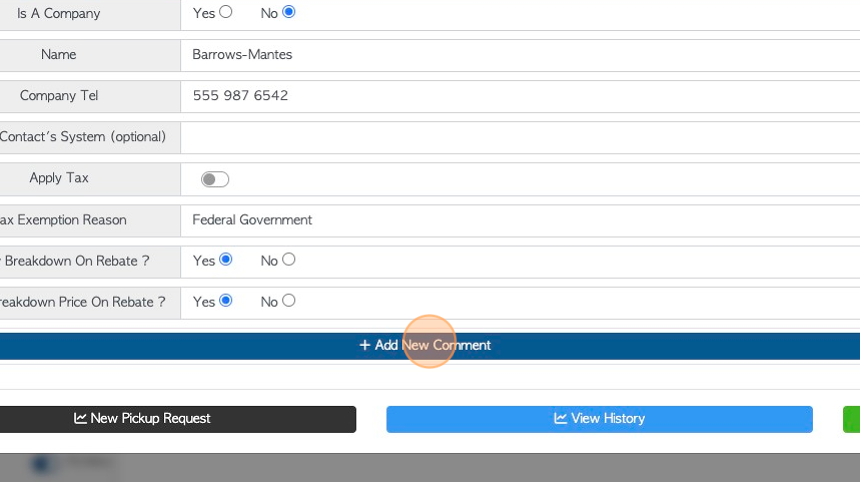
11. Click "Add New Comment" to attach a comment to a Broker profile.
12. Click this dropdown to select a Comment Type.
TIP! The Comment Type must be set up in the Settings tab of the main menu, prior to adding Comments.
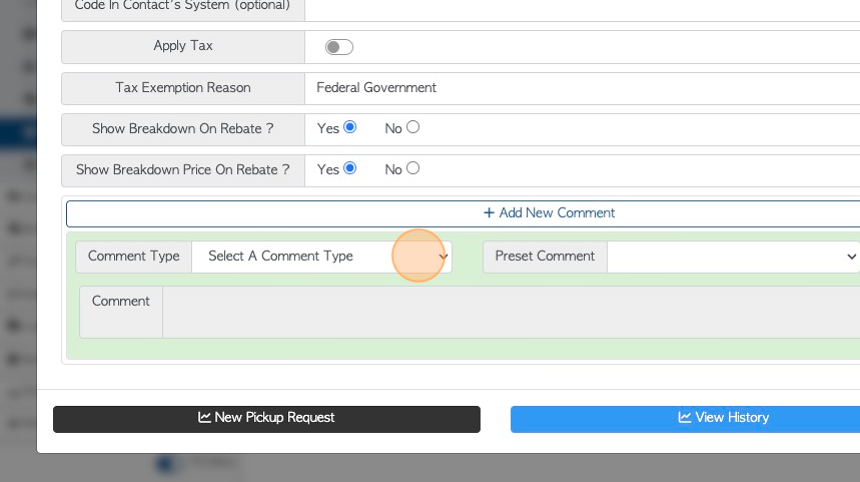
13. Click this field to add the actual comment.
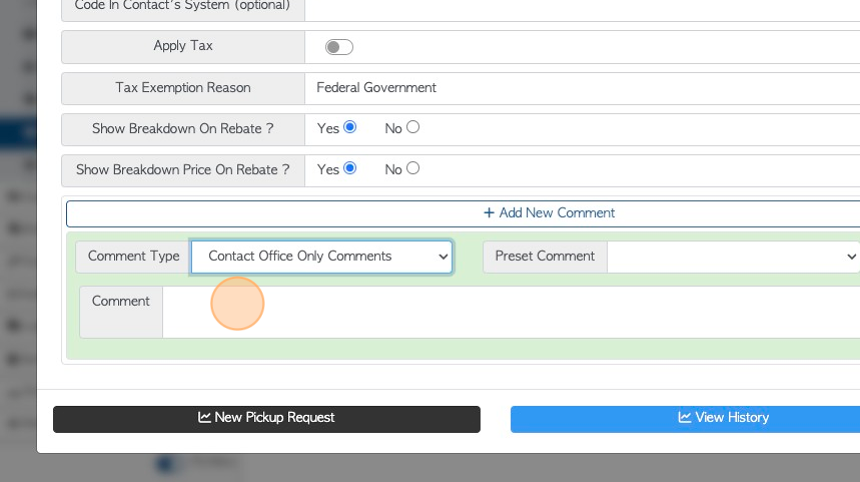
14. TIP! The action buttons at the bottom of the page can be accessed from every tab in the Broker profile.