1. The Vendor Portal is a useful tool, that allows the Vendor to request new pick ups and manage their existing requests. It is beneficial as the information is updated in real time and readily available for the Vendor when they log in.
This article provides an overview of the Portal. Please also see article outlining "How to Request a pick up/drop off in Vendor Portal".
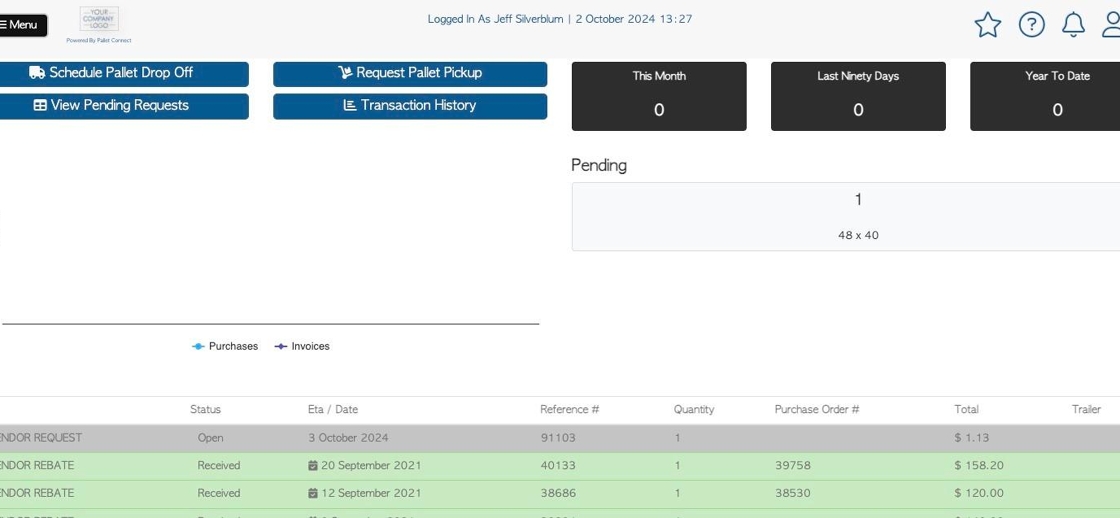
2. When logging in, the default page is the Dashboard, which shows an overview of recent activity.
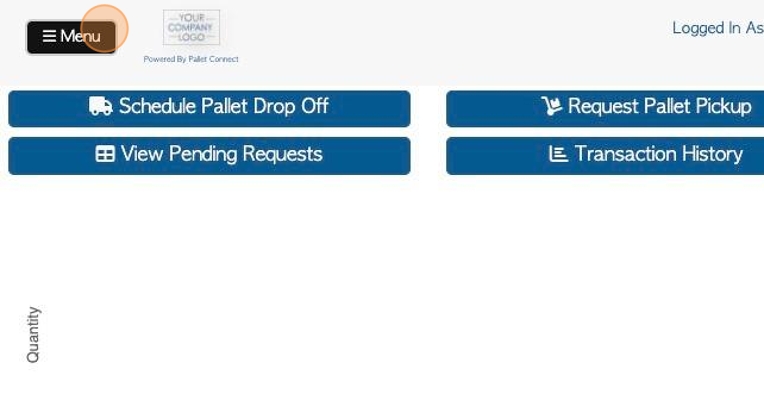
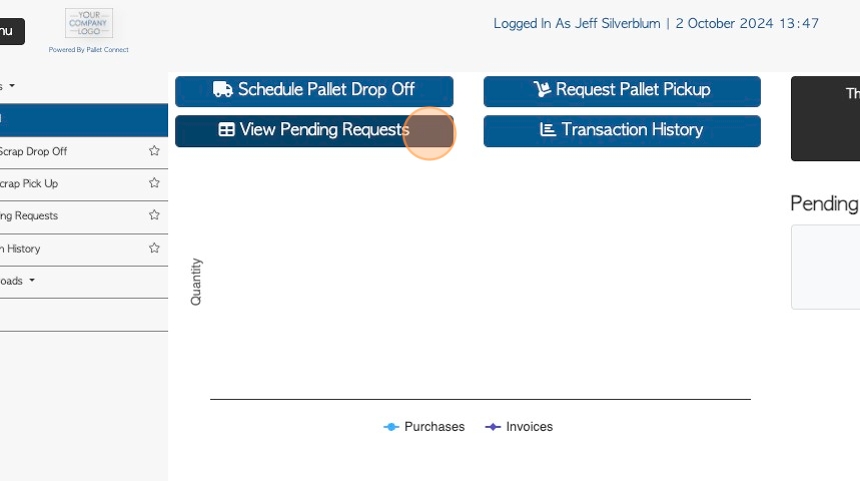
3. Click "Menu" to access the main menu.
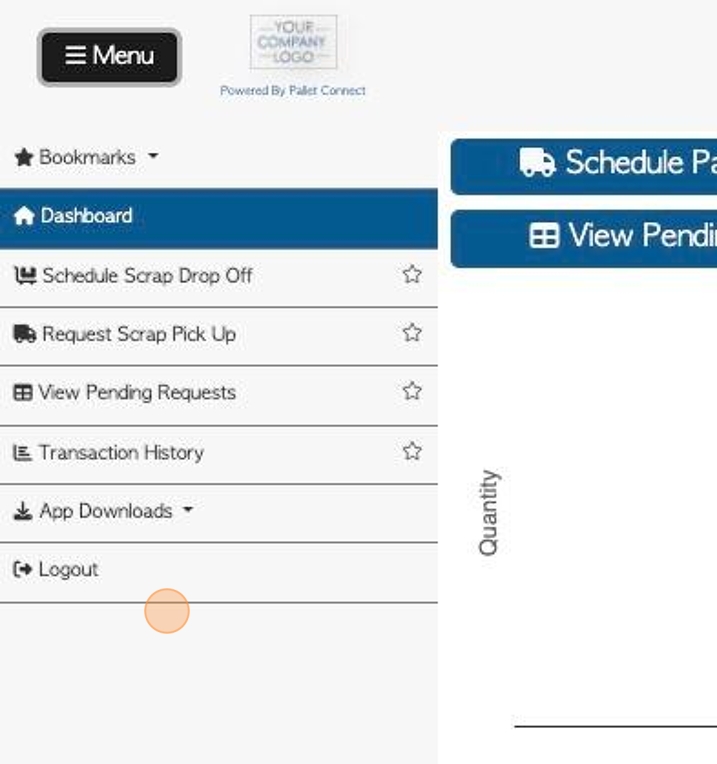
4. The main menu has different tabs that allow the user to view transactions and request pick up or drop off.
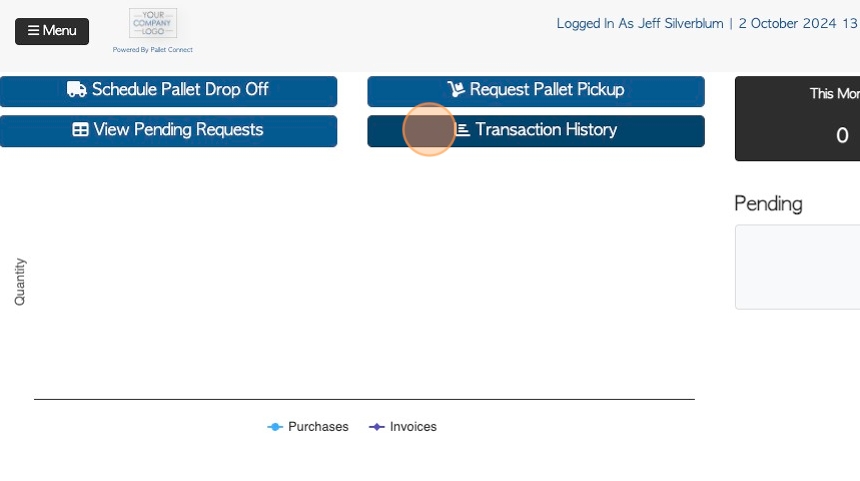
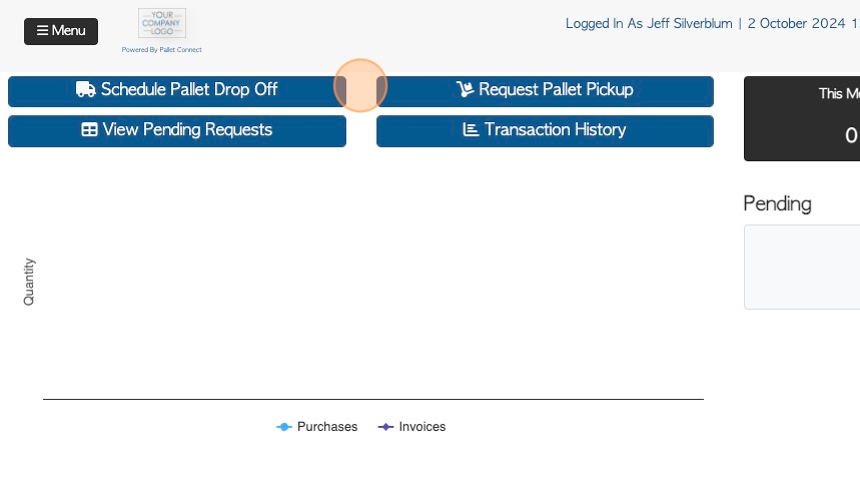
5. There are four shortcut buttons at the top of the dashboard.
- Schedule Pallet Drop Off 2) Request Pallet PickUp 3) View Pending Requests 4) Transaction History.
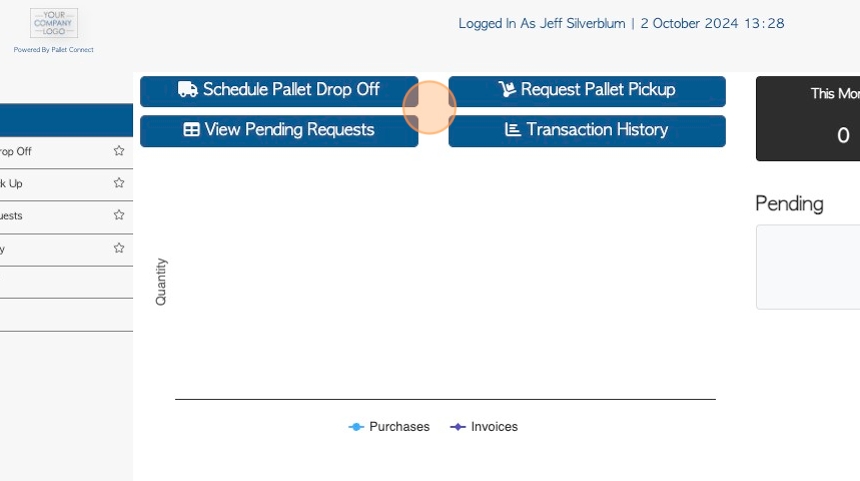
6. PENDING: To view pending requests, click "View Pending Requests"
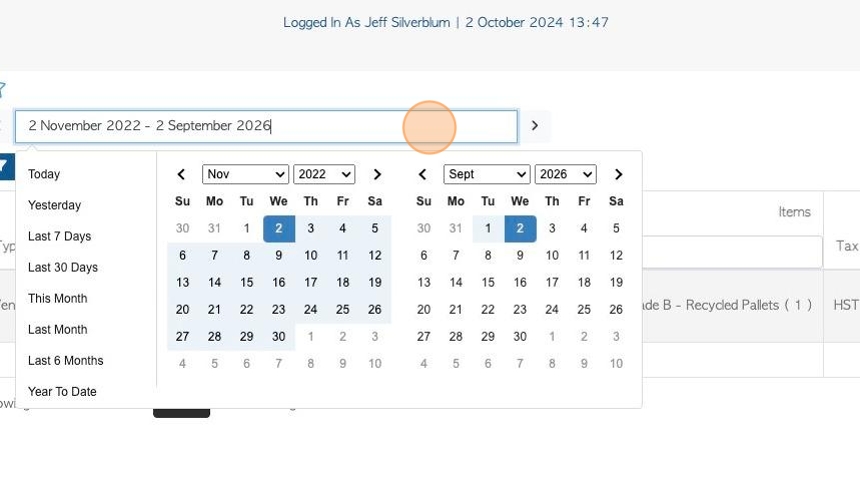
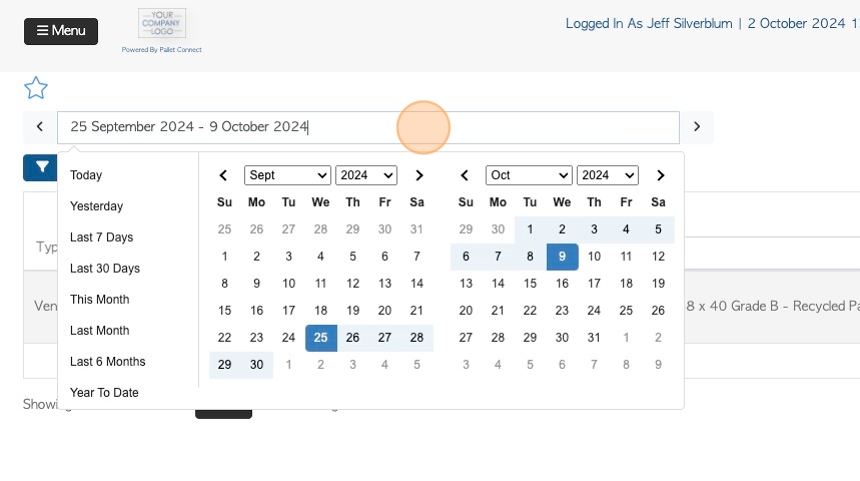
7. Click this text field to change the date range of the Pending report.
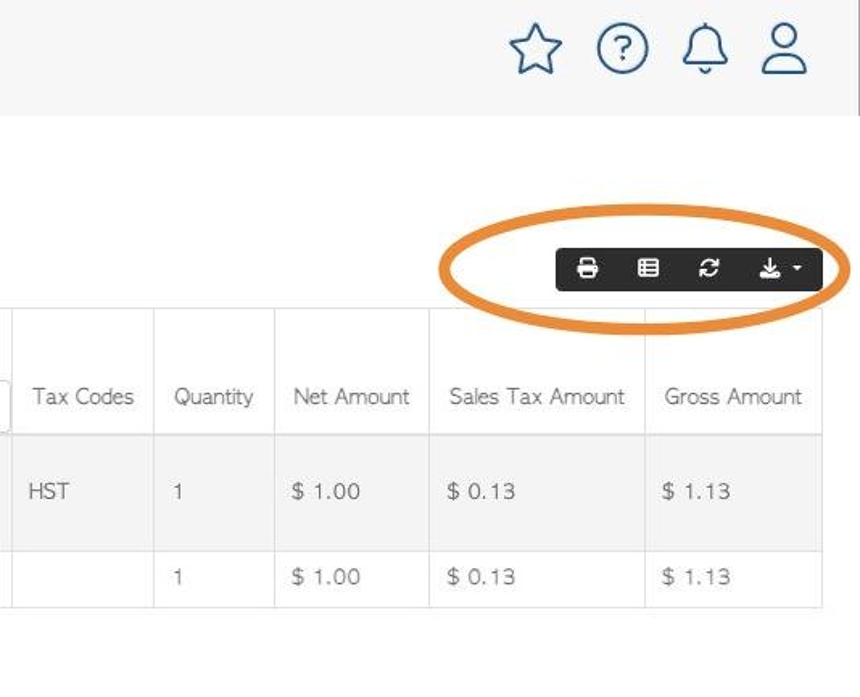
8. Click here to customize the report columns.
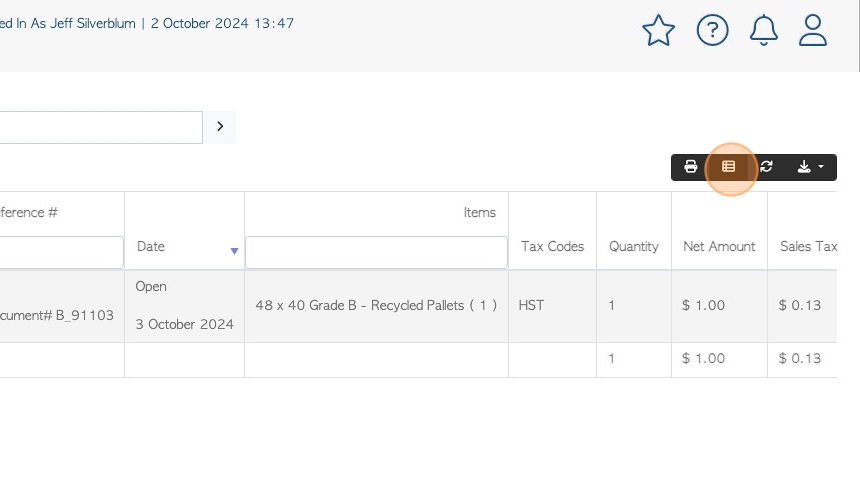
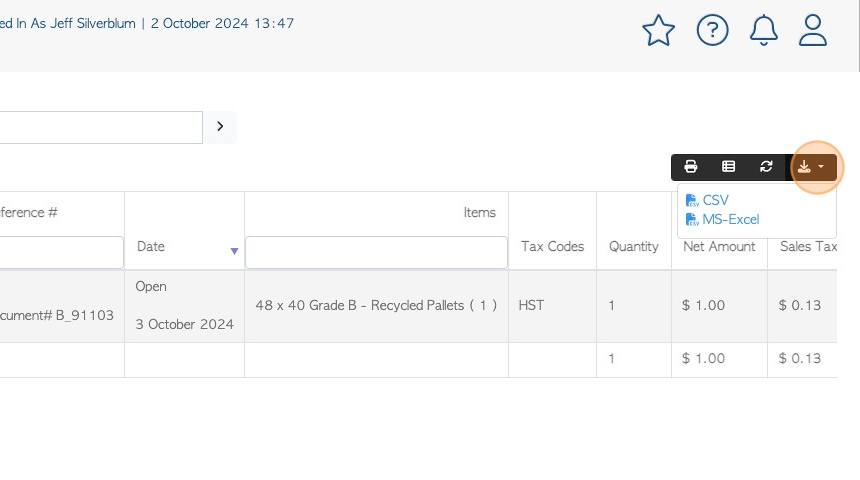
9. Click this button to download the report.
Click the printer icon button to print the report.
10. HISTORY: To view previous requests, click "Transaction History"
11. Click this text field to change the date of the report.
12. As with the Pending report, these buttons can be used to download and/or print the report.
13. REQUEST: See related article on how a Vendor requests a pick-up or drop off.
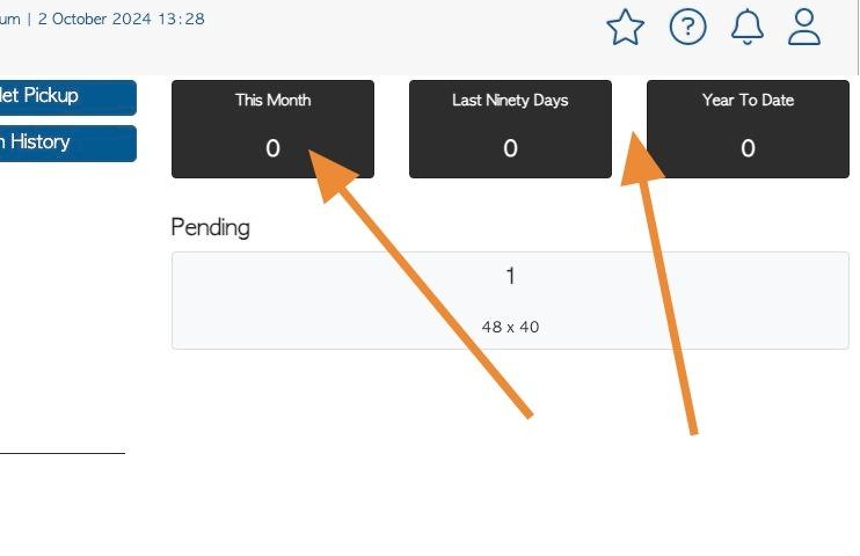
14. The top text boxes show the quantity received this month, last ninety days and for the current year.
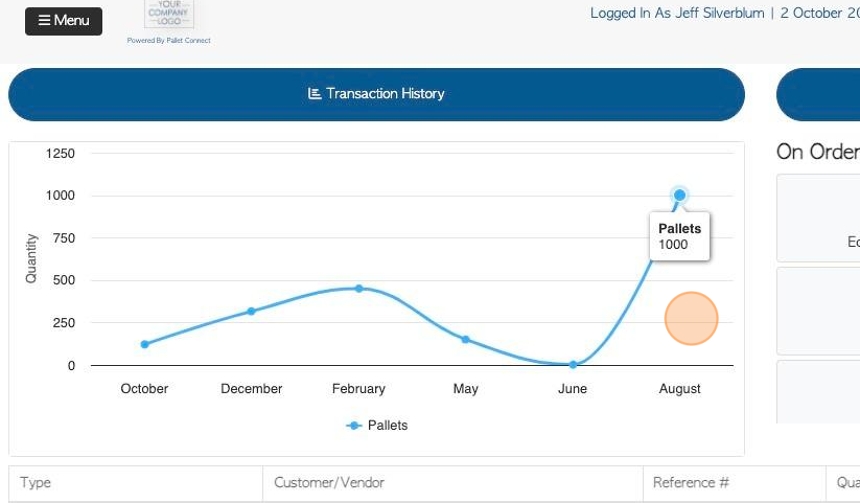
15. This graph shows items purchased, in a timeline.
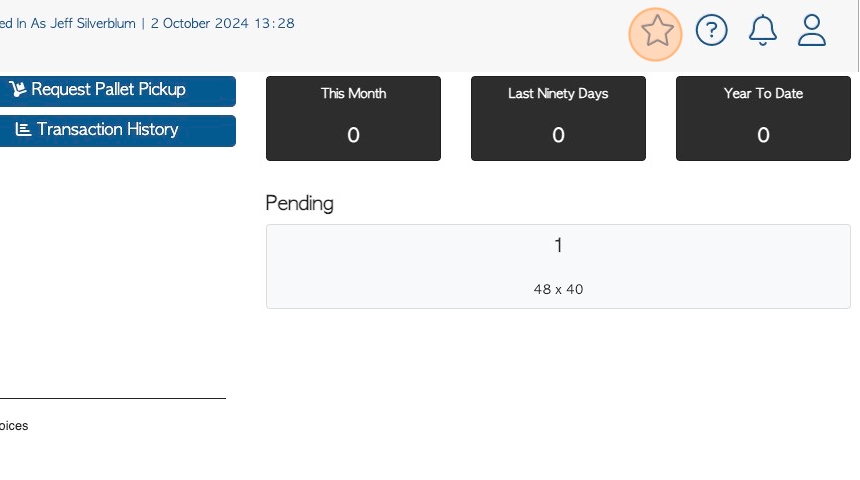
16. Click here to view bookmarks created.
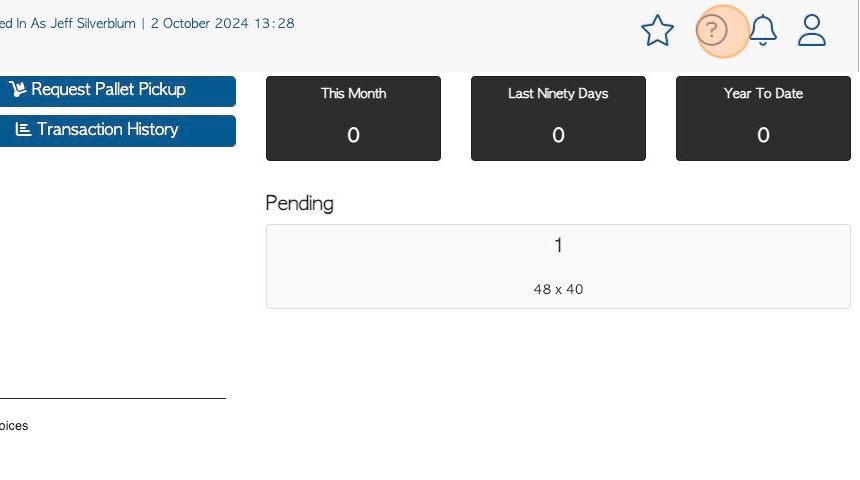
17. Click here to access support and guide articles.
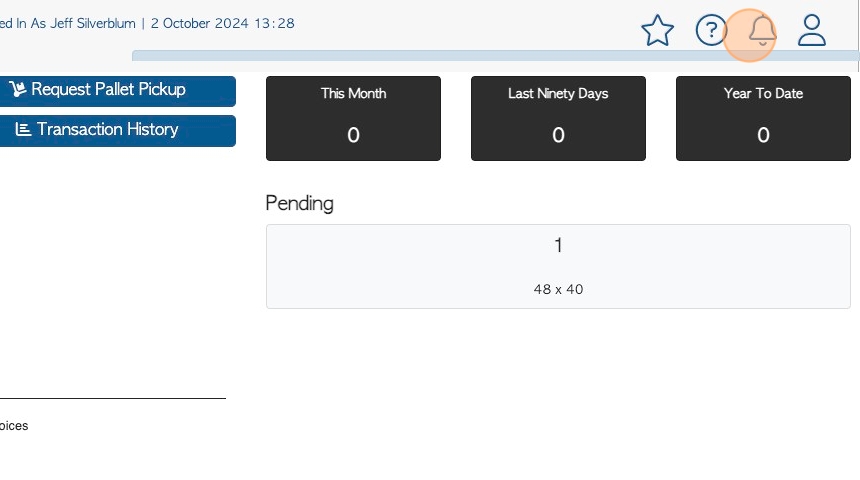
18. Notifications are displayed here.
19. Click here to view the user profile.

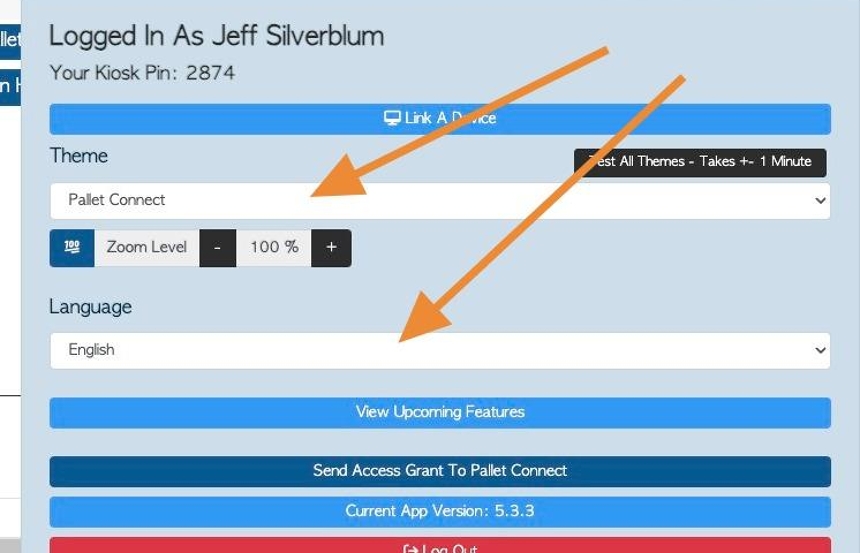
20. In the pop up screen, click here to "Link a Device" to Pallet Connect.

21. The language and view of the platform can be customized here.
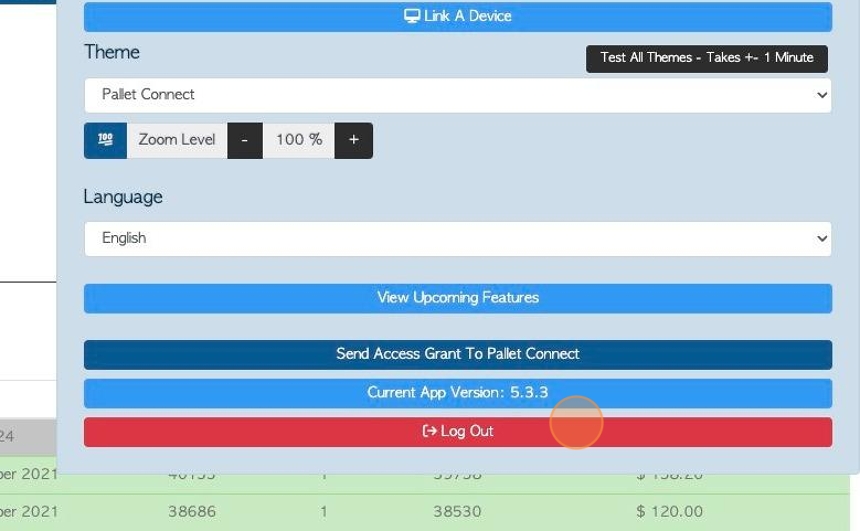
22. Click here to log out of the system.
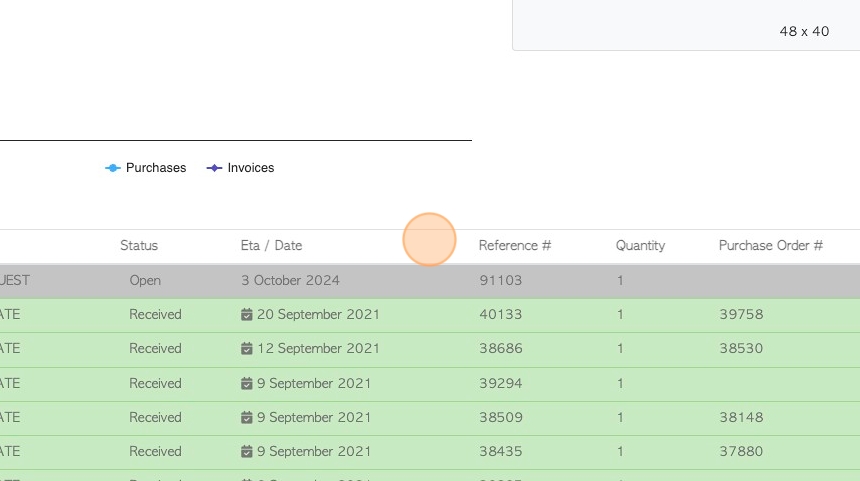
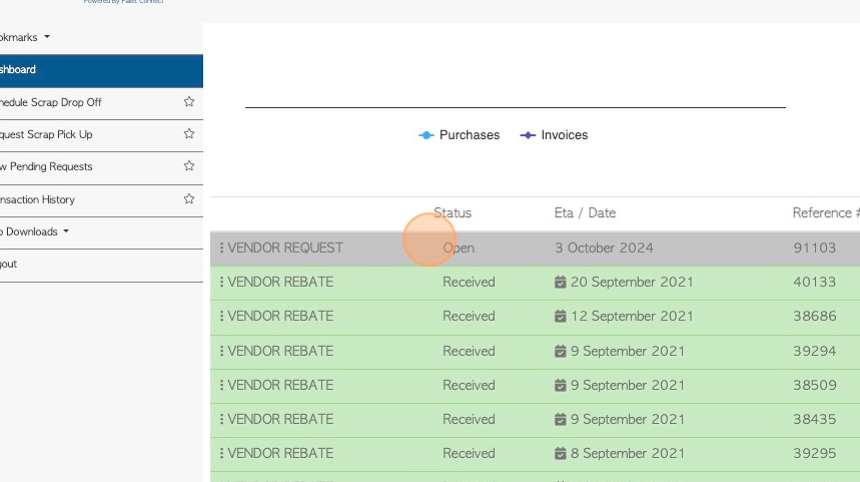
23. Recent transactions are displayed at the bottom of the dashboard. They show basic information, such as, the order status and reference numbers.
The orders in the list are colour coded depending on the status.
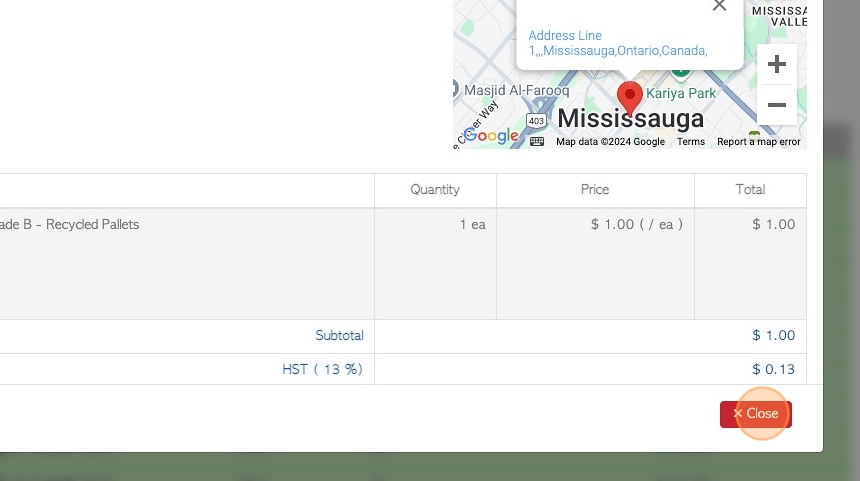
24. Click on a transaction to reach the details page.
25. The transaction details will be displayed in a pop up screen.
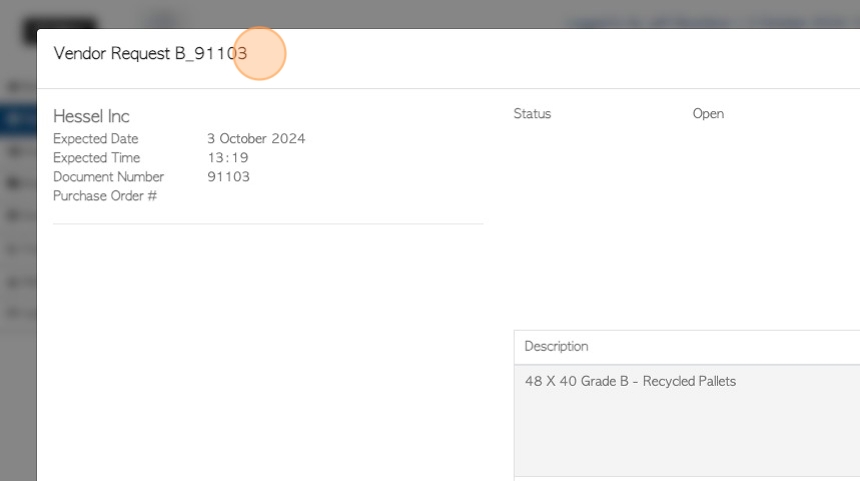
26. Click "Close" to return to the dashboard.