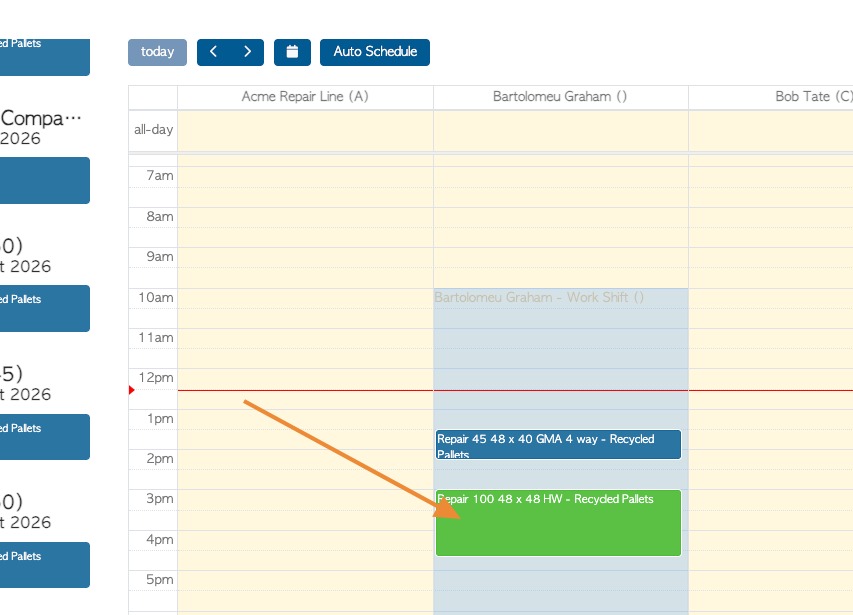
This article provides a summary of the repair schedule, including setting up employees and adding a repair to the calendar.
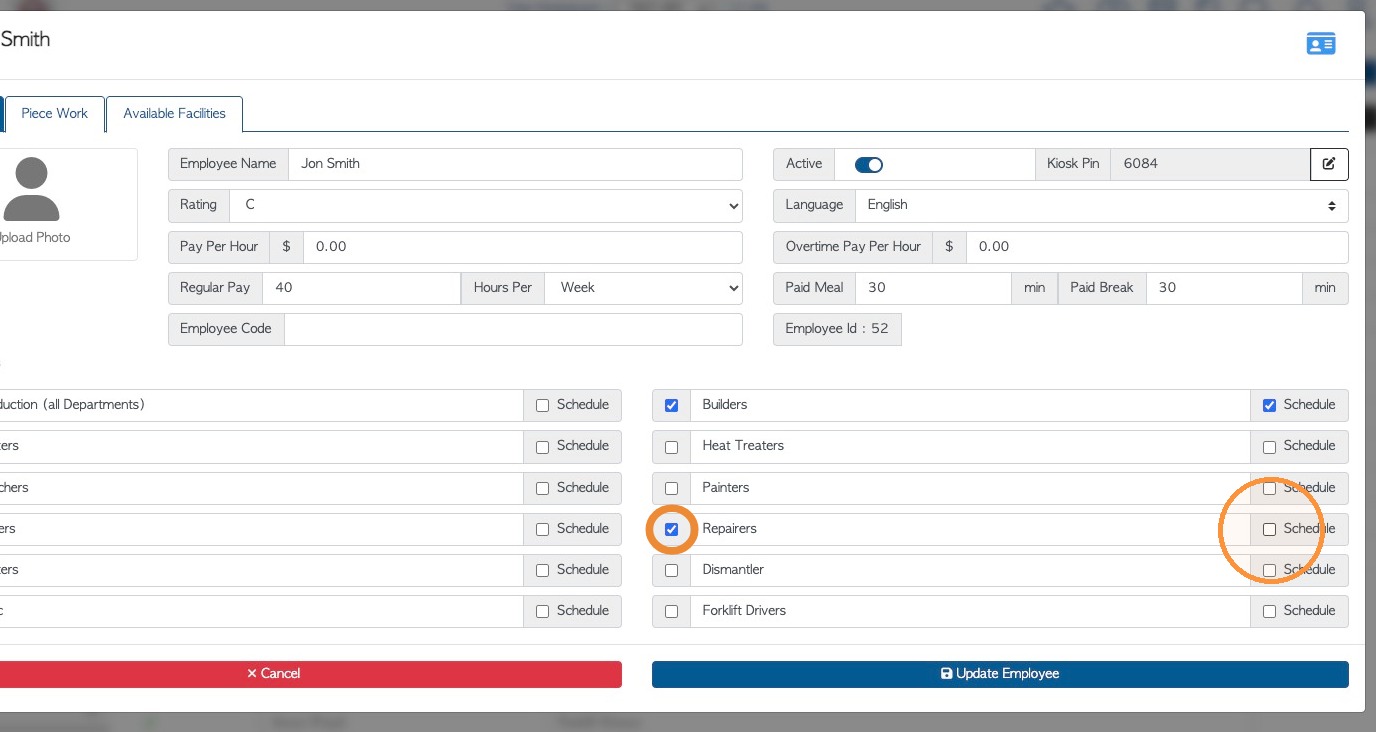
1. NOTE: For Employees to be displayed on the Repair Schedule they must be selected as a 'repairer' in the employee profile. 'Schedule' must also be checked off in the repair row.
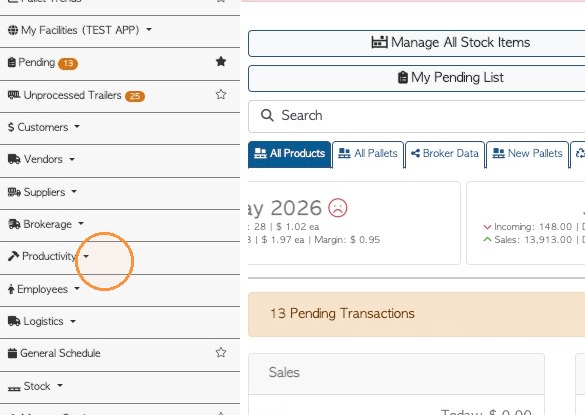
2. To reach the repair schedule, click "Productivity" from the main menu.
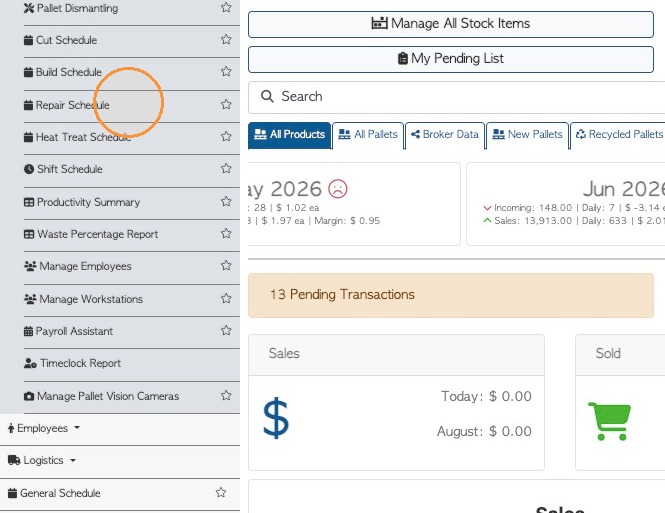
3. Click "Repair Schedule"
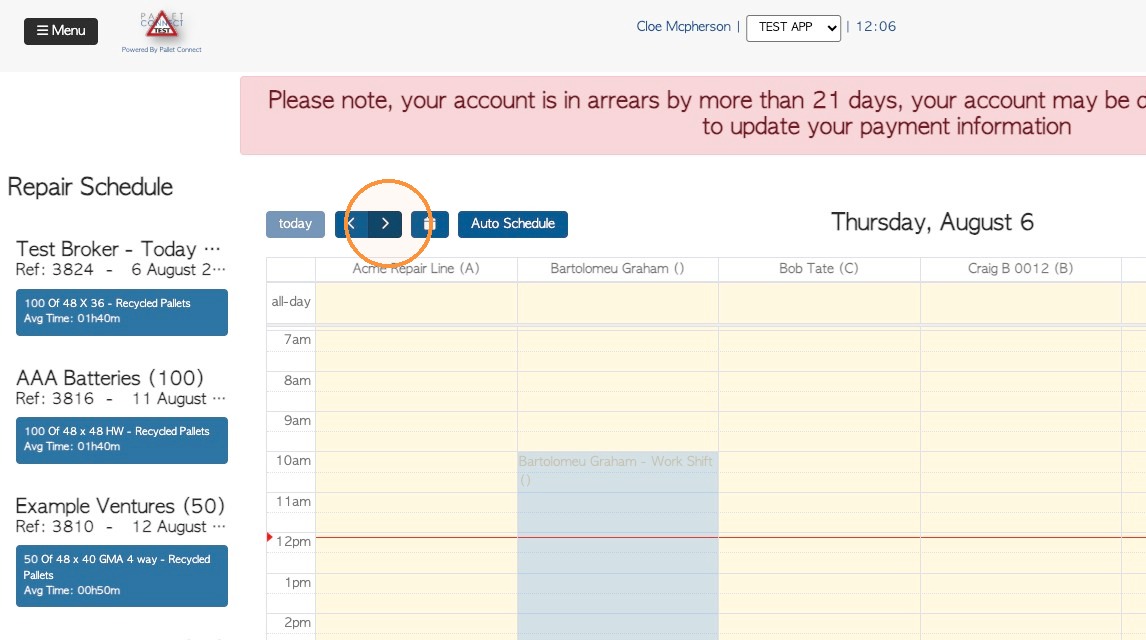
4. The schedule defaults to today's date, click the Next Date arrow to change the day view.
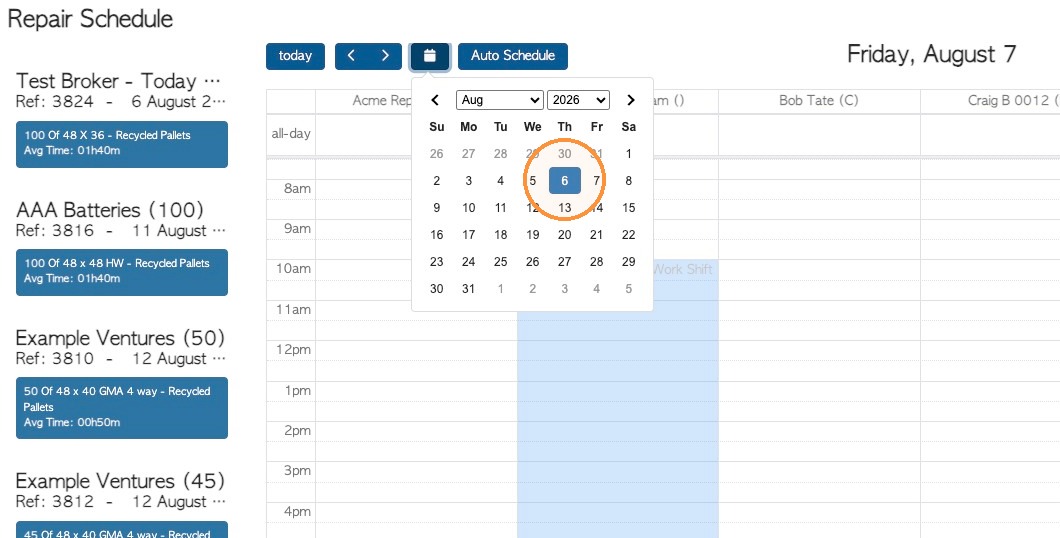
5. Click the calendar icon to open the date picker and change the day view.
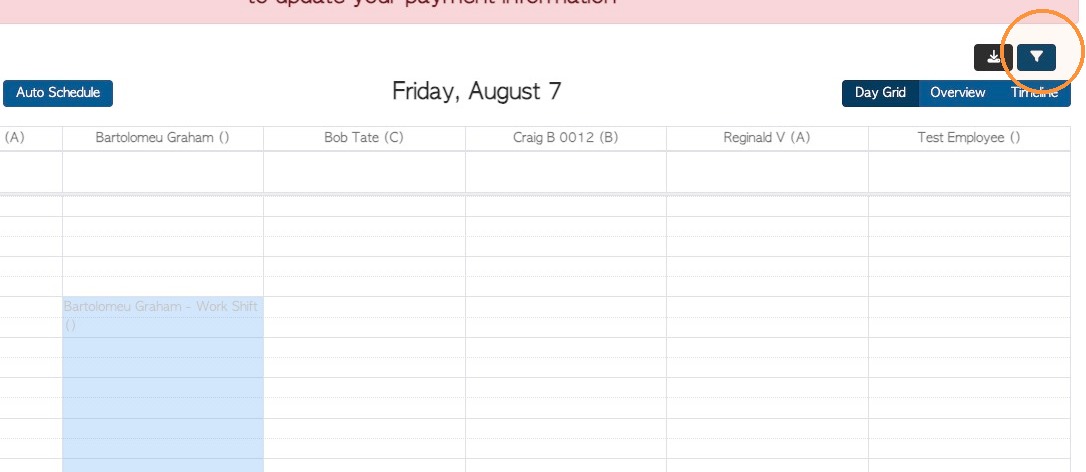
6. Click the funnel icon to access filters.
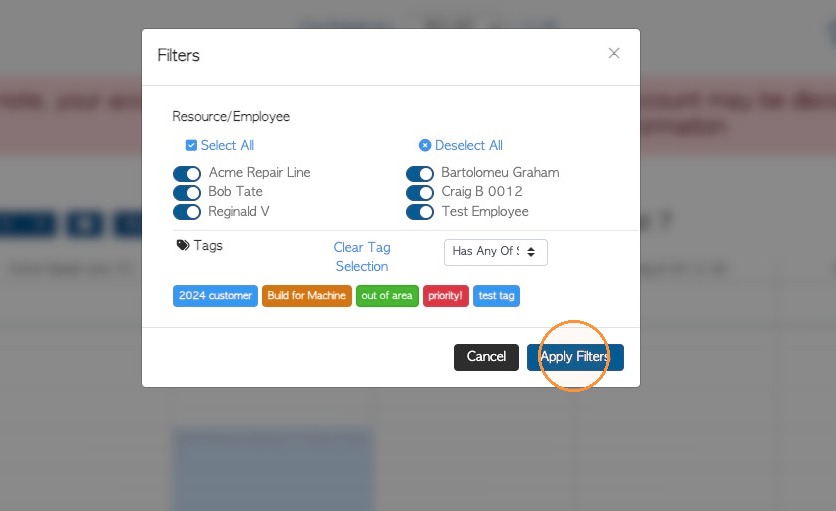
7. Filter the schedule view by employee and/or tags. Click Apply Filters to save changes.
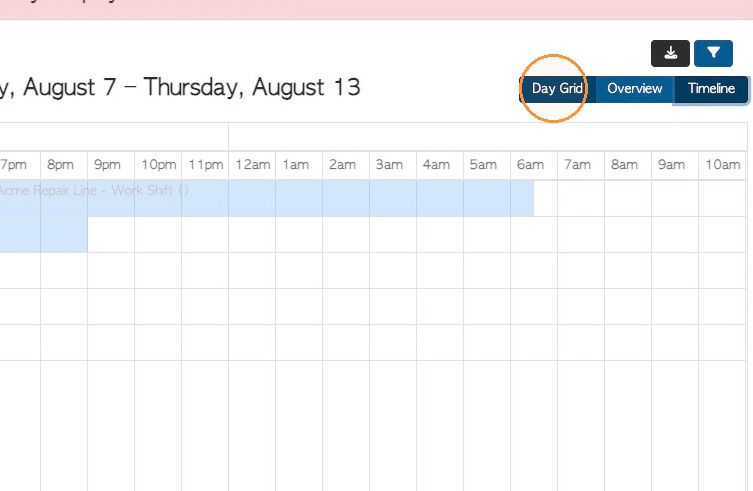
8. The schedule can be viewed as "Day Grid". "Overview" or "Timeline".
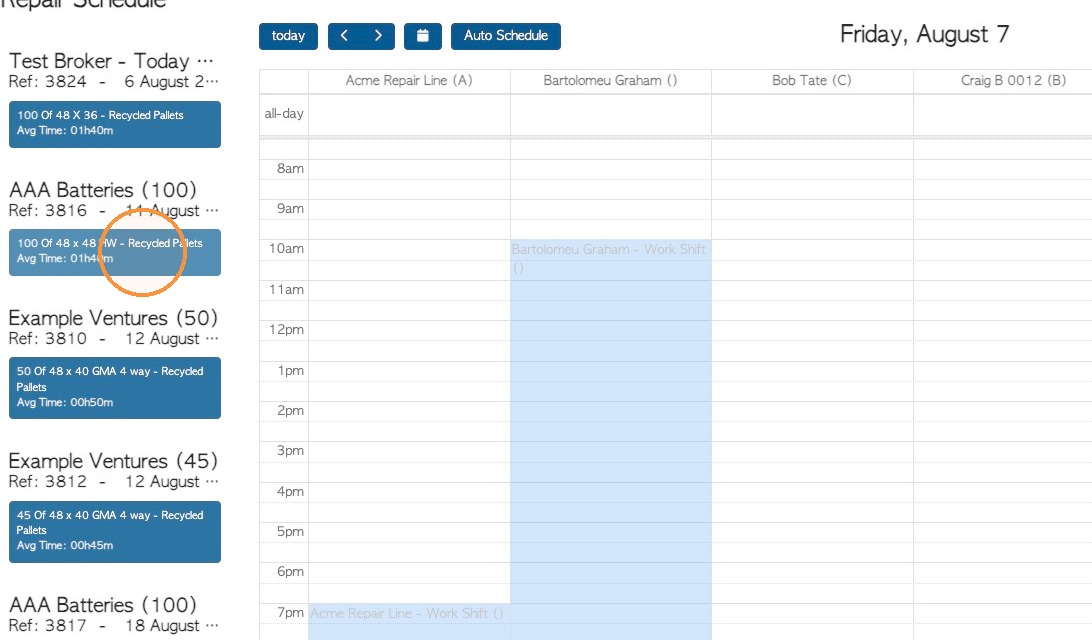
9. Unscheduled repairs are listed on the left of the calendar. They show the Customer name and the item name and quantity.
Drag and drop the task onto the calendar to assign a time and employee.
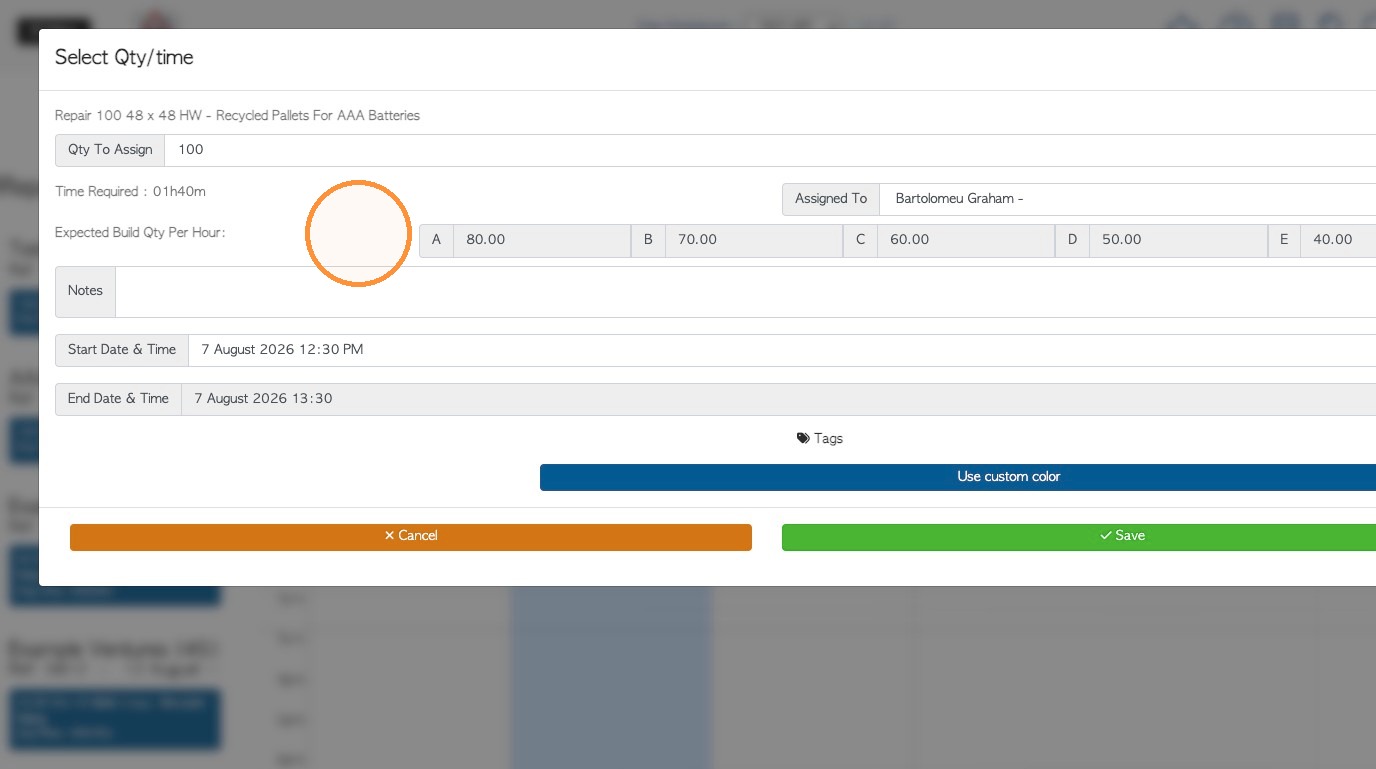
10. More details are displayed in the pop up screen. For example, Notes can be added and the start and end time altered.
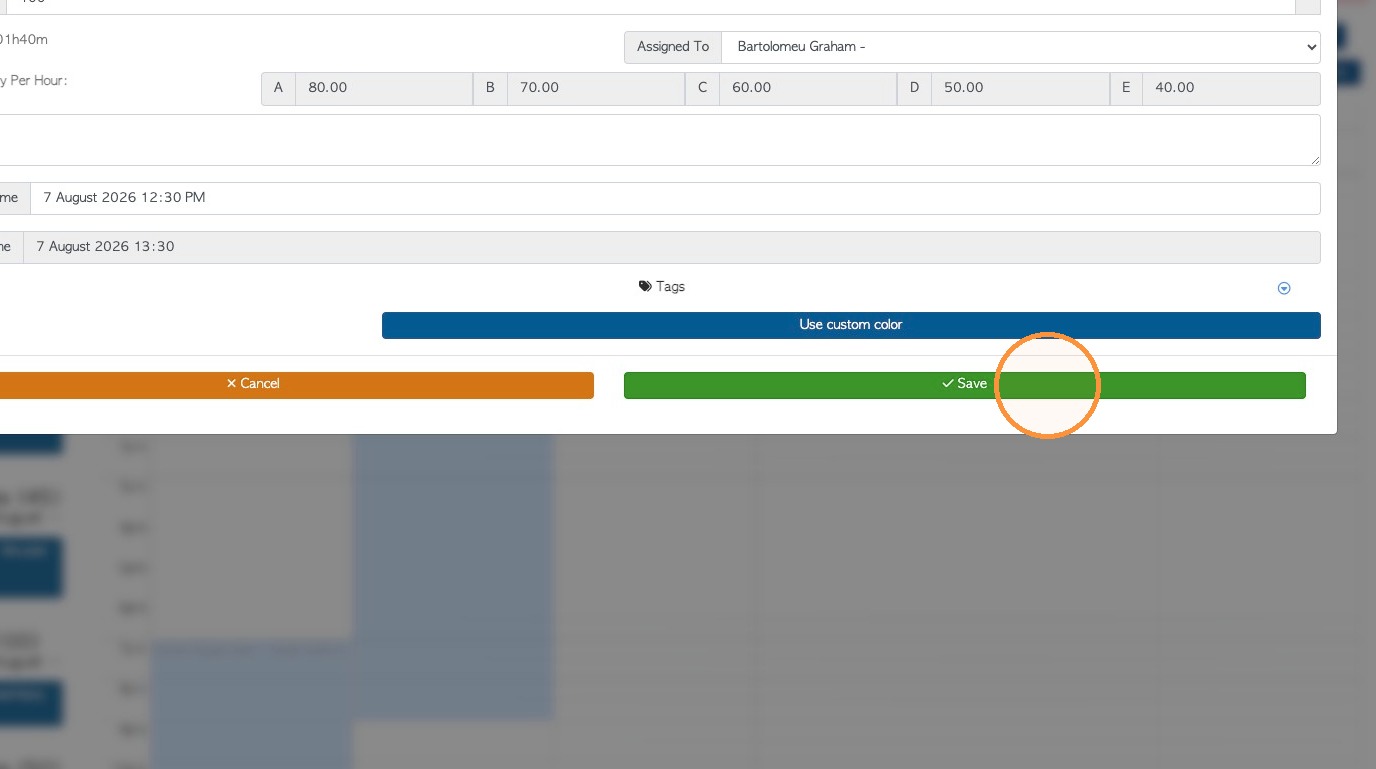
11. Click "Save" to complete
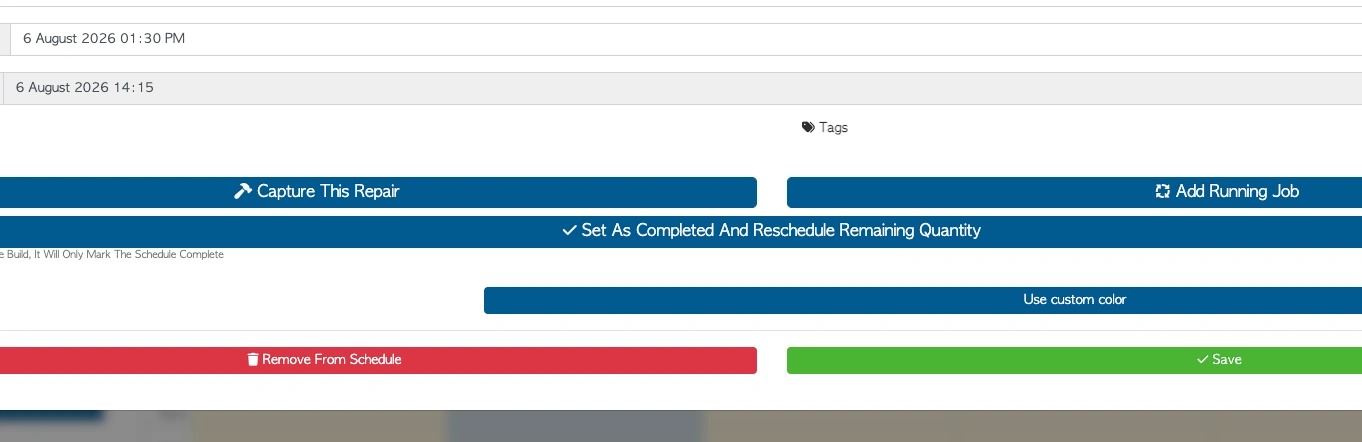
12. Click on the scheduled task to access action buttons. The repair can be captured from here, added to a running job, rescheduled or removed from the schedule.
13. A completed repair will turn a different colour on the schedule.