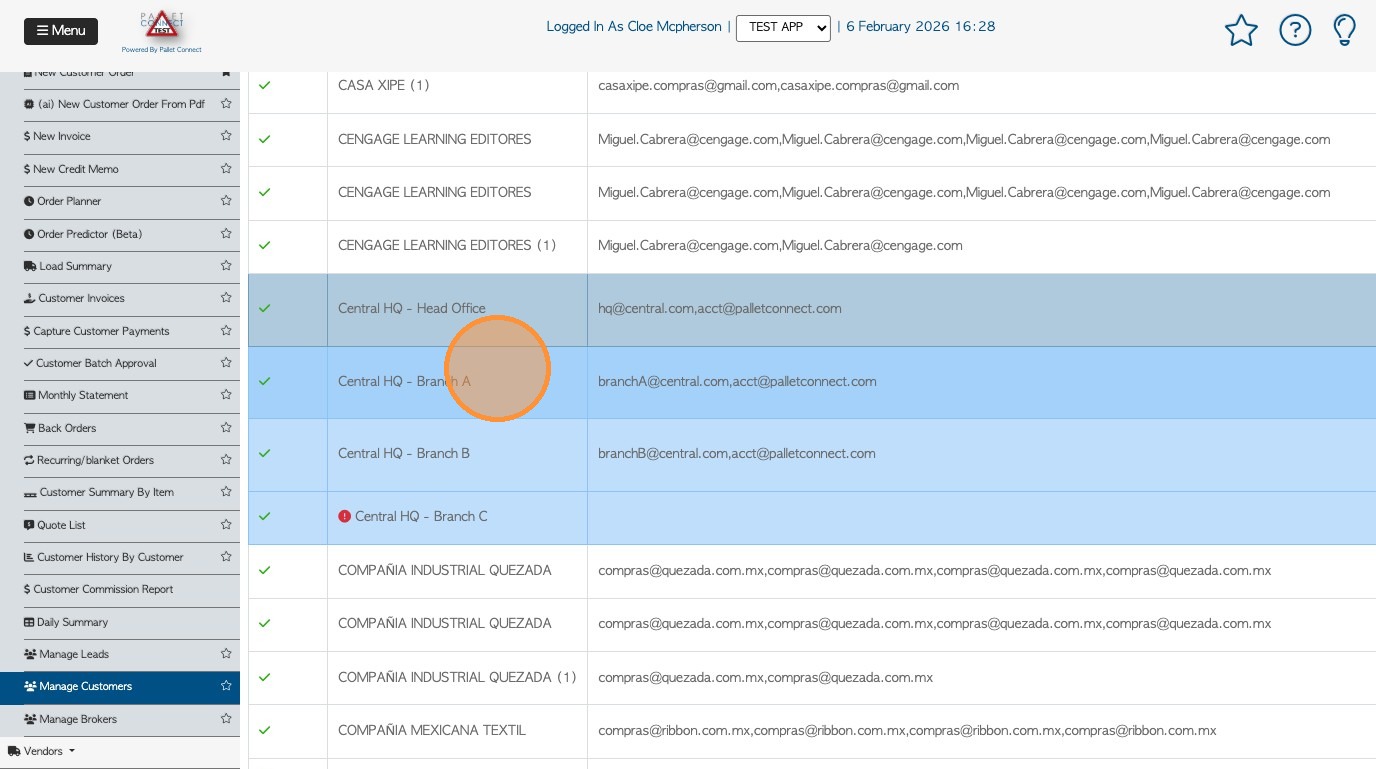
1. When importing Customers to Quickbooks, that have a head office and associated locations, there are two options for set up.
If locations are attached to a head office, when importing to Quickbooks they will import as separate company files and the invoices will be recorded separately for each location.
If the locations have been set up to "invoice to head office" however, all invoices will be recorded in the head office file within Quickbooks.

2. To check the Invoice Settings:
Click on a Customer location within the 'Manage Customers' list OR use the global search tool to look up the location profile.
3. Click "Edit Contact"
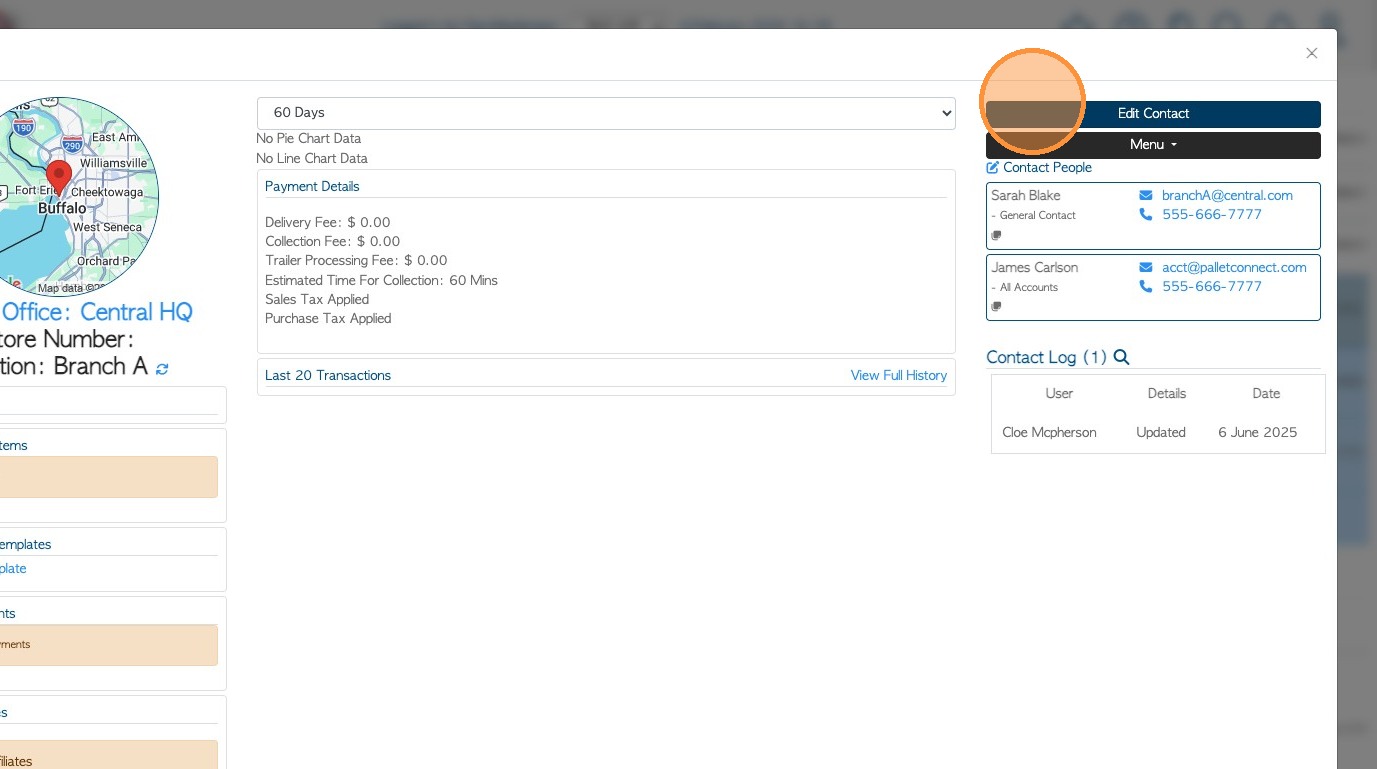
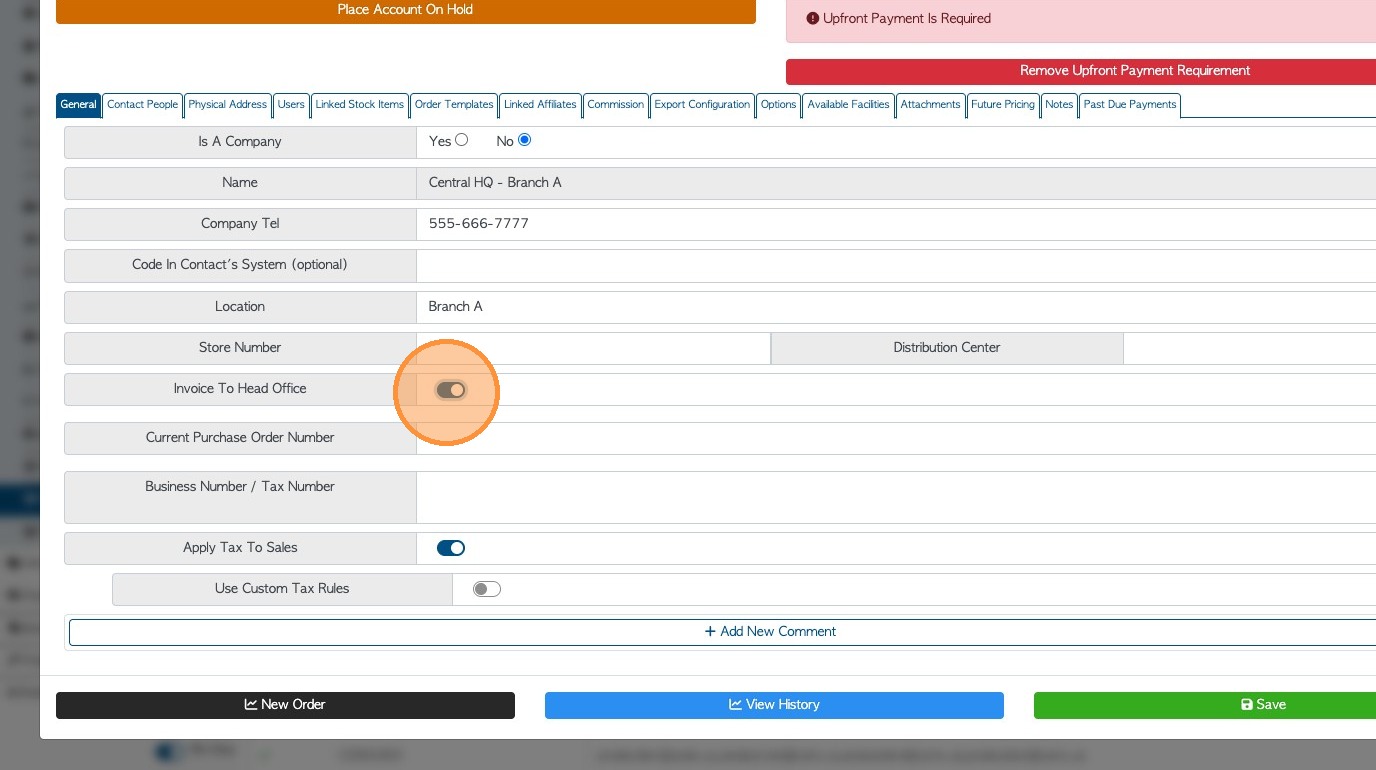
4. From the General tab of the profile, check if "Invoice to Head Office" has been enabled.
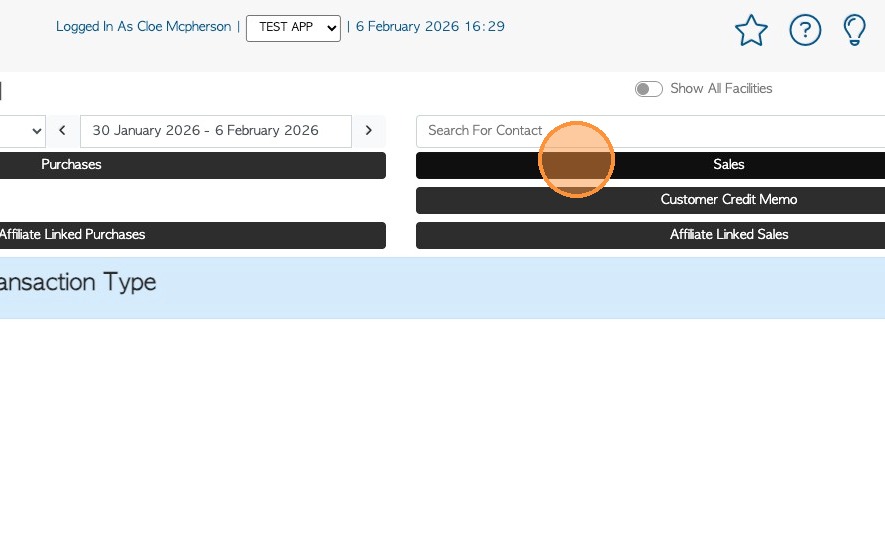
5. This setting can be checked from the export page also.
From the Main Menu, click on "Export Data" then click "Sales".
This will list all the Invoices ready to export.
6. If "Invoice to head office" is NOT enabled, the 'Customer Name' and 'Invoice To' names should match in the export list. This is due to the invoice going to the location's record in Quickbooks.
The 'Customer Name' and the 'Invoice To' will both show the location name.
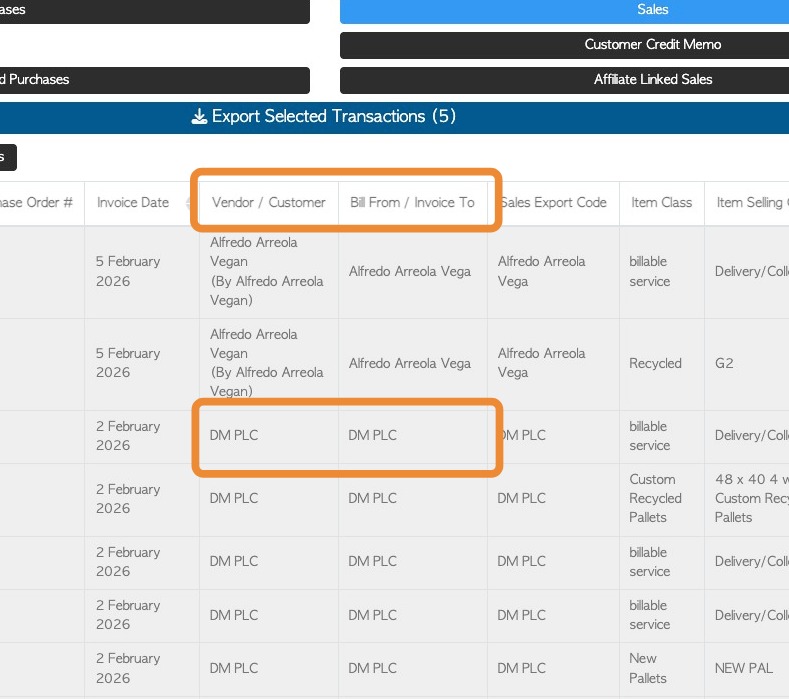
7. If "Invoice to head office" IS enabled, the 'Customer Name' and 'Invoice To' names should NOT match in the export list. This is due to the invoice going to the head office's record in Quickbooks.
The 'Customer Name' will be the location and the 'Invoice To' will show the head office.
