This will enable the driver to complete deliveries and pick up requests that are scheduled to their schedule. The article will focus on a Customer Order delivery.
2. STEP 1: Ensure that the driver is an active user. Navigate to the User section of the Main Menu and click on "Manage Users". Select the Driver from the list.
TIP! Use the "Add New User" button if the Driver has not been set up in the system.

3. STEP 2: Link the driver to the Pallet Connect App.
TIP! The Driver must already have the App downloaded onto their device.
Click "Link App"

4. From the Driver's device, click on "Connect to Account" within the App.
A 6 digit code will be provided.
5. Enter the 6 digit code into the Pallet Connect system.
The Driver will now be logged in and be able to access their dashboard from their device.

6. STEP 3: Add Customer deliveries to the Driver's schedule.
Navigate to Logistics on the main menu, Click "Driver Schedule"

7. The Driver's name will be displayed on the Driver Schedule.

8. Click on the selected order and drag and drop onto the schedule, under the Driver's name.

9. Click "Direct To Next Stop" or back to "facility" to save.

10. The order is now scheduled to the Driver.
TIP! Click on the order to open and see details.

11. STEP 4: Process the delivery.
The Driver will see the order on their device.
TIP! The current order can be set to be displayed. If this setting is disabled, then a list of orders is shown and the driver will pick the order from a list.

12. The Driver will click on the order.

13. Reference numbers can be added here, if needed.
NOTE: The driver can also view the delivery slip from this page. Click on "view delivery slip".

14. option #1 Click "Dispatch"
TIP! The office can click on Dispatch from the Driver Schedule or from the order details.

15. Click "Yes, Send Notifications"

16. The Order information can be reviewed.
TIP! The Driver can edit the qty of items here, but only decrease the amount, not increase.

17. Click "Next"

18. Click "Upload Files:" to add file or photo, if needed. Notes can also be added.

19. Click "Next"

20. The Driver will sign that the delivery is complete.
NOTE: The driver can also click on "digitally sign" to produce a signature of their name.

21. Click "Next"

22. The Customer representative will sign that the delivery is complete.
Click on "Save"
TIP! A rep name must be added to be able to sign.
NOTE: If the Driver cannot obtain a signature. Use the "Unable to Get Signature" button.

23. The order will show as complete on the driver schedule. Completed orders will show for 1 day and then will be removed from the schedule.
NOTE: The Driver can now view the POD (Proof of Delivery). Click on the completed order and use the "View Delivery Slip" button.
24. The Driver can now click on the next order.

25. option #2 - There is an option for the Driver to check in when they have arrived on site.
Click "Check In" and the text bar will change to "Checked in".
TIP! The time between "check in" and "sign" is then logged in Pallet Connect.

26. option 3 - Driver can click on "Sign" without dispatch or check in.
Click "Sign".

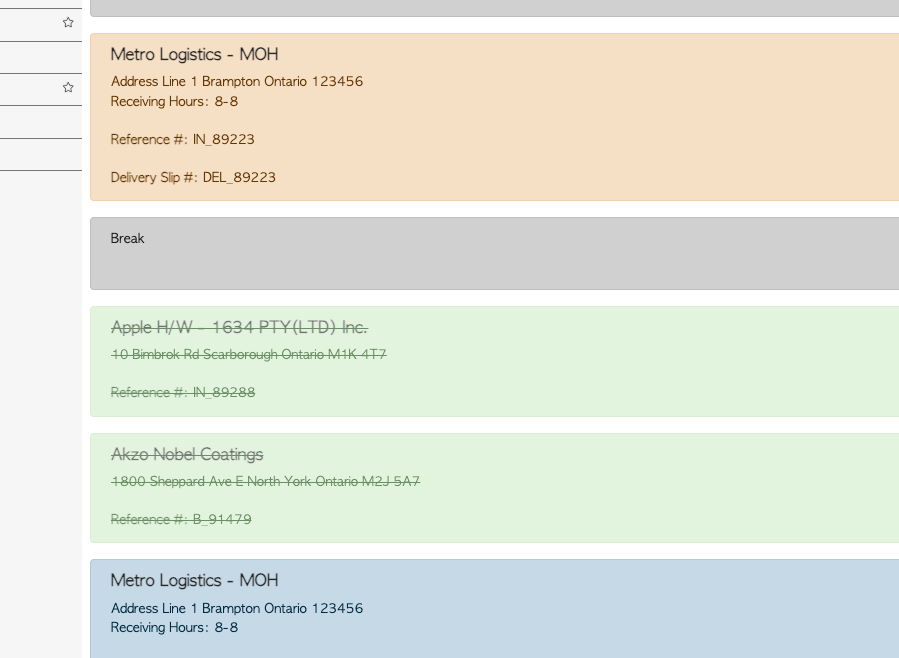
27. Once "sign" has been saved, the Customer Order will change colour on the "Driver Schedule" to show it has been completed. Documents within Pallet Connect will also be updated.
