1. Setting up billing in Pallet Connect allows tailoring of the invoice process to match business needs. With flexible options for customizing billing details, numbering sequences, and financial settings, ensure every invoice reflects accurate and professional information. This guide walks through configuring automated invoicing, applying taxes correctly, and designing cheque layouts, helping to streamline accounting tasks and maintain consistency across your financial documents.
2. From the main menu, click Settings -> System Settings.

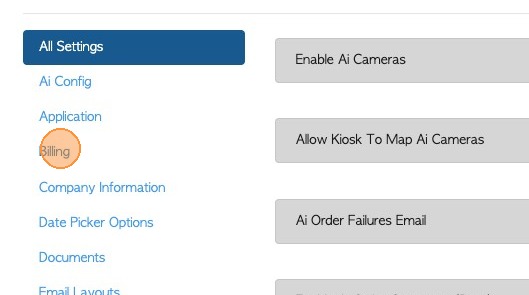
3. Within Settings, click "Billing". This section houses all customizations related to billing (e.g., invoice, rebate, credit memo etc.)
4. Toggle on/off "Assign Invoice Number When Order Created"
Toggle On: Enable this option to assign an invoice numbers manually. The system will prompt to enter a custom invoice number each time an invoice is created.
Toggle Off: Disable this option if user wants Pallet Connect to automatically generate invoice numbers whenever an order is created, ensuring a consistent and sequential numbering system.
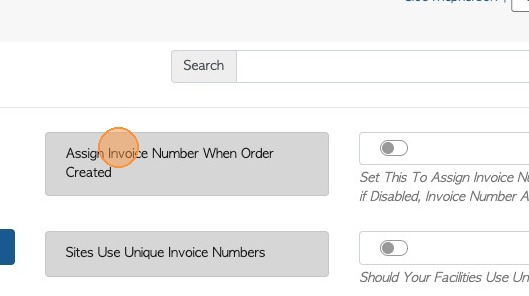
5. Toggle on/off "Sites Use Unique Invoice Numbers"
Toggle On: Use Unique Invoice Numbers Per Facility (only applicable to sites with multiple facilities)
Toggle Off: Use the same sequencing for invoice numbers. Invoice numbers are shared between sites.
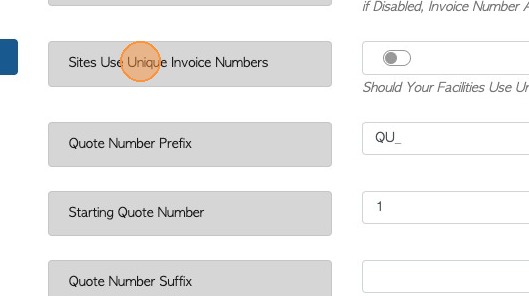
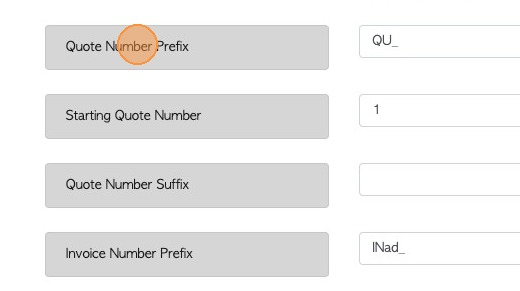
6. Click "Quote Number Prefix". To modify the prefix for quotes. Default is QU_.
NOTE: All Prefix and Suffix are shown in the system and on documents.
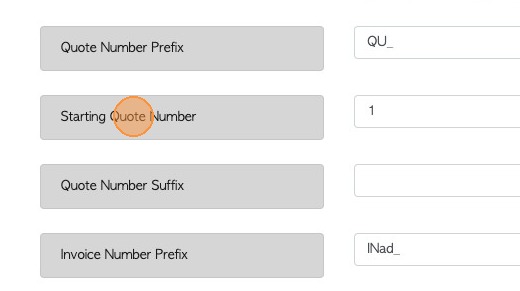
7. Click "Starting Quote Number" to define the initial number for quotes. This allows to set a custom starting point, ensuring the quote numbering aligns with existing records or preferred sequence.
NOTE: Numbers can be increased at any time but cannot be edited to a lower number.
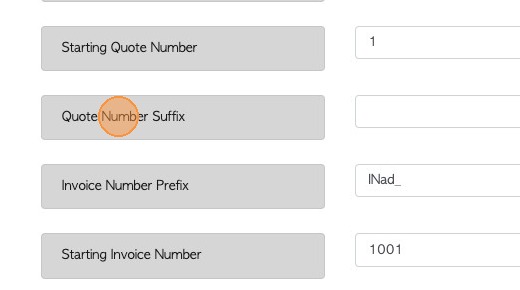
8. Click "Quote Number Suffix" to add a custom suffix to quote numbers. This helps differentiate quotes by adding identifiers such as branch codes, year markers or business-specific tags, making numbering system more organized and easier to track.
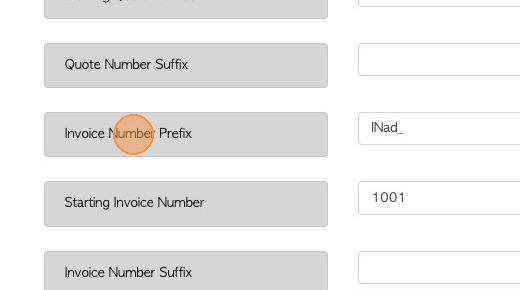
9. Click "Invoice Number Prefix" to add a custom prefix to invoice numbers. This allows to include identifiers such as company codes, location tags etc.
TIP! This can help to identify invoices made in Pallet Connect and differentiate from invoices made in accounting software e.g. Quickbooks.
10. Click "Starting Invoice Number" to set the initial number for invoices. This defines where the invoice numbering sequence begins, helping align with existing records or continue from a previous system.
NOTE: Numbers can be increased at any time but cannot be edited to a lower number.
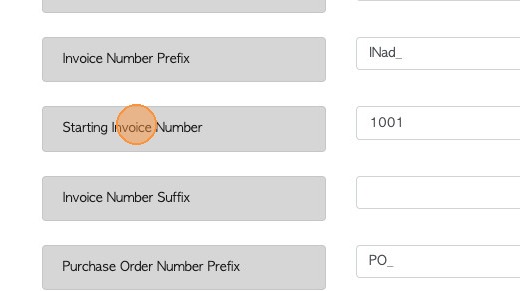
11. Click "Invoice Number Suffix" to add a custom suffix to invoice numbers.
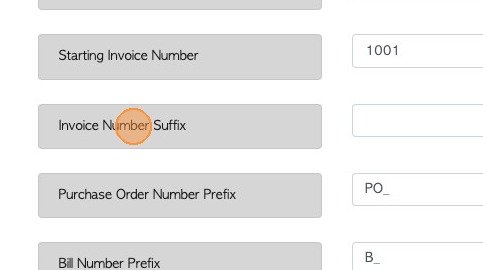
12. Click "Purchase Order Number Prefix" to add a custom prefix to purchase order numbers. Default is PO_.
This relates to Purchase Orders from Suppliers.
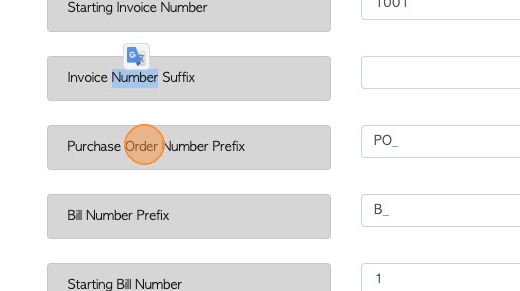
13. Click "Bill Number Prefix" to add a custom prefix to bill numbers.
Default is B_.
"Bills" relate to both Purchase Orders and Vendor Rebates.
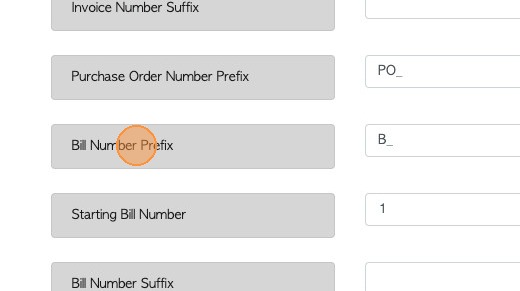
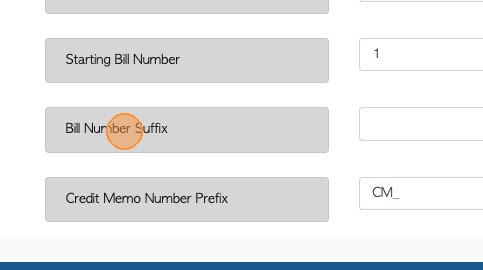
14. Click "Starting Bill Number" to allow the user to set the initial number for bills.
Bills relate to both Supplier Purchase Orders and Vendor rebates.
NOTE: Numbers can be increased at any time but cannot be edited to a lower number.

15. Click "Bill Number Suffix" to add a custom suffix to bill numbers.
16. Click "Credit Memo Number Prefix" to add a custom prefix to credit memo numbers. Credit memos are issued when adjustments are needed for a customer, such as returned items or differences in delivered quantities.
Default is CM_.
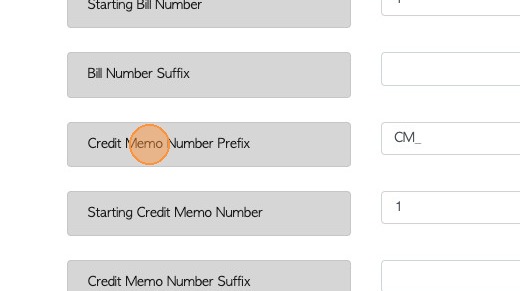
17. Click "Starting Credit Memo Number" to set the initial number for credit memos. This defines where the credit memo numbering sequence begins.
NOTE: Numbers can be increased at any time but cannot be edited to a lower number.
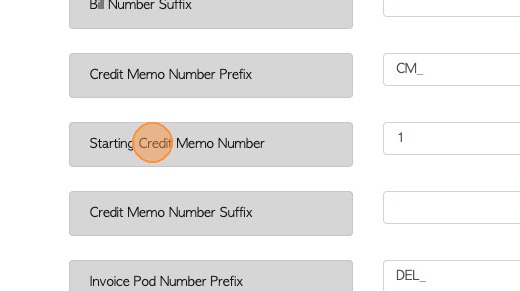
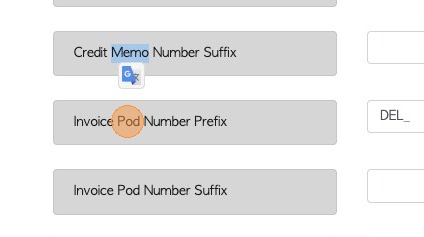
18. Click "Credit Memo Number Suffix" to add a custom suffix to credit memo numbers.
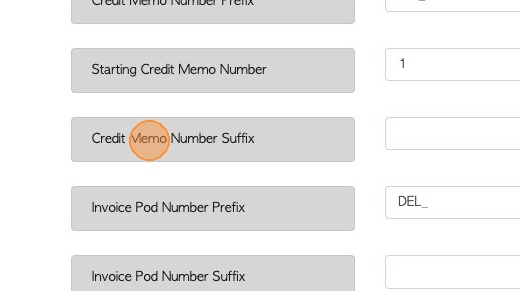
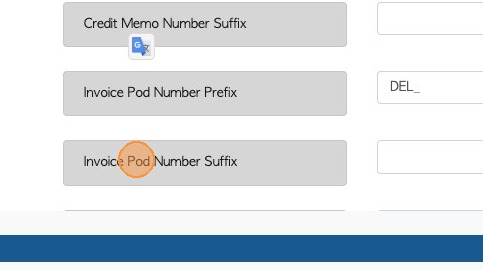
19. Click "Invoice Pod Number Prefix" to add a custom prefix to the Invoice Proof Of Delivery numbers.
Default is DEL_.
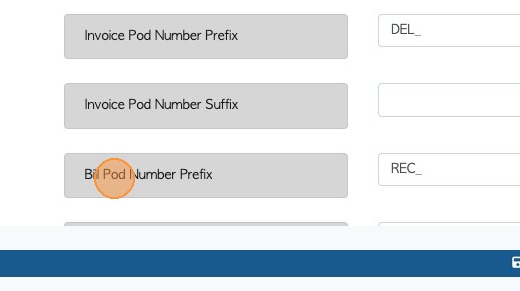
20. Click "Invoice Pod Number Suffix" to add a custom suffix to Invoice POD numbers.
21. Click "Bill Pod Number Prefix" to add a custom prefix to Bill Proof Of Delivery numbers. This relates to Supplier and Vendor Purchases.
Default is REC_.
22. Click "Bill Pod Number Suffix" to add a custom prefix to Bill POD numbers.
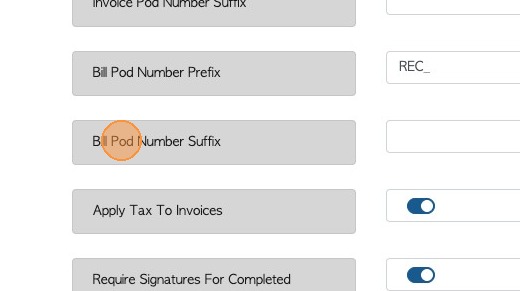
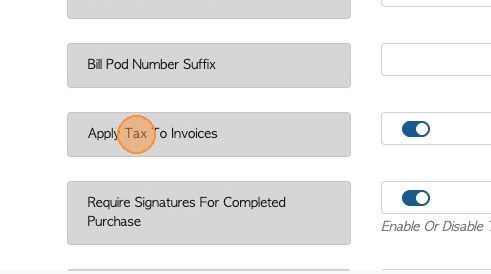
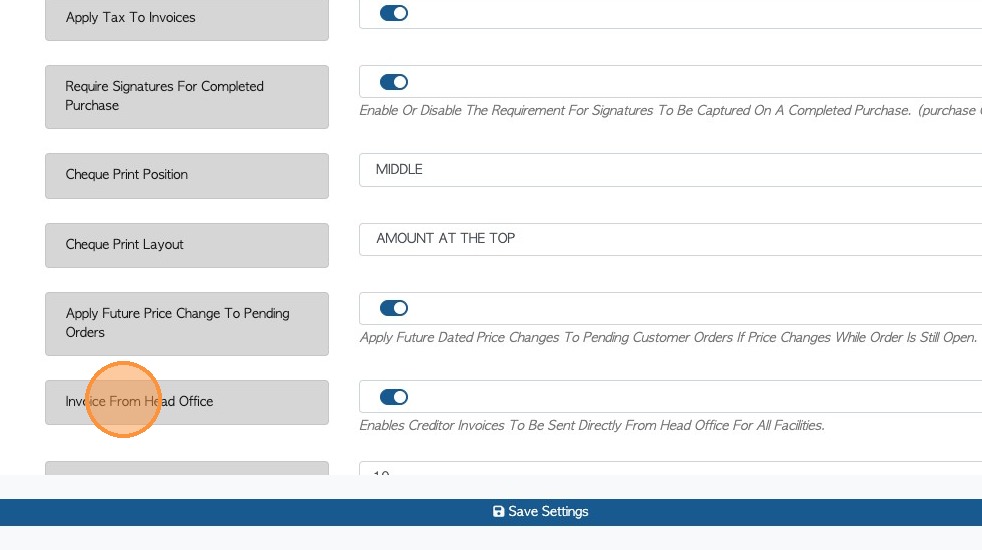
23. Toggle "Apply Tax to Invoices" on or off to control whether tax calculations are applied to invoices within the system.
- Toggle On: The system will automatically apply the configured tax rates to all generated invoices.
- Toggle Off: Invoices will be generated without applying any tax throughout the system.
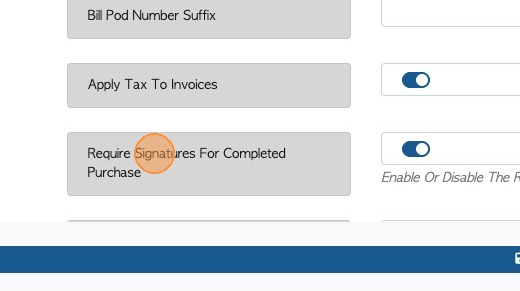
24. Toggle "Require Signatures for Completed Purchase" on or off to control whether the user must capture a signature before marking a purchase as completed.
- Toggle On: The system will require a signature from the appropriate party before the user can complete a purchase, ensuring verification and authorization.
- Toggle Off: The user can complete purchases without requiring a signature, allowing faster processing without formal approval capture.
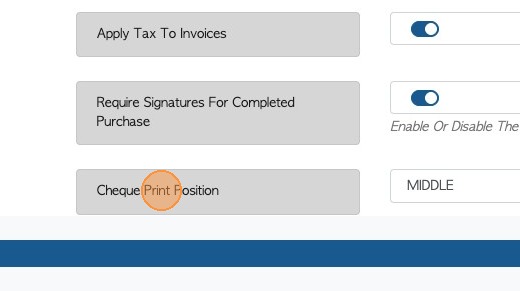
25. Click "Cheque Print Position" to enter a custom print alignment or position settings for cheques. This helps adjust where text and details appear on printed cheques to match different cheque layouts or printer requirements.
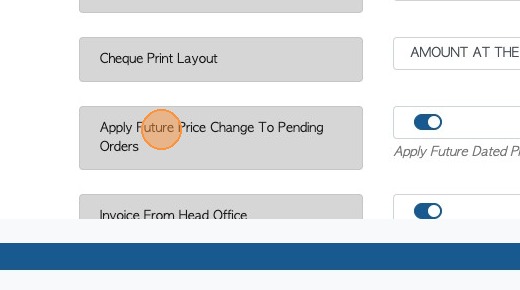
26. Click "Cheque Print Layout" to define how cheque details are arranged when printing. For example, set the layout so the amount appears at the top, or adjust the placement of other fields to match the preferred cheque format.
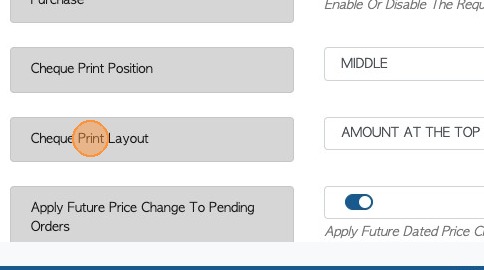
27. Toggle "Apply Future Price Change to Pending Orders" on or off to control whether updated pricing is applied to orders that have not yet been completed.
- Toggle On: Pending orders will automatically update to reflect any future price changes, ensuring all orders use the latest pricing.
- Toggle Off: Pending orders will retain their original prices, even if there are later price changes in the system.
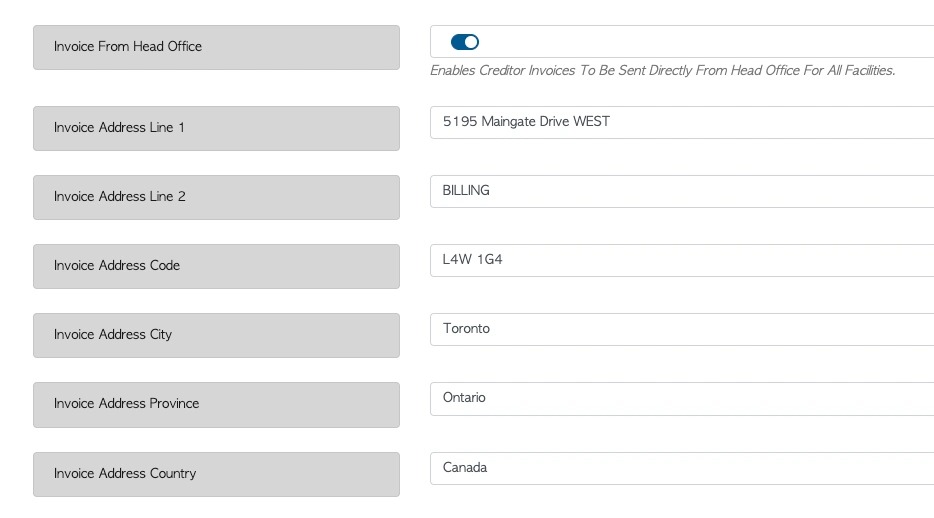
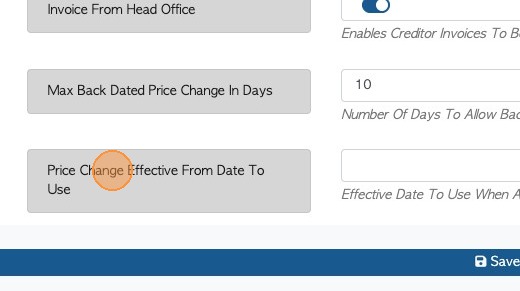
28. Click "Invoice From Head Office" to generate invoices under the head office (site 1) as the issuing entity (if set on the profile). This ensures that all invoices are centralized and officially issued from the main office.
29. The Invoice address details lines show the billing address that is displayed on Invoices. If there are multiple sites and "Invoice from Head Office" is toggled on, this also becomes the billing address for all sites.
Address Line 1, Address Line 2, Zip/Postal code, City, Province/State and Country can be added.
30. Click "Max Back Dated Price Change In Days" to define how many days back price changes can be applied. This setting controls the limit for backdating price updates, ensuring that any adjustments only affect records within the specified number of days if enabled.
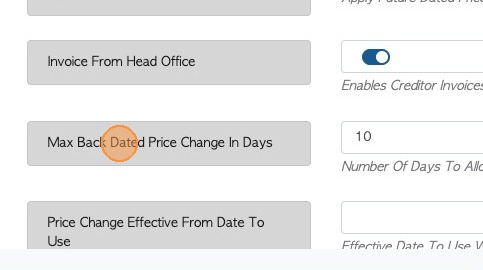
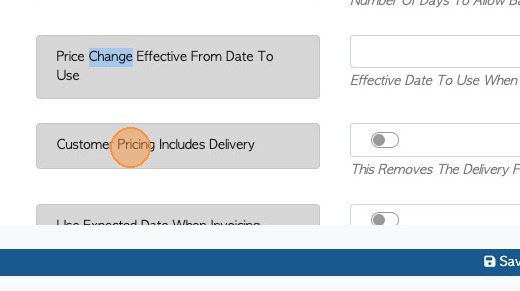
31. Double-click "Price Change Effective From Date To Use" to select which date should be used as the effective start date for price changes. This setting determines how and when updated pricing is applied across transactions based on the chosen effective date.
32. Toggle "Customer Pricing Includes Delivery" on or off to control how delivery fees are handled in customer pricing.
- Toggle On: The system assumes delivery fees are already included in the product pricing, so no separate delivery fee will be added to the customer.
- Toggle Off: Delivery fees are calculated and added separately to the customer’s total, based on the configured delivery charges.
33. Toggle "Use Expected Date When Invoicing" on or off to control which date is used by default when creating invoices.
- Toggle On: The system will automatically use the expected date as the default invoice date when generating invoices.
- Toggle Off: The invoice will use the standard default date instead, and the expected date will not be applied automatically.
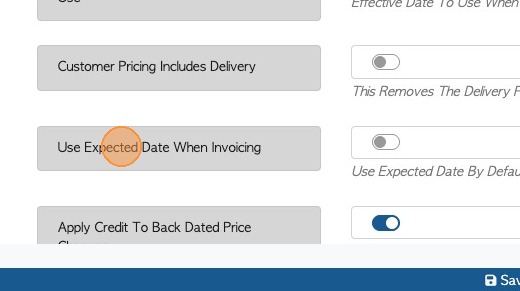
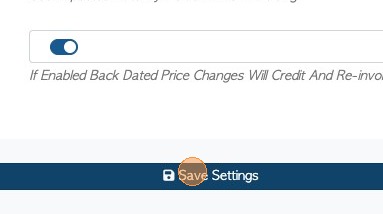
34. Toggle "Apply Credit to Back Dated Price Changes" on or off to control how historical price adjustments are handled.
- Toggle On: The system will automatically issue credits and re-invoice affected transactions when backdated price changes occur, ensuring all invoices reflect updated pricing.
- Toggle Off: Backdated price changes will not trigger credits or re-invoicing, and existing invoices will remain unchanged.

35. Click "Save Settings" to complete changes.