1. This knowledge base article provides an overview of how to add lumber in Pallet Connect. Please follow the steps below:
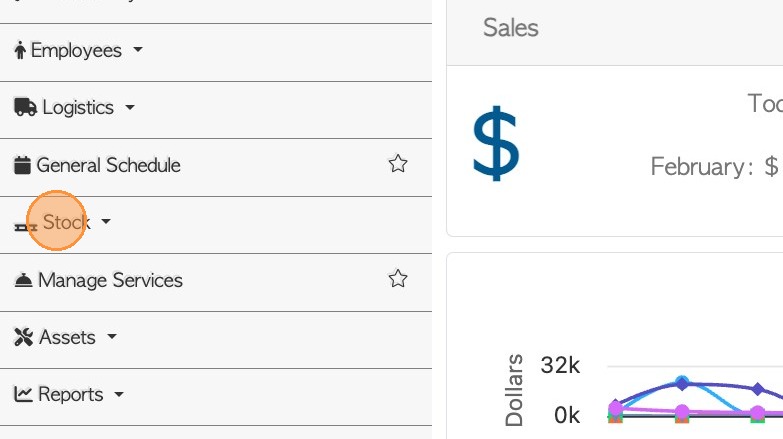
- From the Main Menu > Click "Stock".
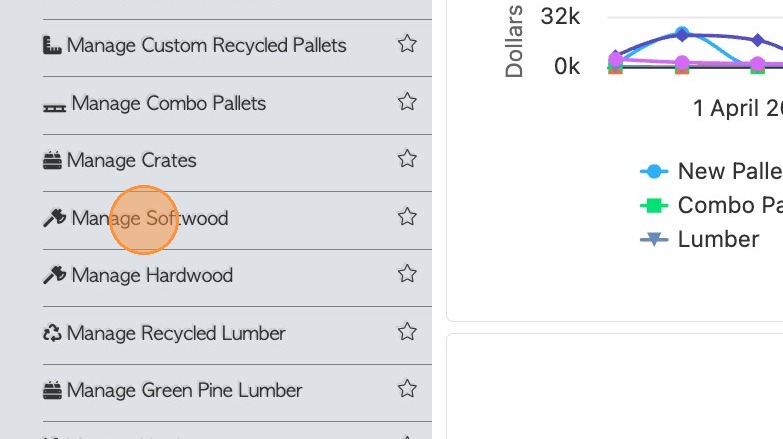
2. Click on a category designed for lumber e.g. "Manage Softwood"
TIP! To review stock categories click on "Manage Stock Categories". Click on the category and review the properties.
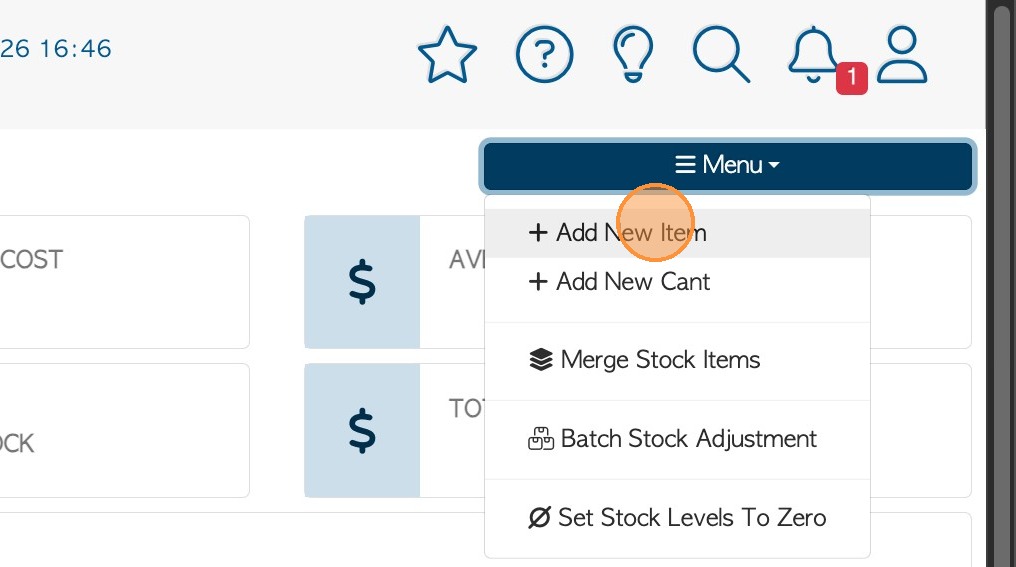
3. Click Menu and "Add New Item".
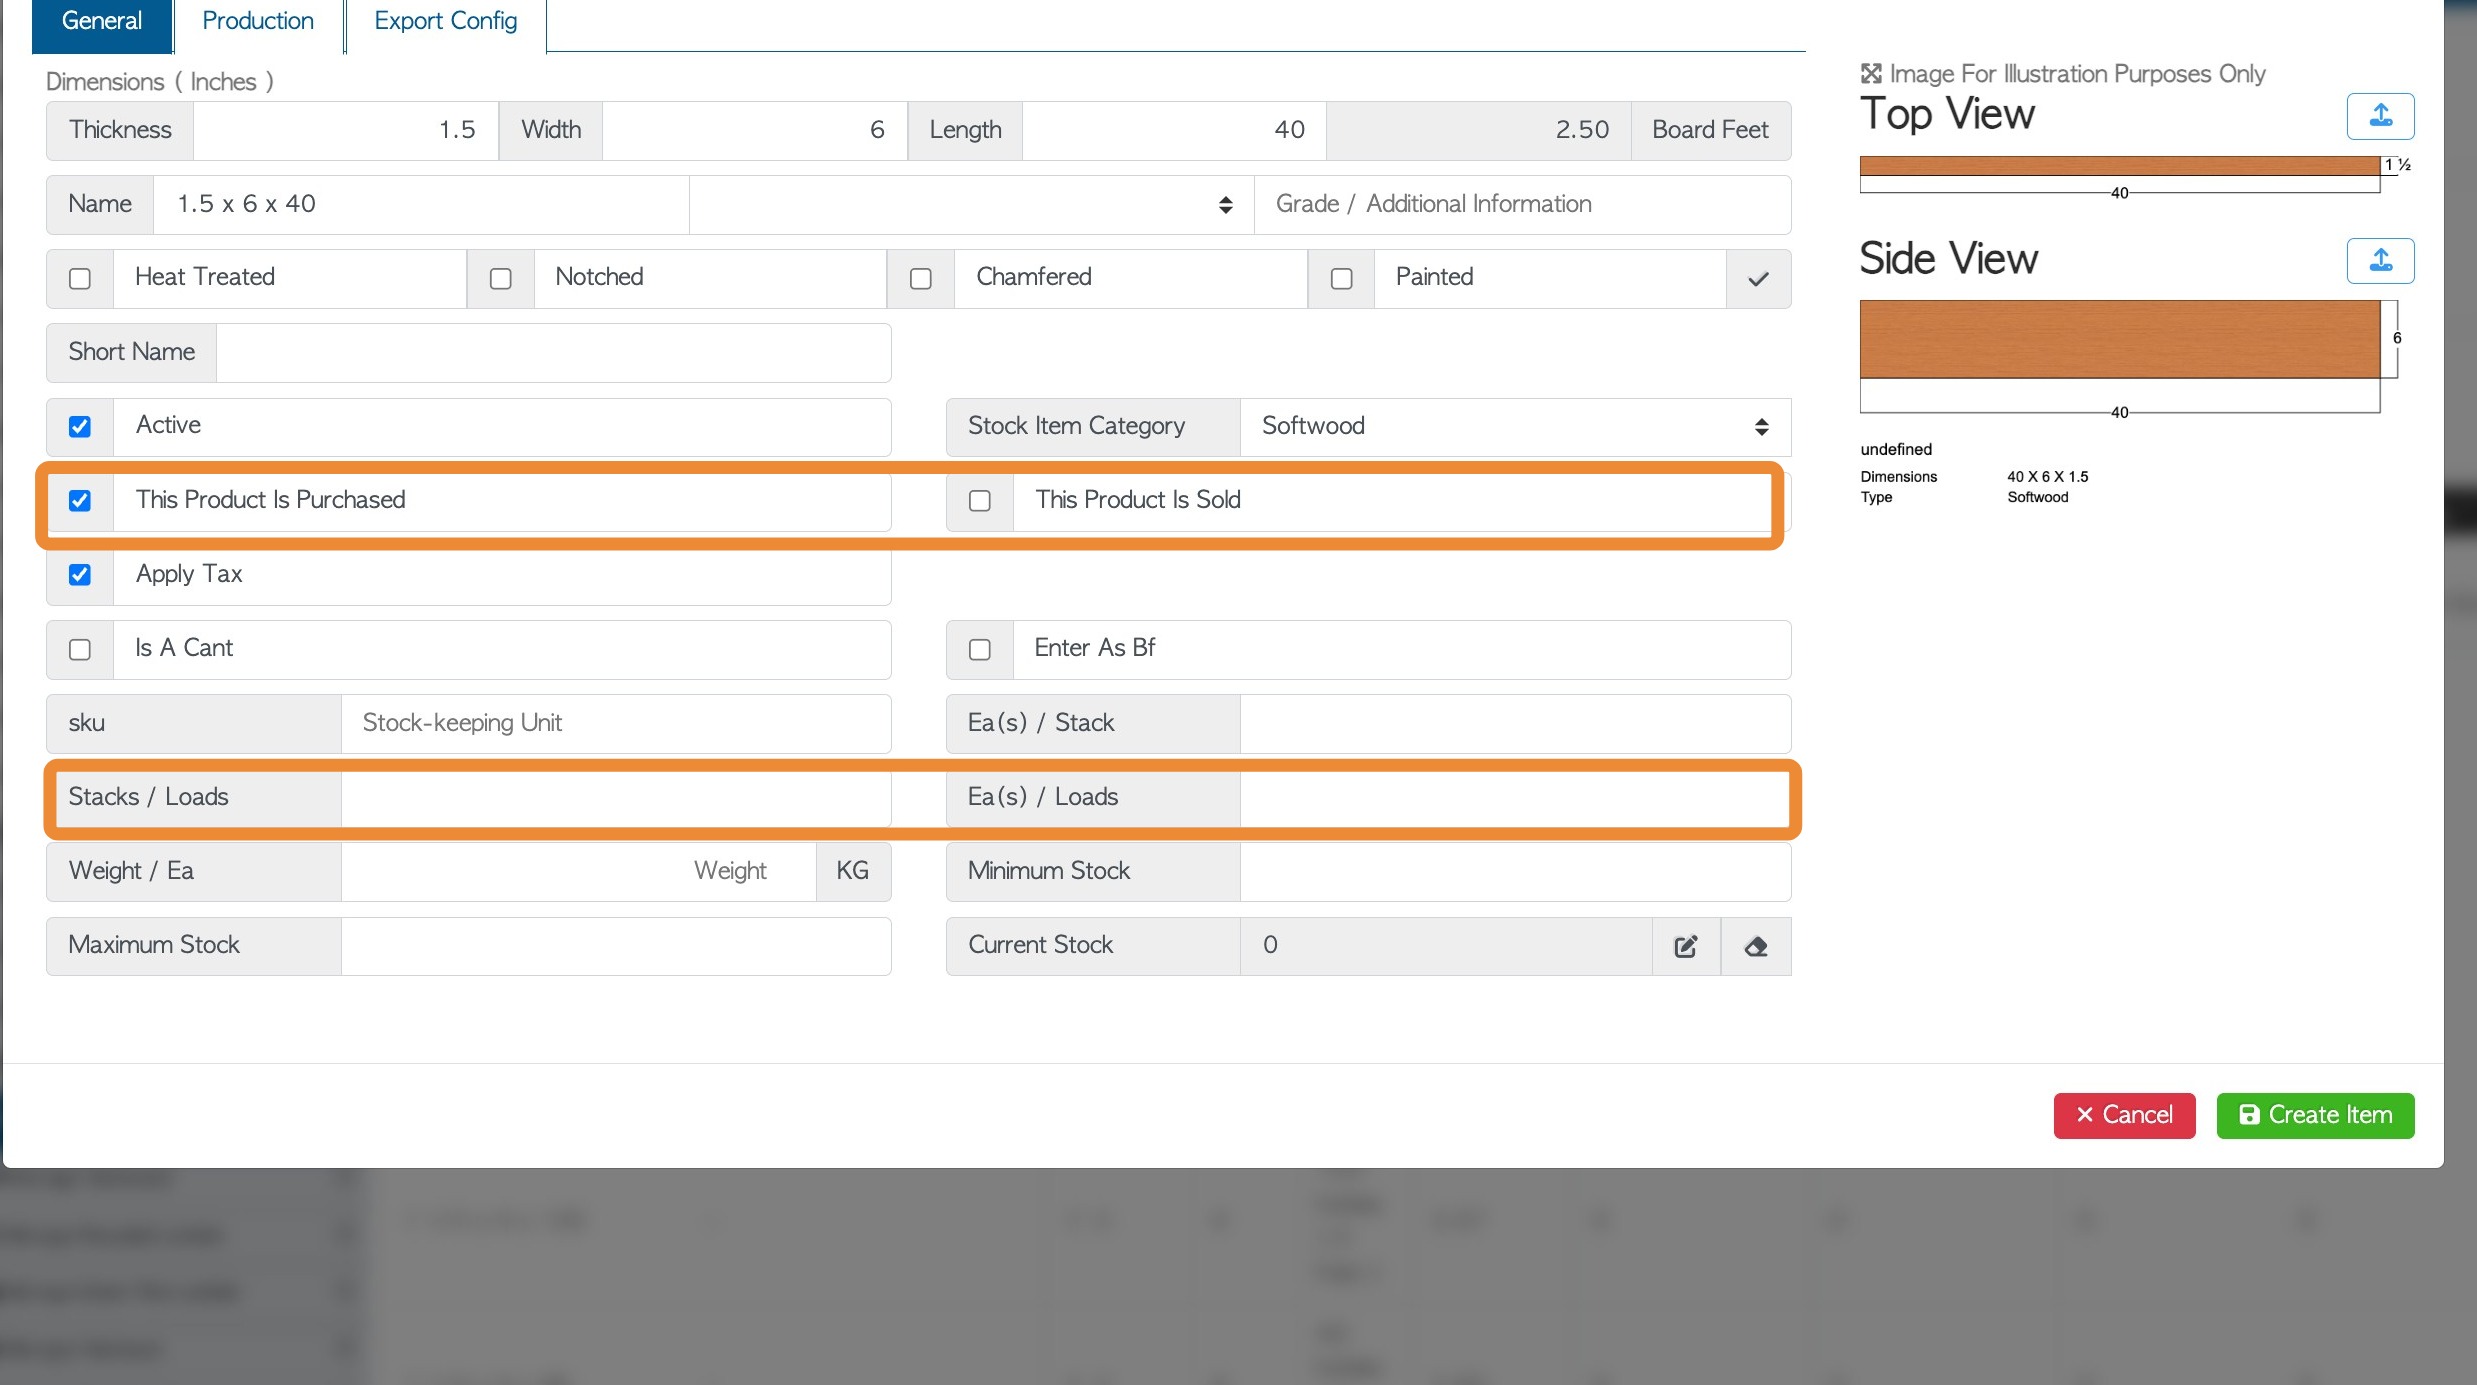
4. Enter the dimensions of the lumber. Please note that the dimensions will be the item name by default. However, this can be changed, for example if the actual measurements do not match the item name.
Tip! Lumber can be set as Board Feet by ticking the box "Enter as Bf".
Note: If users click the "Is A Cant" field to enter cants or lumber with some unknown dimensions. This will automatically check off "Enter as Bf".
An automated image will also show on the right side. Fill out the rest of the form describing the item.
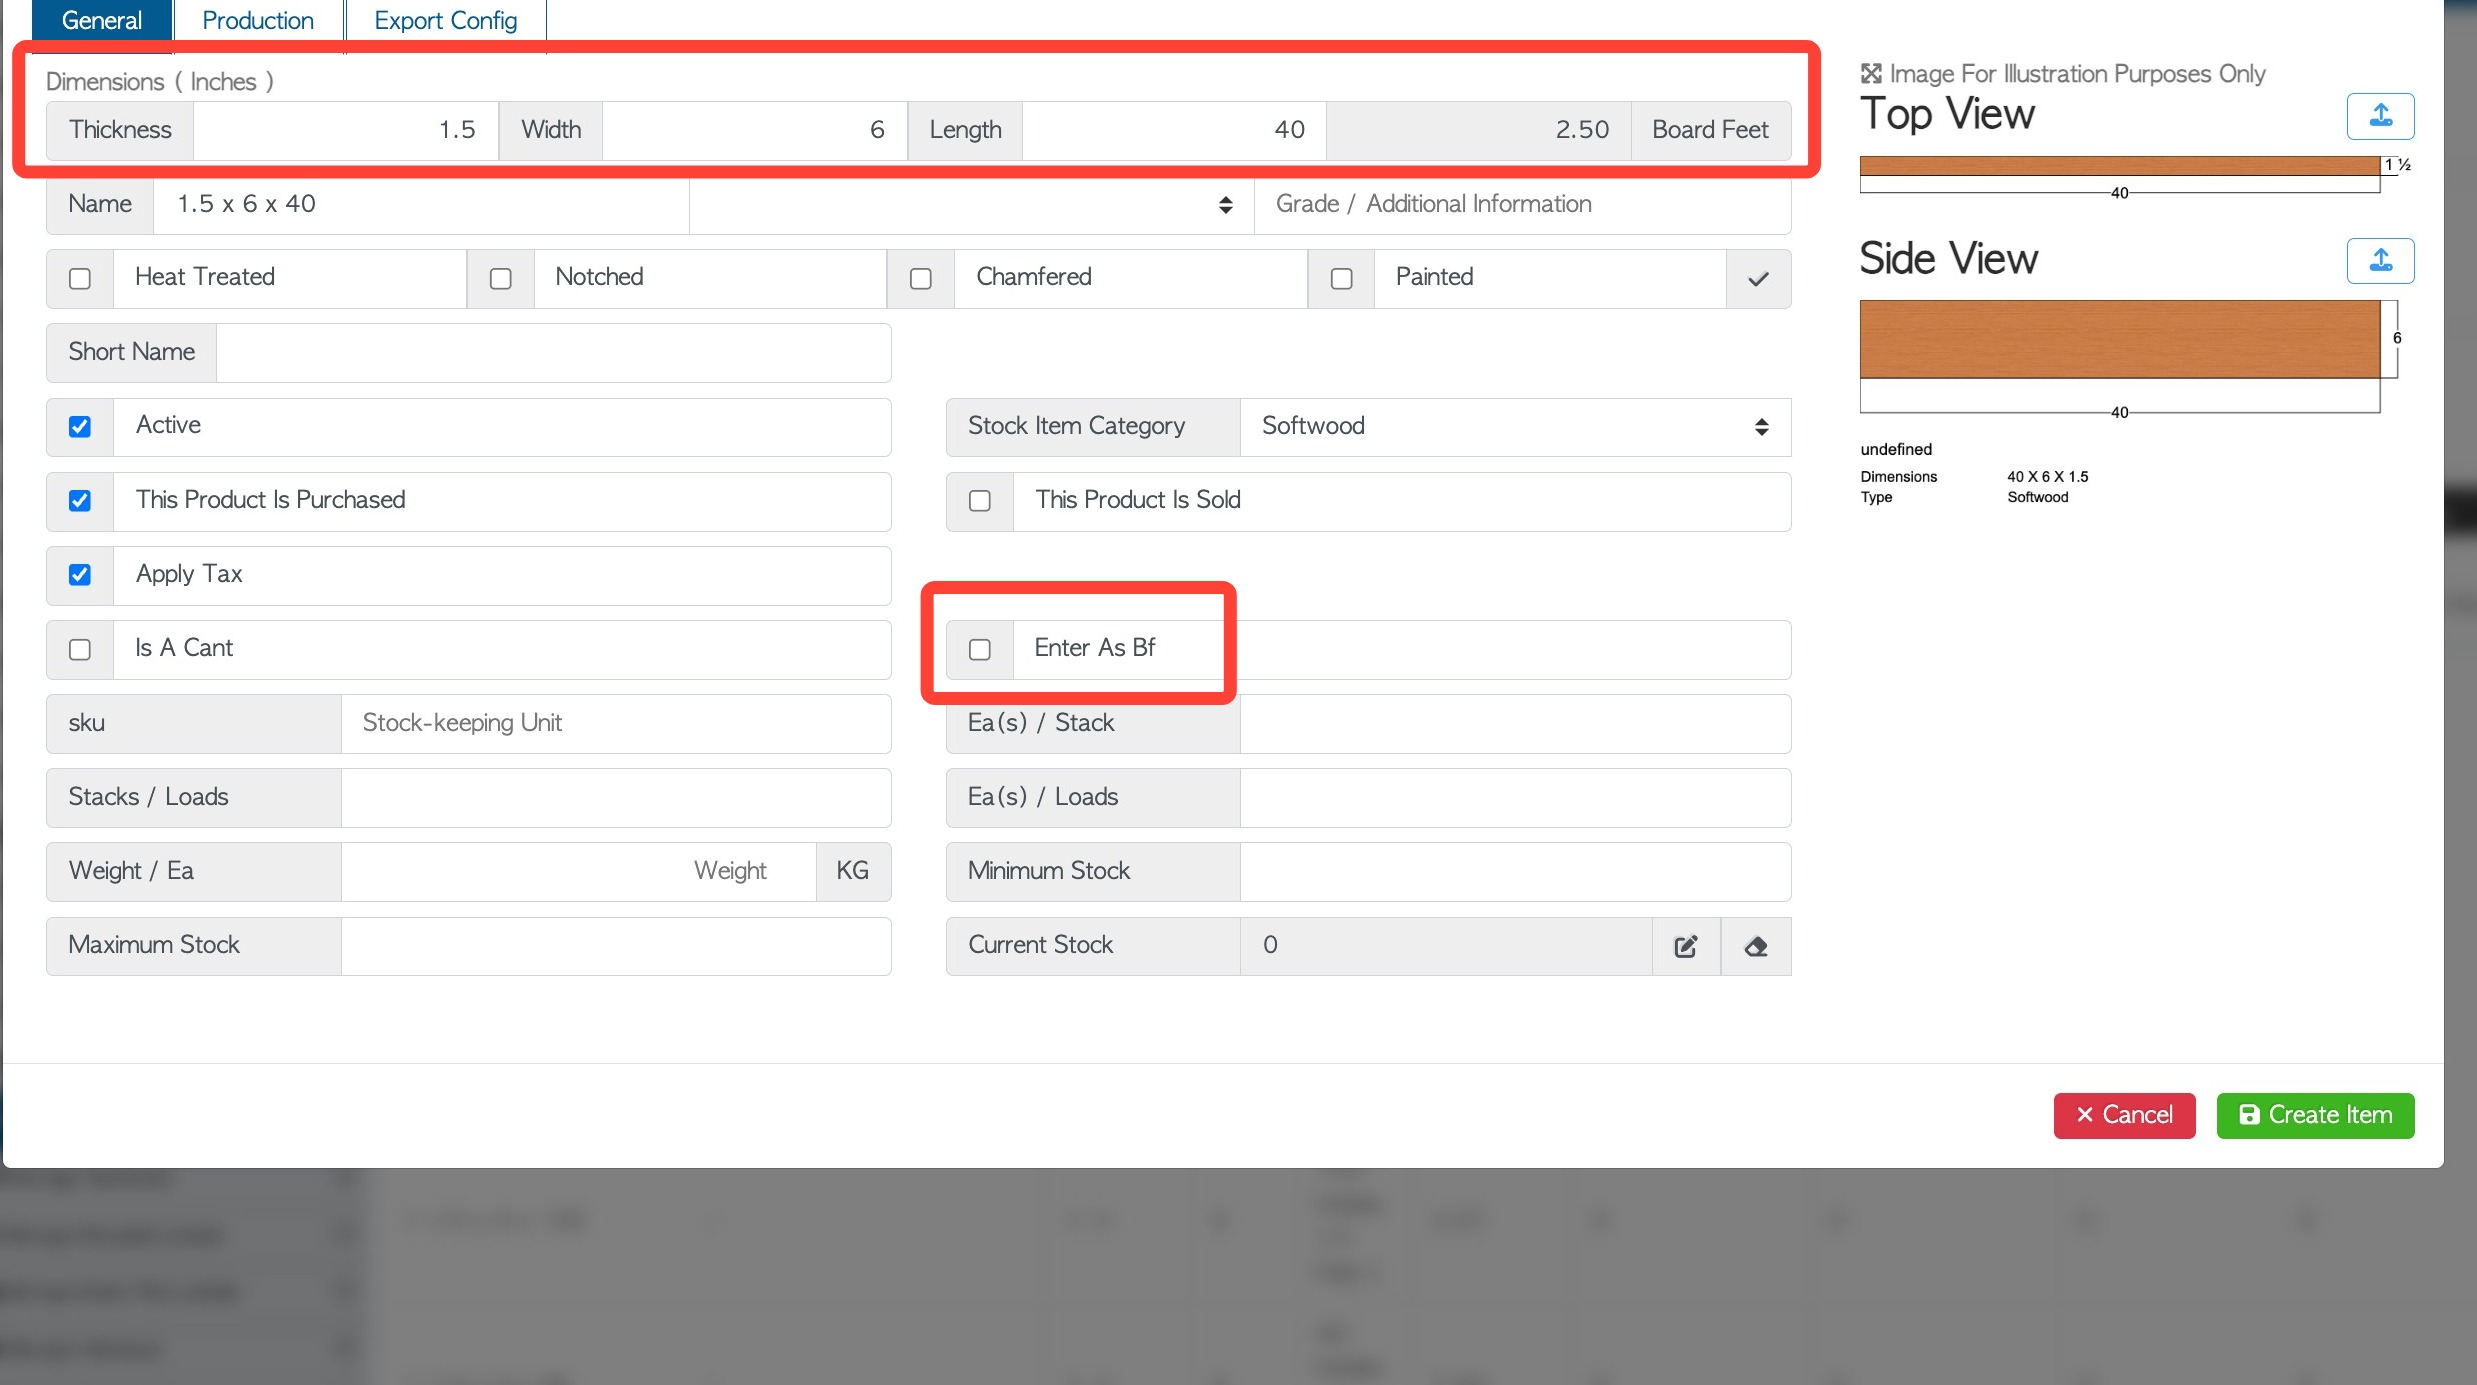
5. Ensure that "This product is Purchased" is checked off to be able to use item in Purchase Orders.
NOTE: The unit measurement terminology e.g. stack, load, is set in the Stock Category.
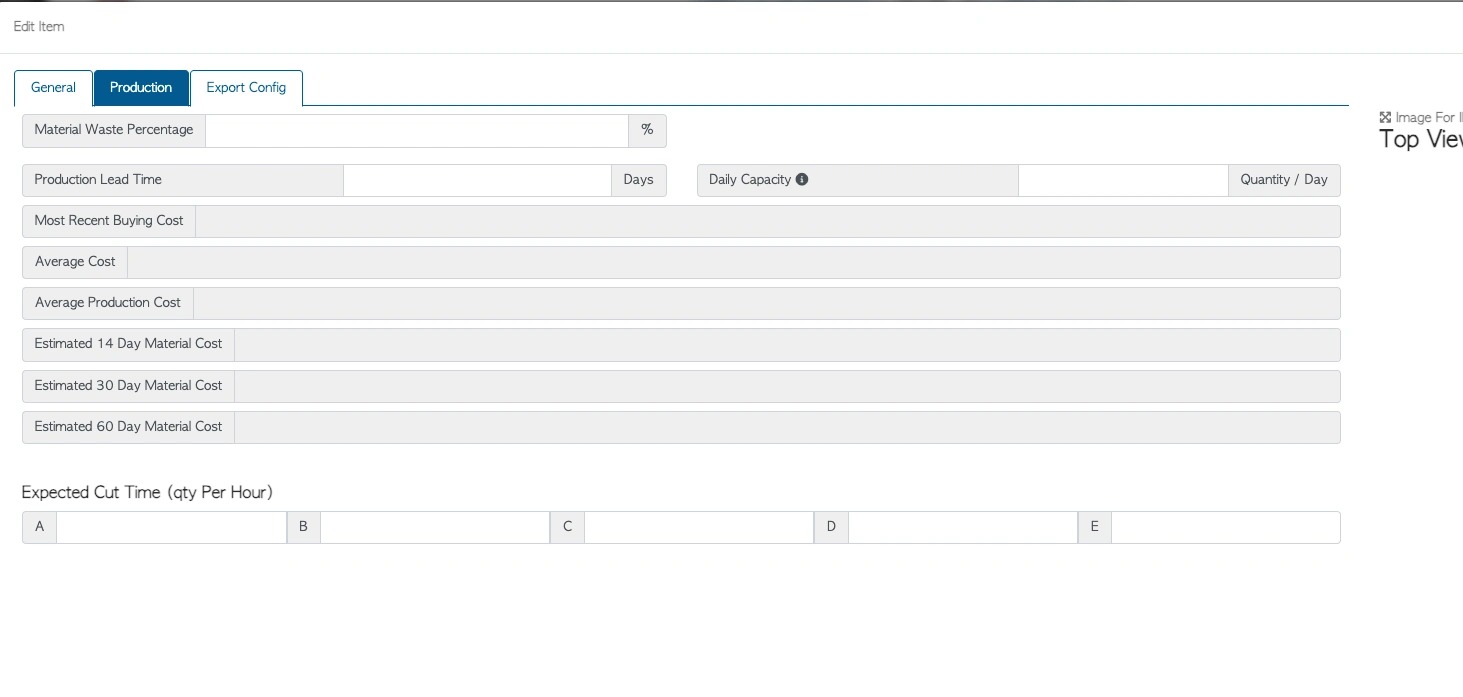
6. In the Production tab, lead times, expected cut time and daily capacity can be entered. These assist when scheduling production.
NOTE: Prices start to populate once the item has been purchased.
7. Click "Create Item" to save.
8. You may visit the related articles about lumber below:
Overview of General tab in Stock Item Profile (Lumber).
Production tab overview in stock item profile (Lumber).