1. The Build Schedule is a useful planning tool to allocate Build production tasks to various employees.
This article provides an overview of the schedule, including how to add, edit and remove builds.
See related article on how to schedule build for inventory. The Cut and Build schedules are linked - see related article on Cut schedule.
2. Navigate to the main menu. Click "Productivity".
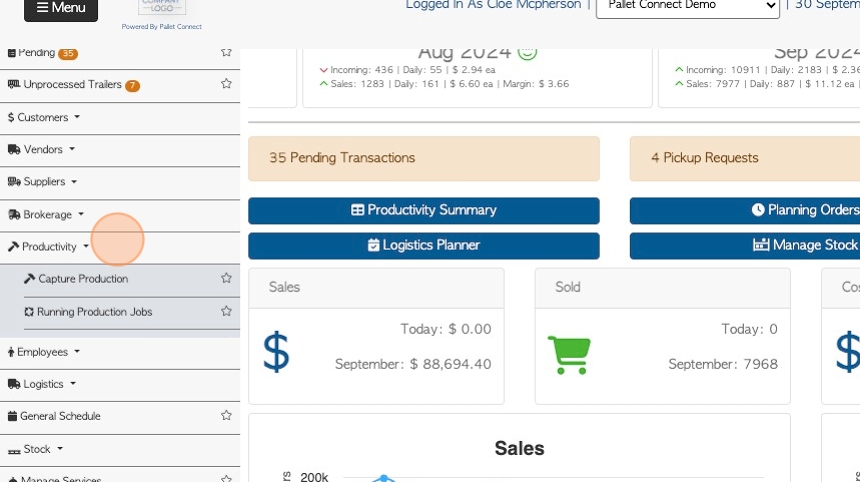
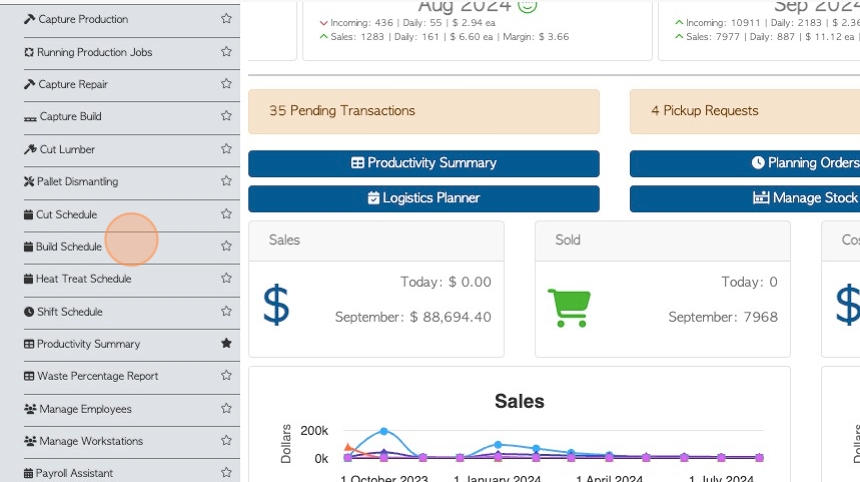
3. Click "Build Schedule".
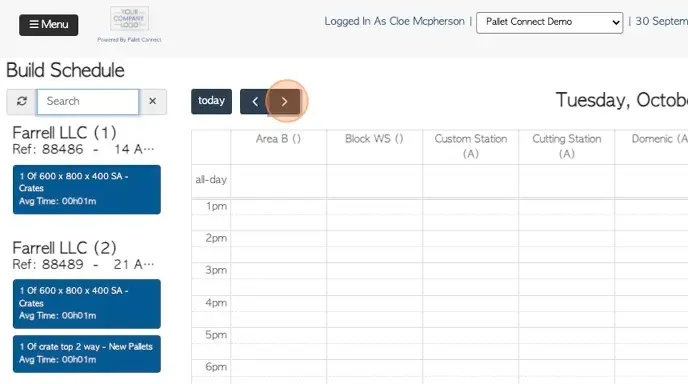
4. Click the search field to look for a specific customer, item name or reference number e.g order number.
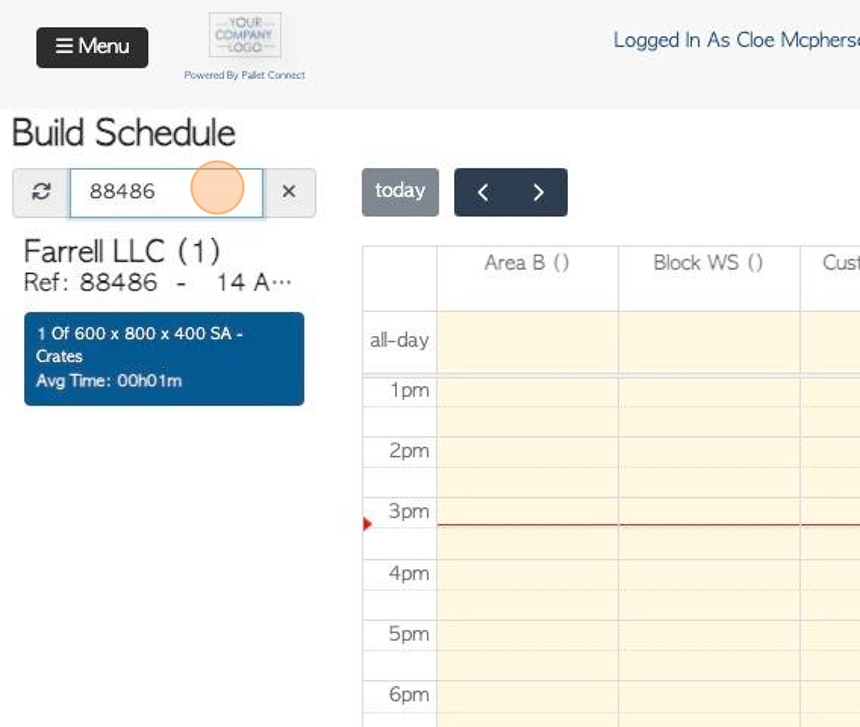
5. Click the arrow buttons to scroll through the calendar view.
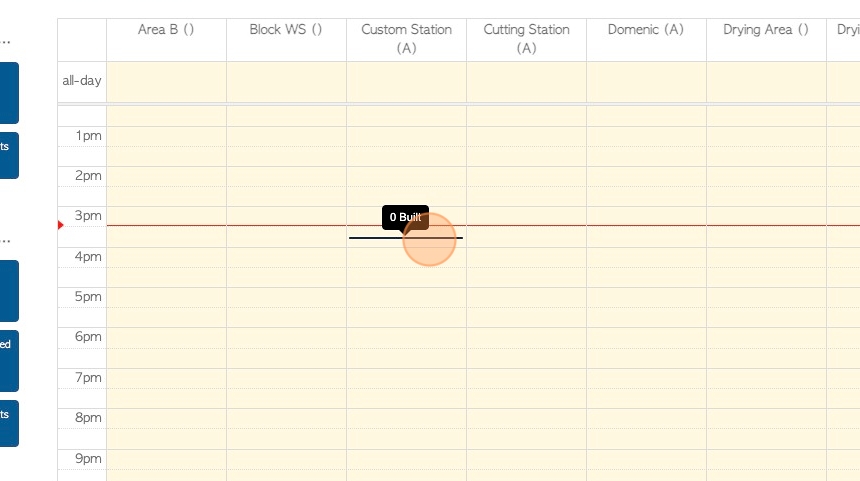
6. "Day Grid" displays a daily schedule, divided by the allocated employees that are available for scheduling.
NOTE: For an employee or work station to be listed on the schedule, they need to be allocated to "build" and they must be assigned to a schedule in their profile.
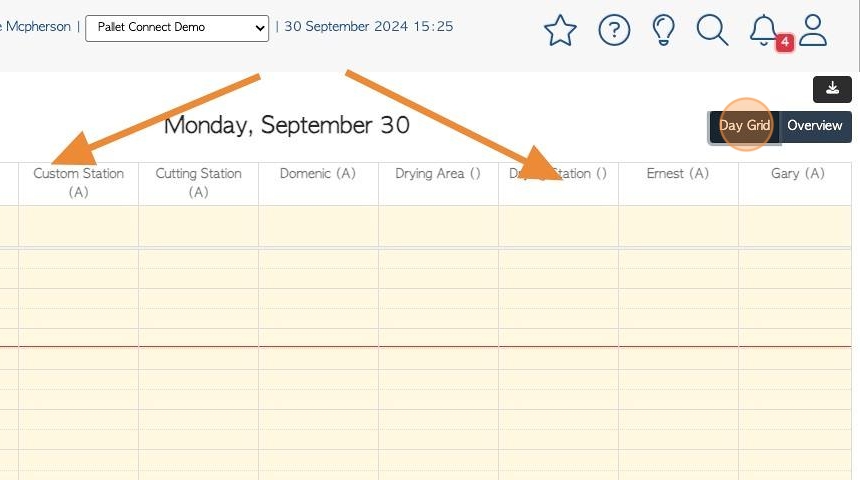
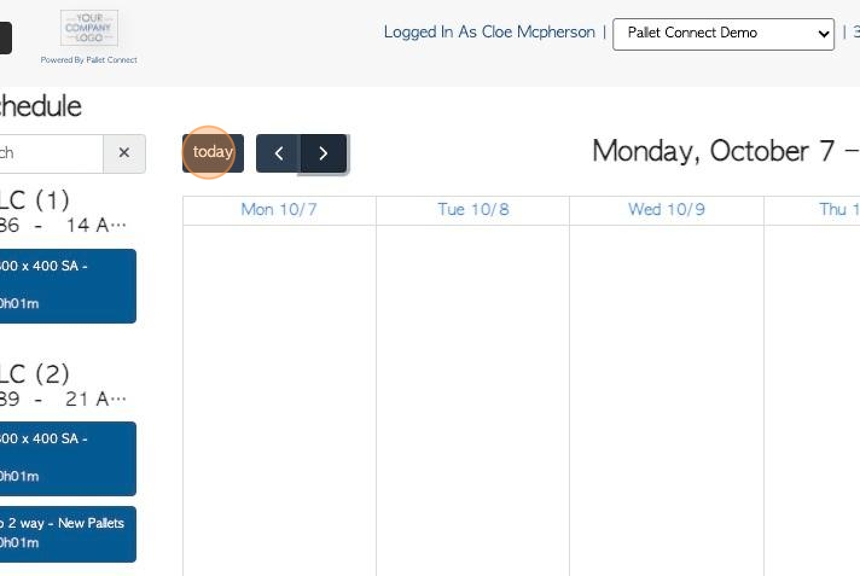
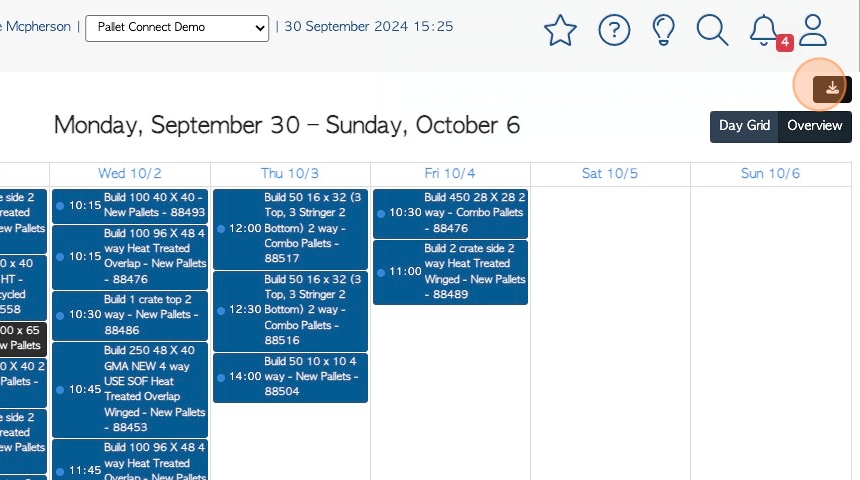
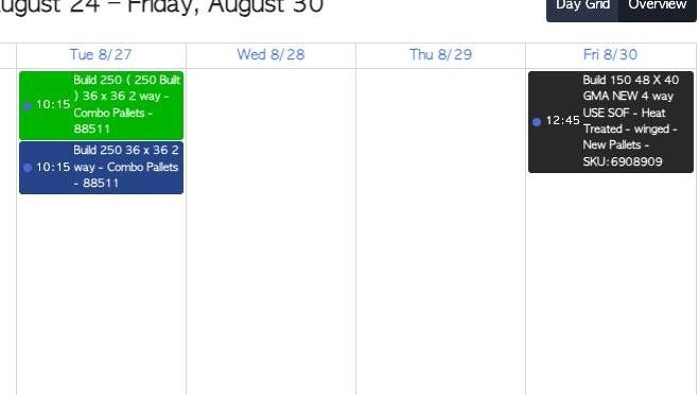
7. Click "Overview" to view a weekly schedule.
TIP! The weekly schedule does not show the employee/workstation detail, only the jobs allocated that day.

8. Click "today" to show the current schedule of the day.
9. Click this button to download the schedule.
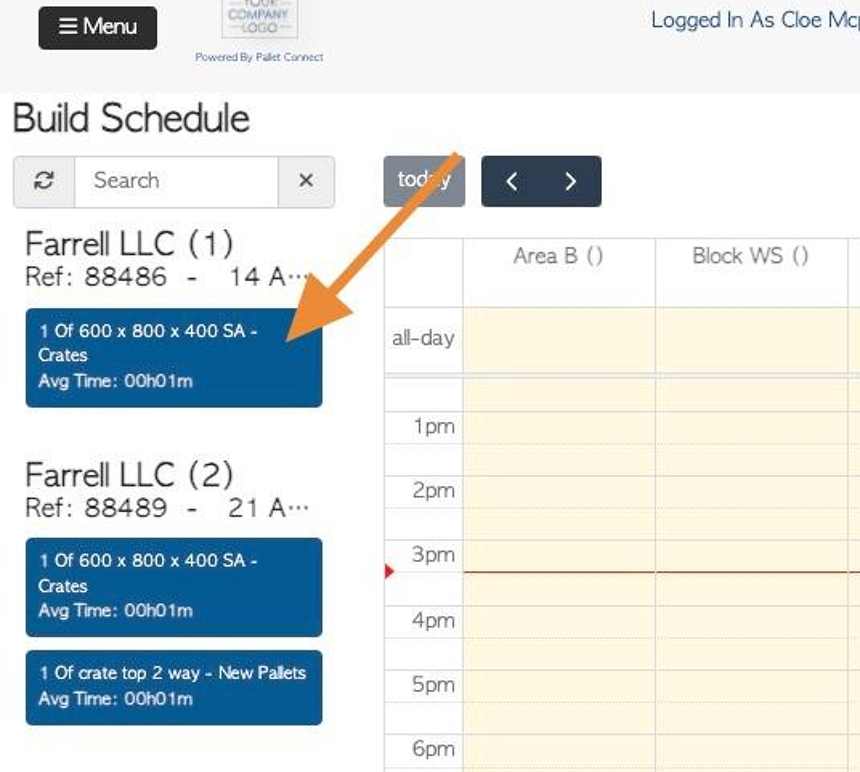
10. To add a build to the schedule, simply drag the job from the list and drop into the schedule of the selected employee, at the selected time. Click "Save" to complete.
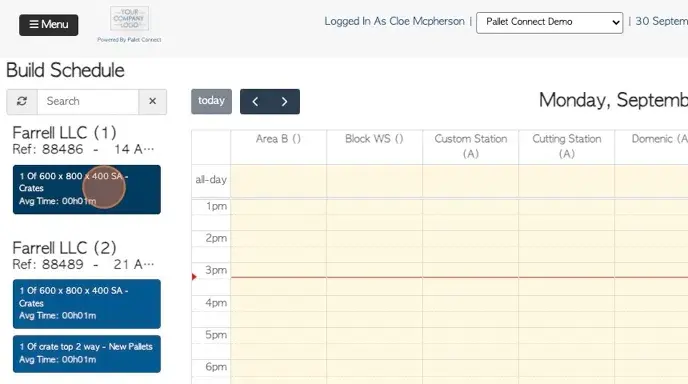
11. Scheduled builds are colour coded on the calendar:
Green - completed in the "capture build" tab.
Blue - Current jobs that are linked to an order.
Black - Builds that are created on the calendar for extra stock (see related article).
12. Click on the build to view the details.
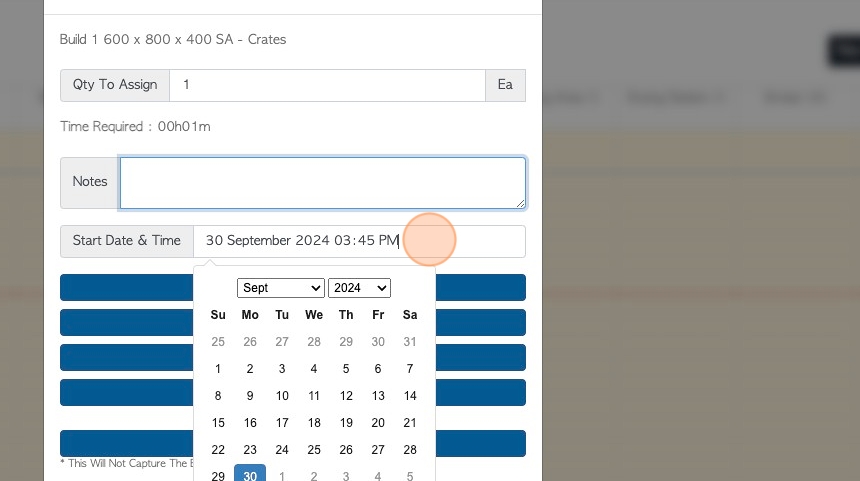
13. This text box shows the quantity to build, this can be edited.

14. Click this field to add any notes.
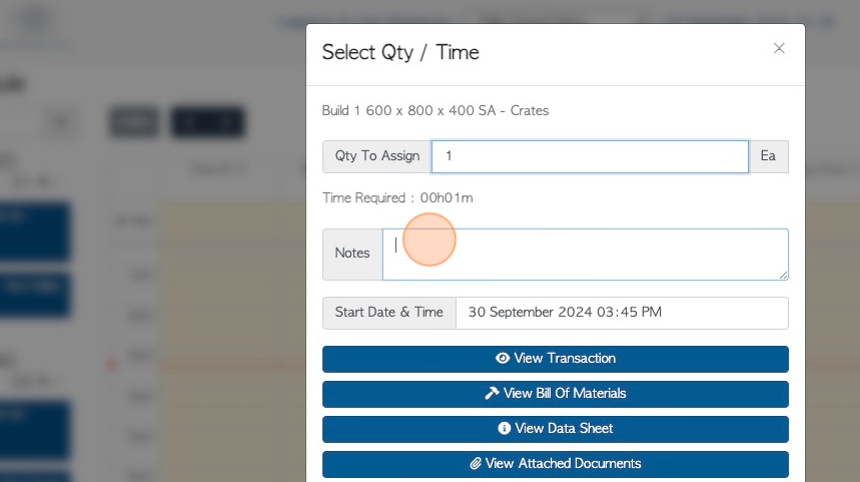
15. The Start Date and Time are displayed in this text field. Click here to access the drop down calendar, if the date needs to be changed. Click "Apply" to save.
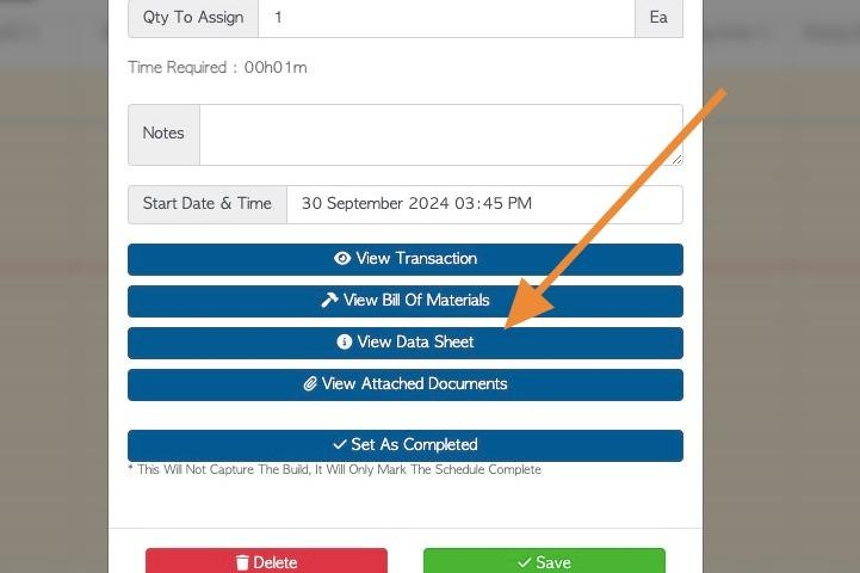
16. If the build is linked to an order then the details can be viewed.
Click on one of the action buttons to view the associated Transaction, Bill of Materials, Data sheet or Attachments.
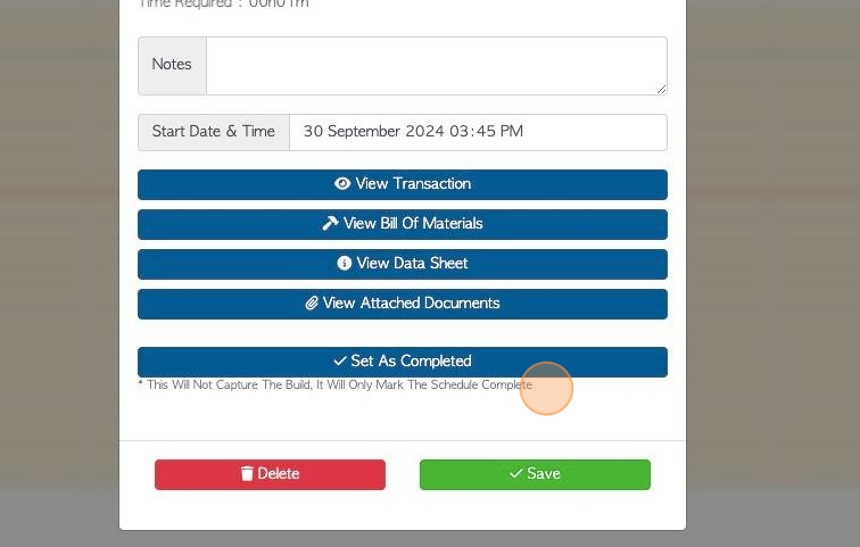
17. Click "Set as completed" once build has been processed. This can be useful to use if the full quantity was not captured in "Capture Build" but the remaining is no longer needed. Rather than leave the partial build on the calendar, it can be closed out but is still recorded.
NOTE: This Will Not Capture The Build, It Will Only Mark The Schedule Complete.
TIP! If a build has been completed in the "Capture Build" tab, then the job will automatically be displayed as green, in the calendar.
18. Click "Save" to complete any changes.
Click "Delete" to remove the build from the calendar.
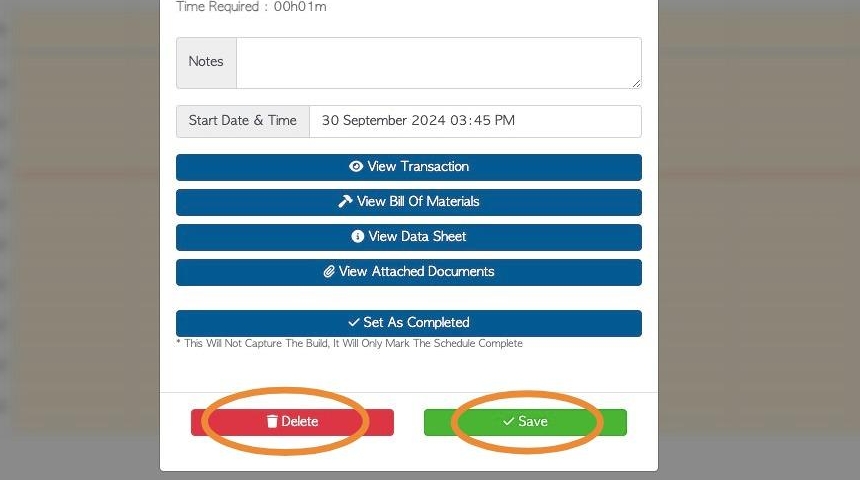
19. NOTE: A build that is deleted from the schedule will only be removed and placed back onto the list to be scheduled.