1. The Cut Schedule is a useful planning tool to allocate cutting lumber tasks to various employees.
This article provides an overview of the schedule and how to add and process a scheduled Cut.
TIP! The Cut and Build schedules are linked. See related article on Build Schedule.
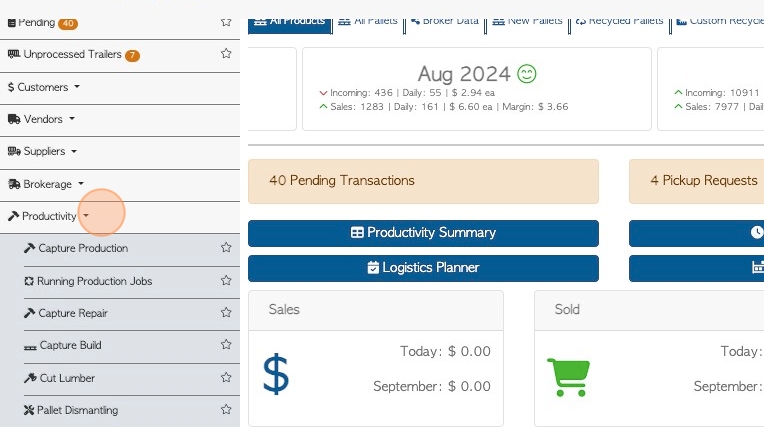
2. Navigate to the main menu. Click "Productivity"
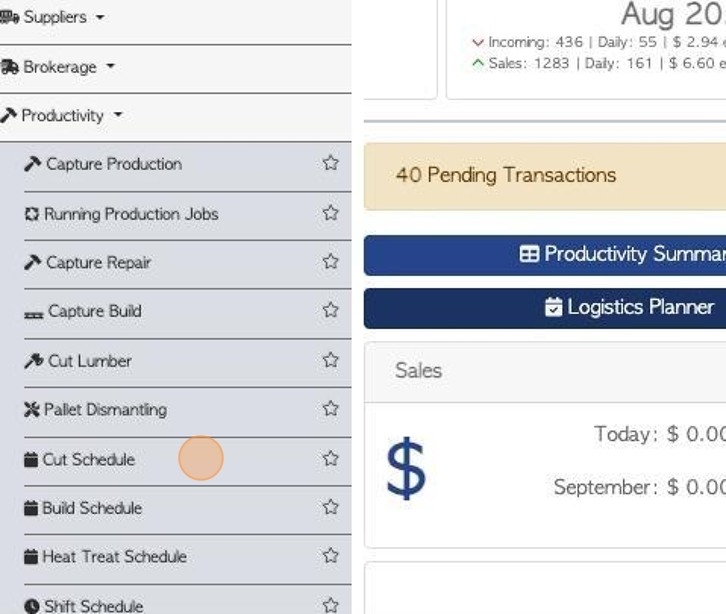
3. Click "Cut Schedule".
4. Click the arrow buttons to scroll through the calendar view.
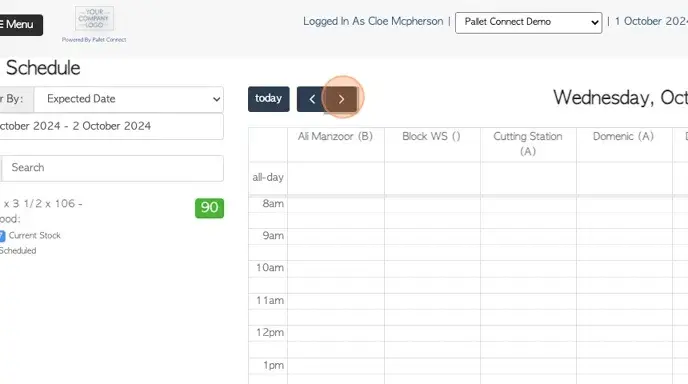
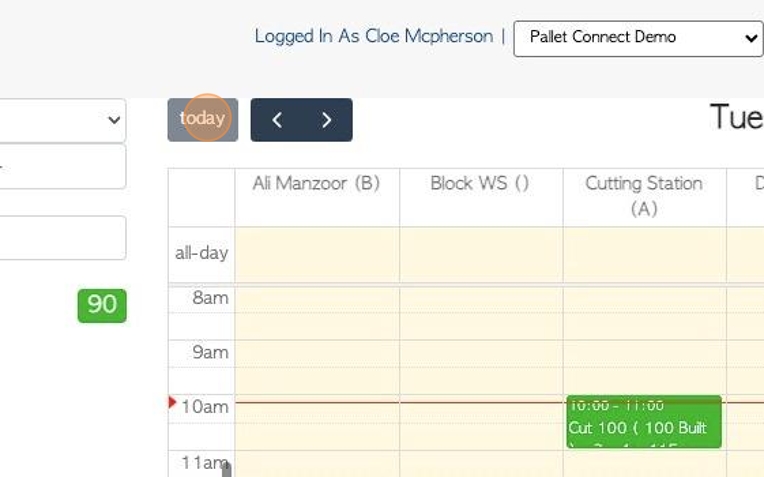
5. Click "today" to view the current day's schedule.
6. Click here to download the schedule.
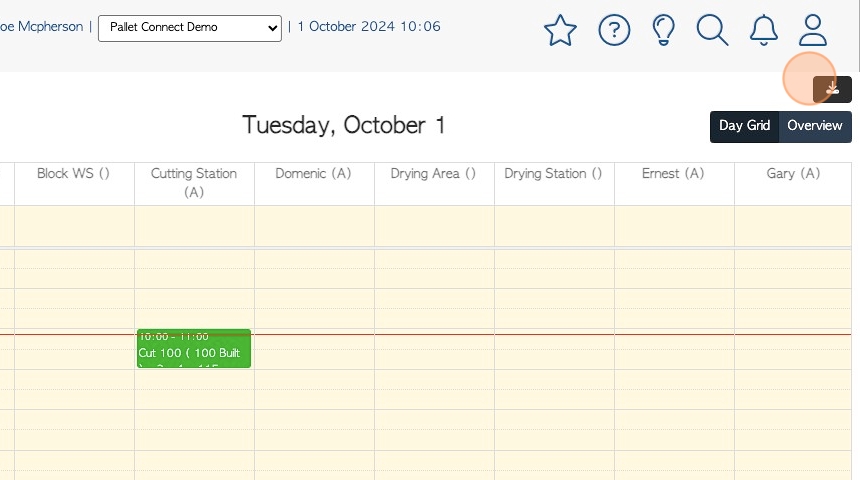
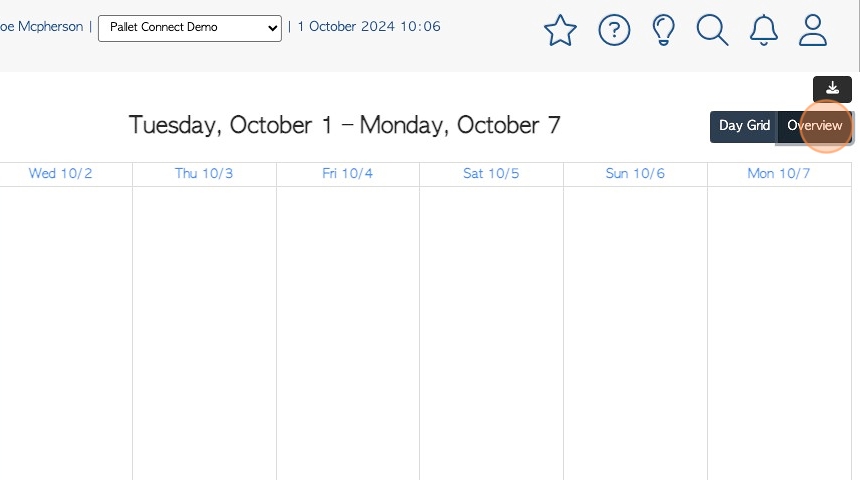
7. Click "Overview" to view a weekly calendar.
TIP! The Overview does not show employee information, only the tasks that are assigned.
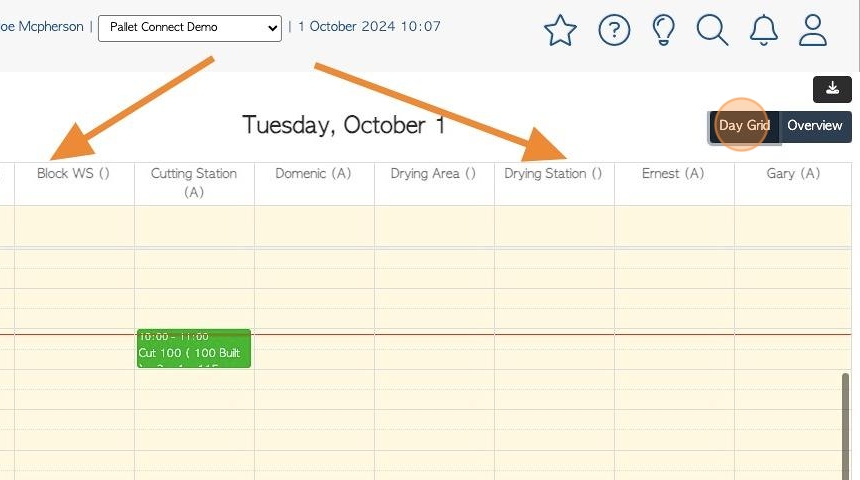
8. Click "Day Grid" to view the daily calendar. This displays all the employees that are available for scheduling.
NOTE: For an employee or work station to be listed on the schedule, they need to be allocated to "cut" and they must be assigned to a schedule in their profile.
9. On the left side of the calendar is a list of products that are required to complete a build, which will fulfill an order.
Click this dropdown to filter the cut list. There are two options.
Scheduled Build date - This corresponds to the date that the build has been entered into the Build Schedule and therefore, the date the lumber will be needed.
Expected date - This corresponds to the date that the order is due.
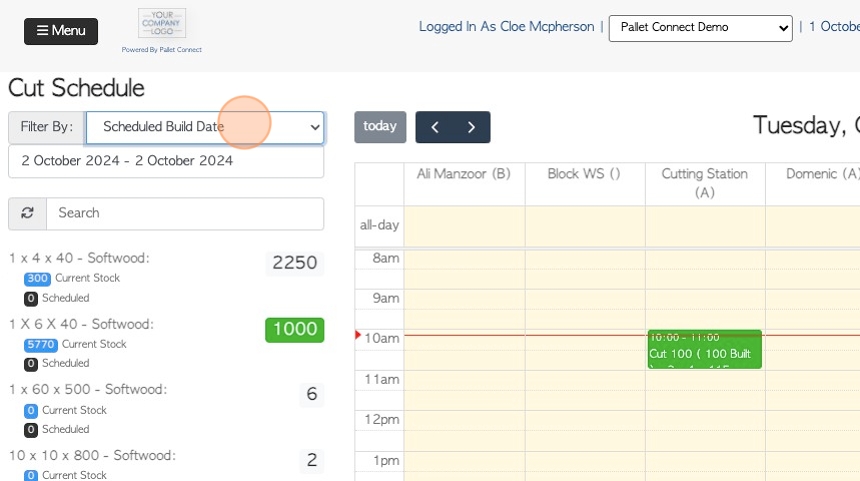
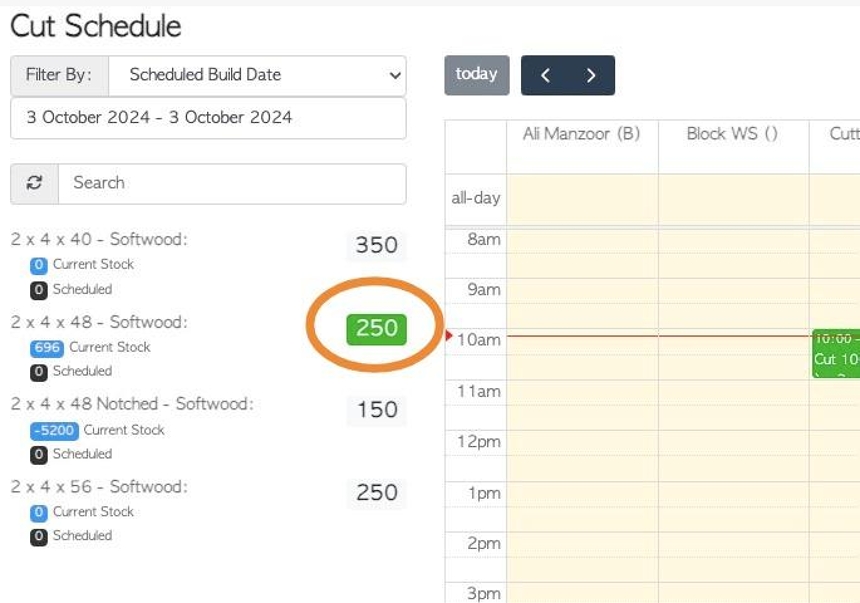
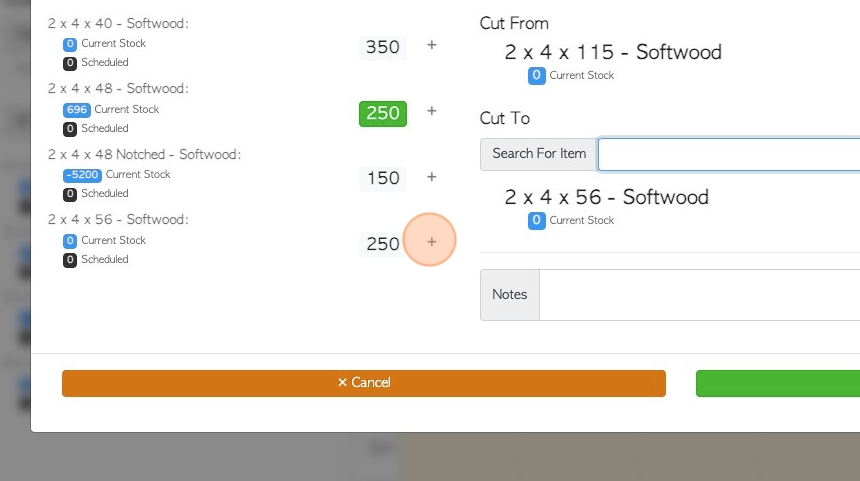
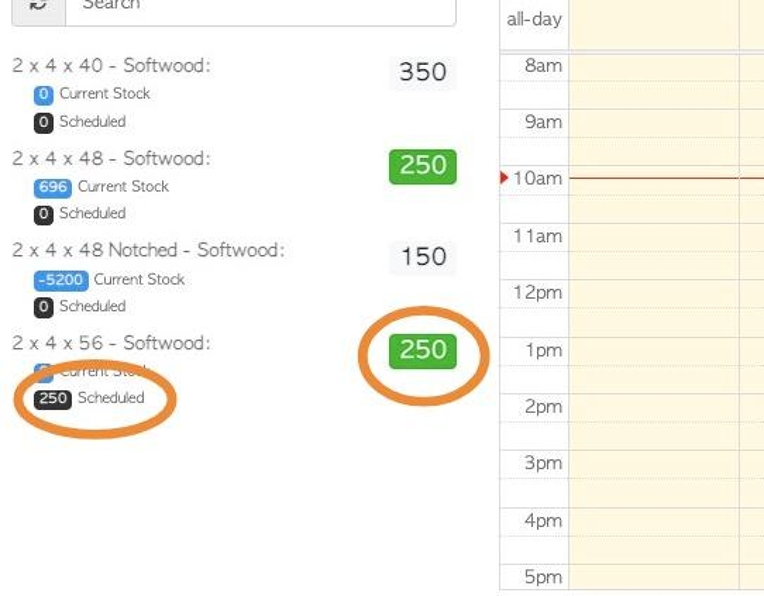
10. The list shows the item name, how many pieces are needed, the current stock and if it has been scheduled.
TIP! If the quantity needed is highlighted in green, then there is enough stock to complete the build or it is already scheduled to be cut.
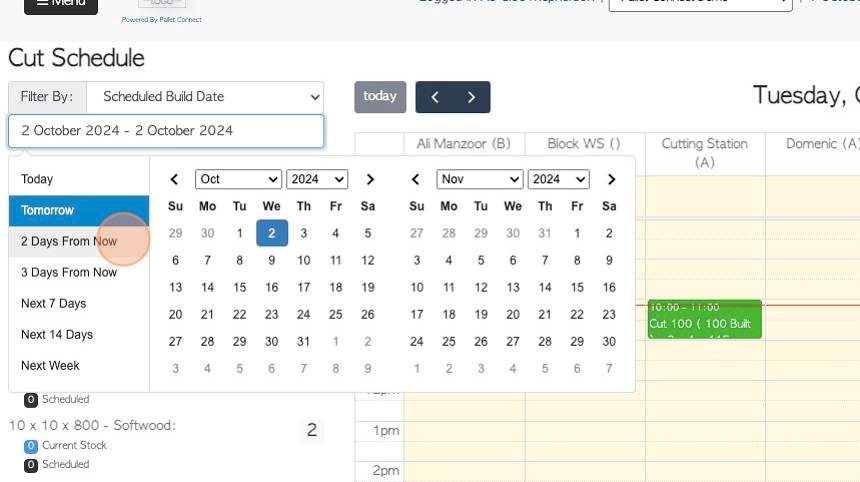
11. Click this text field to change the date range of the list.
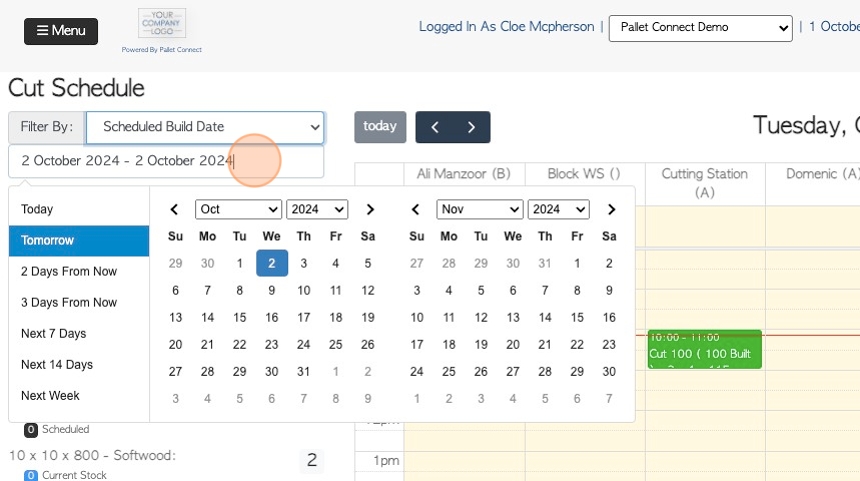
12. Click on a date from the list or choose a date range from the calendar.
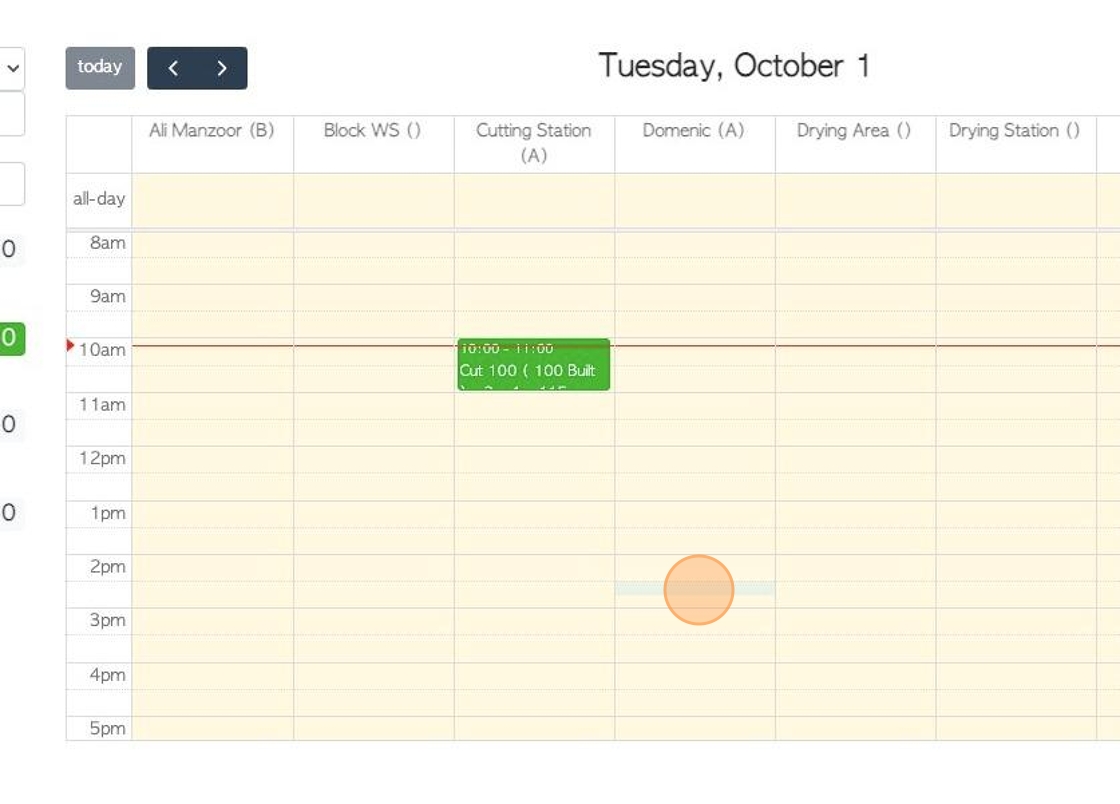
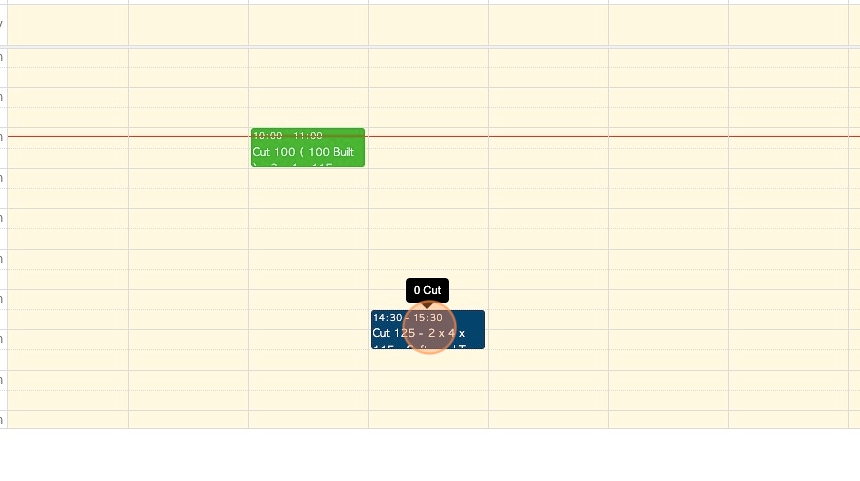
13. To schedule a Cut, click on the time and date on the calendar, in the column of the selected employee/workstation.
14. A pop up screen will display the details of the Cut to be scheduled.
The list on the left hand side shows the lumber needed.
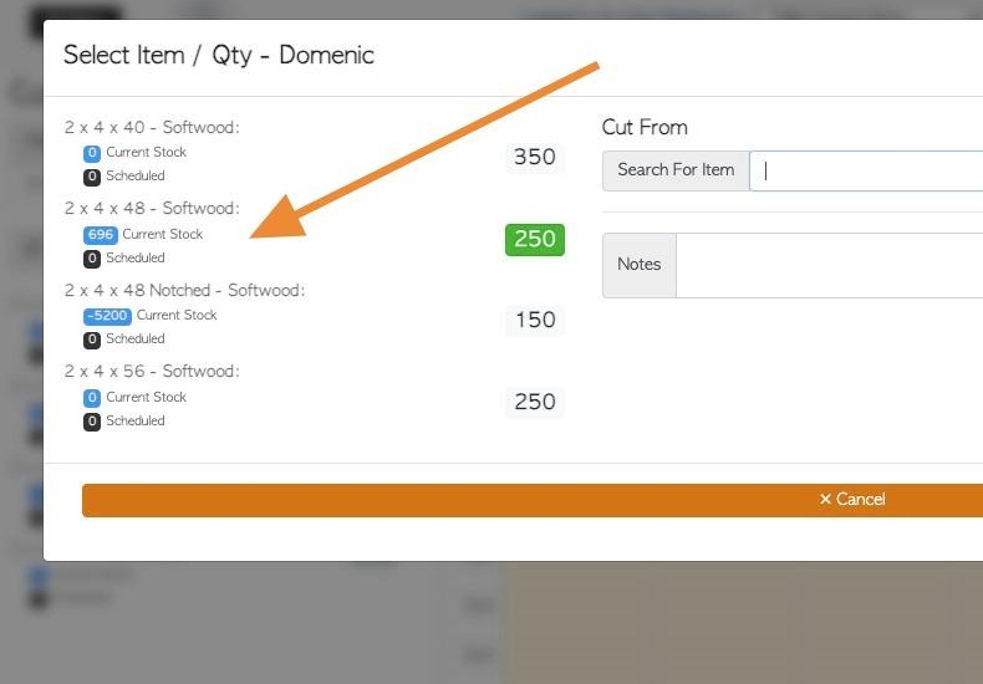
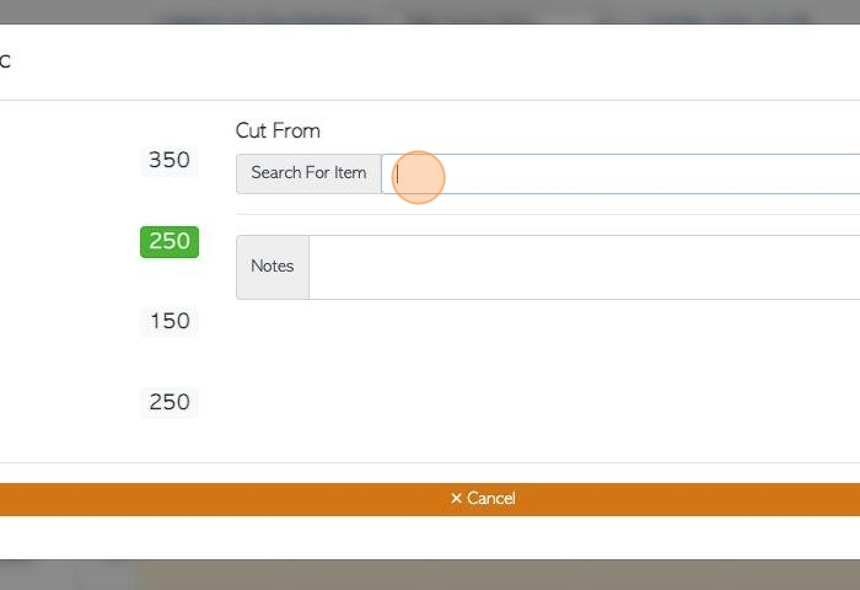
15. Click this field to choose the "Cut From" material, from the drop down list.
TIP! Active stock items will be listed.
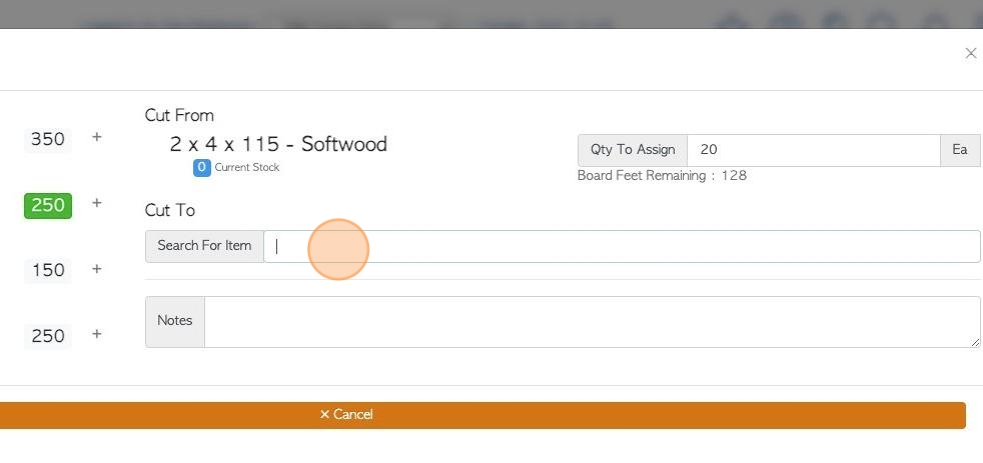
16. There are two ways to add the "Cut to" items.
option #1: Click this field to search for items to "Cut to", from the drop down menu. This can be used to add inventory or add items not linked to orders.
TIP! Active stock items will appear on the drop down list.
17. option #2: Click here on the "+" icon to add the item as "Cut to", from the list.
TIP! The system will recognize which items can be produced from the "Cut From" material and only allow those to be added. e.g. softwood cannot be cut from hardwood.
TIP! Multiple items can be added as "Cut to", if needed.
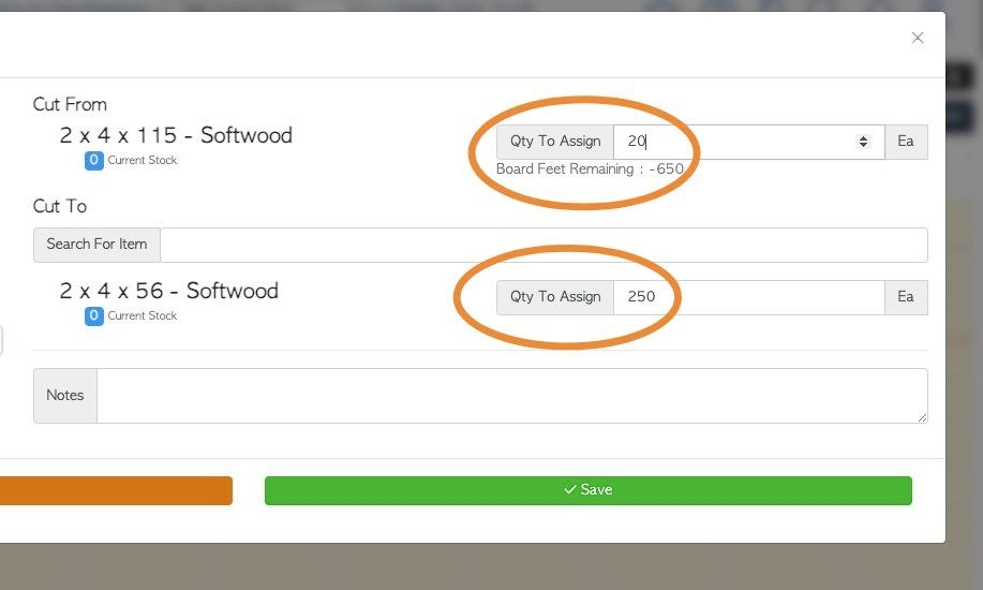
18. Use the two number fields to calculate the cut.
The "Cut to" and "Cut from" quantities can both be changed. The quantity is shown in pieces.
The Board feet remaining shows the scrap from the calculated Cut.
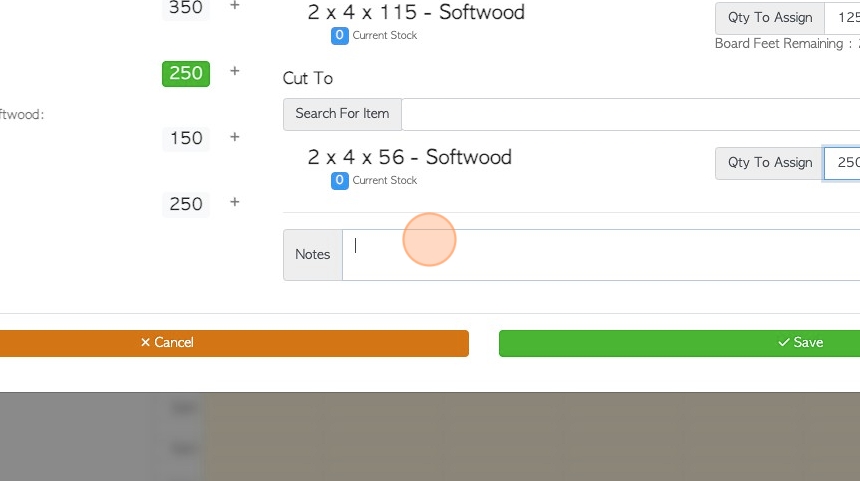
19. Click this field to add any notes.
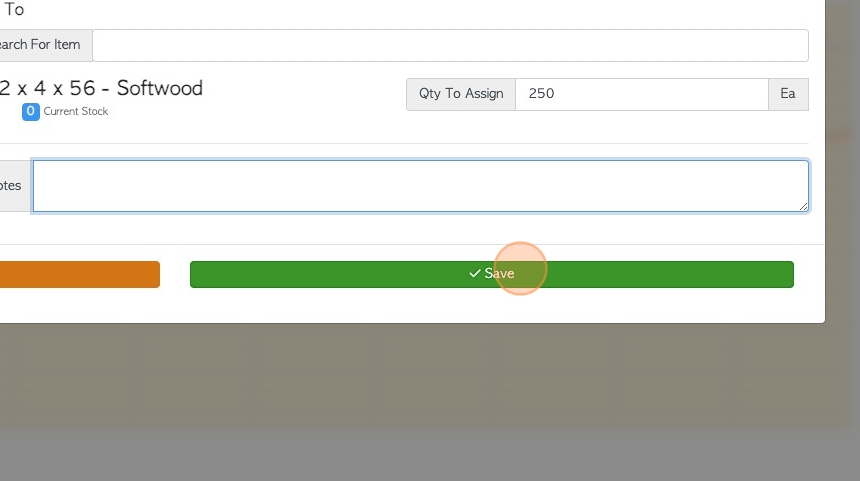
20. Click "Save" to complete.
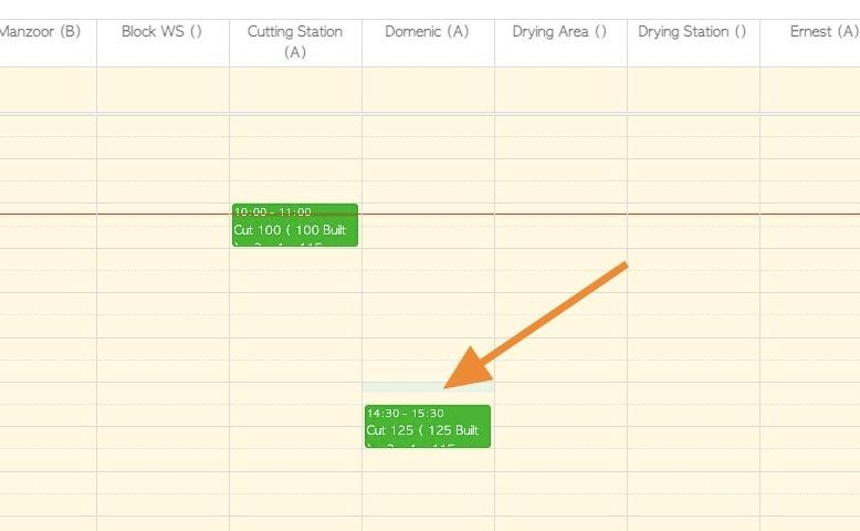
21. The scheduled quantity will now be highlighted as scheduled.
22. Click on a scheduled build, to edit or process.
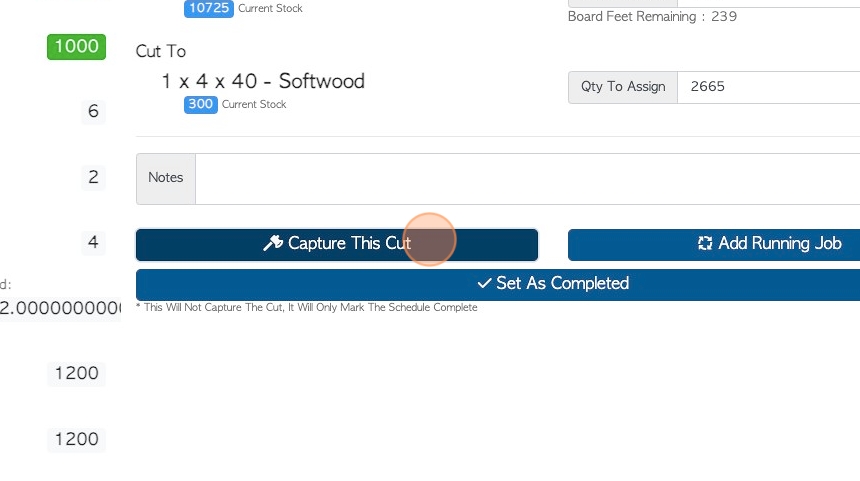
23. Click here to add to a Running Job.
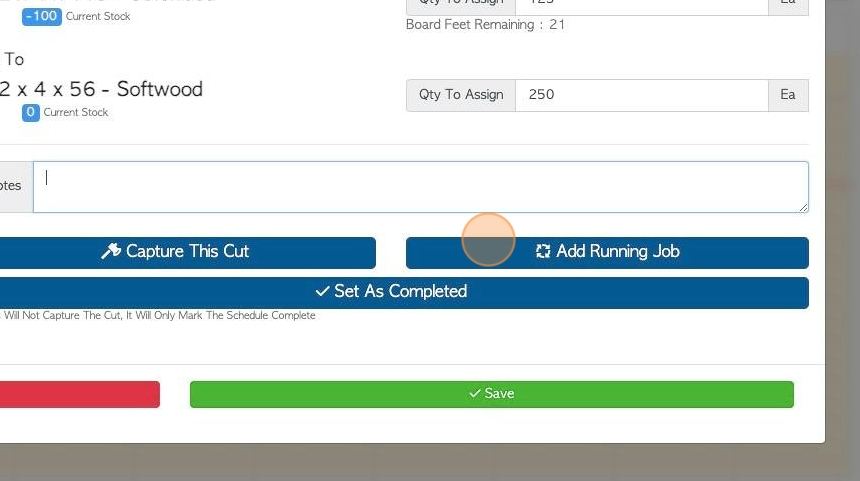
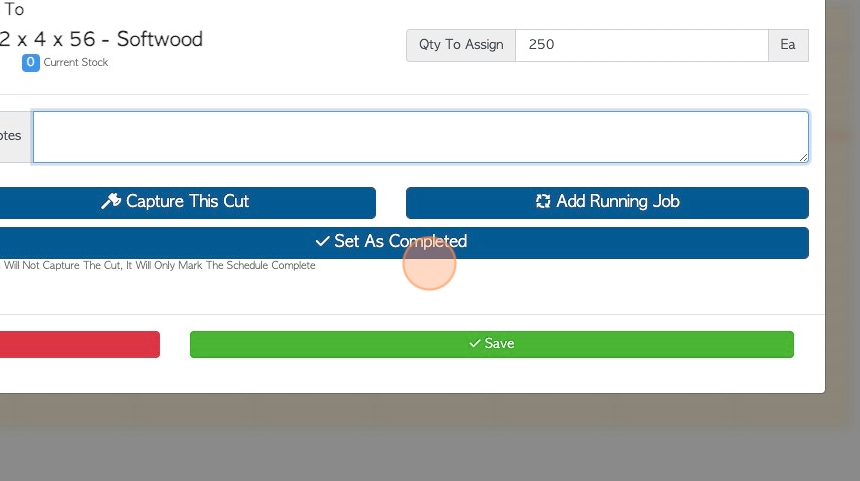
24. Click "Set as completed" once Cut has been processed. This can be useful to use if the full quantity was not captured but the remaining is no longer needed. Rather than leave the partial Cut on the calendar, it can be closed out but still recorded.
TIP! This Will Not Capture The Cut, It Will Only Mark The Schedule Complete
25. Click here to delete the scheduled Cut from the schedule.
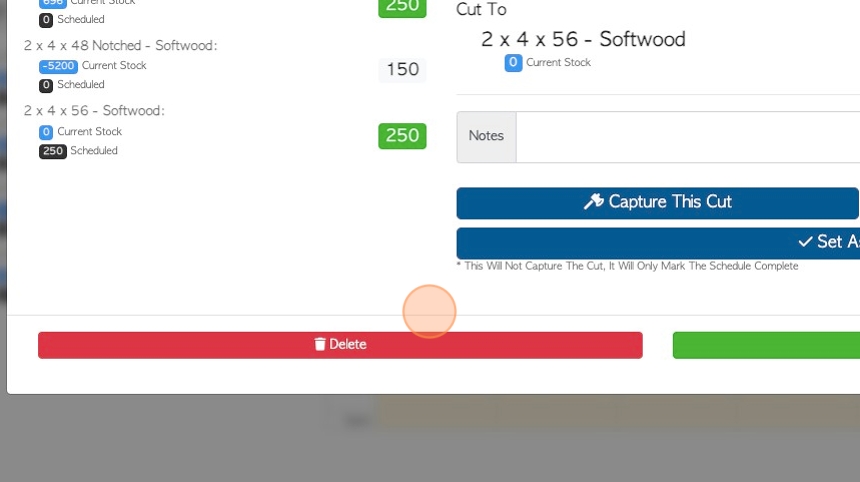
26. To process the Cut through production, click "Capture This Cut".
Process the capture as usual procedure.
See related article on how to Capture a Cut.
27. If the Cut is processed in "Capture Cut" or "Set as Completed" in the schedule, it will be highlighted green in the calendar.