1. When the 'Default Sort List' is enabled, the items listed always show on the count sheet. This is used for processing Vendor requests and Unprocessed Trailers. The 'Default Sort List' will apply to ALL Vendors.
NOTE: Items can still be added to the count sheet at the time of sorting, if needed.
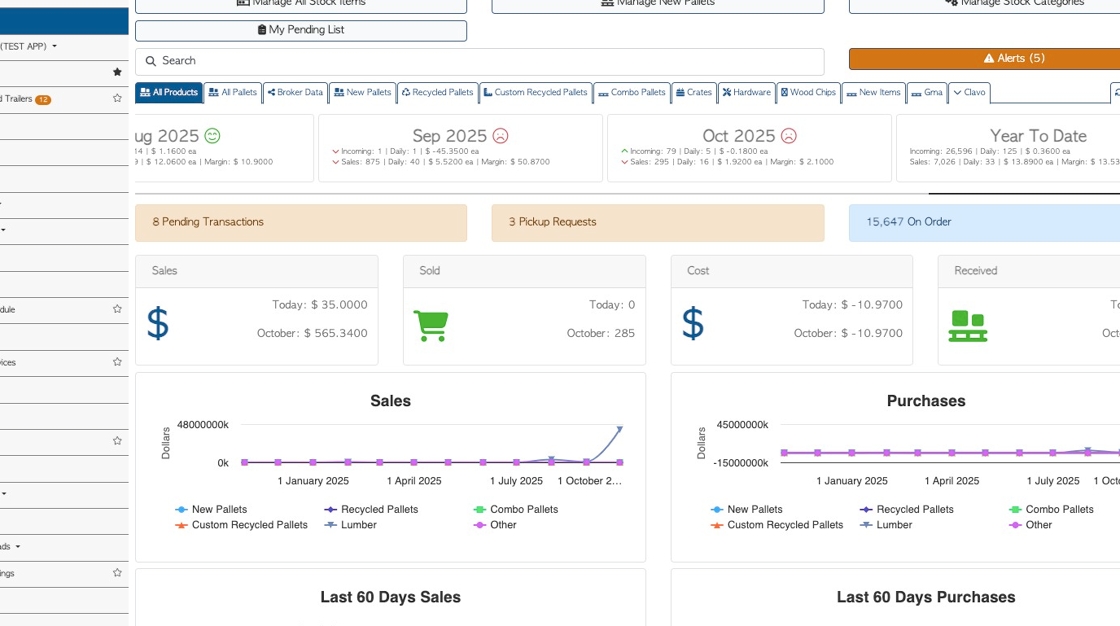
2. From the Main Menu, click the "Settings" tab.

3. Click "Manage Default Trailer Sort List".

4. Click the "Start Typing To Search" field to add a stock item to the list.
TIP! If the list is empty, the count sheet will show Linked Stock Items from the Vendor profile.

5. Click on the selected item from the drop down list.

6. Click here to drag and drop the item and change the position in the list.
TIP! The order of the list is the order shown on the count sheet.

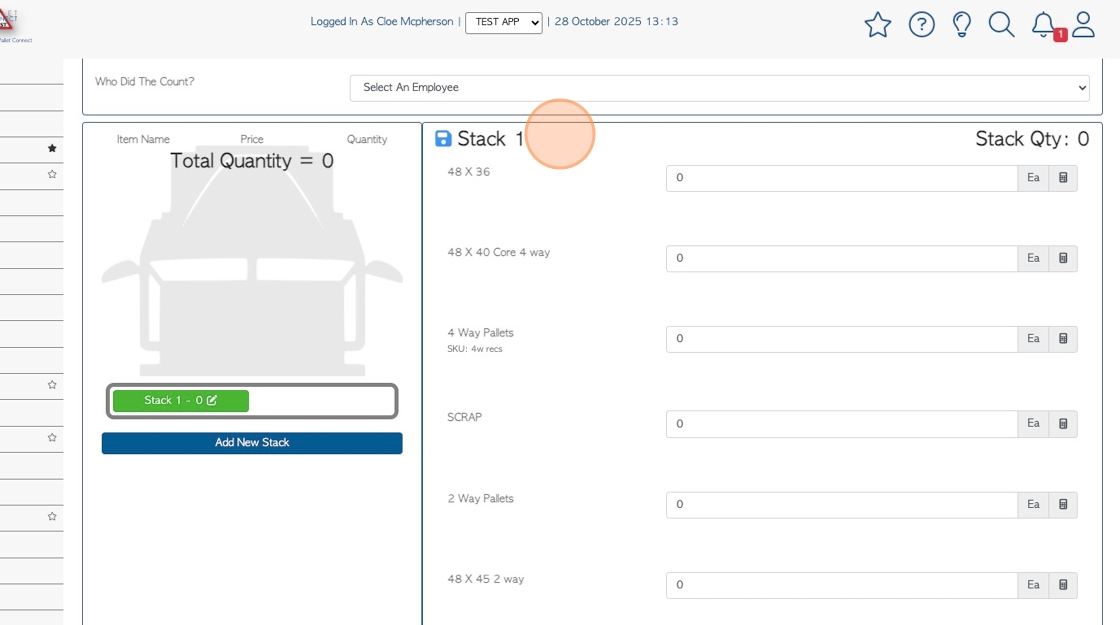
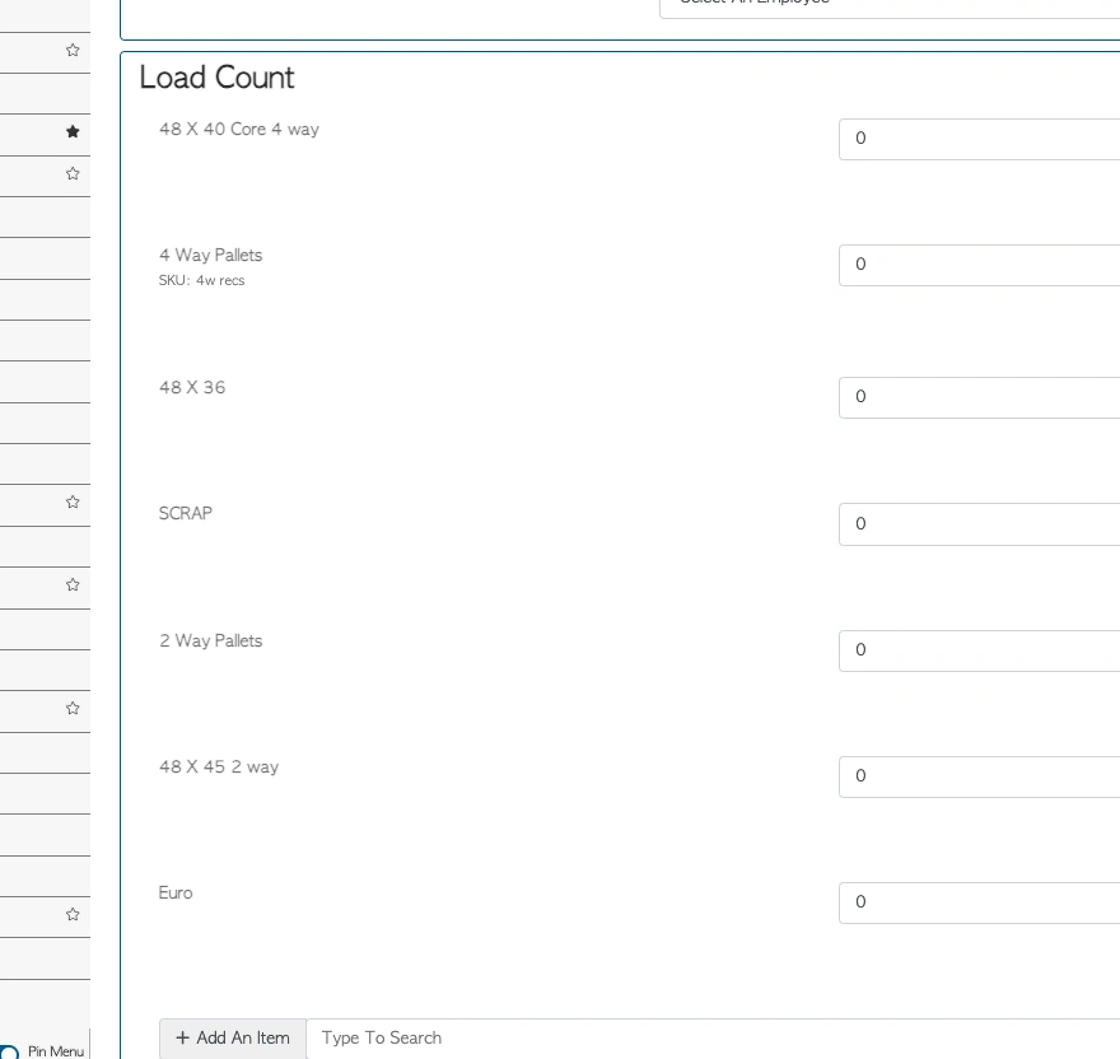
7. The Count Sheets for Vendors will now reflect the items in the Default Trailer Sort List.
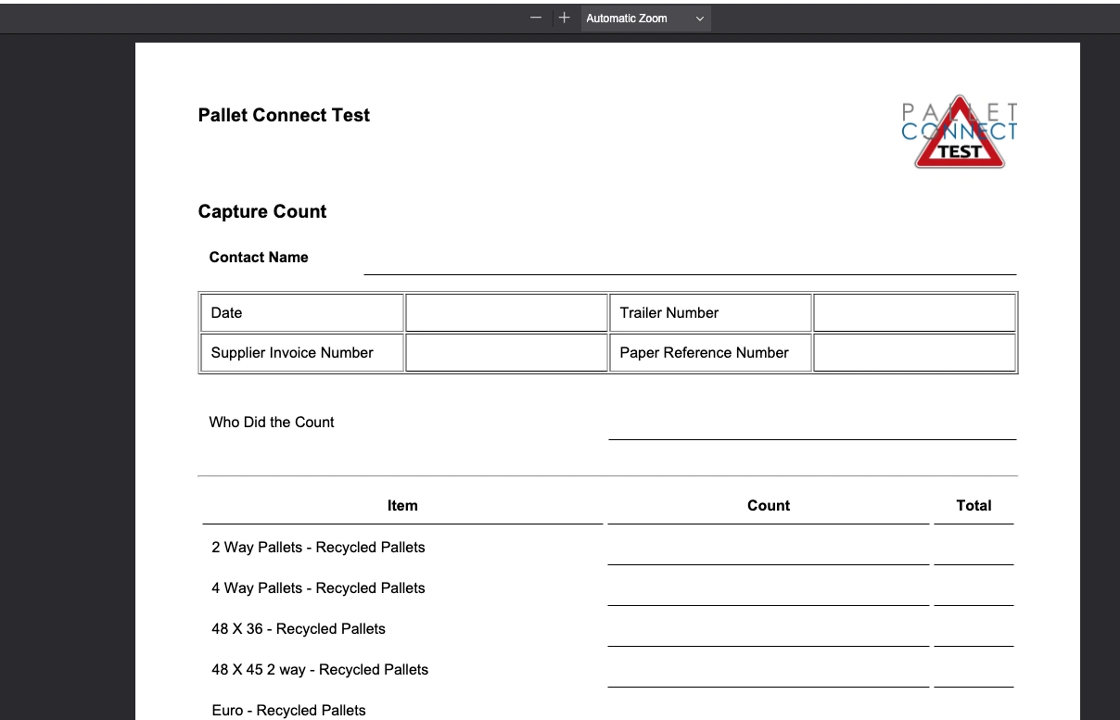
8. The Count Sheet can be printed from this page also.
Click on the "Print" button.

9. The document will contain the same information as the count screen.
10. This is a global system setting, therefore will apply to ALL Vendors.
To ignore this setting for a particular Vendor, navigate to the Vendor profile.
From the Main Menu, click on Vendors, then Manage Vendors.
Alternatively, type in the Vendor name into the global search to reach the profile.

11. From the contact dashboard, Click "Edit Contact"

12. Click the "Options" tab

13. Click this checkbox to "Ignore Default Sort List".

14. Click "Save" to complete changes.

15. The default list will not appear on counts sheets for this Vendor, only their "Linked Stock Items".