1. Vendors can request pickups or schedule drop-offs through their dedicated Vendor Portal in Pallet Connect.
This article outlines how a Vendor creates a Drop Off request.
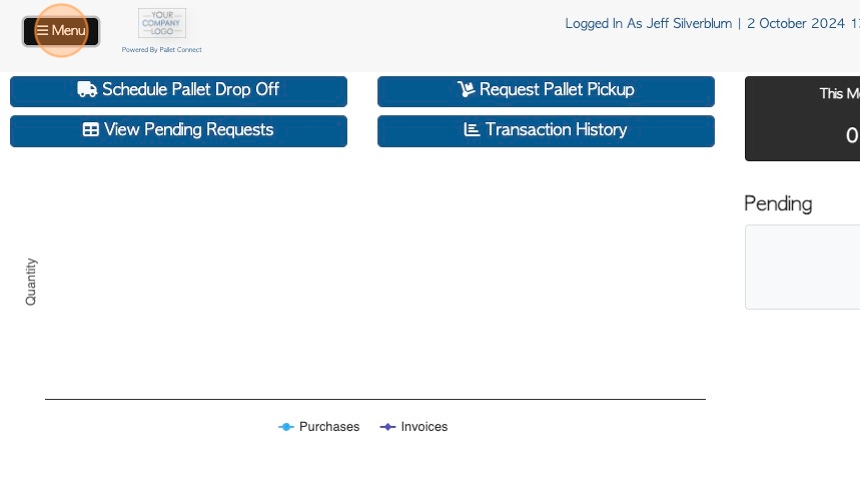
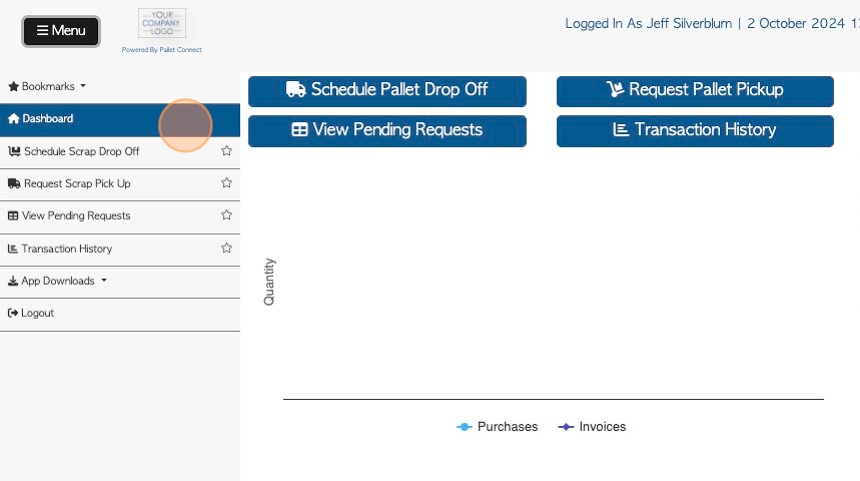
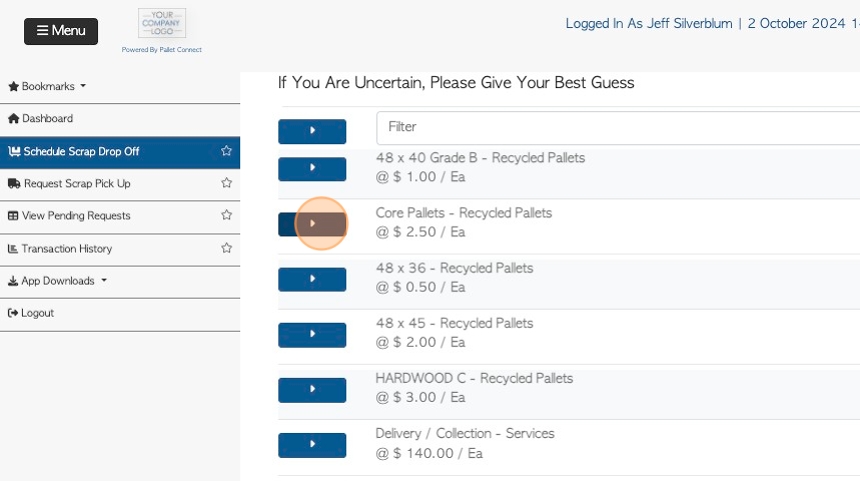
2. From the dashboard, the user can click "Menu"
3. Then click "Schedule Drop Off".
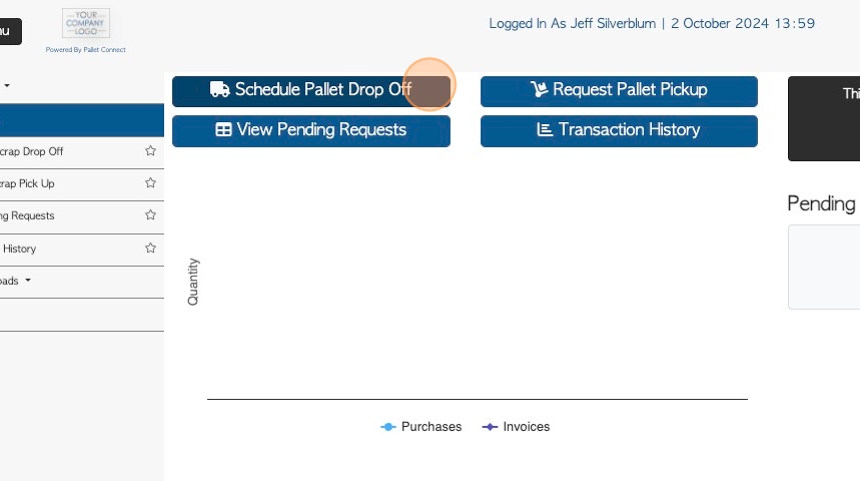
4. Alternatively, the user can click the "Schedule Pallet Drop Off" action button on the dashboard.
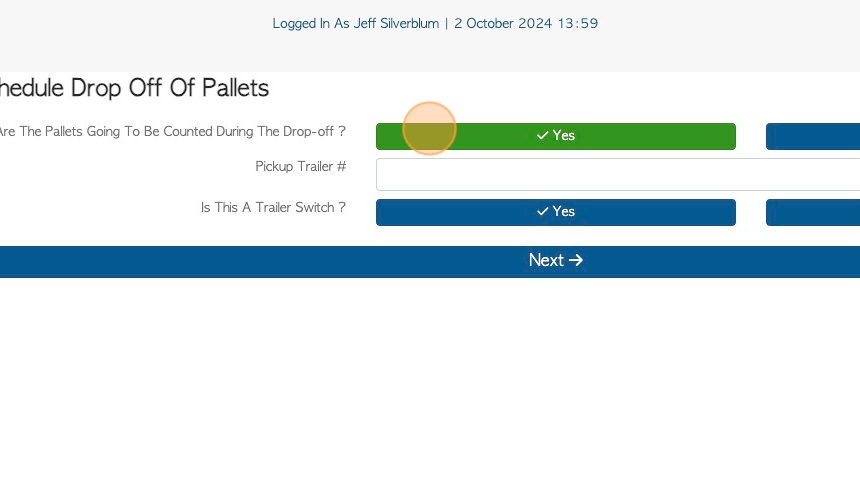
5. Click "Yes" or "No" if the pallets are to be counted at drop off.
TIP! If "No" is selected then the item quantity screen will be bypassed and the request will be for a "Trailer load".
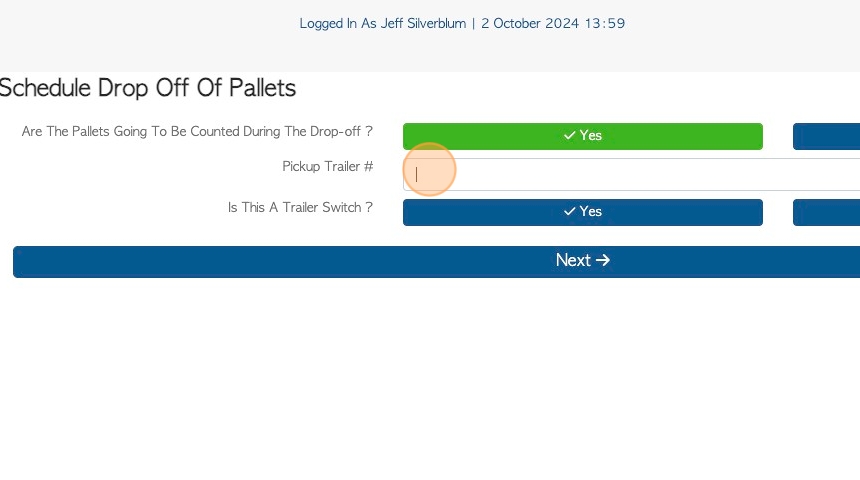
6. Click this field to add a trailer number, if needed.
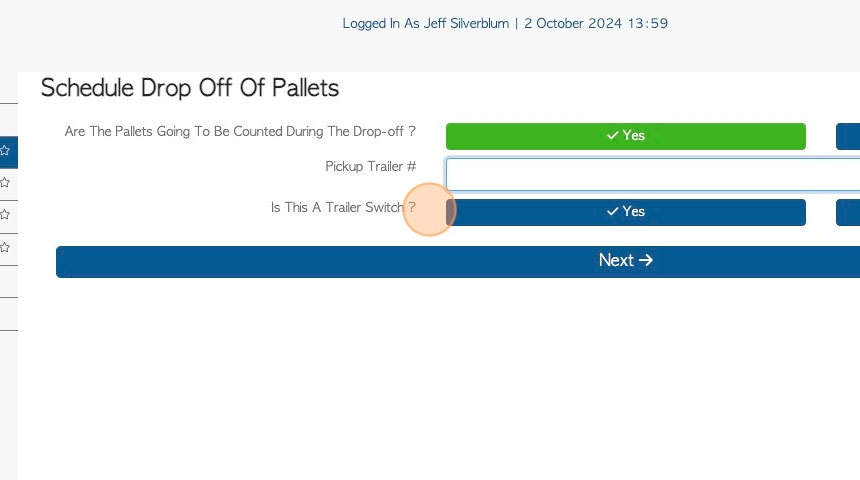
7. Click here to indicate if this is a trailer switch.
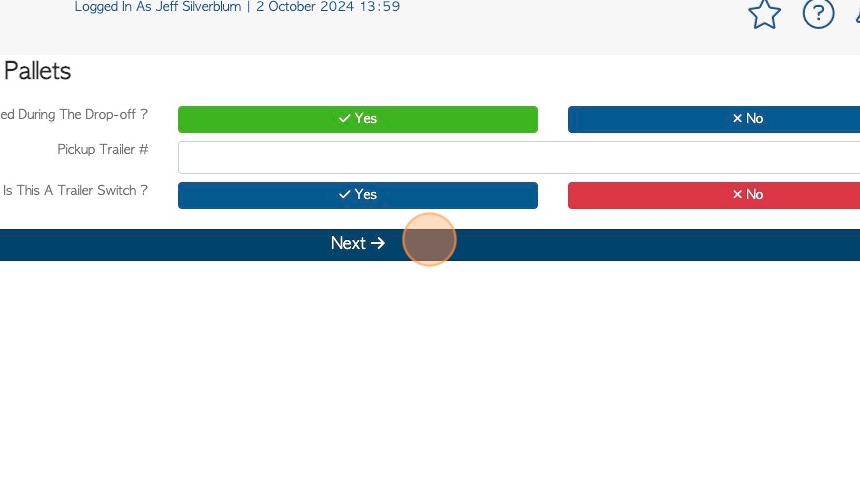
8. Click "Next"
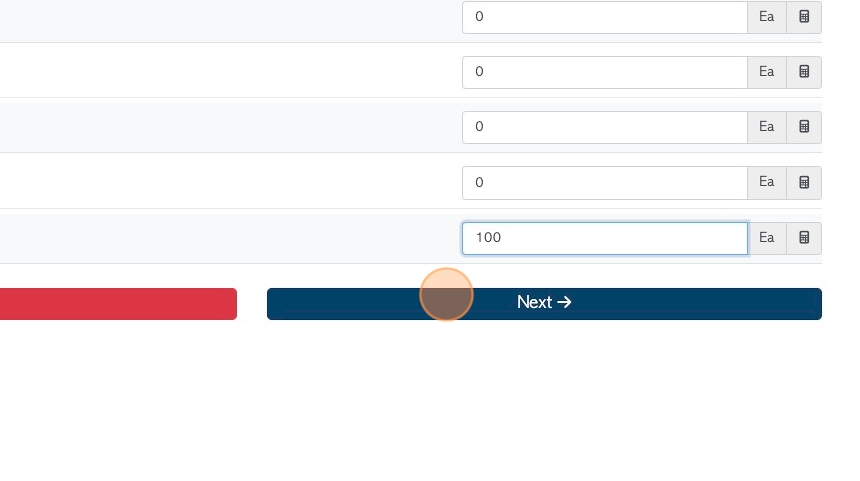
9. Input the type and quantity of pallets that are being dropped off, from the list of linked stock items.
NOTE: "If You Are Uncertain, Please Give Your Best Guess"
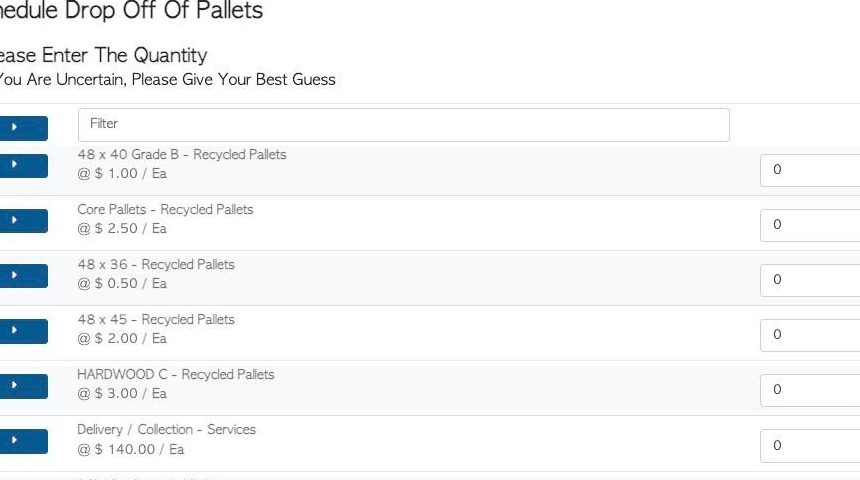
10. Click the "Enter Quantity" field.
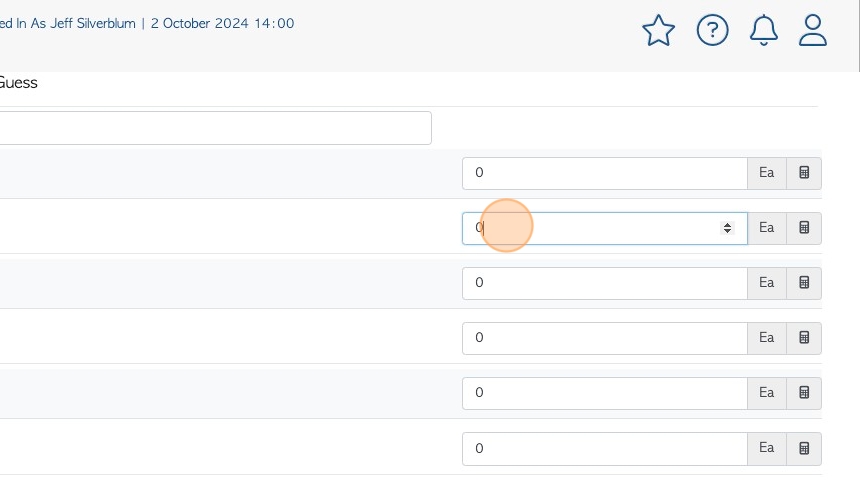
11. Click this button to expand the field and view more information, if applicable.
12. Click "Next"
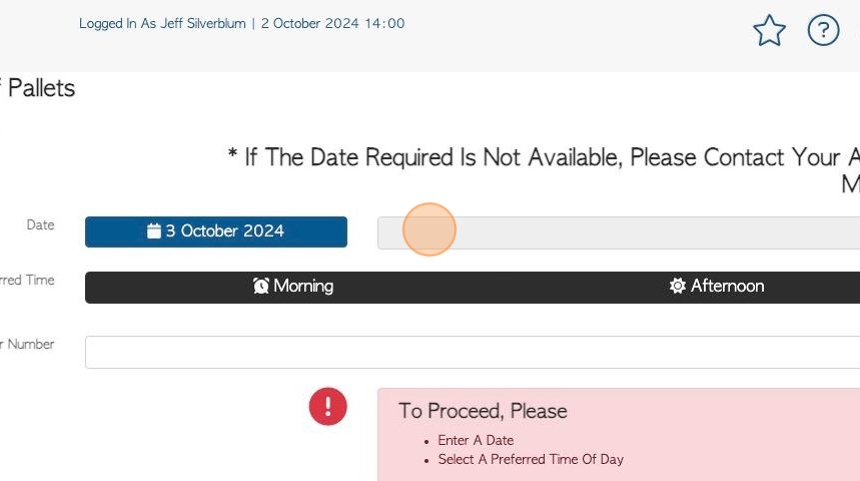
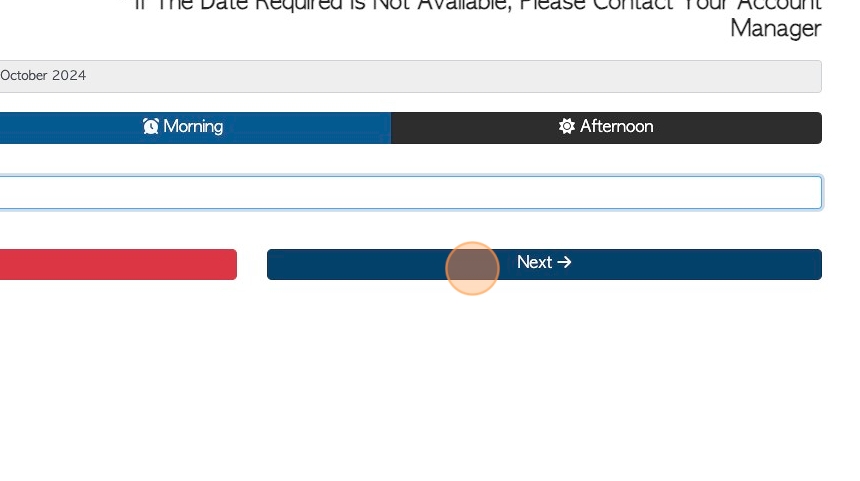
13. The preferred drop off time and date is entered here.
TIP! Time of day must be chosen, before moving onto the next screen.
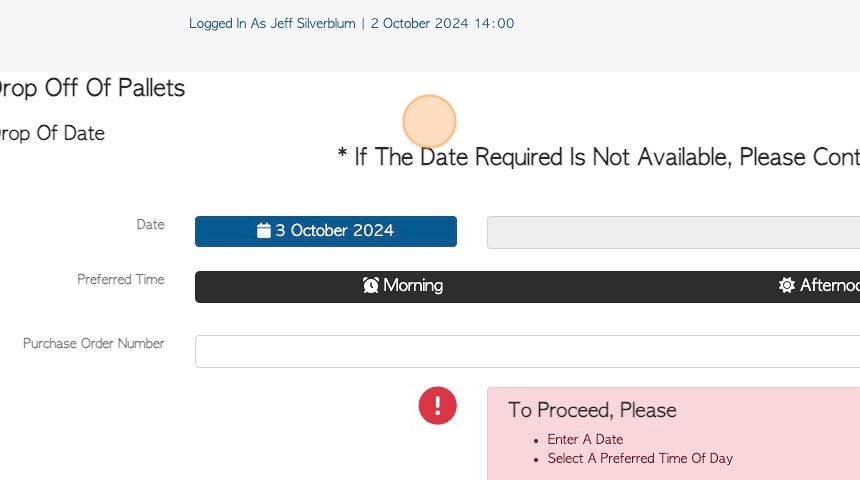
14. If the Vendor preferred date is not shown, click this field to access the drop down calendar.
NOTE: If the date required is not available, the Vendor is to contact their account manager.
15. Click this field to add a purchase number, if applicable.

16. Click "Next"
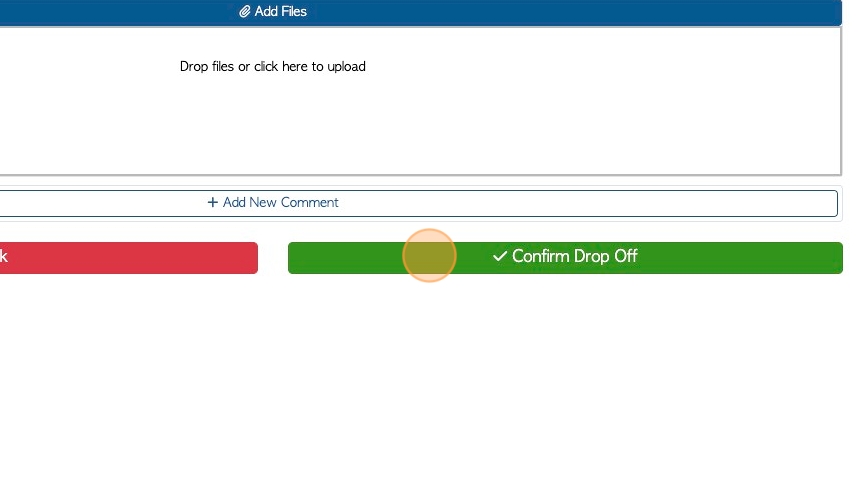
17. Add images and/or files here, if needed.
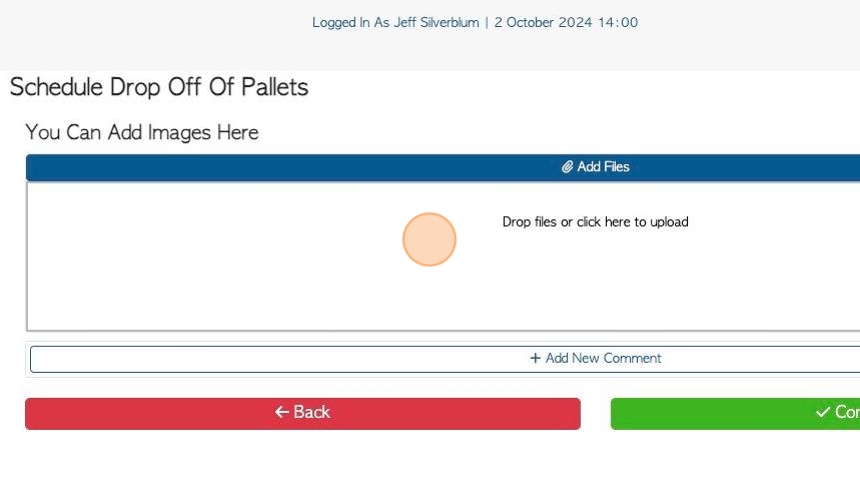
18. Click "Confirm Drop Off"
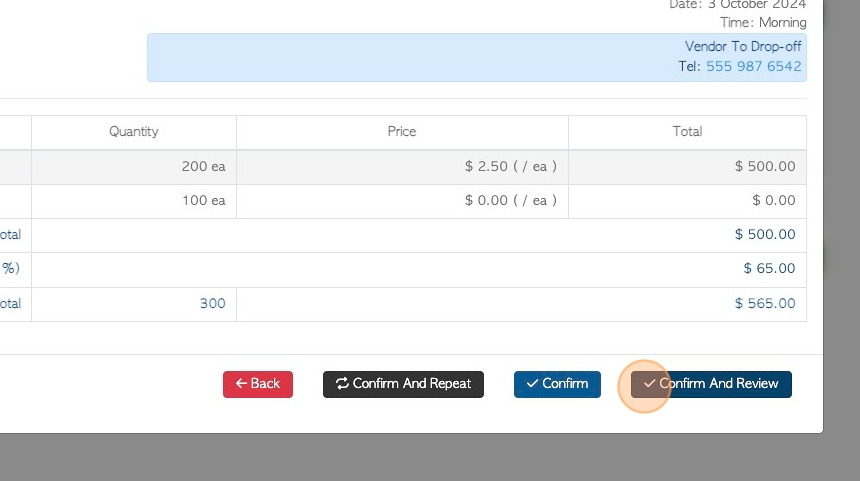
19. Review request details and click "Confirm" or "Confirm and Review".
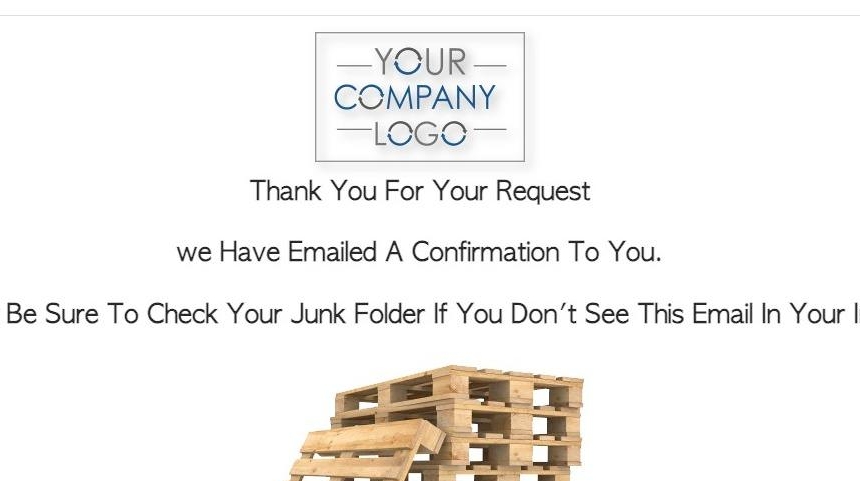
20. When the request is completed, an email is sent and a confirmation message is displayed.
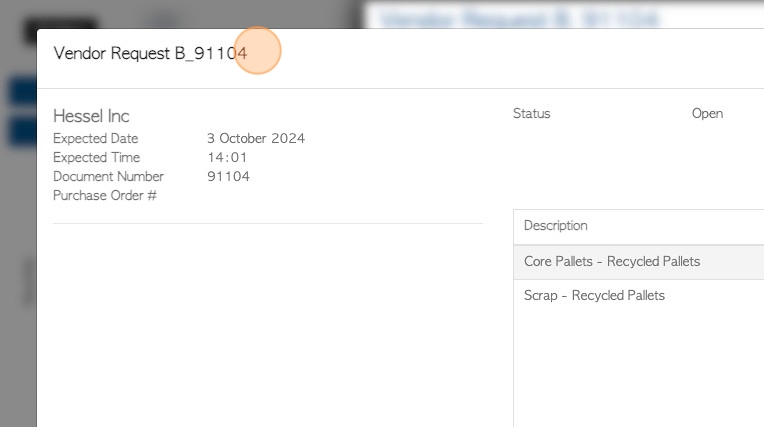
21. The request is assigned a reference number. Click "Review" to see details.
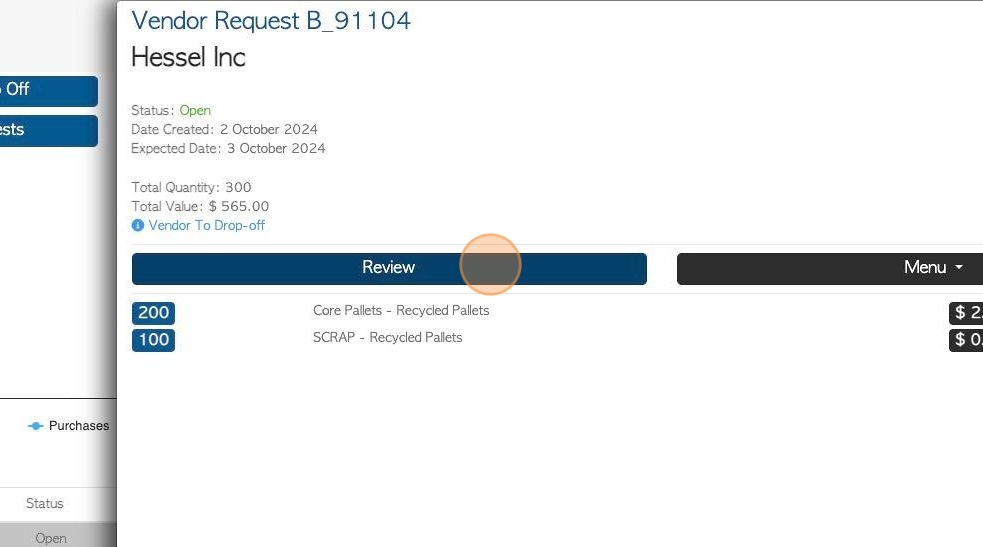
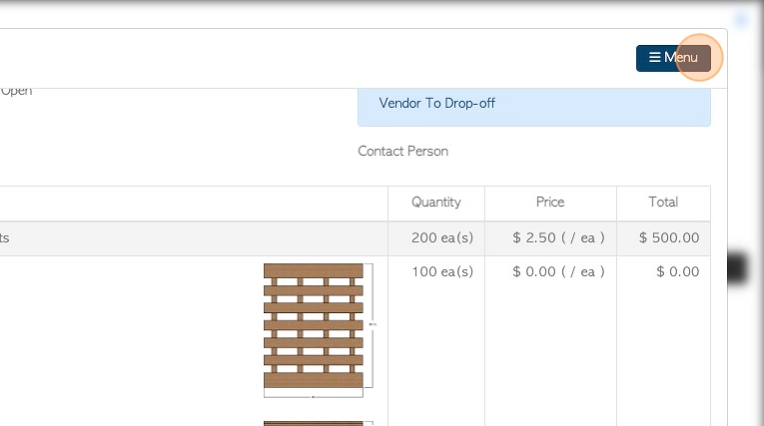
22. A pop up window displays the transaction details.
23. Click "Menu" to access the action menu.
Click "Close" to return to the dashboard.
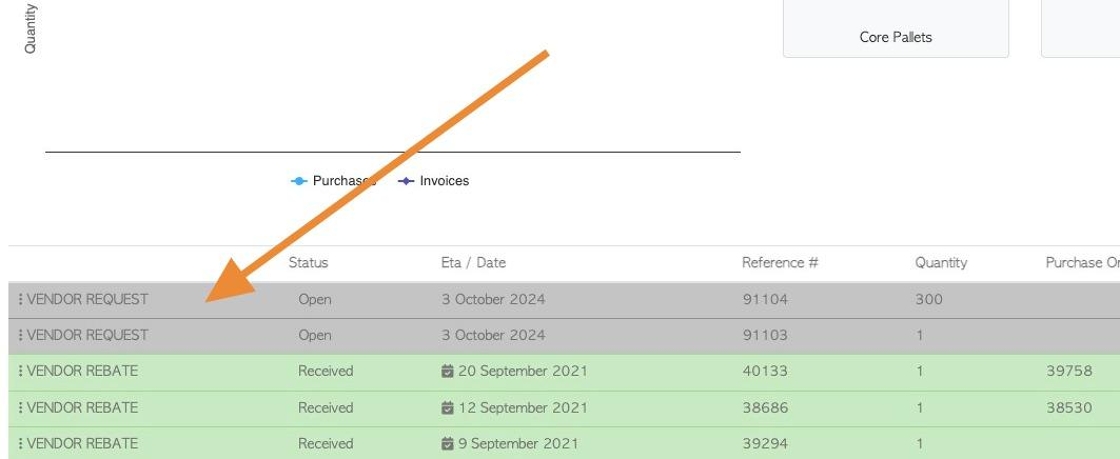
24. The transaction will now appear on the Pending list and show in the recent transactions on the dashboard.